Want to align your telescope's equatorial mount for accurate observing or for long-exposure astrophotography? In this guide we'll show you how.
For prolonged astronomical observation and most forms of astro imaging, there is a preferred form of telescope mount: the ‘equatorial’.
You will encounter it in one of two principal flavours.
The ‘German’ is the preferred form for refractors and Newtonian reflectors, where the instrument is attached to the mount in a cradle balanced by a counterweighted shaft on the other side.
The ‘equatorial fork’ doesn’t require a counterweight and is the norm for squat-tube mirror-lens systems like Schmidt- and Maksutov-Cassegrains.
Both of these forms of mount have two axes of rotation, one of which – the polar axis – has to be made parallel to that of the Earth.
Polar alignment
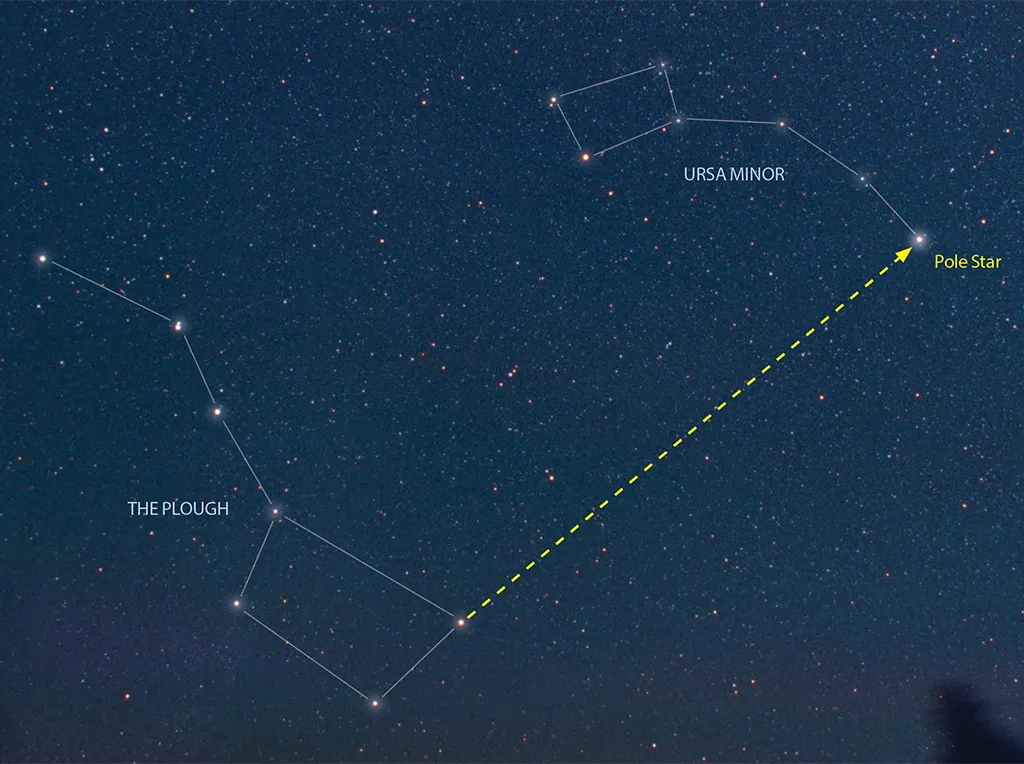
Northern hemisphere observers have a convenient marker to the north celestial pole in the form of Polaris, the Pole Star (also known as the 'north star').
For very casual viewing with a portable mount, merely sighting along the polar axis to Polaris will suffice.
Some equatorials possess a hollow polar axis equipped with a small sighting telescope to assist you.
Unfortunately, the true celestial pole lies nearly a degree (just under the width of two full Moons) from the Pole Star.
Equatorial mounting
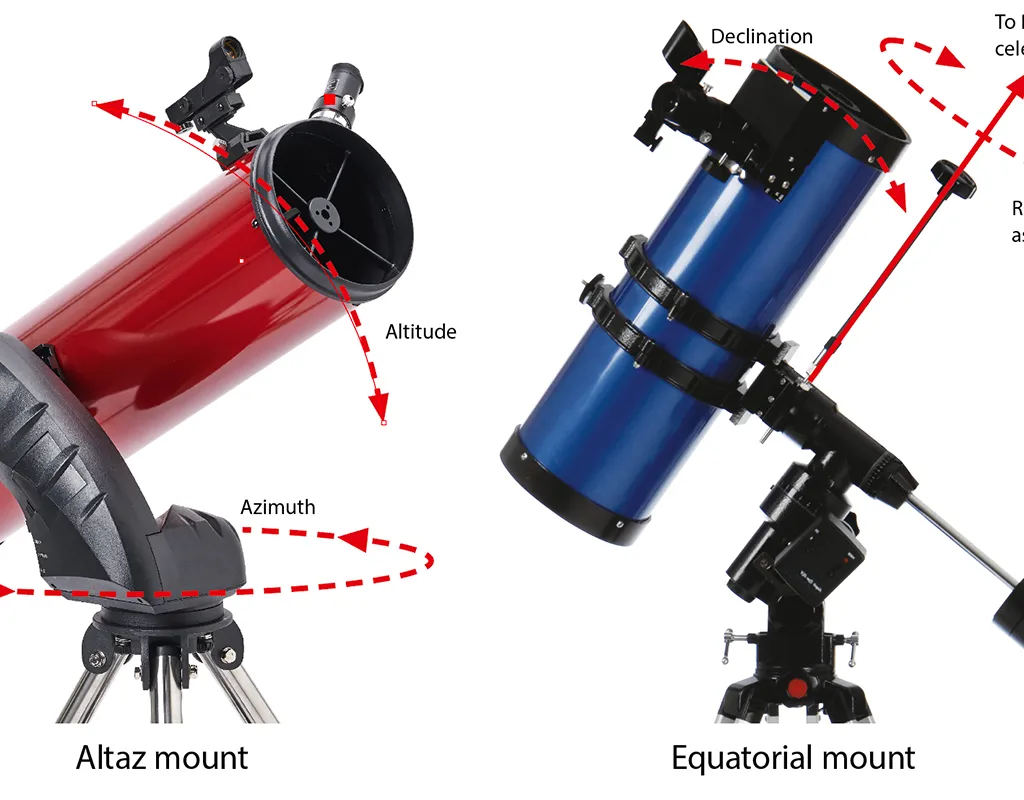
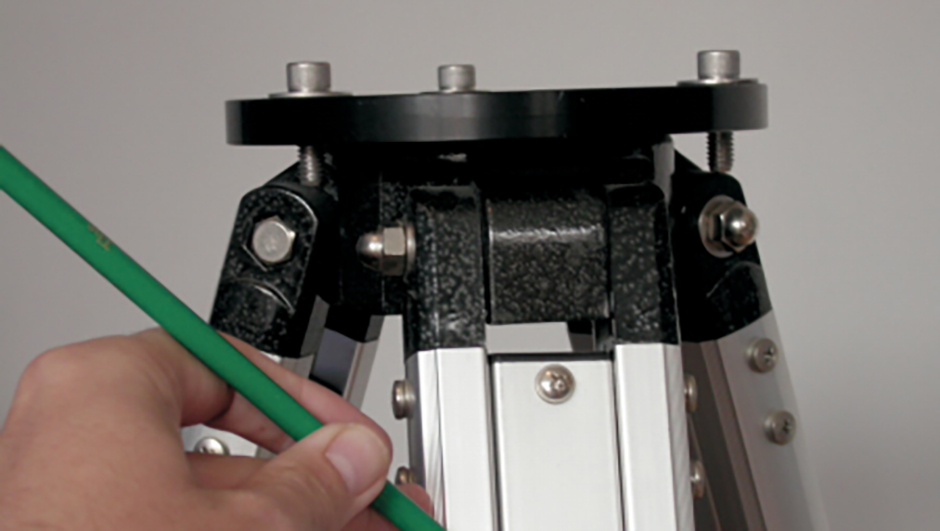
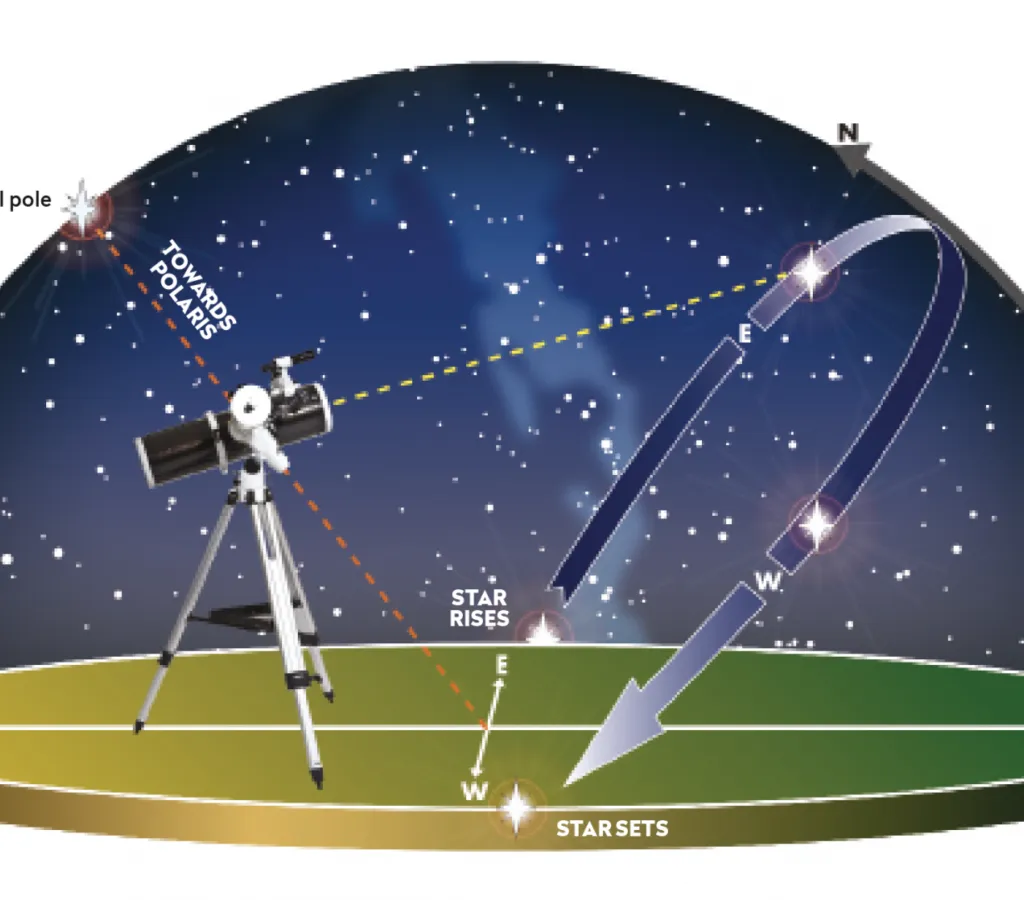
The equatorial mount possess two axes of rotation, one of which is designed to be aligned parallel to the Earth’s axis of rotation.
This so-called polar alignment is not hard to achieve.
It’s also well worth the effort as the scope only needs to be rotated about the ‘polar axis’ to track a celestial object.
This motion can be controlled by a single motor (a ‘right ascension’ drive), freeing you to fully enjoy the view or to photograph the object in question.
In contrast, to track a celestial object with an ‘altazimuth’ mount, you will need to turn the telescope about two axes simultaneously.
This skill comes with practise, but rules out most forms of astrophotography.
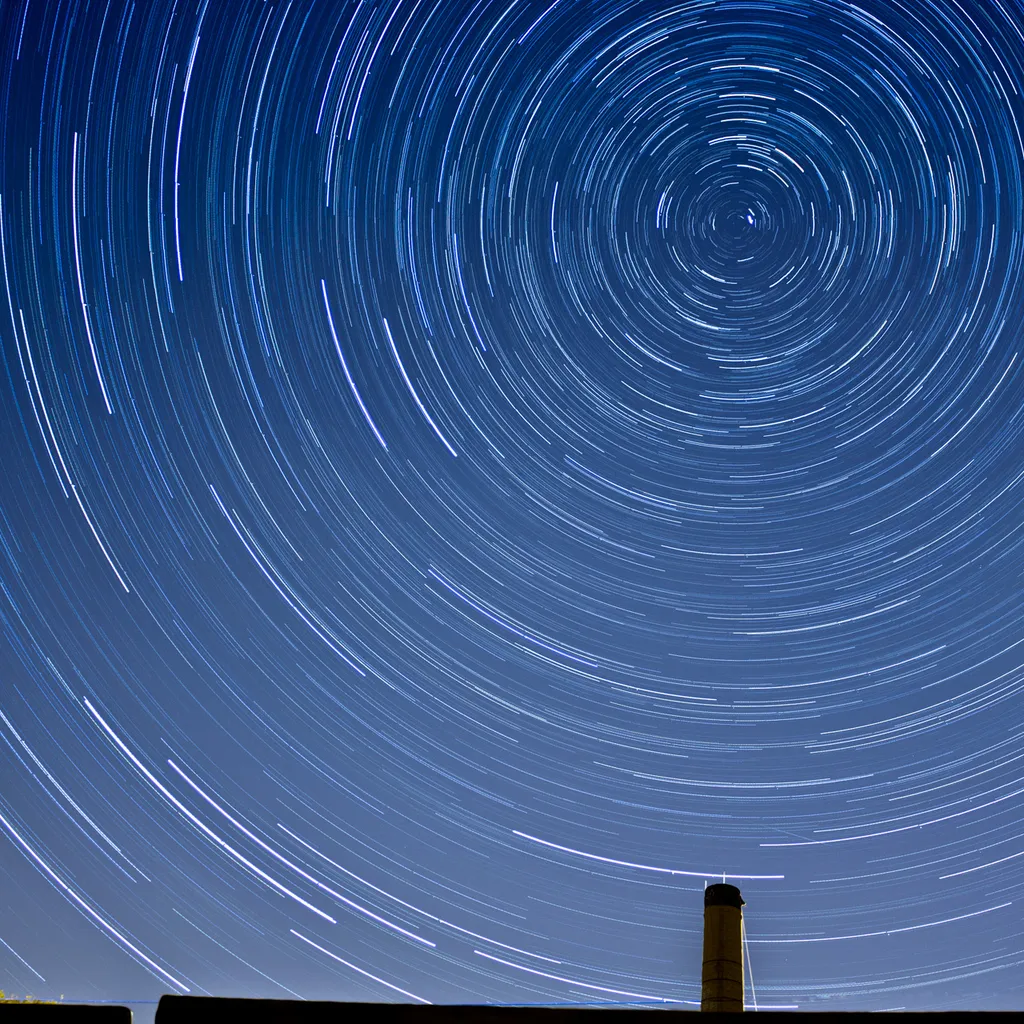
Accurate photography
If a higher degree of accuracy is required for astrophotography, or if your observing location has an obscured horizon to the north and you can’t see Polaris, you need to follow the step-by-step guide at the bottom of this article.
This is a procedure you can do in daylight. Find out more in our guide to polar aligning during the day.
You need to make two adjustments to get your equatorial mount working as designed.
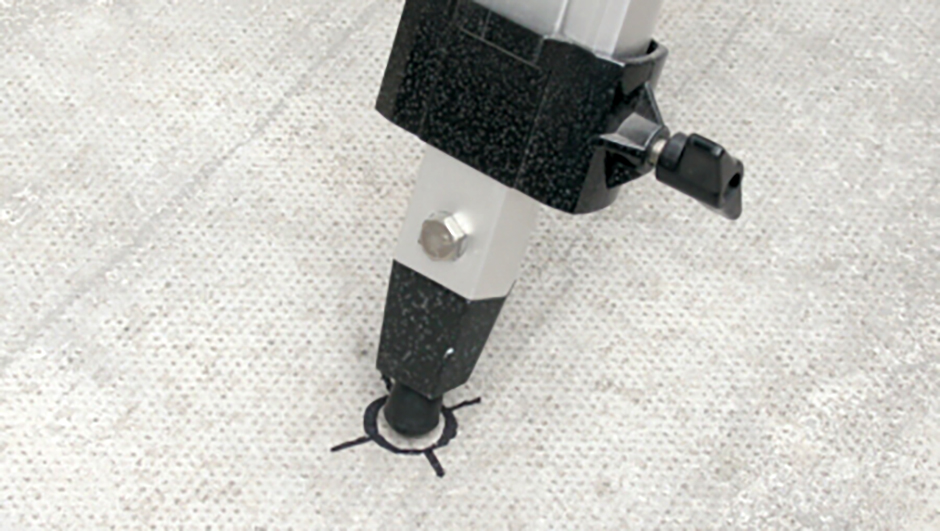
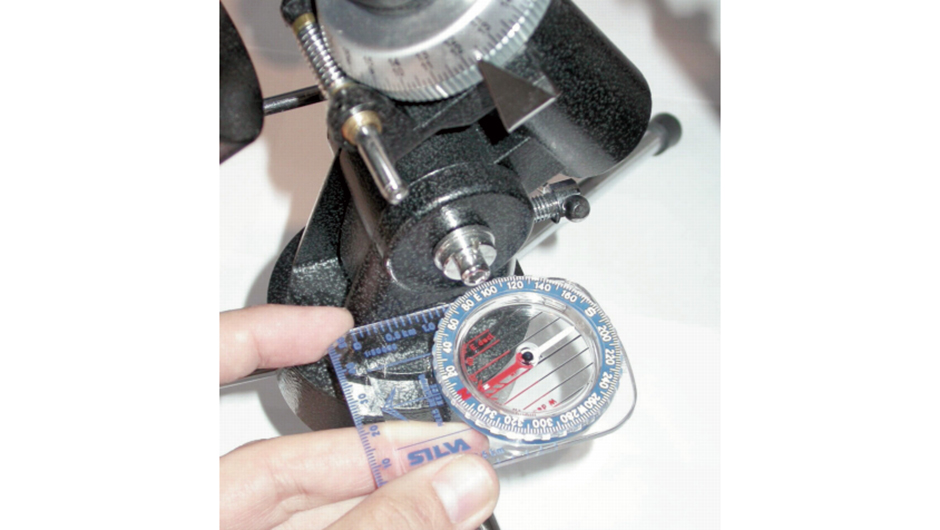
The first turns the polar axis until it points towards true north.
This can be done with the assistance of an orienteering compass, providing you make allowances for magnetic variation.
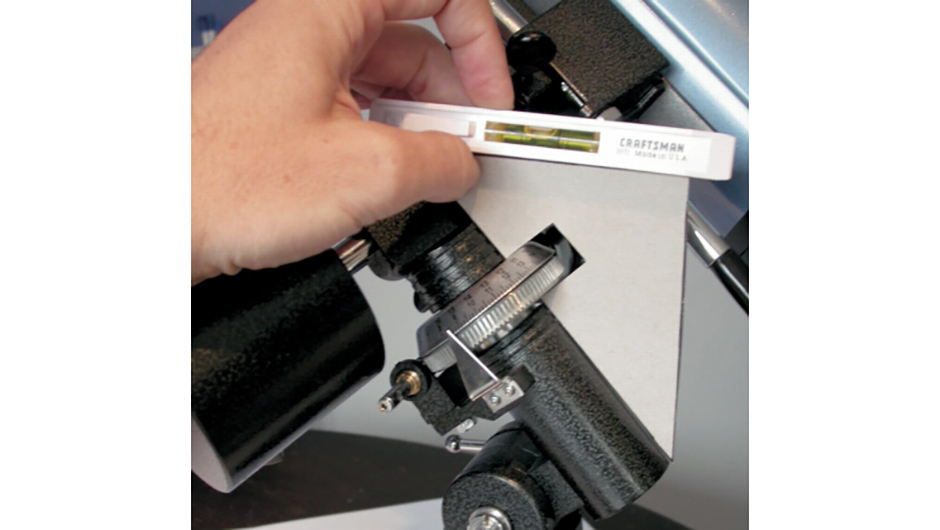
The second adjustment inclines the polar axis to the horizontal at an angle equal to your latitude.
For someone in, say, Norwich, this will be 52.6 degrees.
You can determine your latitude and longitude online at Multimap.com.
Now that you have accurately polar aligned your equatorial mount, you can track celestial bodies with ease
You may use the mount’s built-in setting circles to dial in catalogue coordinates of objects too faint to see with the naked eye.
Equipment
Torch
Preferably a head torch with a red filter to preserve dark adaptation, or a small red LED keyring flashlight that you can hold in your teeth – you will need your hands free.
Read our guide to the best red light torches and red light head torches.
Orienteering compass
A compass witha straight edge and the ability to clearly distinguish between true north and magnetic north for your location (magnetic variation).
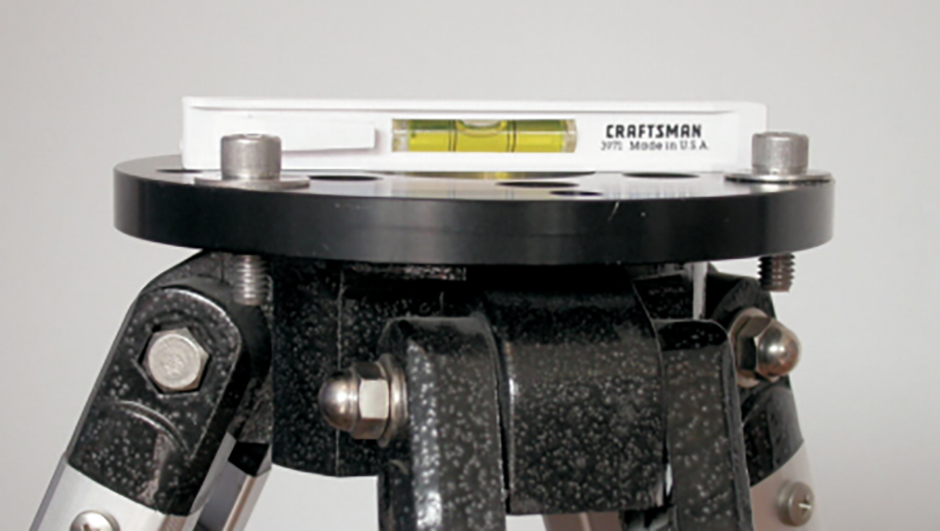
Spirit level
A small level that is shorter than 15cm (six inches) is ideal, equipped with bubbles to measure horizontal and vertical planes.
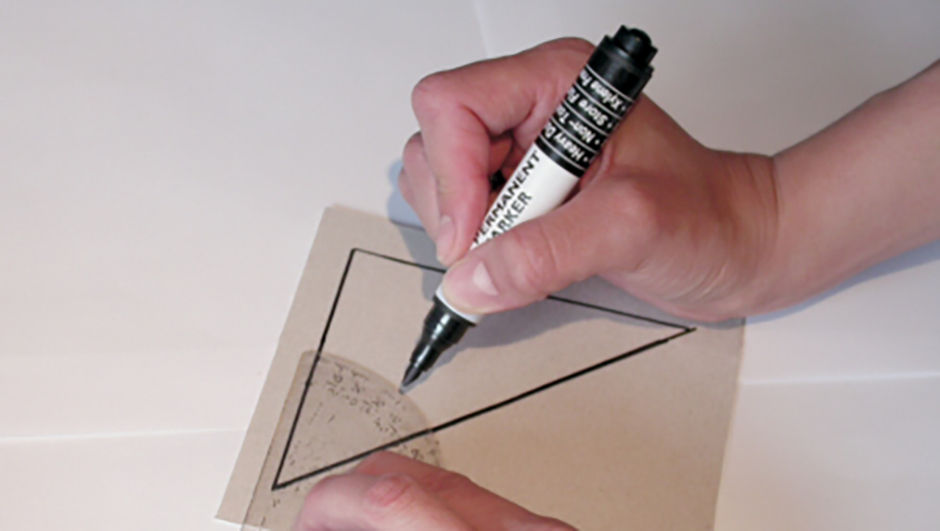
Protractor, fine pen, stout white card, a craft knife
These will be required to create a template that will be used in conjunction with the spirit level to set the correct angle of the mount’s polar axis.
Latitude and magnetic variation
Find your latitude at www.latlong.net and magnetic variation at www.ngdc.noaa.gov/geomag/declination.shtml.
