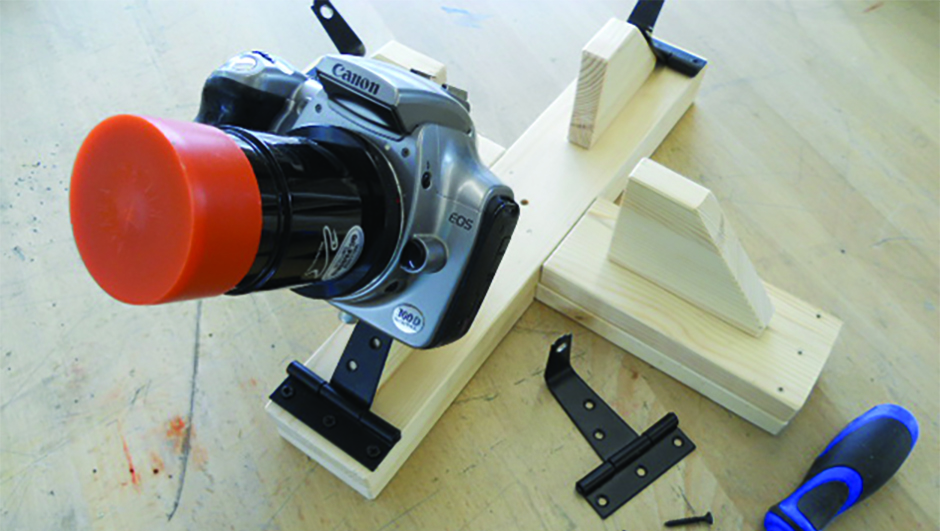
This project is a simple mount that enables you to aim up to four DSLR cameras towards the sky, and is particularly good for capturing meteor showers.
How many cameras you choose to use, and their orientation, will depend on what you have available.
The principle is to cover as much sky and take as many images as you can in the hope of a bright trail appearing in one of the cameras’ fields of view at just the right moment.
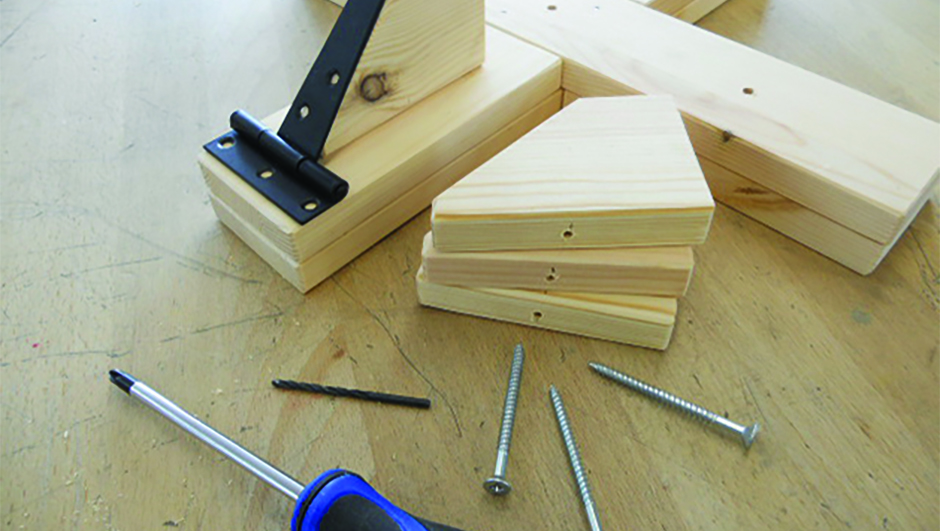
The DSLRs are mounted on hinged brackets pointing upwards towards the night sky.
For help with this build, download and print our Multi camera mount template (PDF)
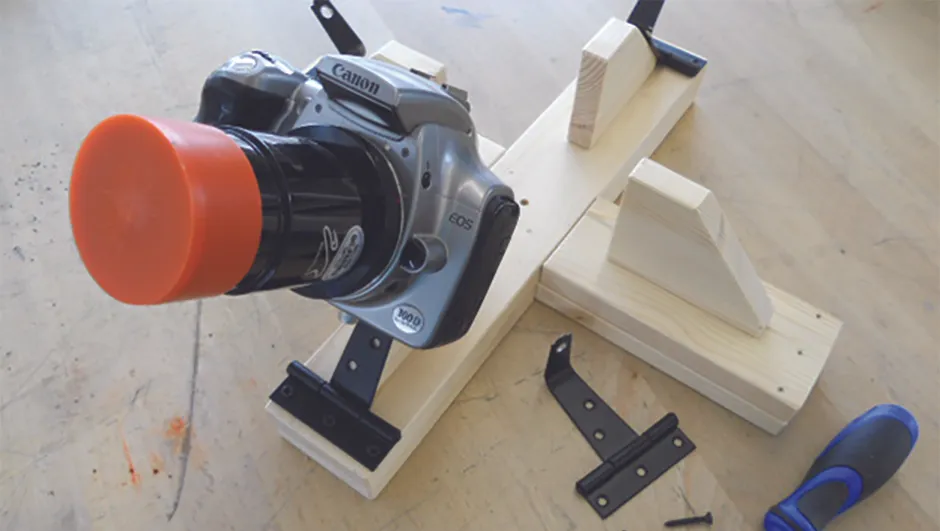
The hinges allow for individual cameras to be pivoted downwards during the imaging session in order to check the recorded images on their review screens, alter focus and exposure, and change batteries and memory cards.
We call this a ‘bird table’ mount because it occurred to us that many gardens already have a bird table with a suitable tall post with a sturdy base, and if the birds aren’t using it at night we may as well remove the top for a few hours for our meteor hunt.
But if you don’t have a bird table, don’t worry.
This mount can also be put on a table top or screwed onto a fence post, so it is quite versatile.
Tools and materials
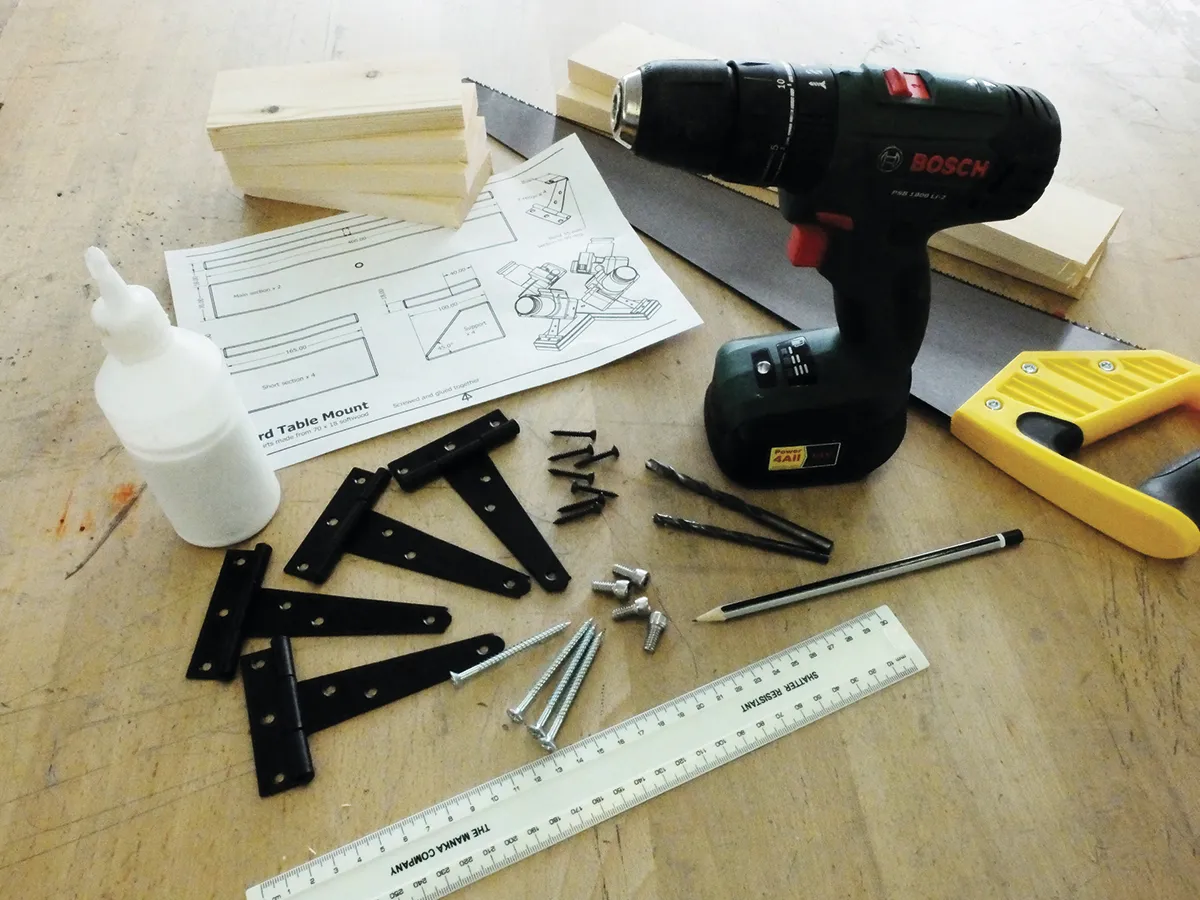
Tools
- Handsaw or equivalent
- Drill with bits to suit woodscrews
- Clamps or a vice
- Small hammer
- Screwdriver
Materials
- 2.4m length 70x18mm softwood
- four 70mm T-hinges with small screws
Sundries
- Four 60mm woodscrews
- Four 20mm ¼x20 bolts
- M6 washers
- 30mm panel pins
- PVA wood glue
- Sandpaper
- Wwashing up sponge
- Gloss paint or varnish
Using four cameras on the mount
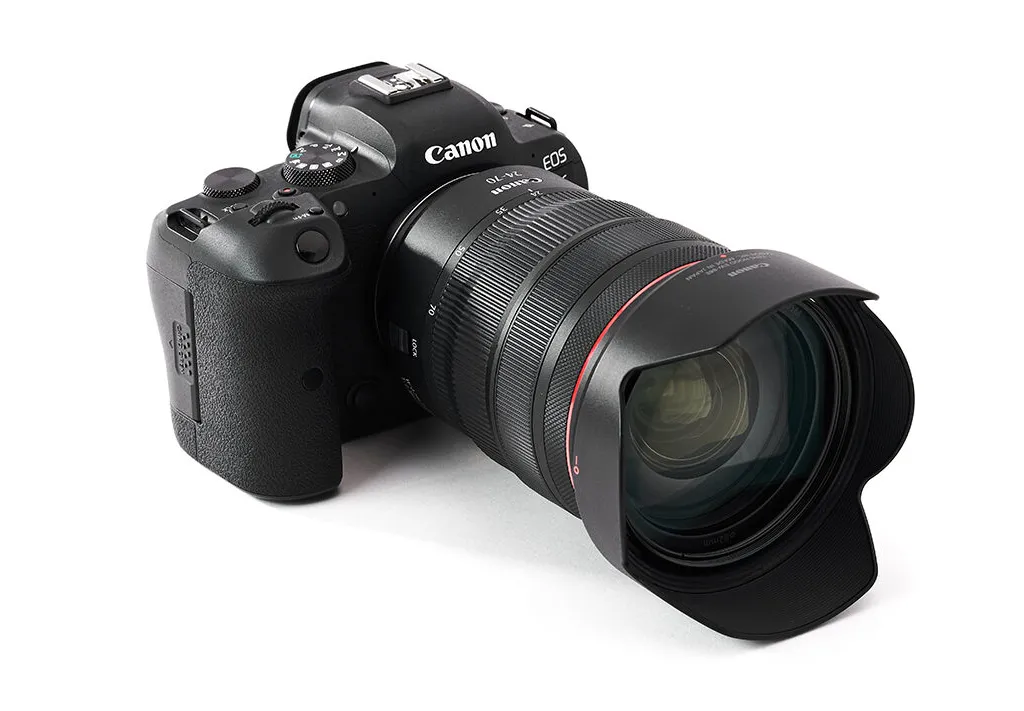
There are lots of cheap, second-hand DSLR cameras on the market making this a financially viable project to contemplate.
A secondhand Canon EOS 300S is a suitable candidate and with its modest-sized sensor and lens at 18mm it will cover approximately 45x60° of sky.
Full frame cameras are more expensive but give coverage closer to 60x90° for the same lens so four could just manage a full 360° view.
Don’t be put off if you don’t have four cameras; even two will double your chances of capturing that elusive image.
There are many considerations when determining the best direction in which to point your cameras, but the radiant (the point from which the meteors appear to emanate) will be approximately 45° above the horizon at midnight, so this is the altitude we chose.
We suggest one camera pointing towards the radiant (e.g. Perseus for the Perseid meteor shower), with any additional cameras increasing your chances of a capture elsewhere.
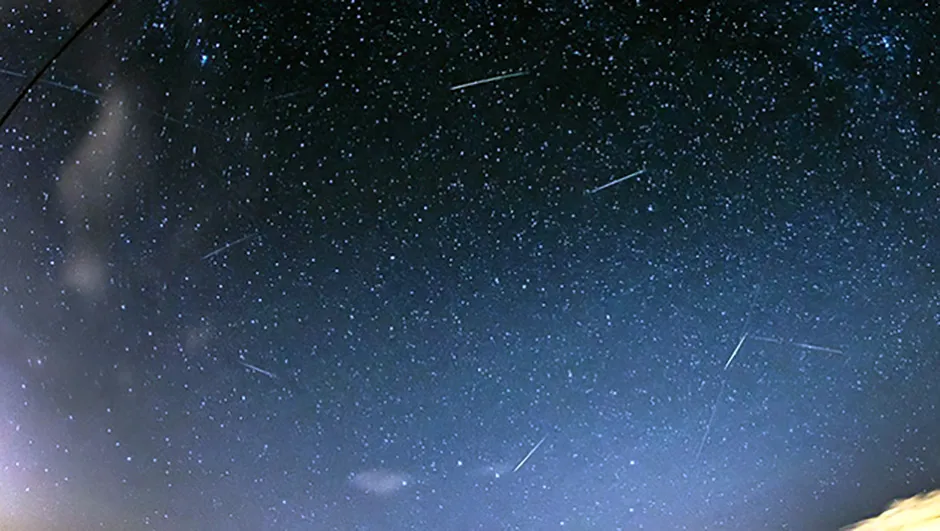
If you wish to avoid sky gaps between cameras you could experiment by turning the supports, which is why we decided not to glue them.
An intervalometer (remote timing/shutter control device) is also valuable, as this will enable you to set each camera to take regular exposures through the night.
Connecting it all requires some crafty cabling
Start with a female to female audio jack that fits your intervalometer, and connect them.
Attach a 3.5mm splitter cable to the other end of the audio jack and connect a splitter plug to each ‘head’ of the splitter cable.
This gives you four sockets through which you connect four cameras to a single intervalometer.
All cameras have a standard threaded insert for attaching to a tripod.
The thread size is 1/4x20 threads per inch and small bolts of this size can be bought online if you want to avoid an expensive version from a camera shop.
We used a rubber washer below the camera and a few M6 metal washers in between each bolt and hinge to allow it to be tightened properly.
If the camera vibrates a bit when the mount is knocked you can wedge some foam (cut up a clean, dry washing up sponge) between the camera body and wooden support, which dampens any movement.
