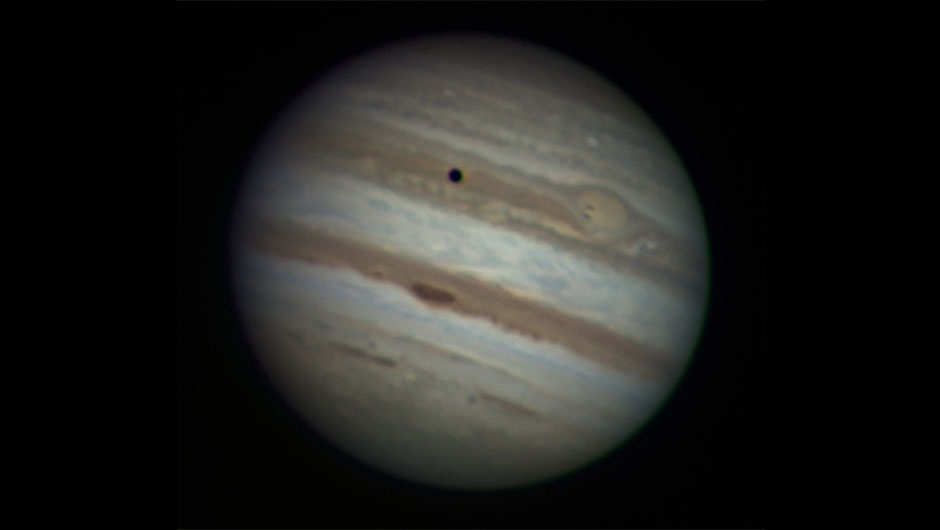
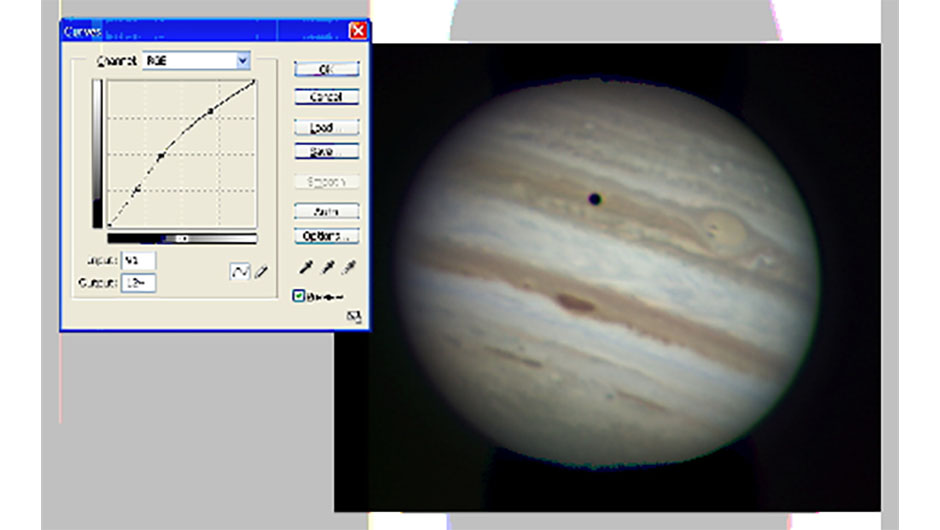
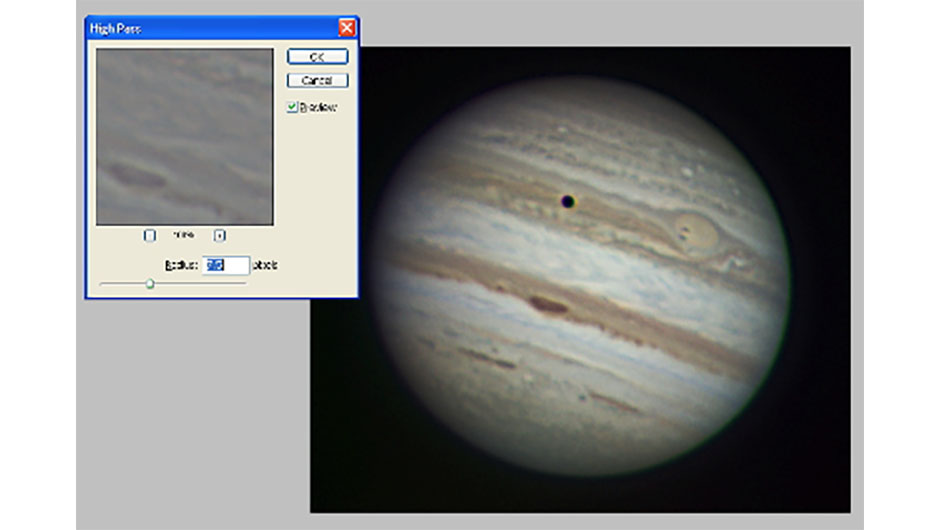
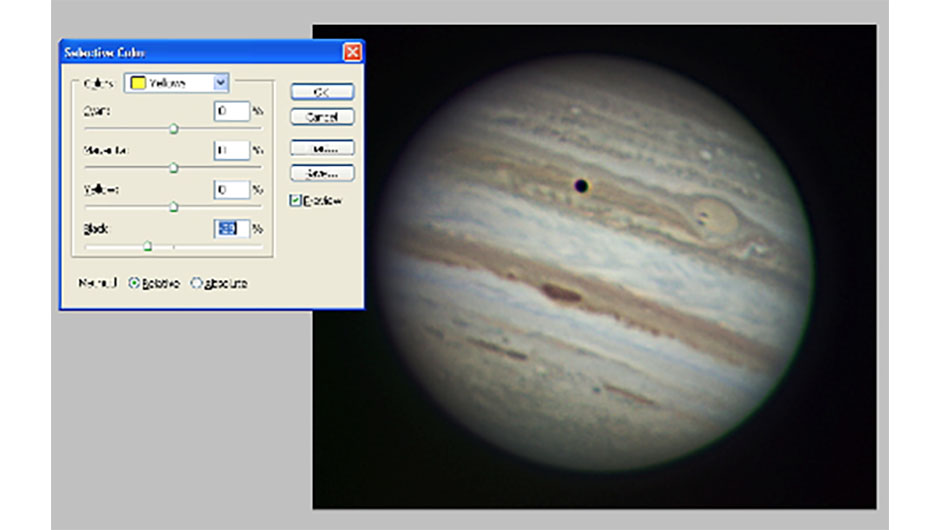
All image credits: Pete Lawrence
Of all the stages in image processing, colour balancing is the one that causes the most heated debates.
It’s often said that if you give 10 planetary imagers the same red-, green- and blue-filtered images of a planet and ask them to assemble them as a full-colour image, you’ll end up with 10 completely different images.
This happens because we all have our own individual idea of what a planet’s colour should be.
As we process, we tend to drag the colours towards this subjective reference until, when it matches our mind’s-eye view, we reveal it to the world.
The mind is also quite good at bending the reference and it’s all too easy to convince yourself that the image that you’ve been working on for the last few hours is perfect, even though in reality it’s way off!
The only way that you can get colour right is to identify a set of external colour benchmarks and work towards these, forgetting the voice in your head that’s trying to tell you otherwise.
Although this sounds simple, it’s not, and even the most seasoned imagers sometimes get it wrong.
The Sun and the Moon are easy to deal with: the Moon’s colour is very subtle to start with and the Sun’s colour is fashionably subjective.
By that, we mean that the many colourful images of the Sun taken through white light and specialist filters are artificially coloured and controlled by current convention rather than reality.
The planets, however, are a different matter – they need careful nurturing to get them right. Wherever possible, colour cameras should be allowed to achieve an auto-white balance for the best results.
If the planet’s image is dim, turn the gain up using the control software so that the camera can achieve this.
For accurate images made up of filtered red, green and blue (RGB) components it’s important to capture them all at the same saturation level. If not, the end result will show a colour cast.
Check your control software documentation to see whether it provides a level meter during capture.
