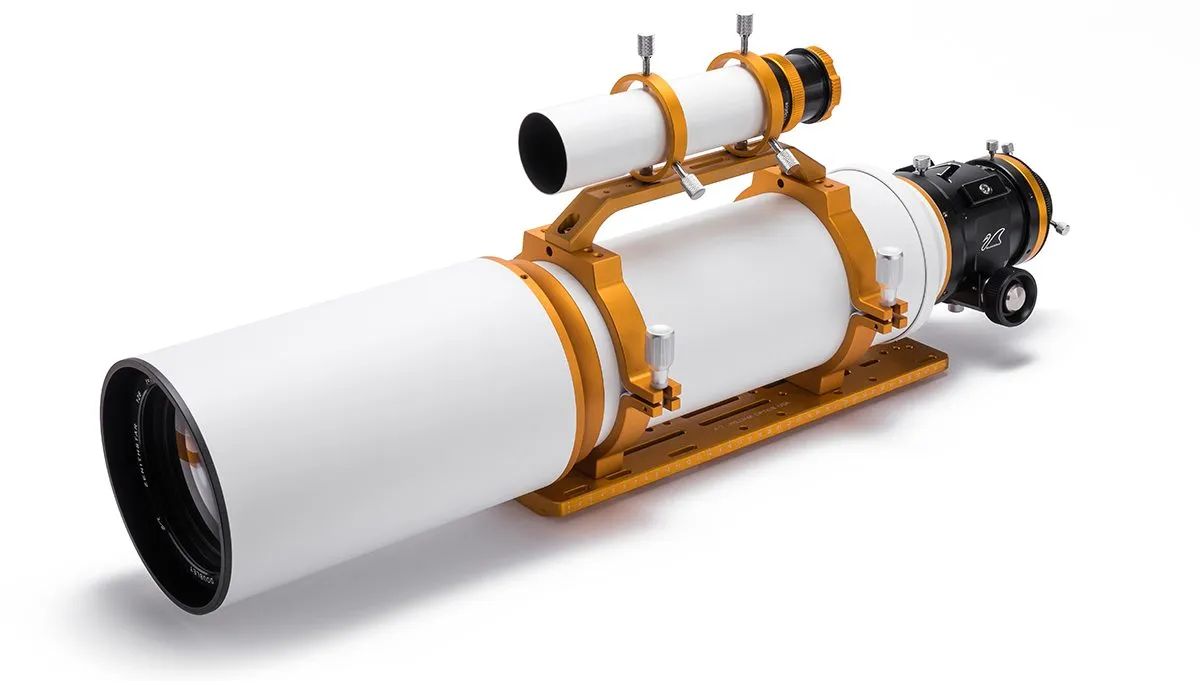
A guidescope is an important item that helps with autoguiding in astrophotography. It’s needed to correct the small errors that can occur when you are tracking with a motorised mount that has mechanical gears.
An example is the unwanted image trailing that can occur – even though your mount has a good alignment – when you are taking very long exposures of an object on your main camera.
The guidescope and guide camera, along with suitable software, will help to counter this by checking the position of selected stars and communicating with the mount.
More DIY astronomy:
- Build a smartphone finderscope for your telescope
- Build a right-angled polarscope adaptor
- How to build a simple solar finder
Importantly, the guidescope makes small corrections to keep your scope stable and fixed on a target object.
There are many purpose-built guidescopes that are commercially available for astrophotography, but it’s also possible to make your own – at a reasonably low cost – with the help of some simple DIY skills.
The repurposing, or upcycling, of equipment is always a good idea and if it will help you improve your astronomy so much the better.
Build your own guidescope
We are going to look at how a guidescope can be made by repurposing an old camera lens. A guidescope itself is basically just a lens on the end of a tube with a fitting for a camera at the other end.
This description may sound a bit simplistic, but it got us thinking about how easy it might be to come up with a DIY solution.
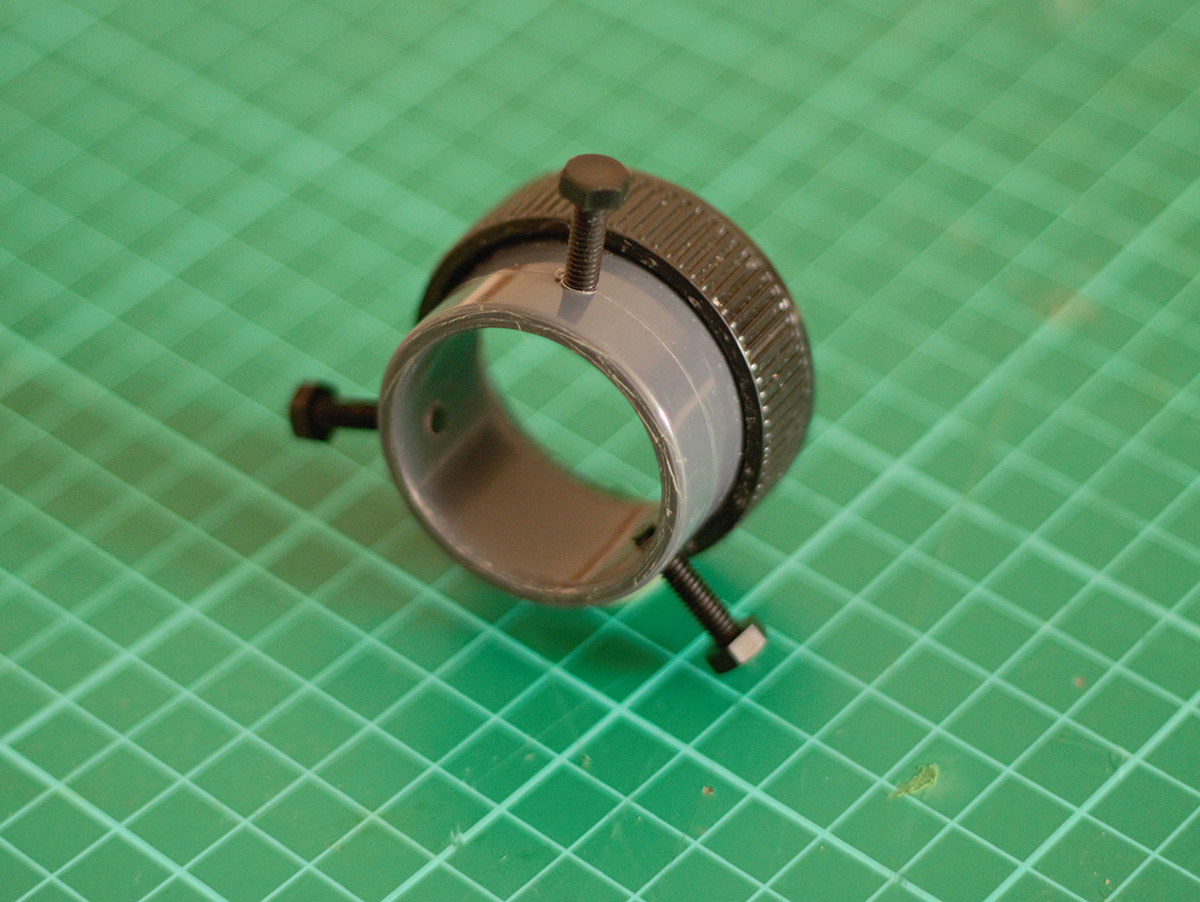
The aim of this project is to make an adaptor that will allow you to attach a guide camera to any lens that you think is suitable for guiding your setup, plus a bracket to attach the lens securely to your scope, without it being too expensive or complicated to achieve.
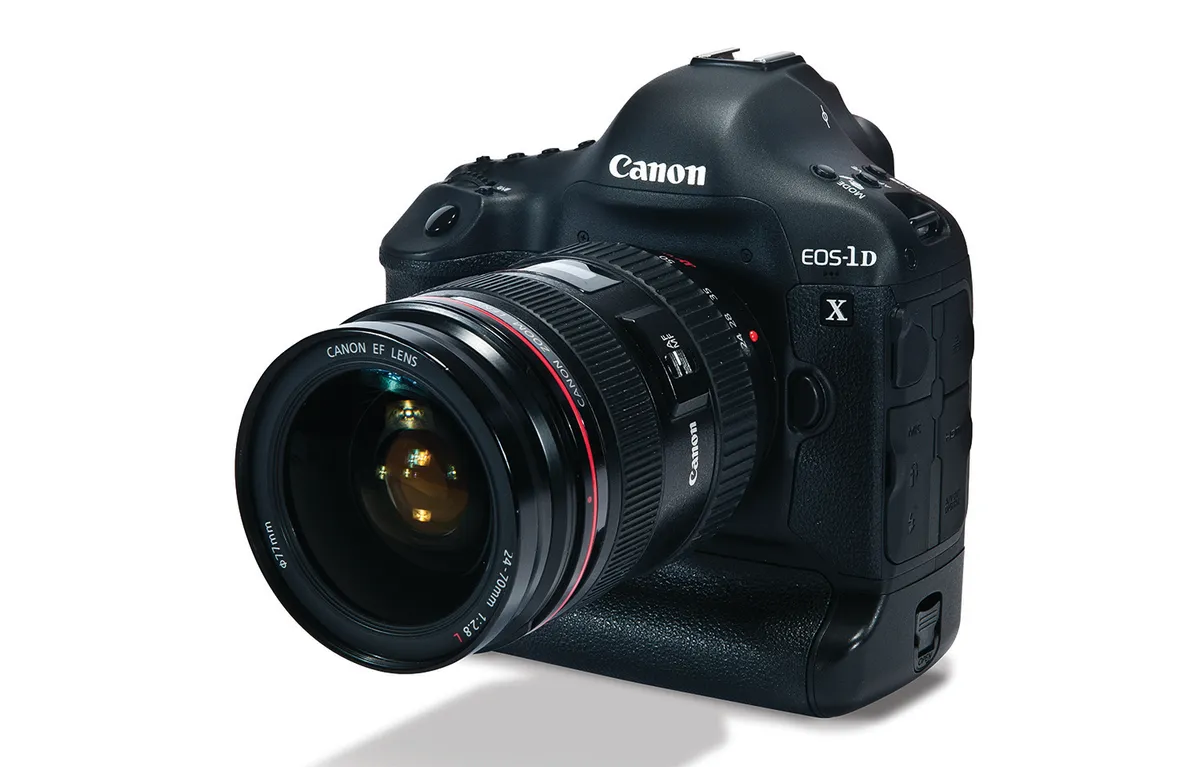
Lots of people have old lenses that date from the pre-digital camera era and there are many for sale on online auction sites at relatively low prices. If you have a modern lens that’s going spare you can also use that.
This project won’t damage your lens; it will actually make it more versatile and you’ll be able to easily put it back to use on a regular camera.
What size of lens should I use?
As a low focal ratio is better for picking up stars for your guide camera to track. We wouldn’t recommend using a lens less than 50mm.For our project we opted for an old 135mm M42-fit lens with a focal ratio of f/3.5.
Your lens also needs to be fairly compact, making it easier to construct a bracket to fit it to a standard finderscope shoe.
The DIY bracket could also be used in other areas of astronomy, maybe with a lens as a telescope or as a finderscope (by inserting an eyepiece instead of a guide camera).
Another bonus about our project is that it uses nearly all plastic parts, such as rear lens caps and PVC pipe connectors.
As solvents are used in the guidescope’s construction, we recommend that you work in a well-ventilated area.
Also, be careful to ensure you have got suitable personal protection when you are using hazardous tools and materials.
