This project is a mount to enable your smartphone to be used as a ‘finderscope’. There are several planetarium apps that display a detailed view of the sky relative to the direction in which you point your phone.
By mounting the phone and aligning it to your scope you can slew around while also displaying information about the objects you can expect to see.
We found it enjoyable to move the scope until an object of interest appeared on the screen, a planet for example. You can zoom in on screen and move the scope to centre the target.
A traditional finderscope can be used to refine the pointing but when using a wide-angled eyepiece at low magnifications, we found the object was often within the field of view anyway.
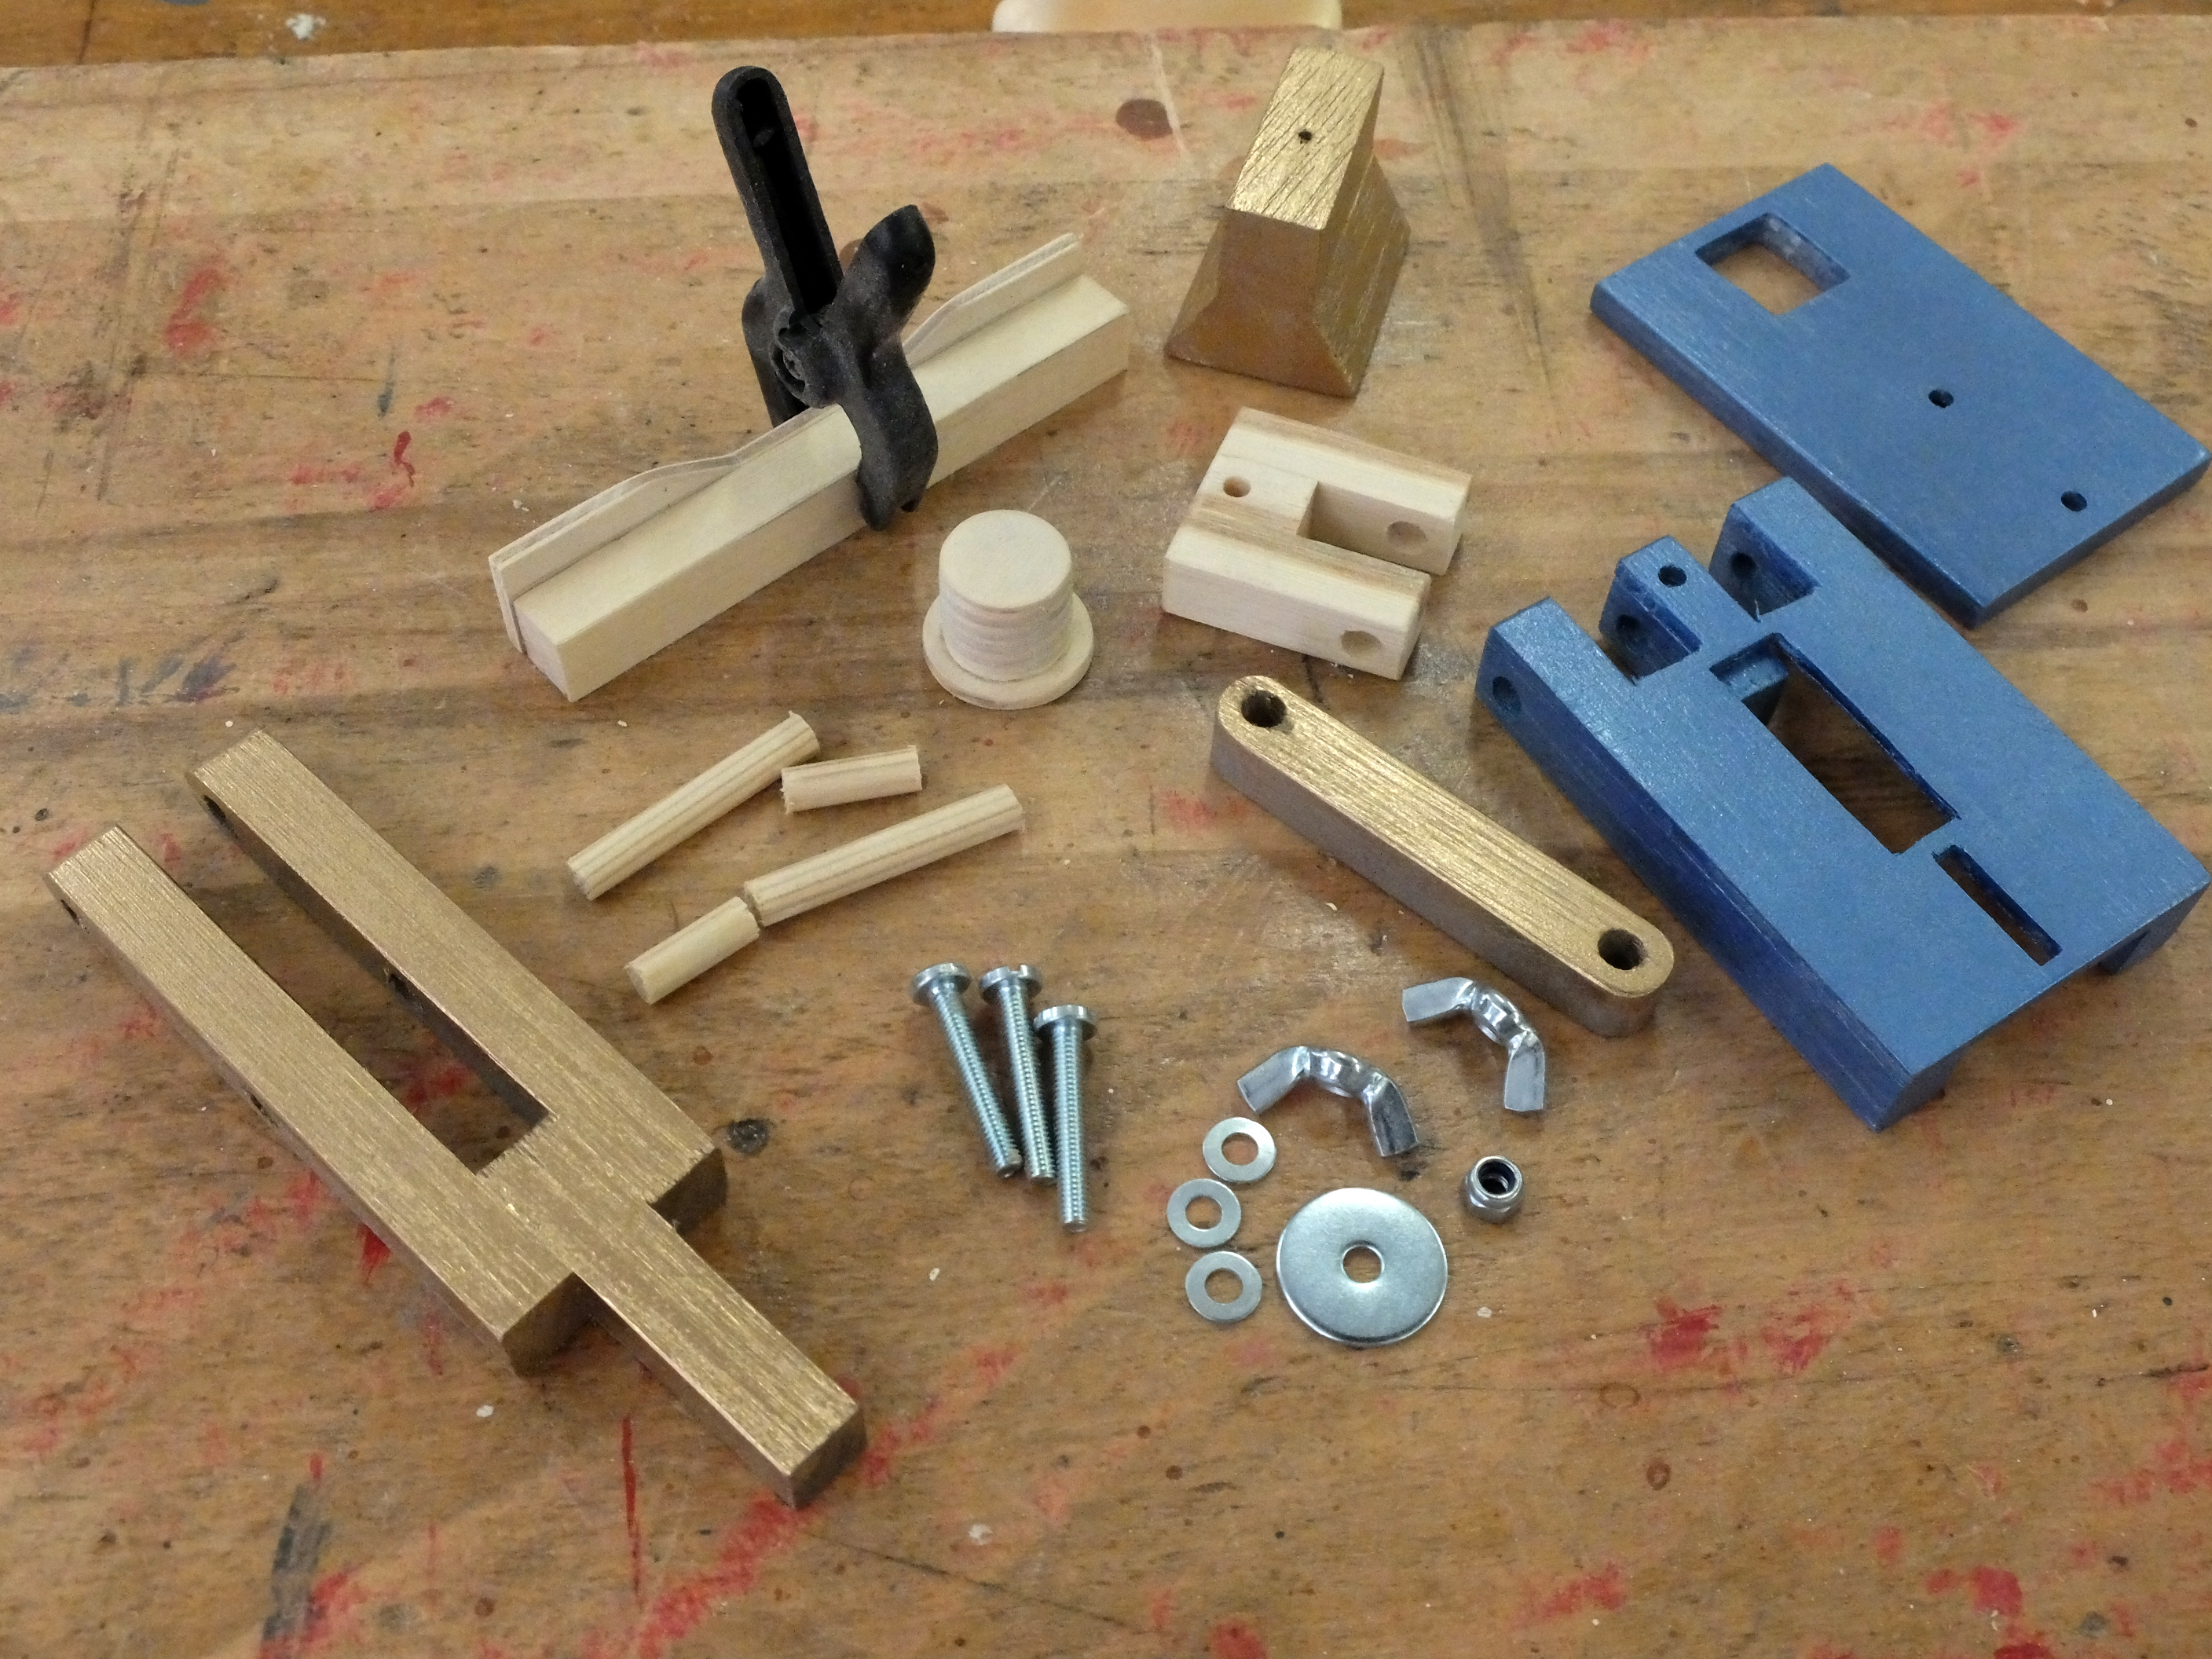
We designed our mount to hold a standard-sized smartphone. This rests on some felt pads on a ledge and is clamped in position by rotating a cam-shaped knob – similar to the arrangement on an artist’s easel.
- How to turn your iPhone screen red for astronomy
- Build a smartphone holder for your telescope
- The best stargazing apps
Because we were unsure of the accurate alignment of our phone’s sensor within the case and also the alignment of the finder bracket, relative to the main scope, we decided to make the design adjustable.
You can lean the phone forwards and backwards and rotate the base, providing about 7˚ movement in any direction. A wing nut locks it in position once aligned.
By varying the height of the strip that carries the cam knob, phones of almost any size can be used.
Some may consider scaling up this part to hold an iPad or notebook, but the weight of such a device will exert quite a force on the finder bracket in certain orientations, so some caution is required.
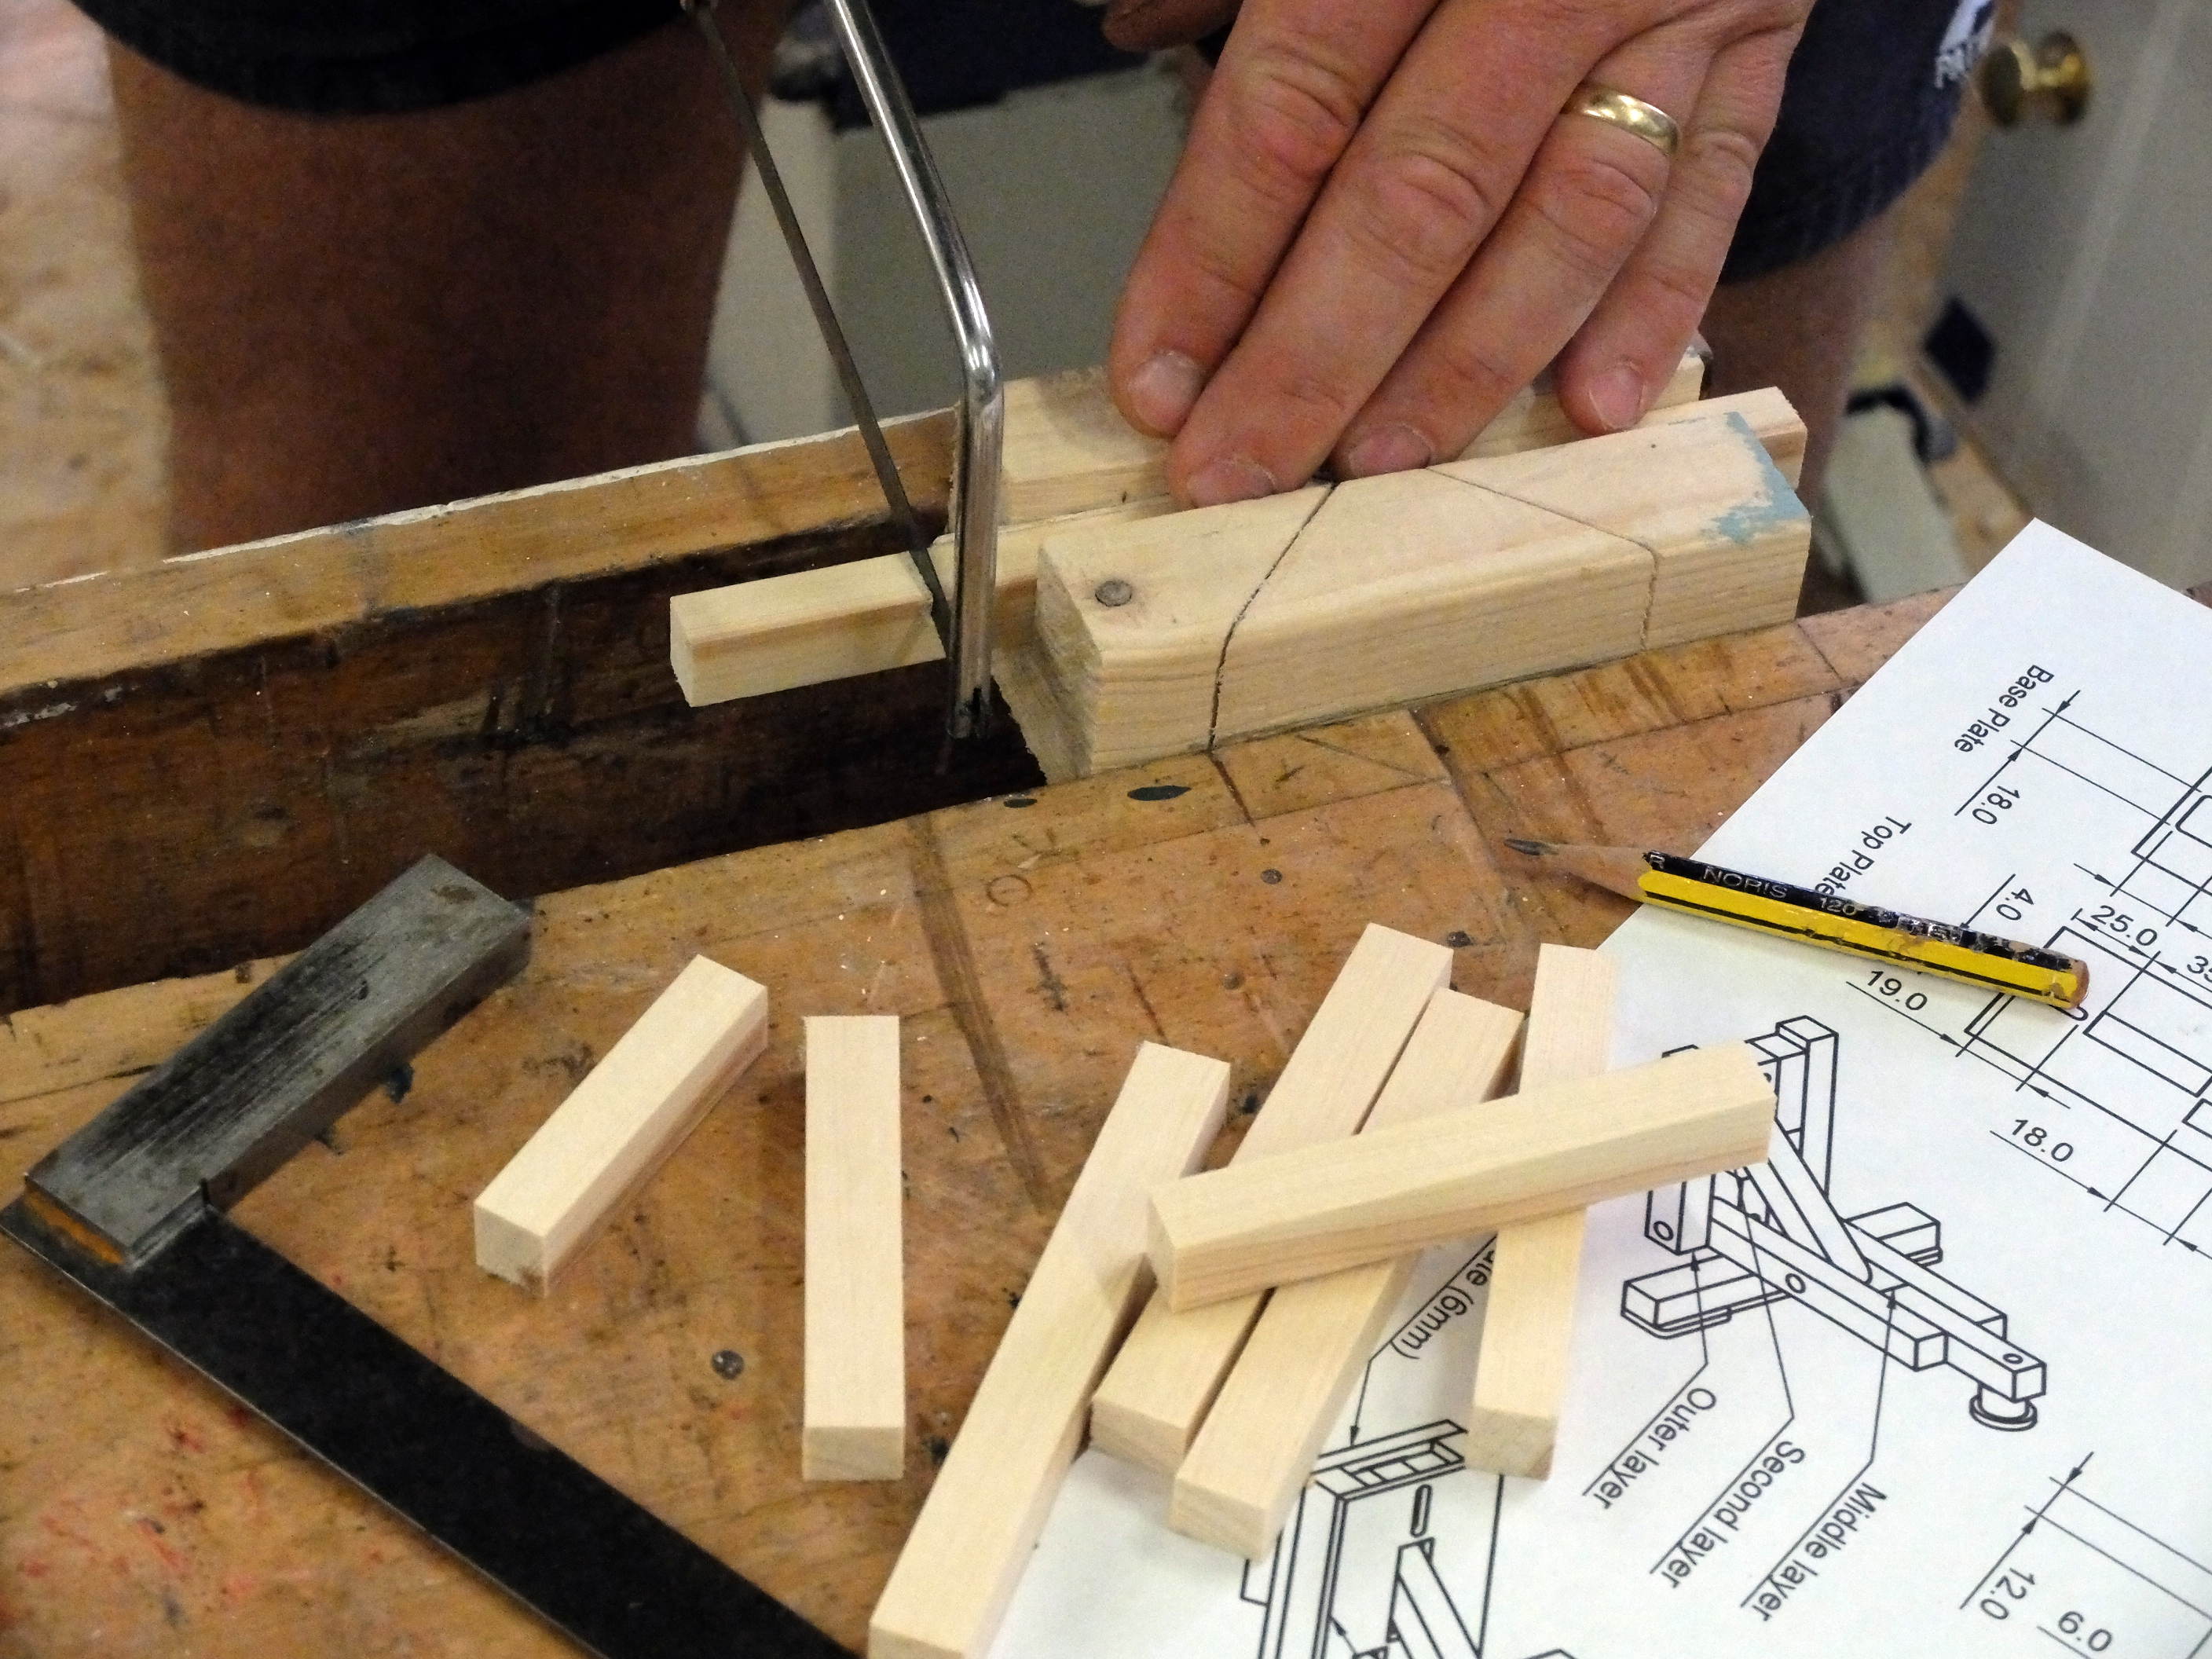
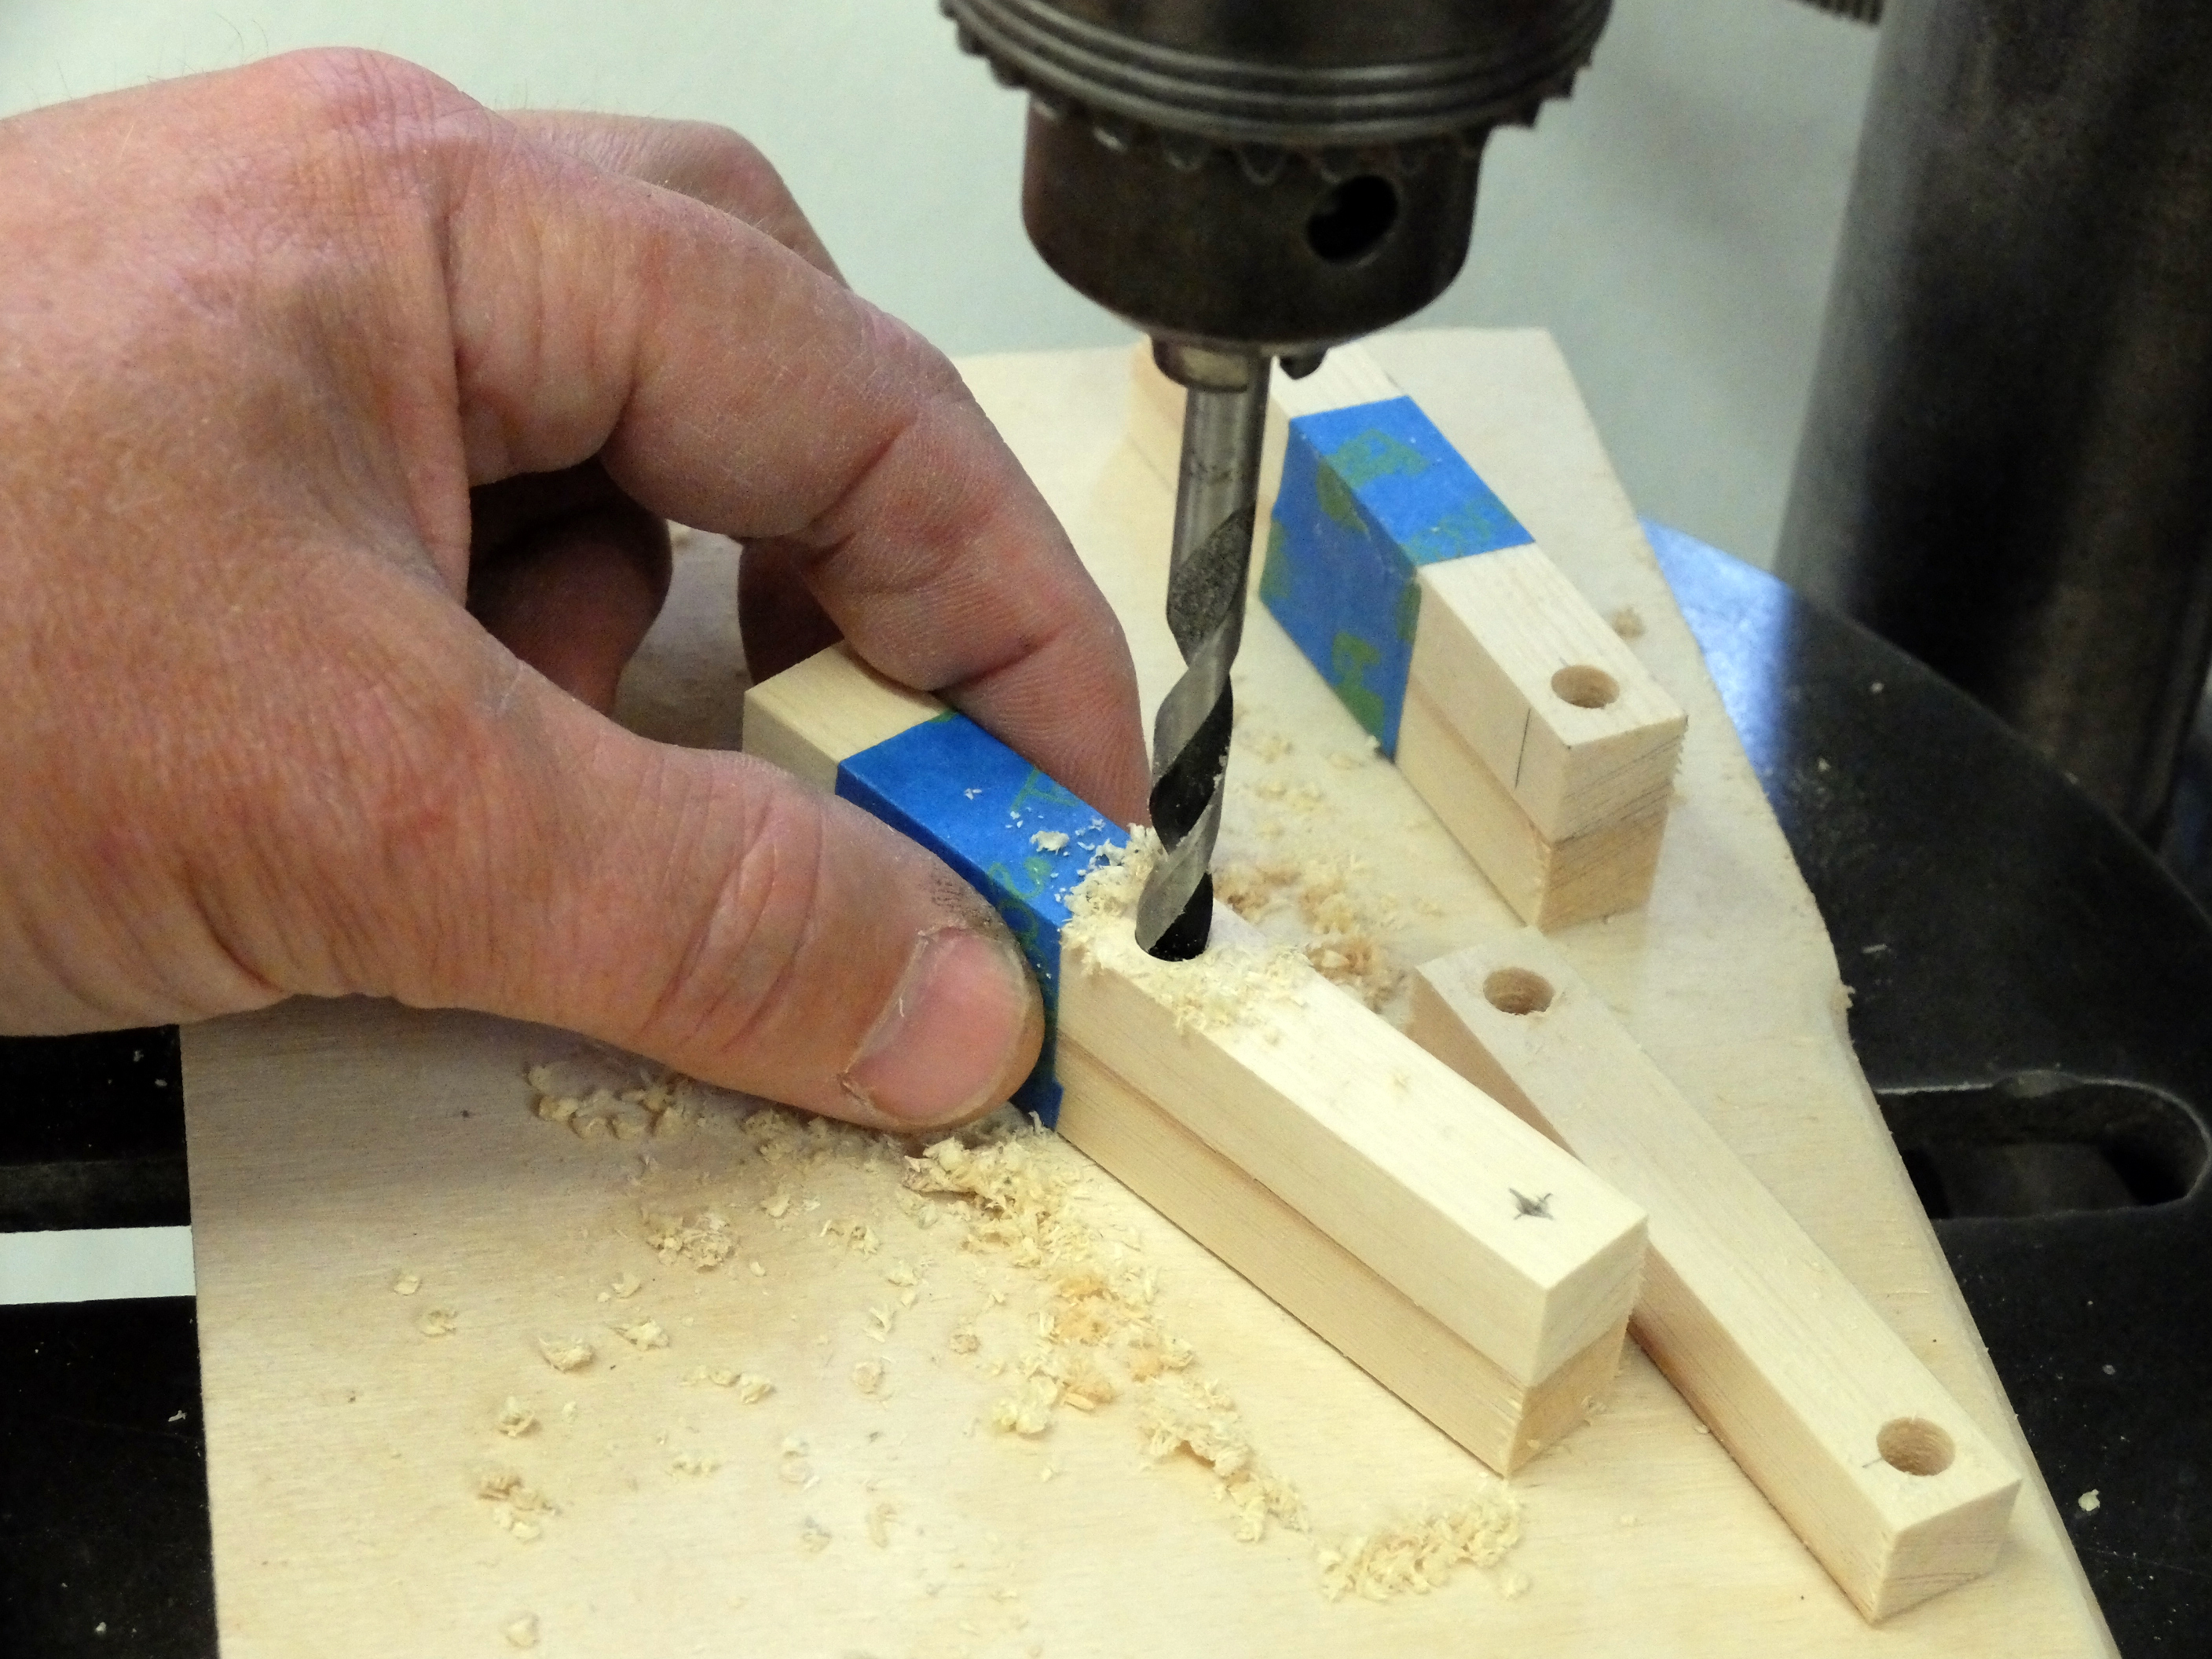
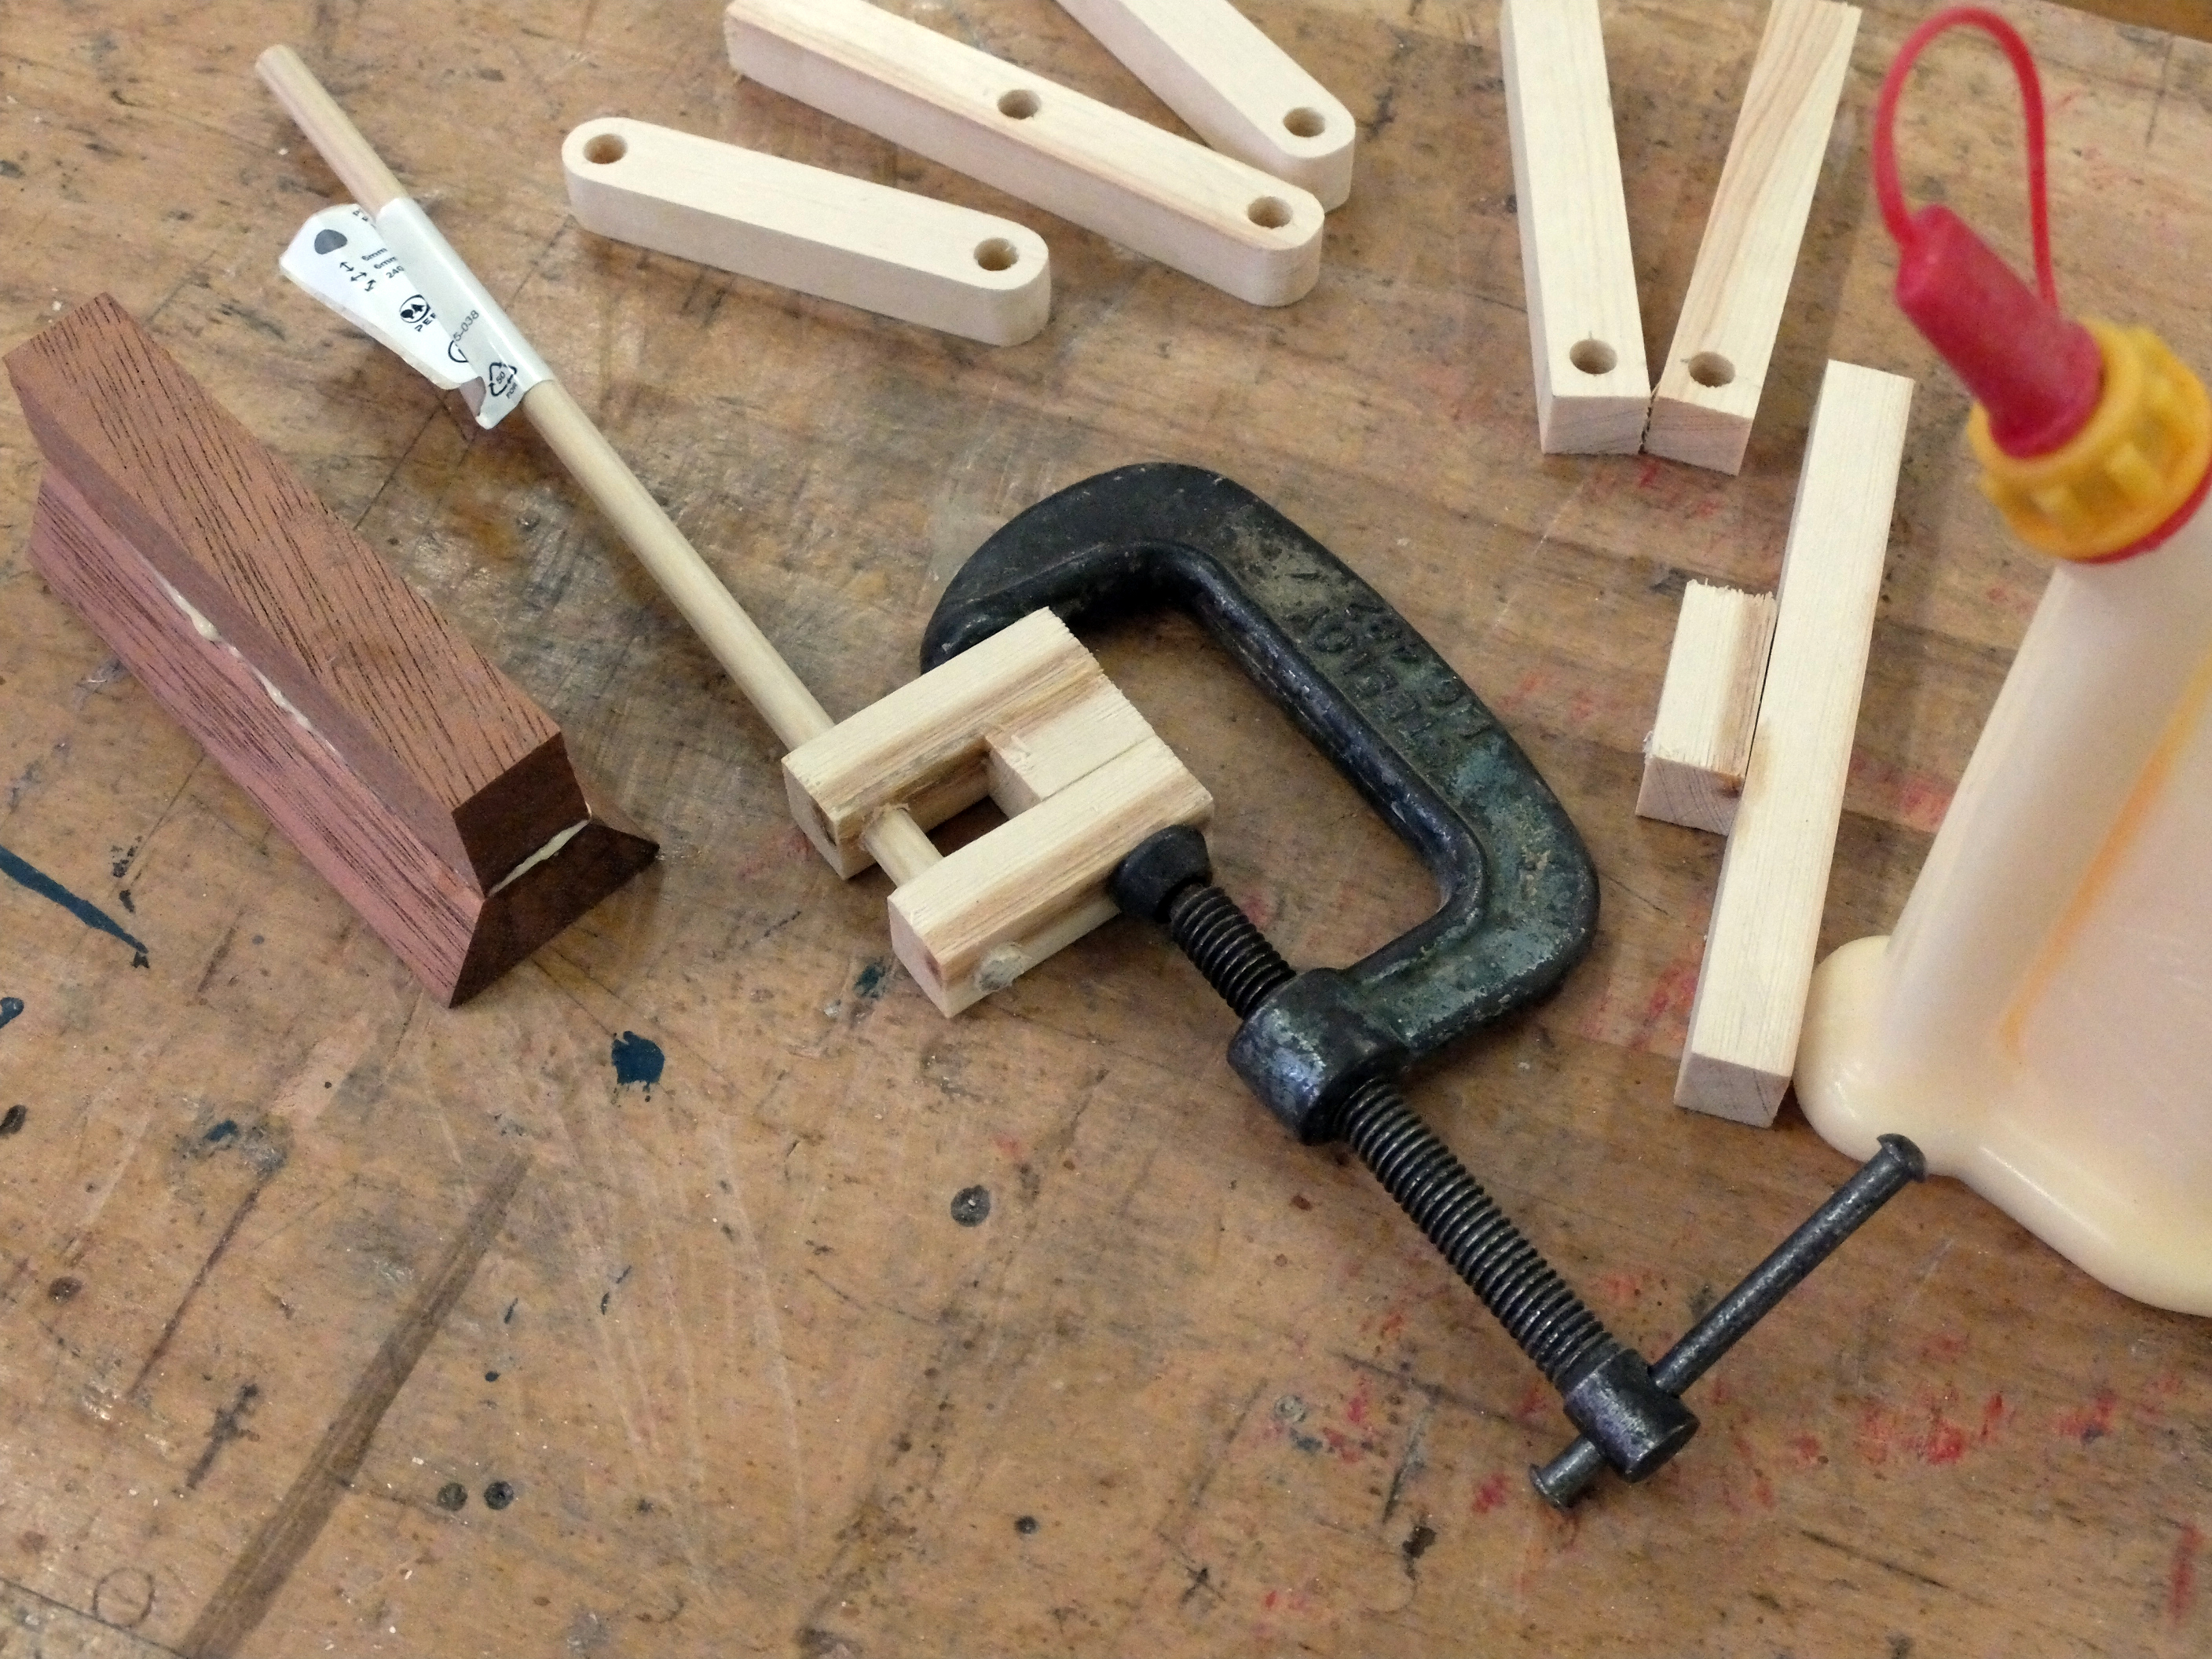
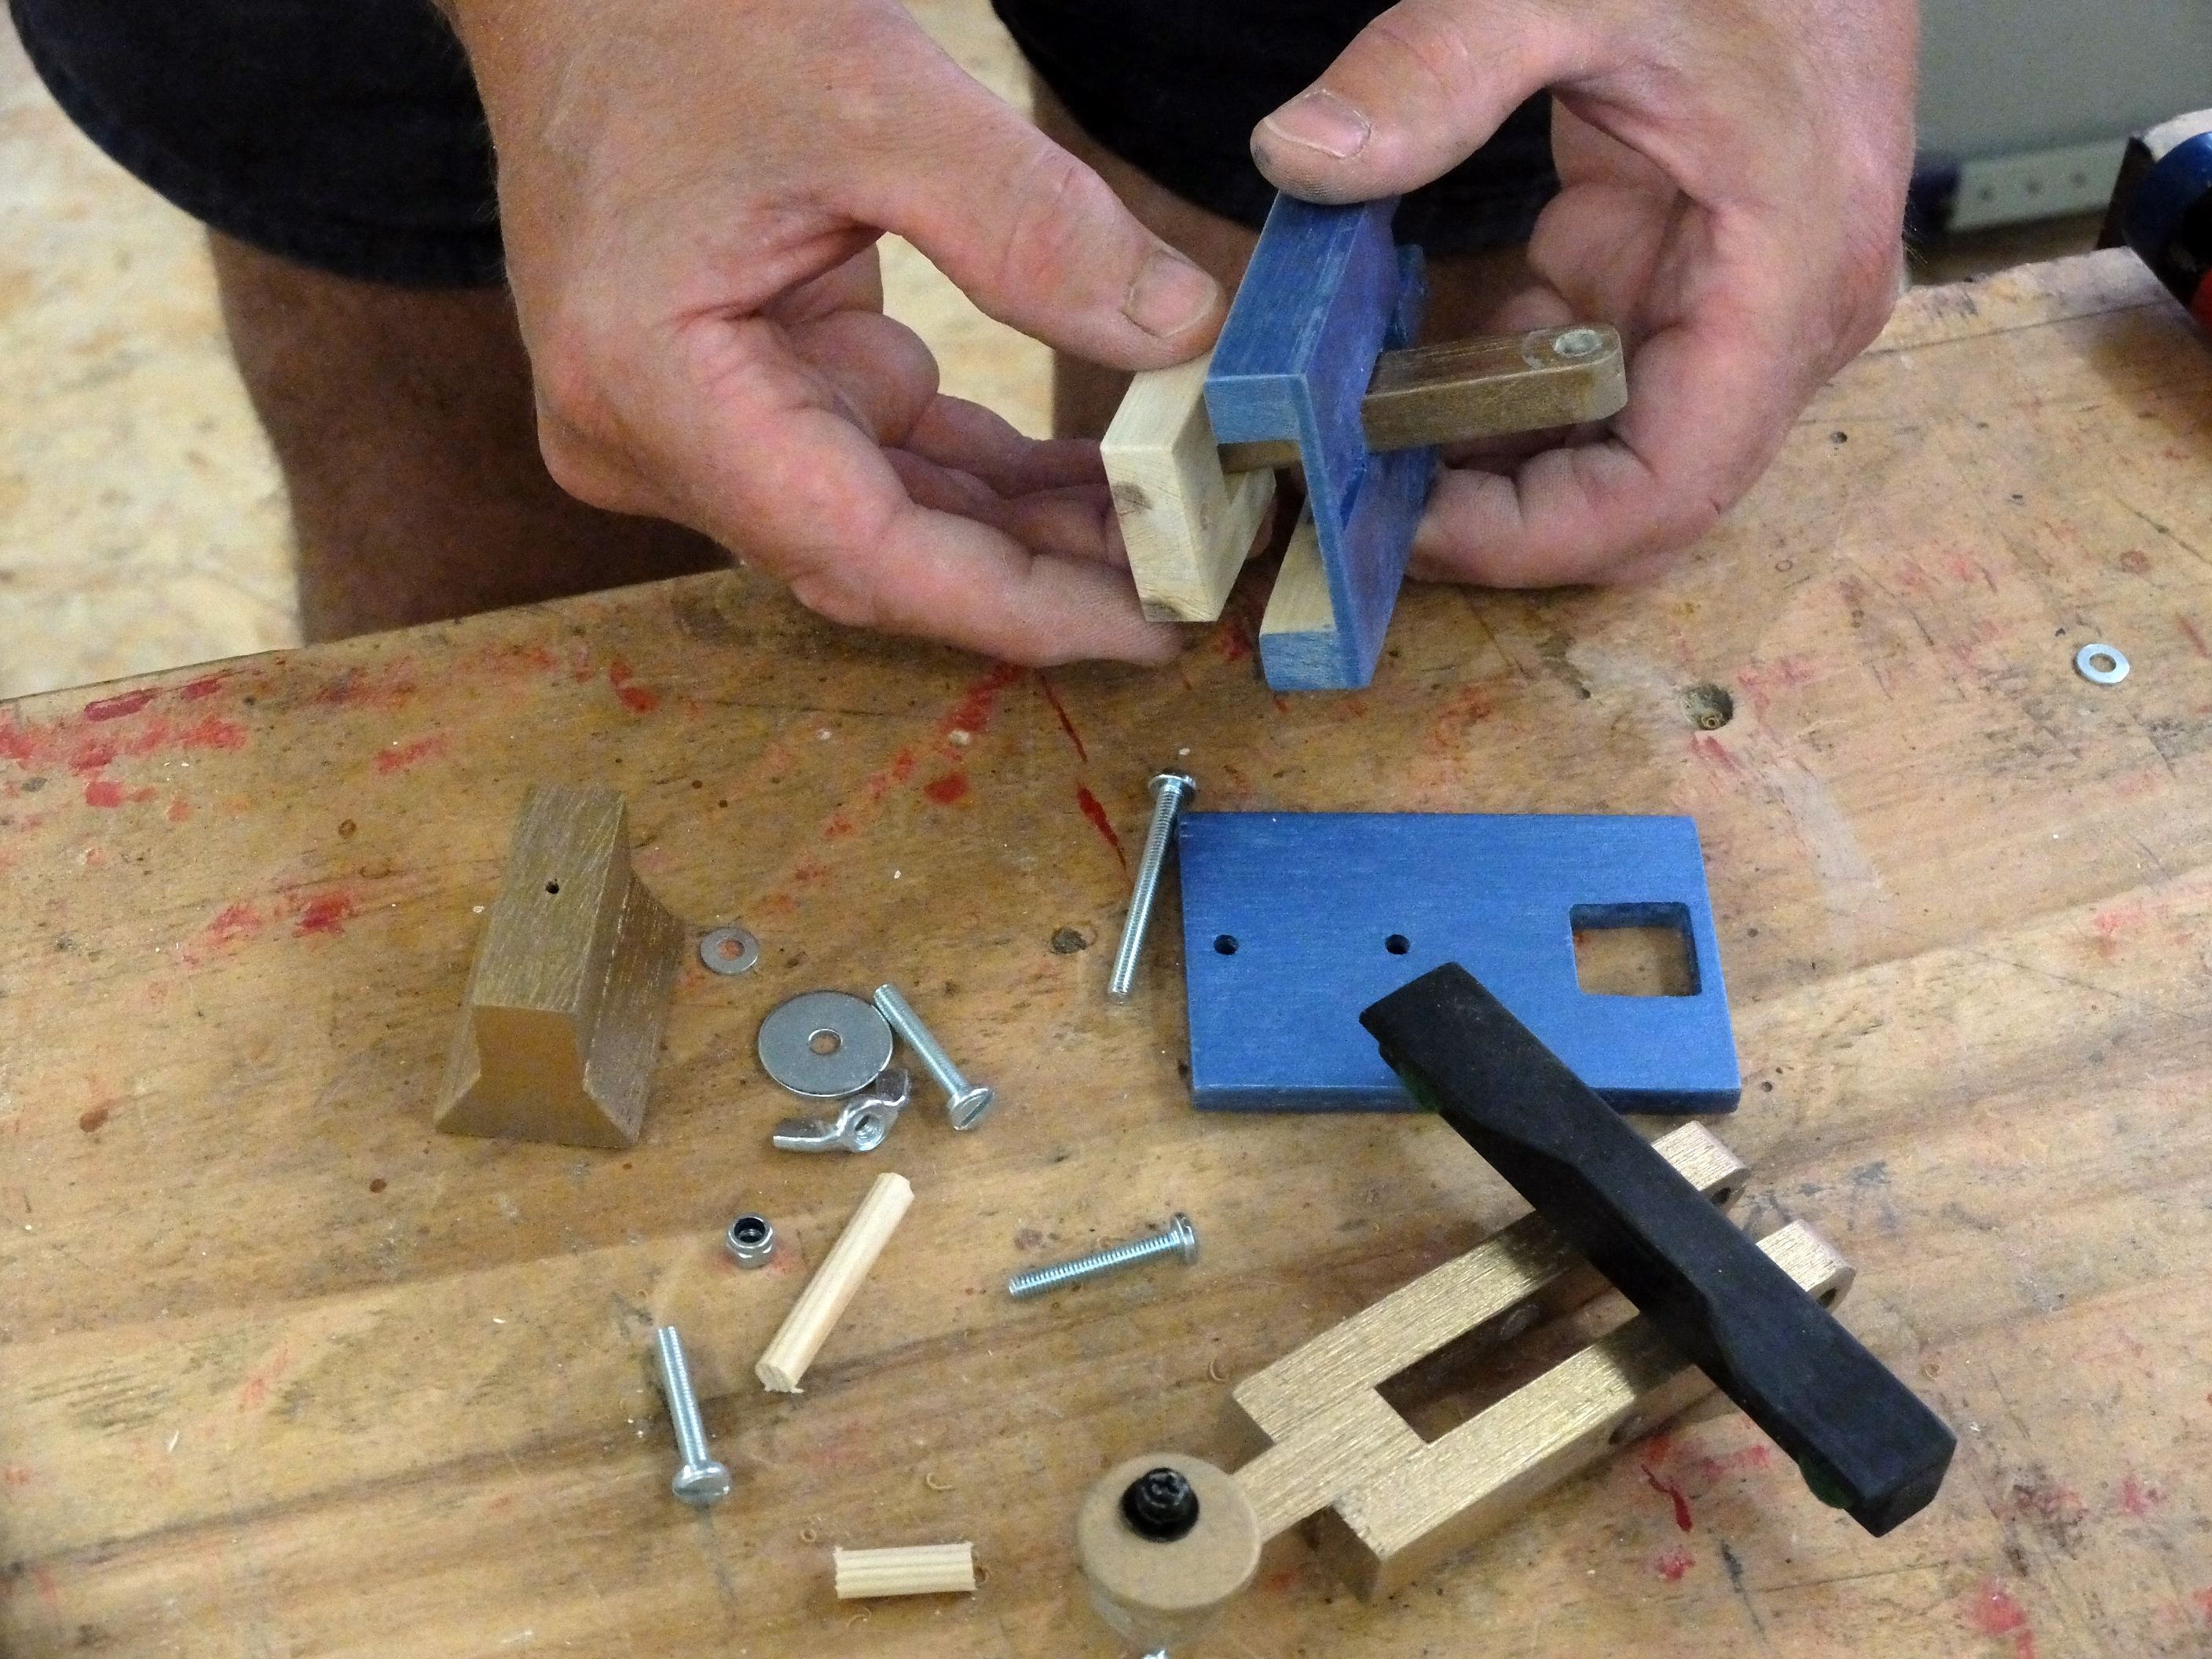
By using multiple softwood strips for the slider and linkage mechanism we were able to keep the construction simple, but the drilling must still be accurate, and some light sanding of the moving parts may be required to get everything operating smoothly.
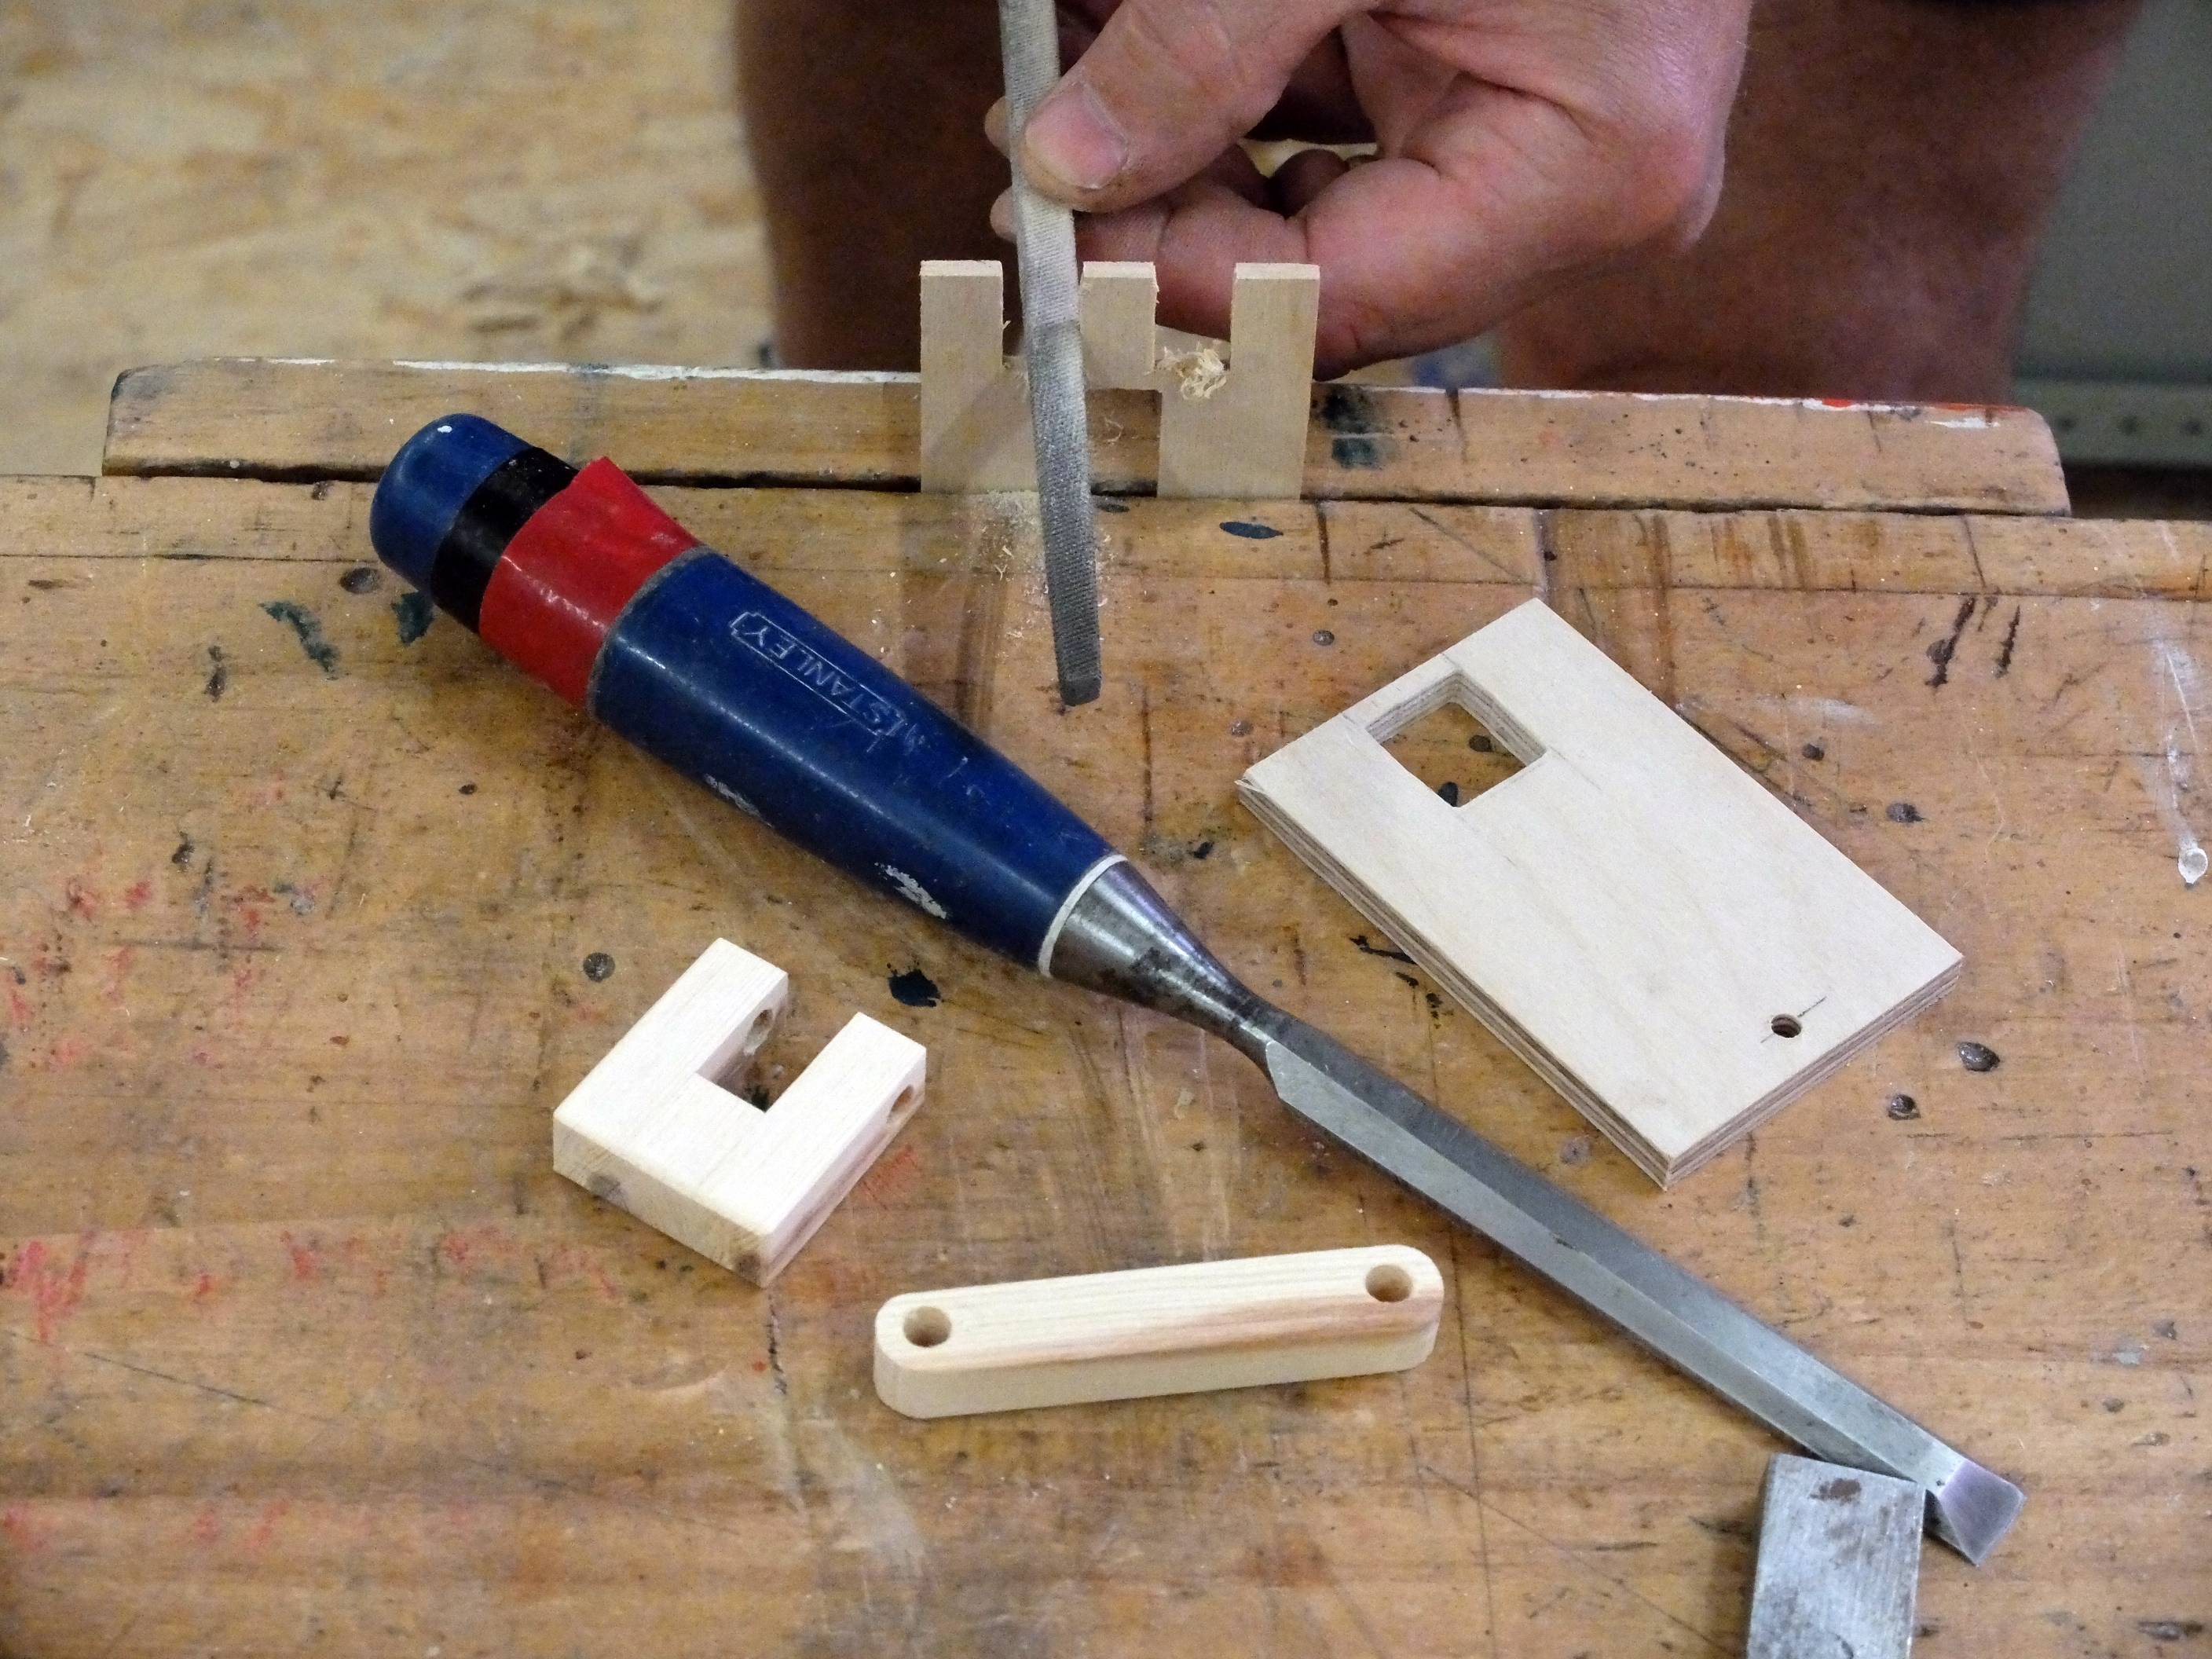
Cutting the top and bottom plywood plates is perhaps the trickiest part but we found that some judicious filing and chiselling of the cut-outs yielded good results.
Regular checking of the fit as you progress is recommended: particularly relating to the dowels in their holes, when a small round file comes in handy.
We had a spare finderscope shoe already screwed to our scope and we decided to make a matching dovetail for our mount.
If you have a different arrangement you may wish to fashion a different kind of bracket and fixing.
If the telescope has a small enough diameter you can use strong cable ties or a large Jubilee clip that could pass through something fixed to the base plate.
Tools and materials
- Marking out tools (a ruler, square and pencil), a coping saw or similar, drill and bits for screws, files, chisel, wood plane, hole saw and small clamps.
- One length of softwood strip, 12x10.5x900mm long, small pieces of thin plywood (3mm and 6mm), small offcuts of hardwood for the dovetail. Short length of 6mm dowel.
- Three M4x30mm screws with washers, two M4 wingnuts, one M4 Nylock nut, one M4 and one M6 Penny washer, small felt pads or foam.
- For the finish you will need some spray paint or varnish.
 This project originally appeared in the September 2019 issue of BBC Sky at Night Magazine. Mark Parrish is a bespoke designer. See more of his work at
