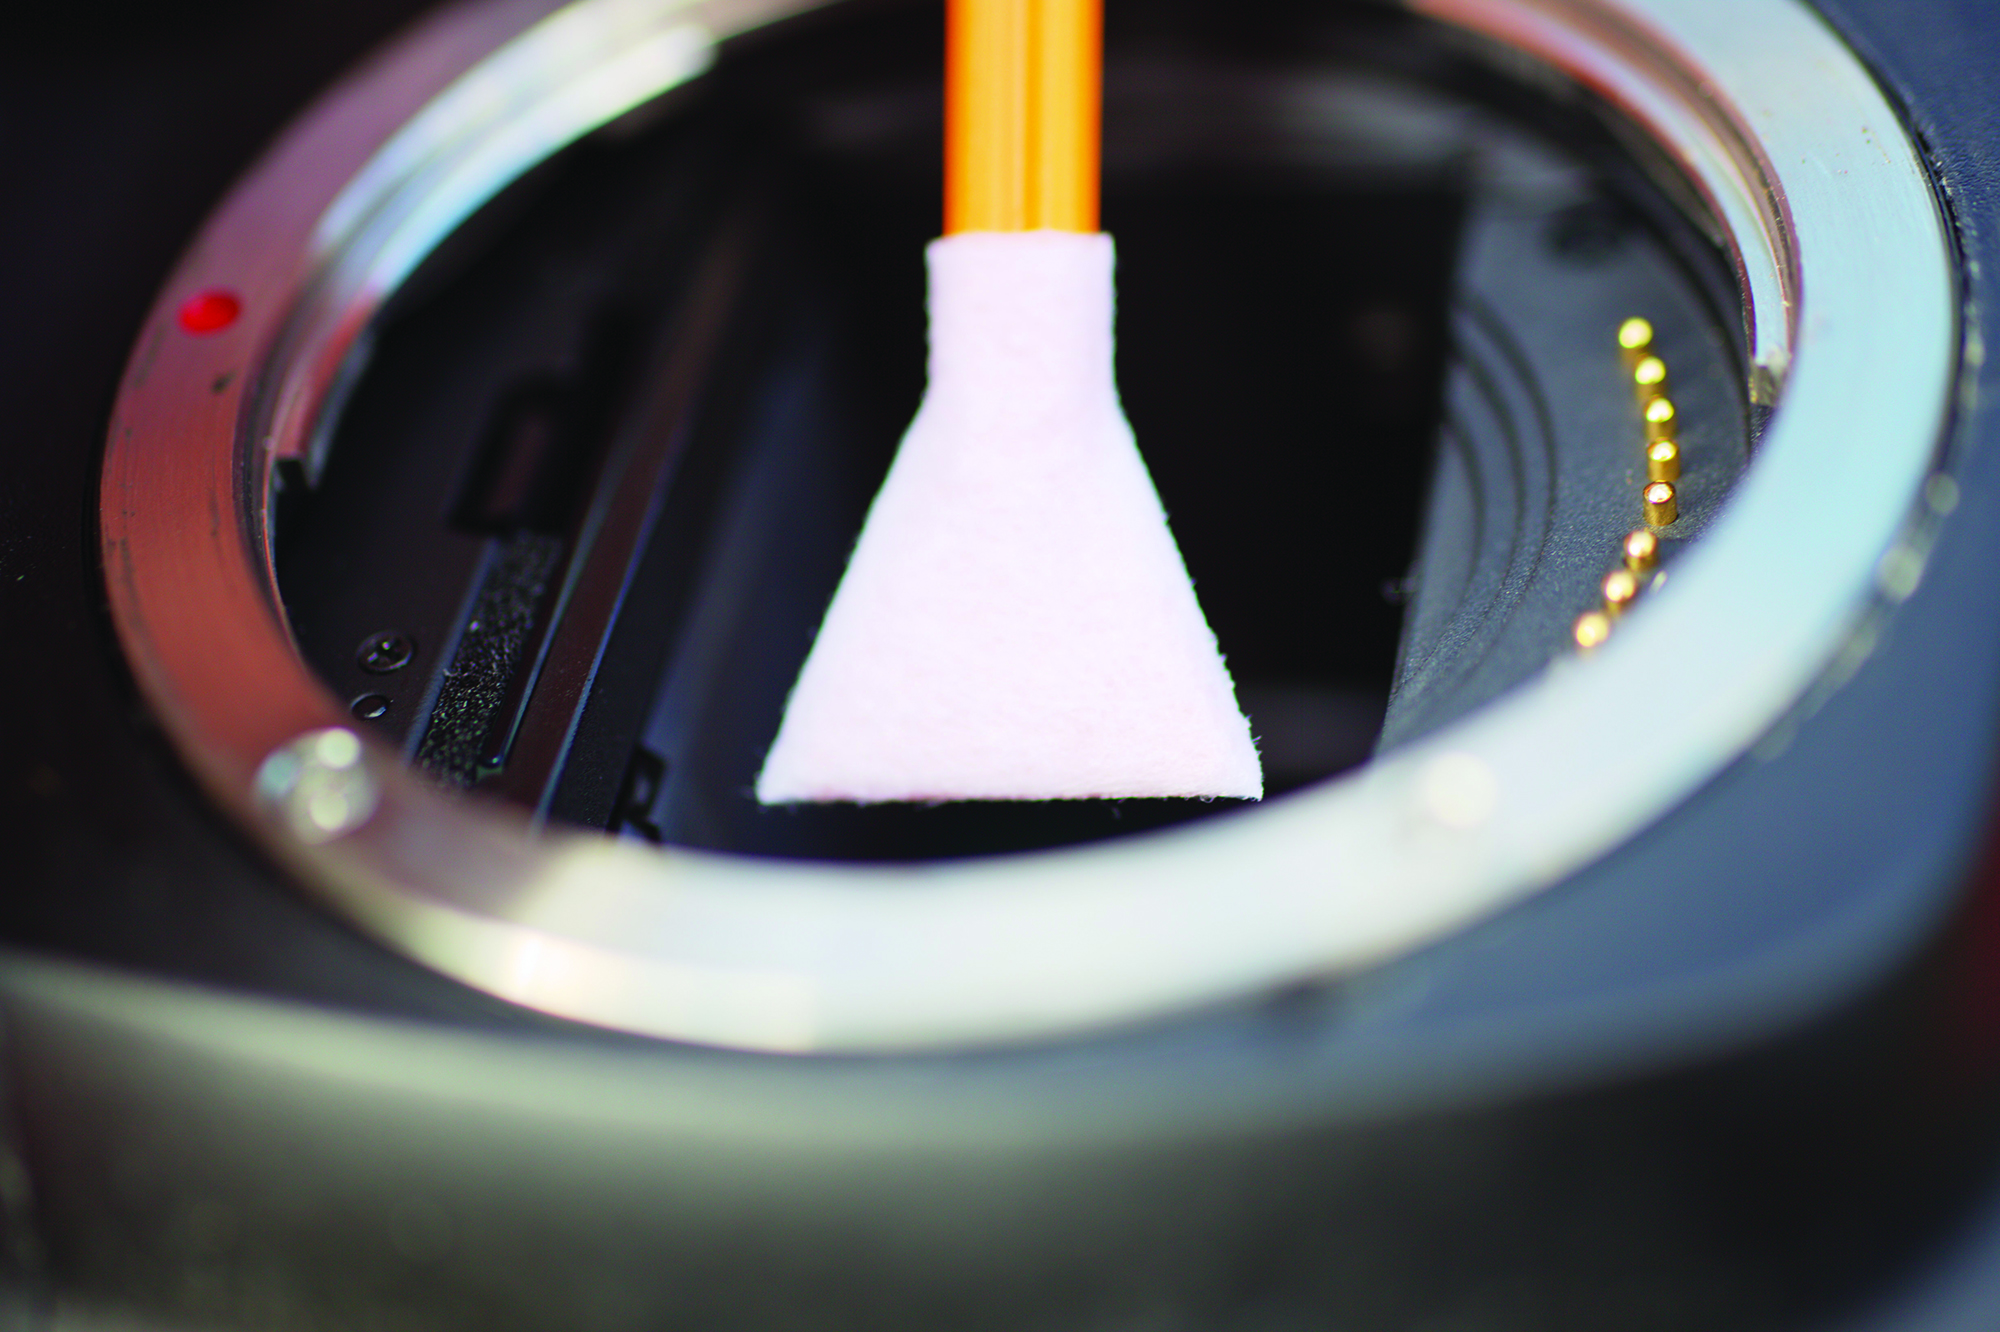
Dust build-up on a camera sensor can lead to dark blobs on your DSLR images, which in the case of astronomical photos can obscure detail and darken the brightest parts of a planet or nebula.
While these artefacts can often be removed in image-editing software with cloning or healing tools, it’s best to treat the problem at its source by cleaning your DSLR camera's sensor.
Finding the DSLR sensor
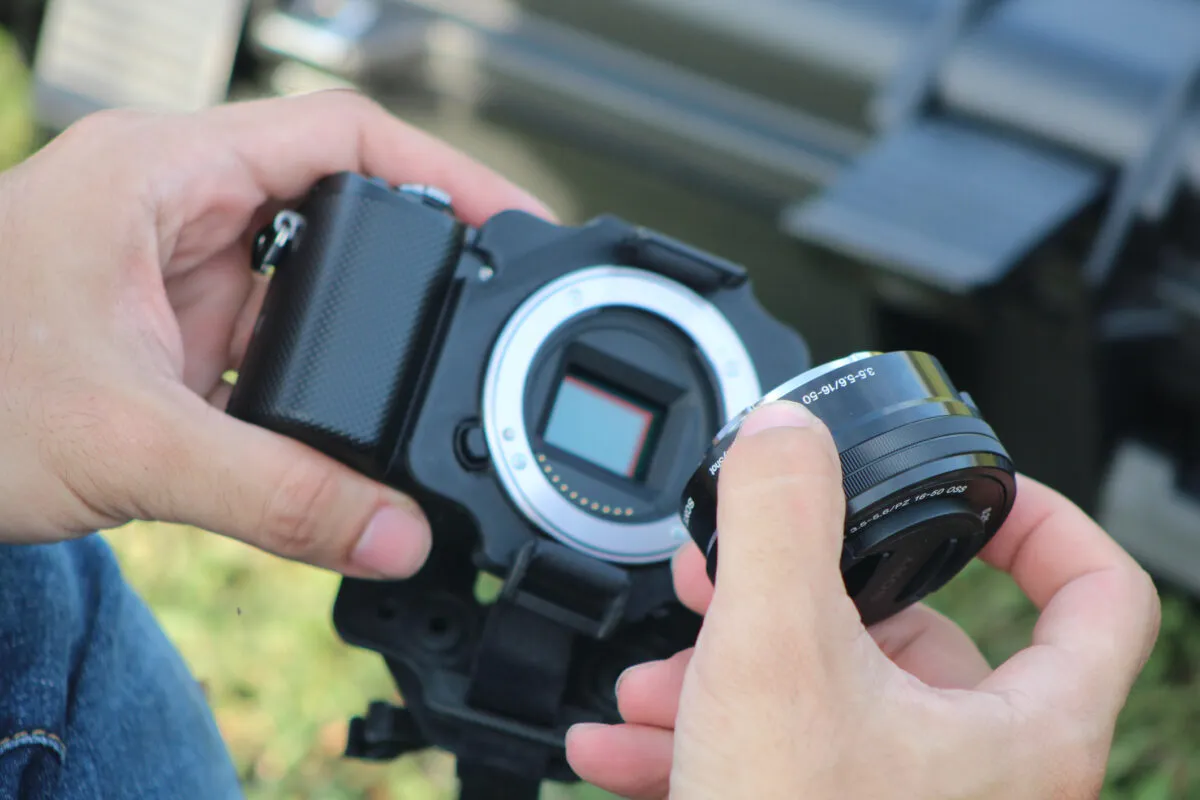
The sensor of a DSLR camera hides behind a reflex mirror, which deflects the light coming from the lens up into the prism that forms the viewfinder.
It flips out of the way when an exposure is made or the camera is used in live view mode, and thus provides a certain degree of dust-proofing, but the tiny motes can and will still get in.
The air displacement caused by zoom lenses moving their elements around, for example, can suck dust in.
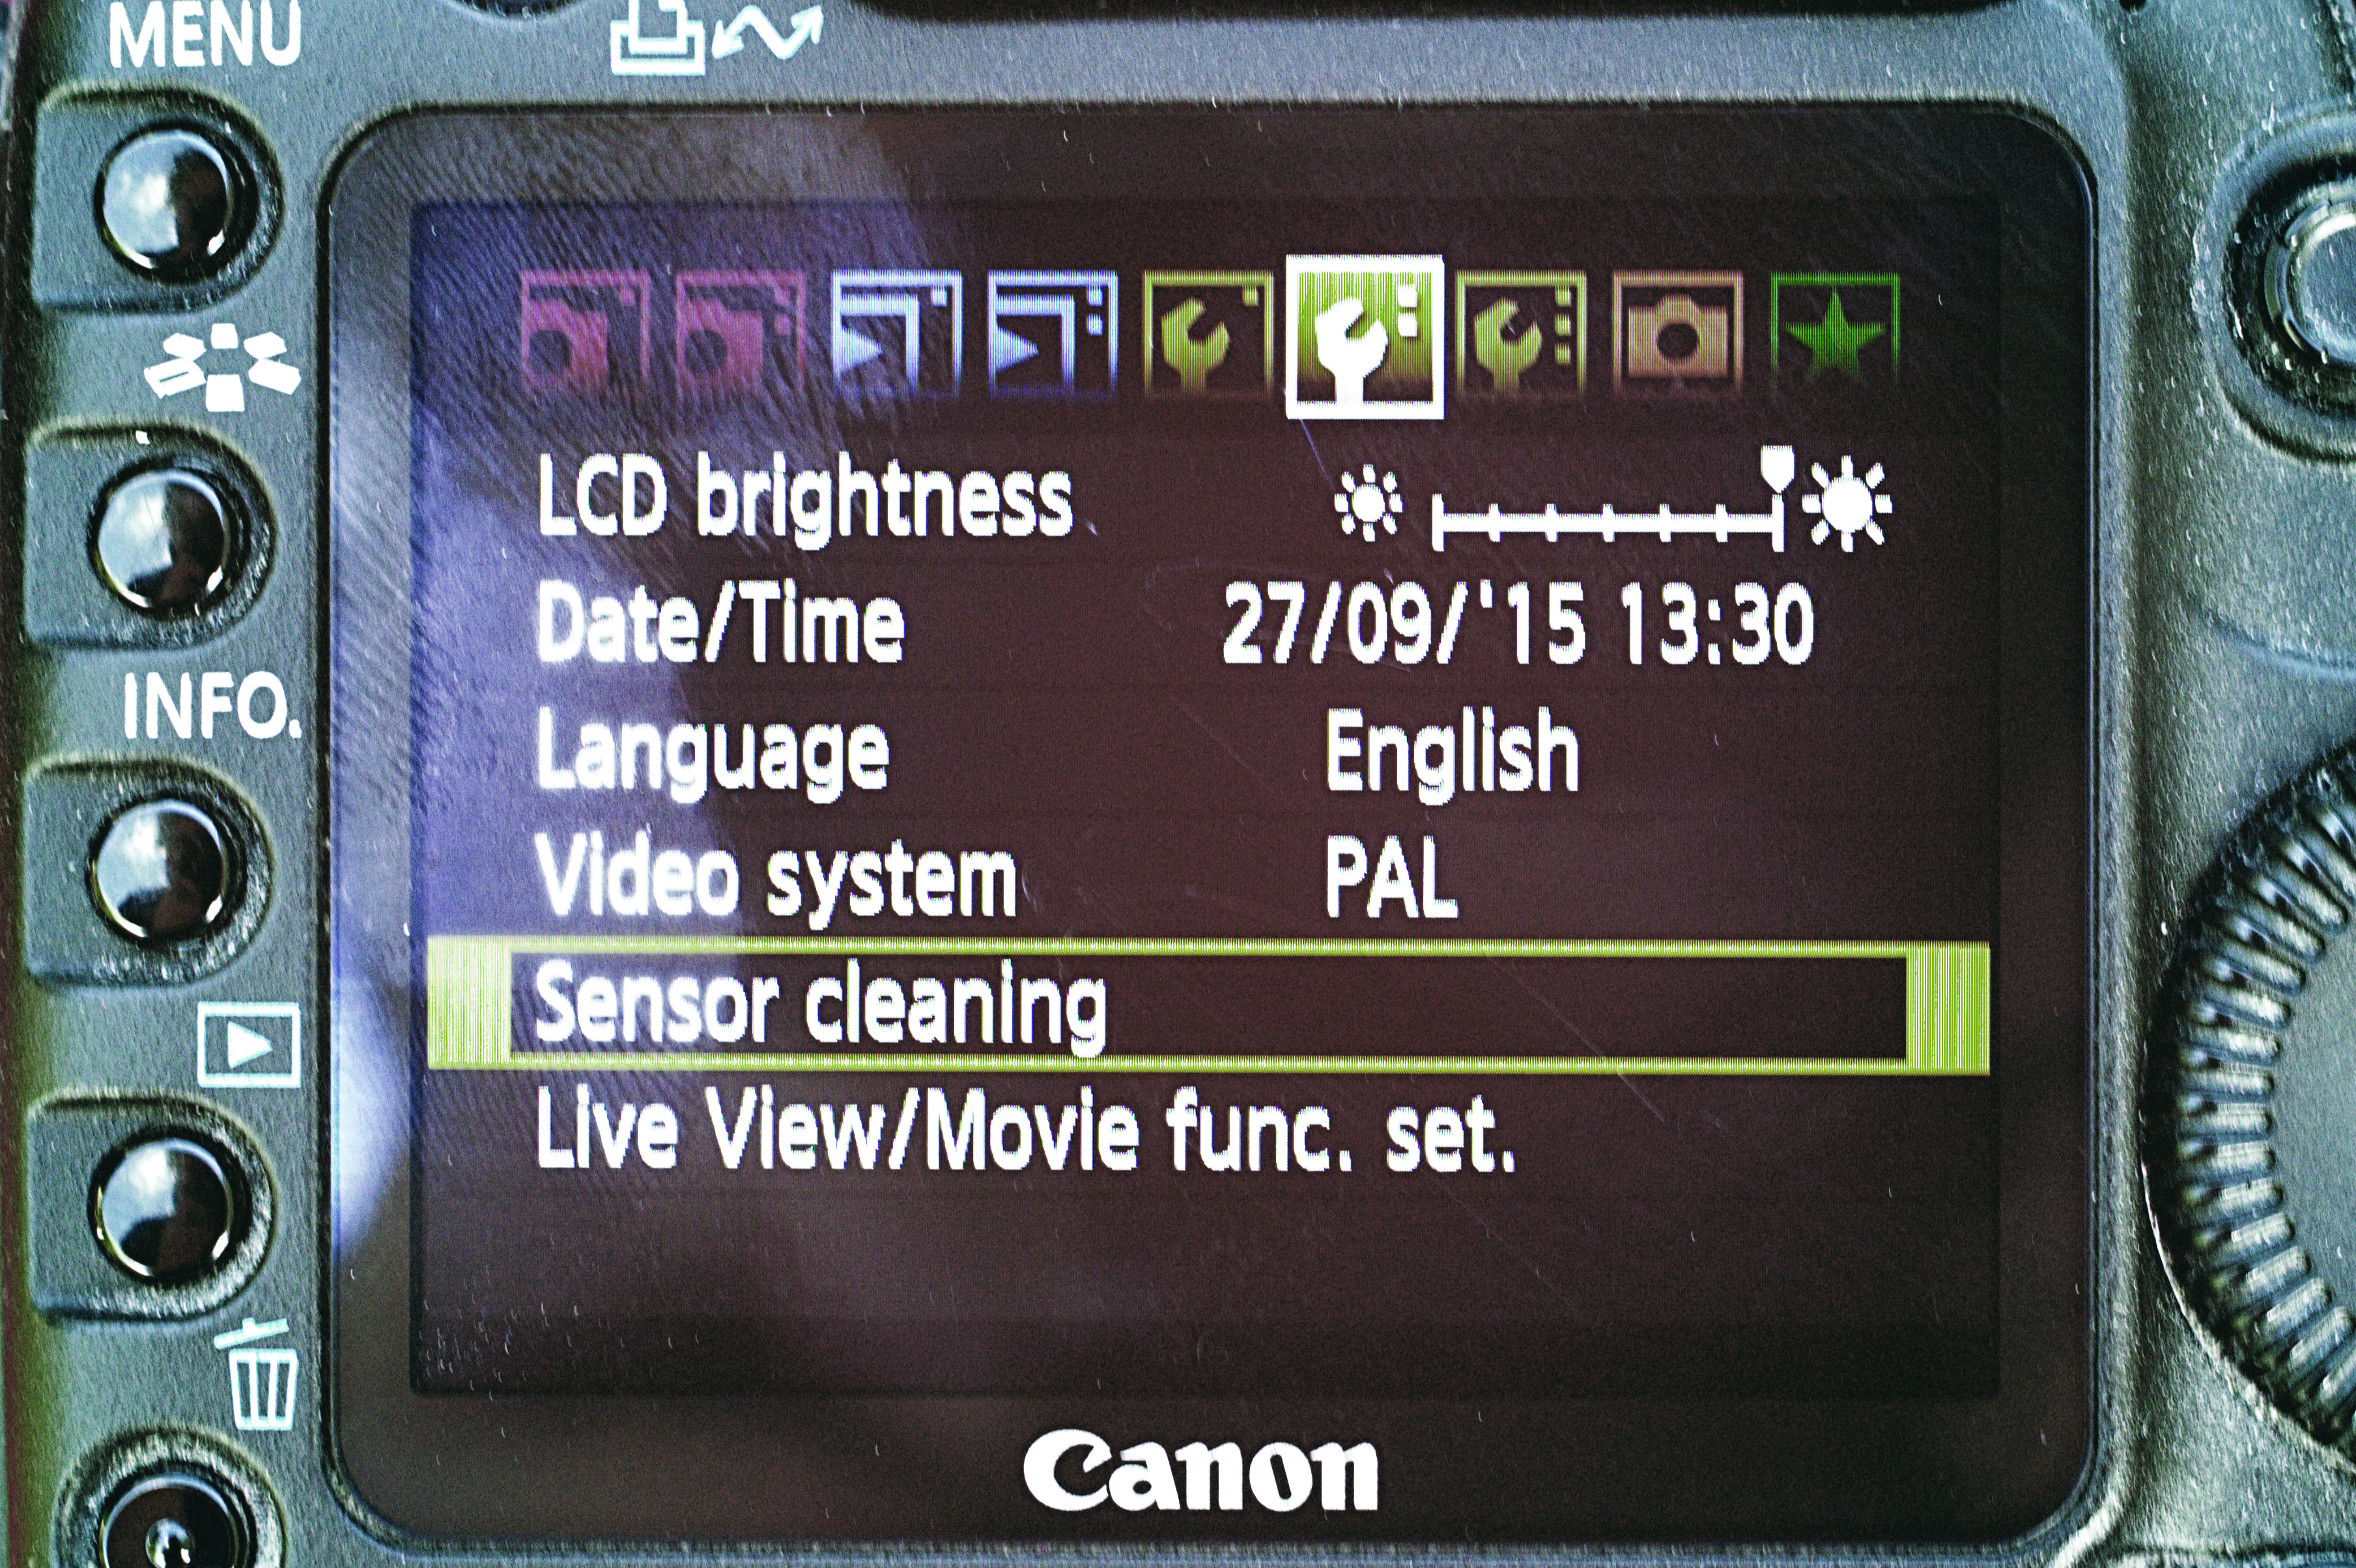
Dust-reducing systems are built-in to many modern DSLRs (look for the ‘sensor cleaning’ message on the screen as you turn the camera on and off) and these do a decent job of shaking light dust particles from the sensor by vibrating it at ultrasonic speeds.
Do not use the cans of compressed air commonly used to blast dust out of keyboards to clean your DSLR's sensor, as these can introduce moisture into the electronics of your camera.
Tools & materials for cleaning a DSLR camera
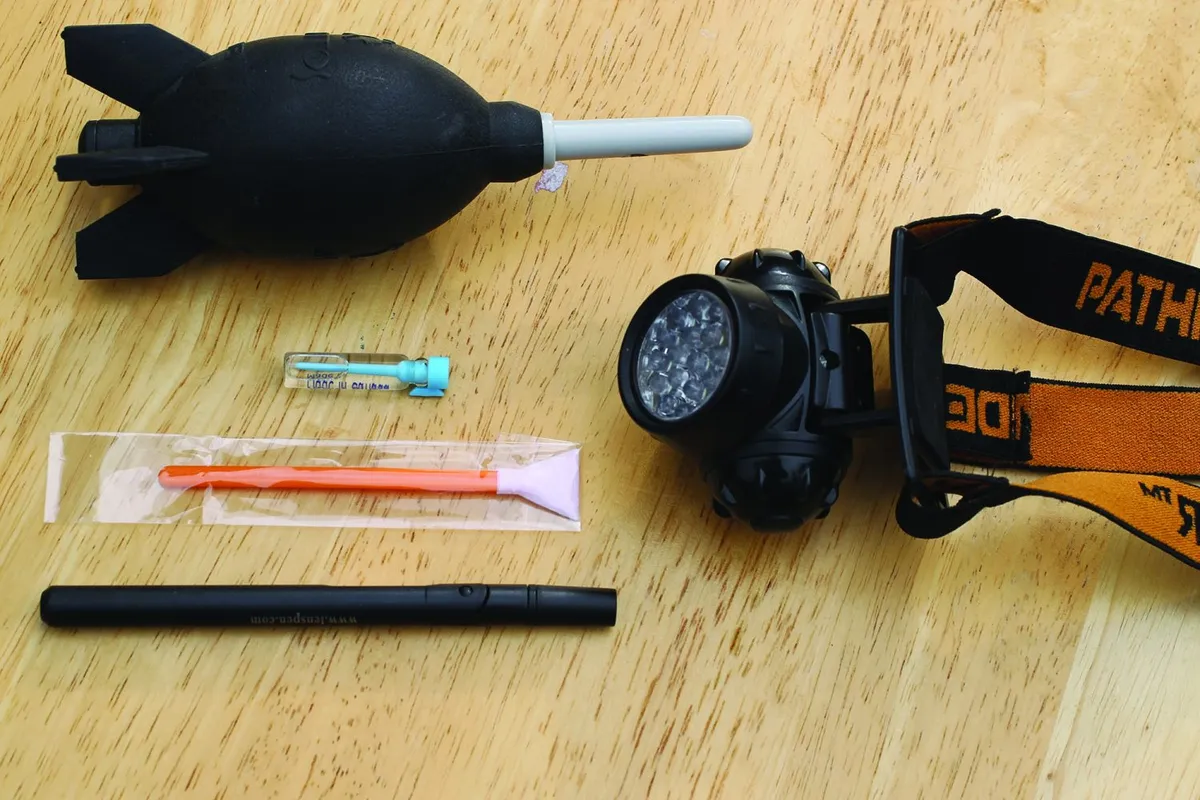
- Cleaning kit
- Air blower and brush,
- Positionable light or a head torch
- Clean cloth
- Clean working environment.
How to clean the DSLR sensor
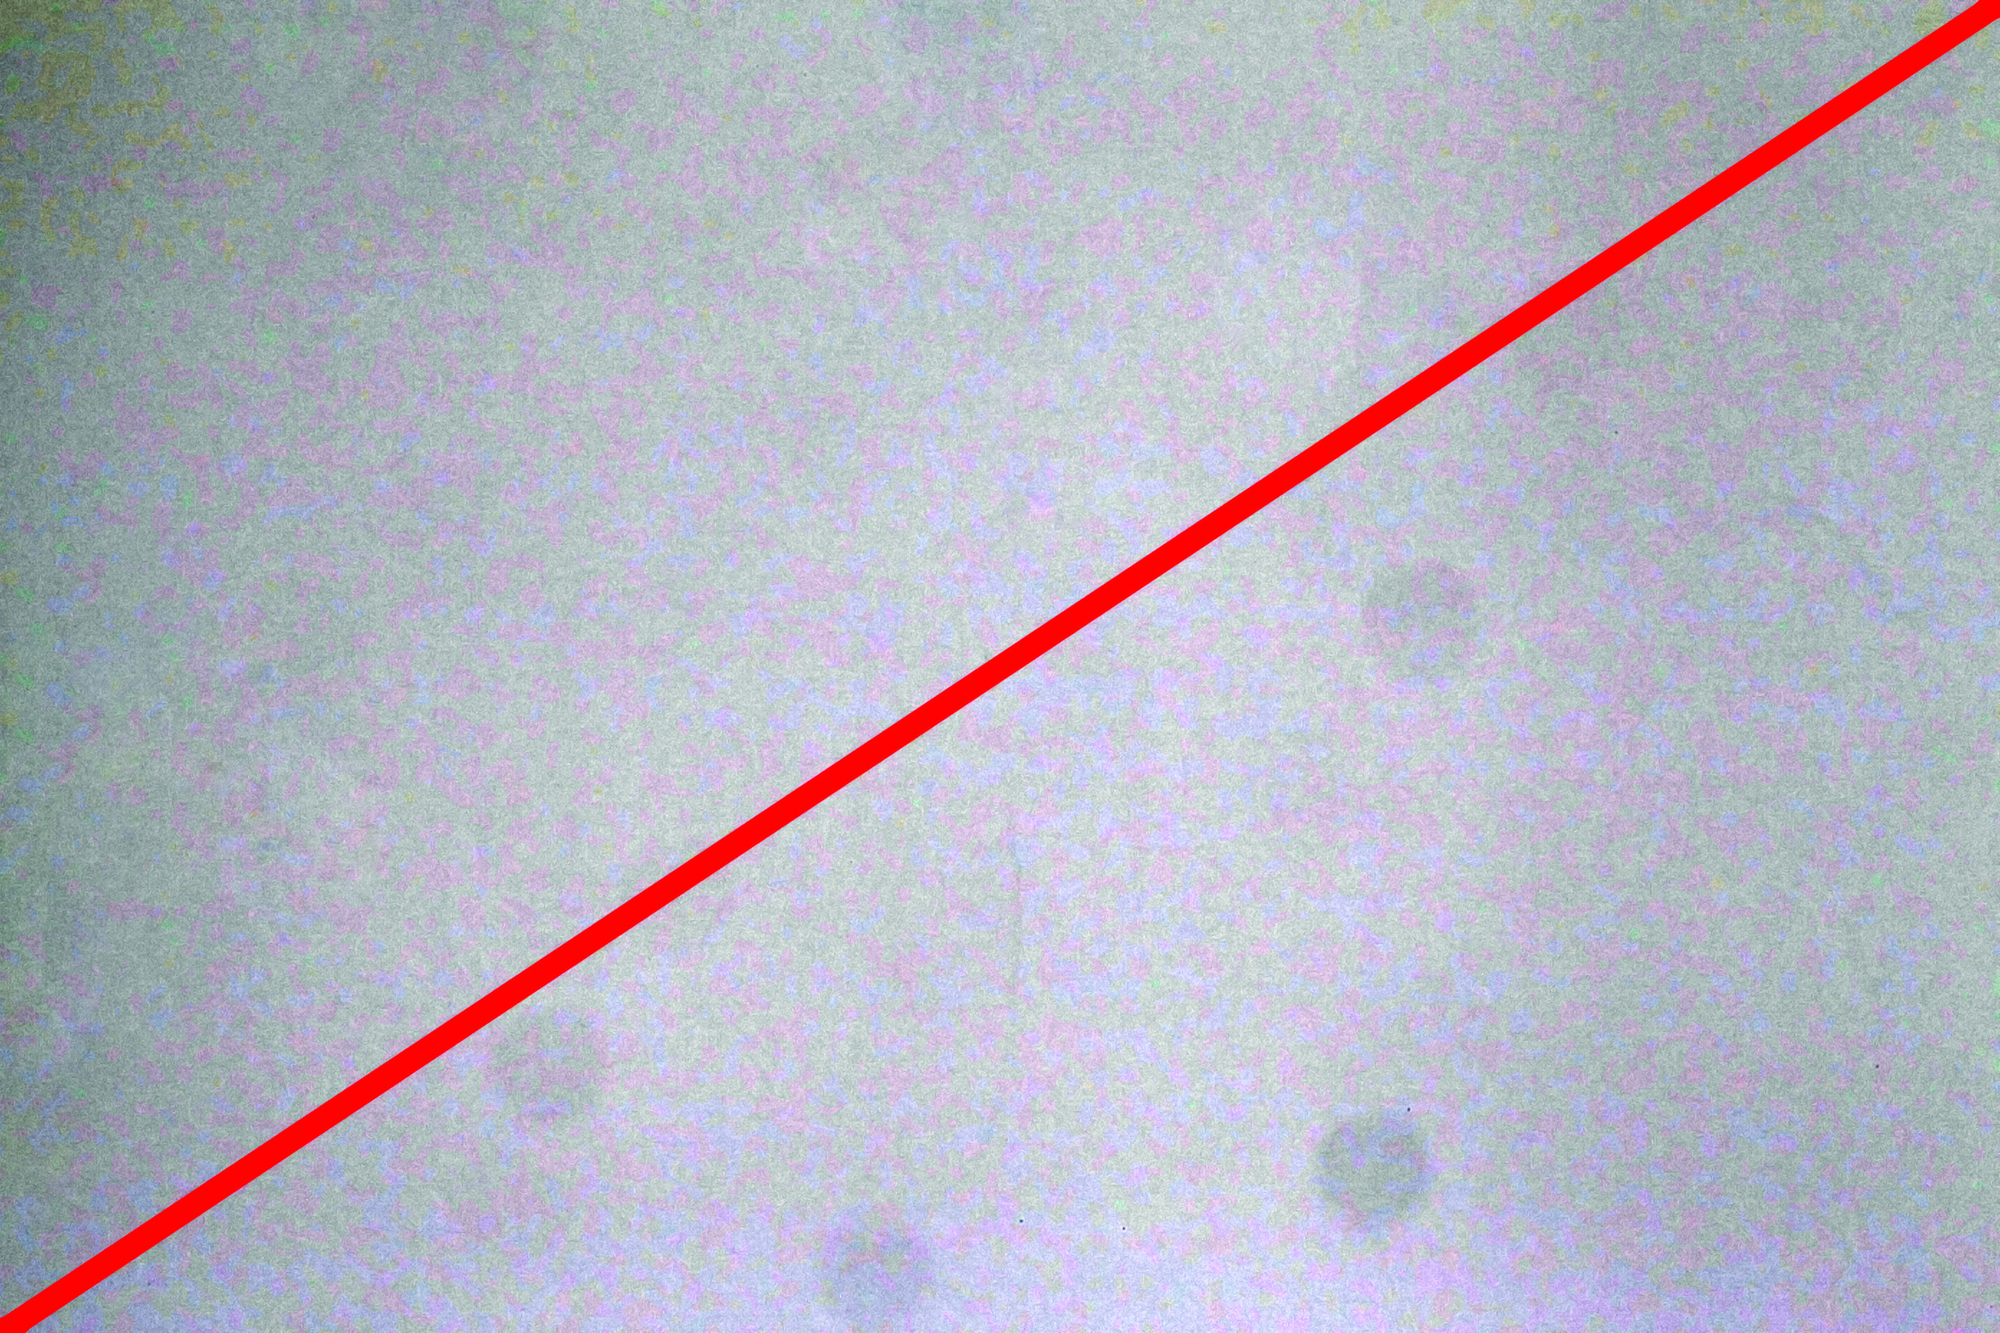
Before you clean your sensor, take a test shot. Pop on a lens, stop it down to f/22, and take a photo of the sky during the day (taking care not to aim at the Sun of course) or a plain white wall, then increase the contrast in an editing app.
The resulting image won’t be the finest you’ve ever taken – in fact it will probably be a noisy mess – but it will highlight the condition of your camera sensor.
The dust becomes more noticeable the more you close down the lens aperture and sticks out most on a plain light background.
With a magnifying glass or loupe, you will be able to identify individual specks of dust on the sensor using the image you just took as a guide – note that specks at the bottom of the sensor will be at the top of the picture.
But taking the photo is really more useful to determine the state of the sensor. If dust is visible on the f/22 image, but not on images taken at f/2.8 or f/8, then you should consider leaving it alone until the specks become a problem.
And once you’ve cleaned your sensor, you can take another f/22 photo to see the difference you’ve made.
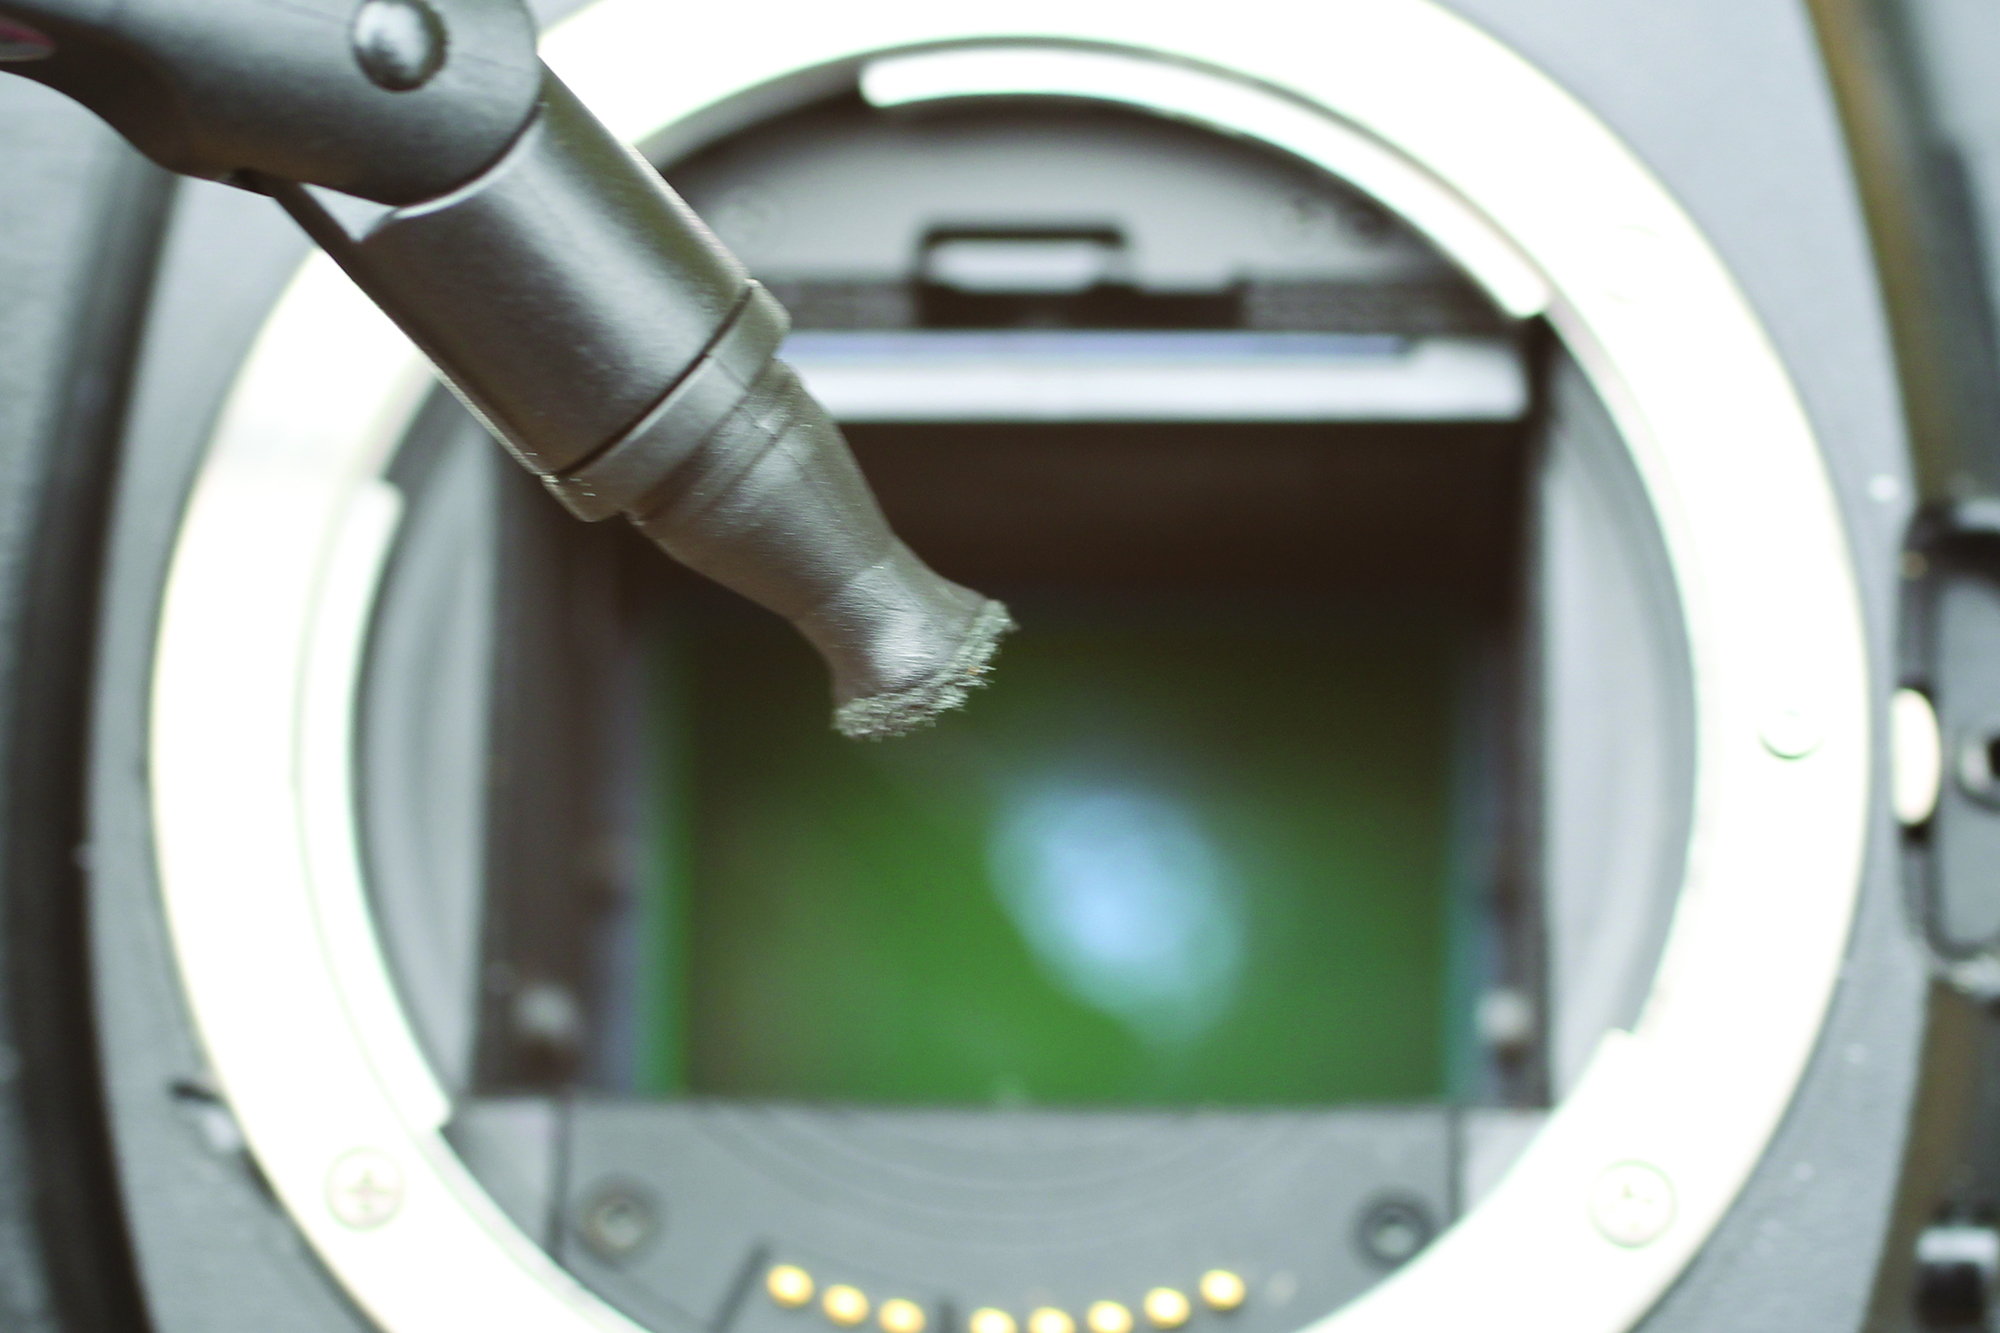
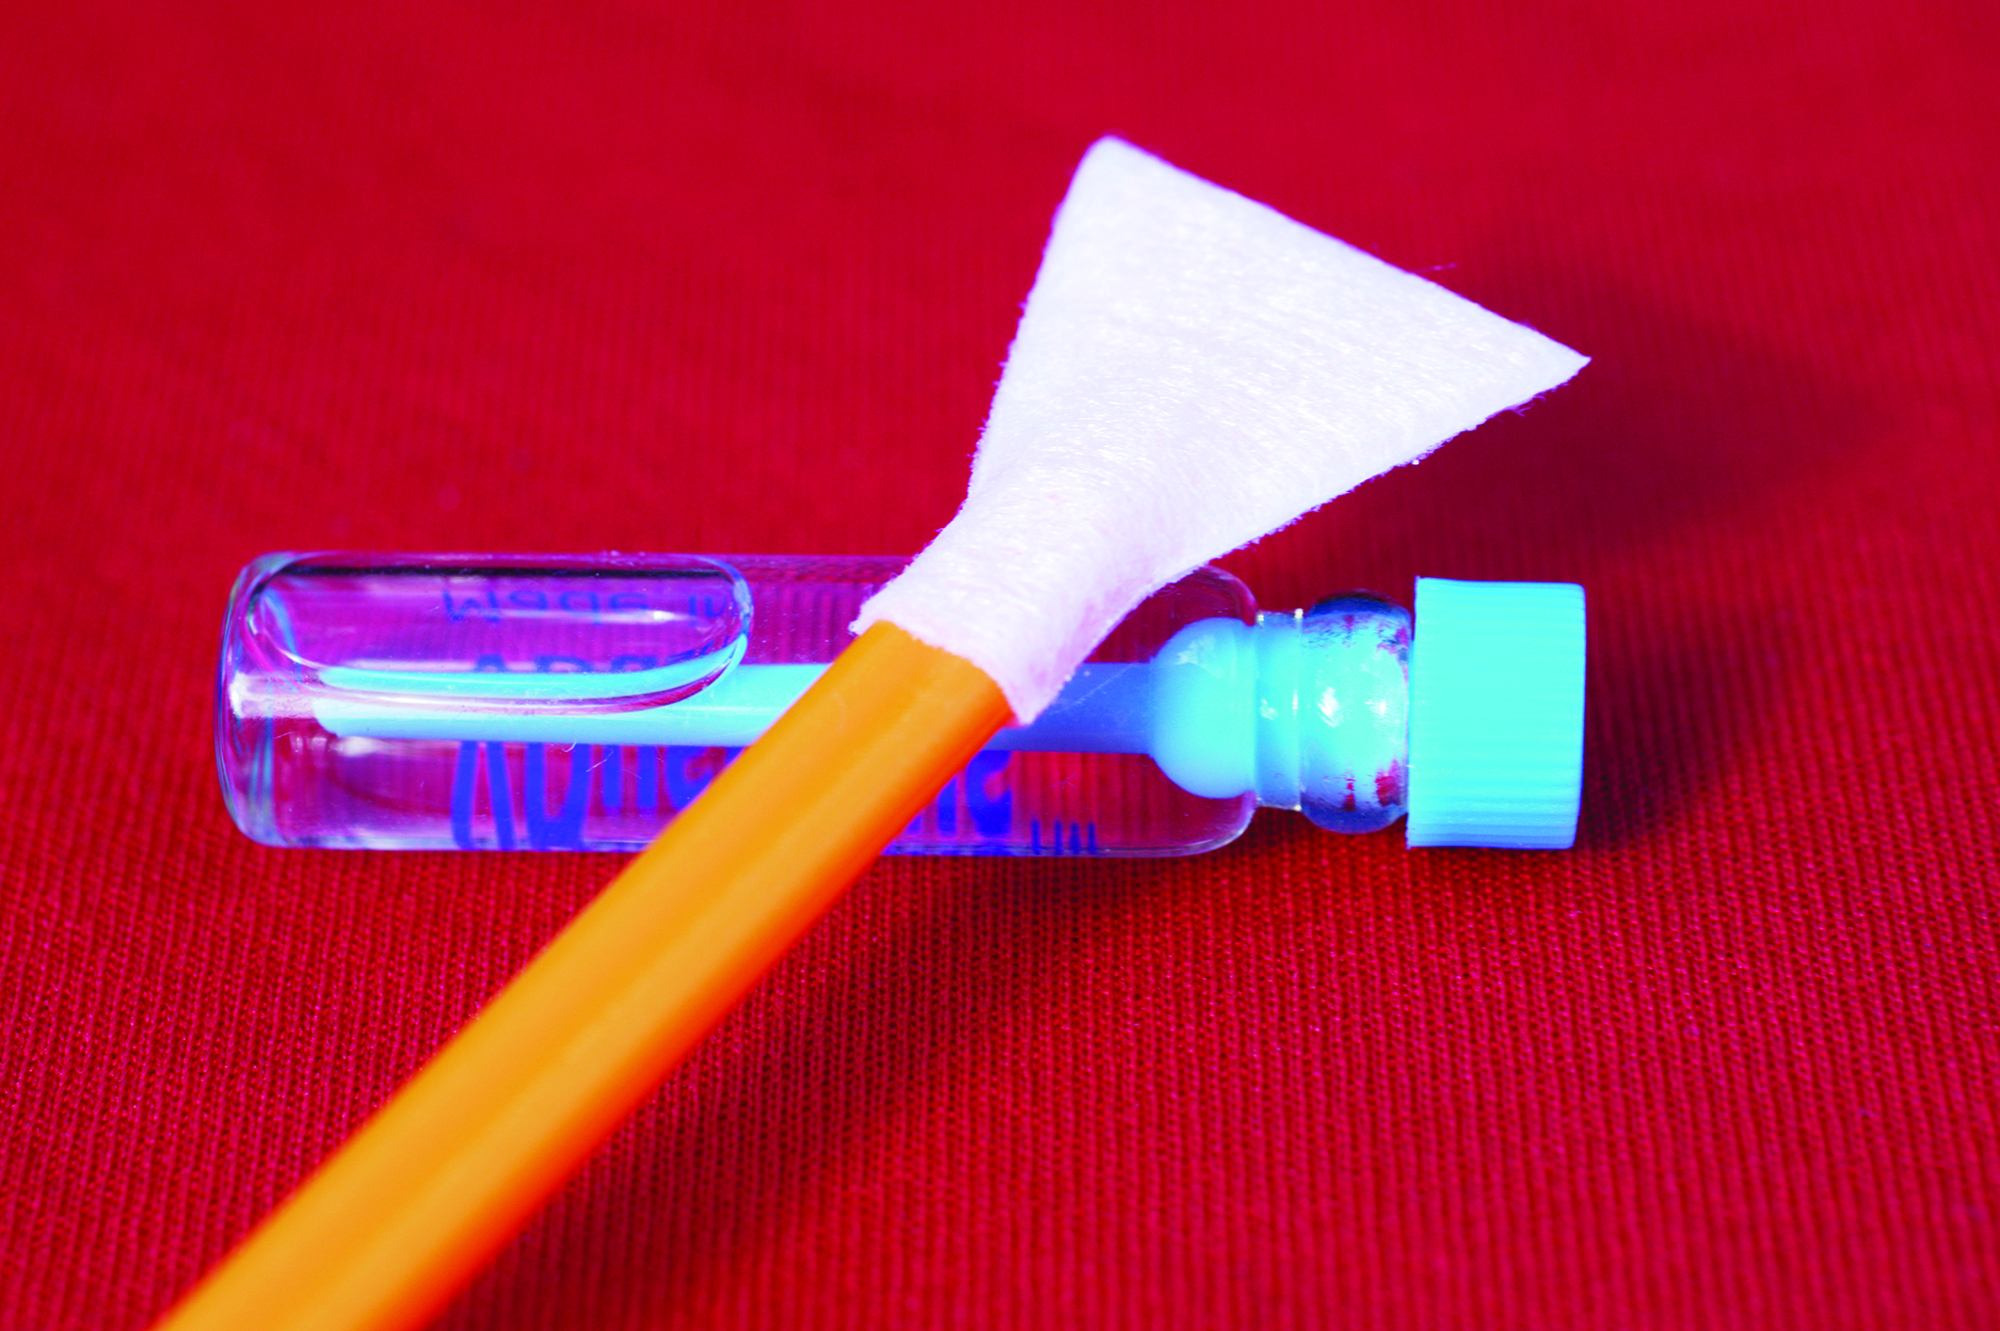
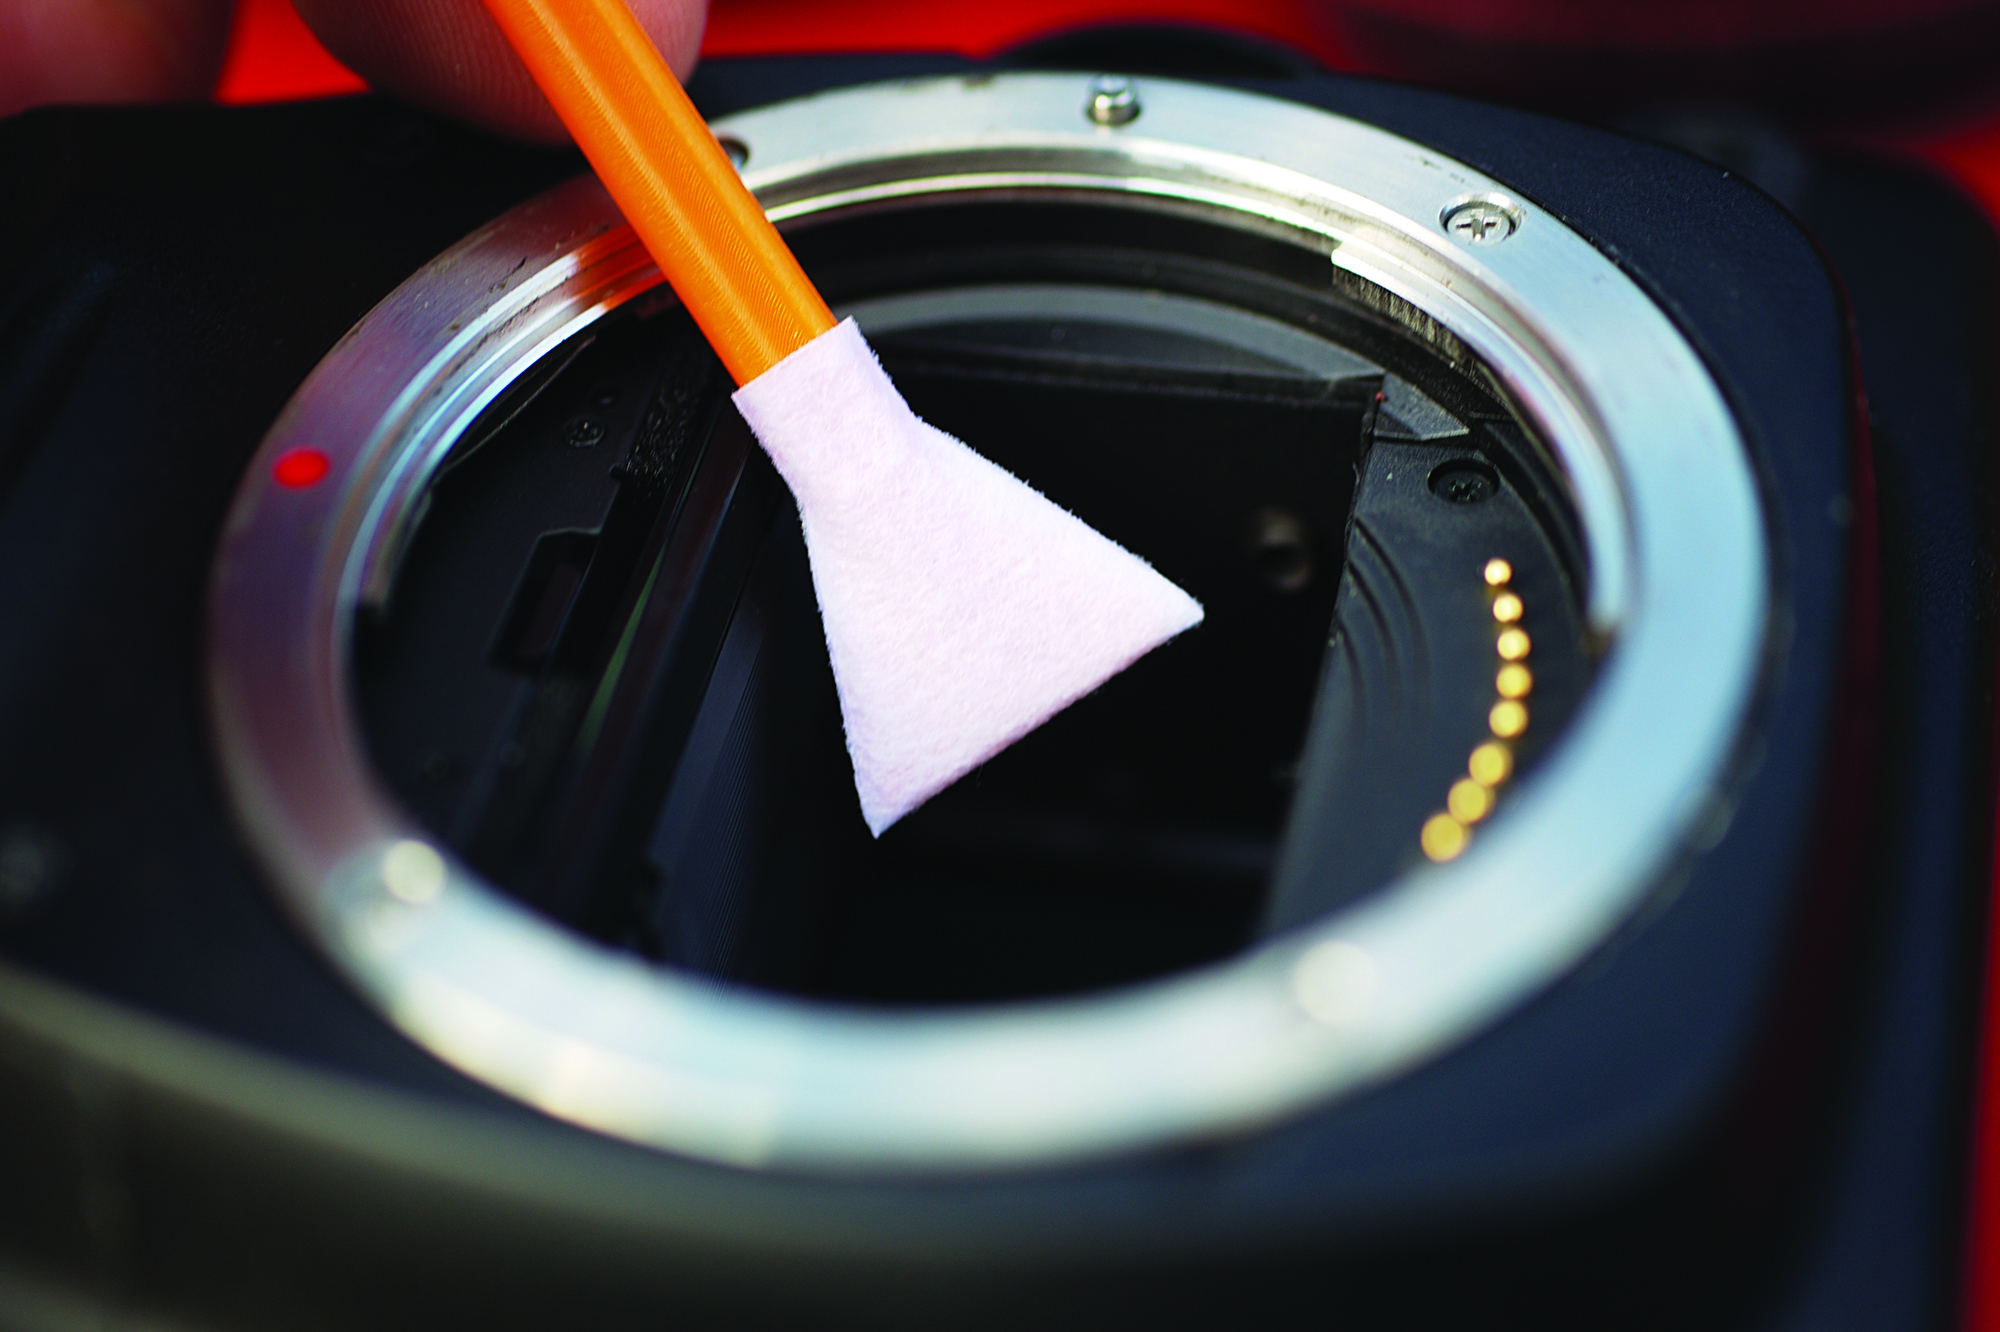
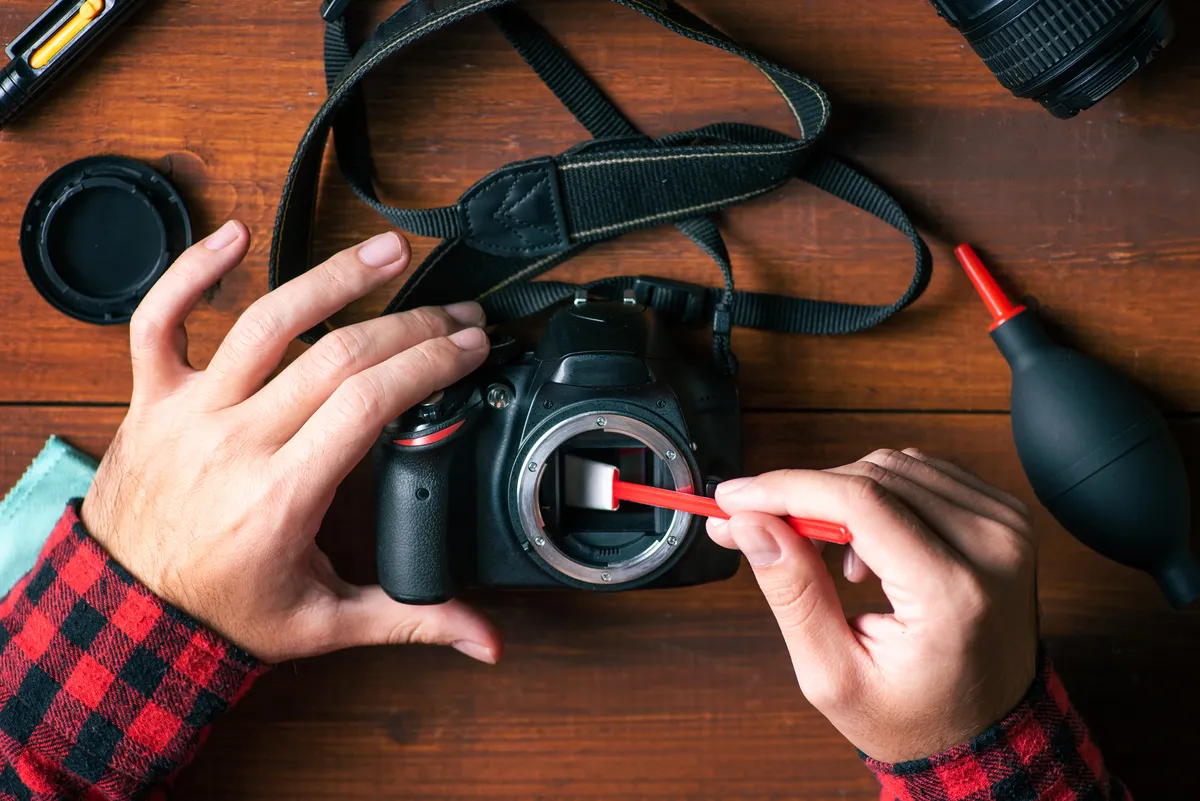
For large or stubborn dust particles, cleaning kits are available from most photographic retailers or online, and generally consist of a small bottle of cleaning solution and some brushes or swabs.Alternatively, a dry electrostatic brush can be used that the dust will stick to.
Using the right sort of cleaning material is important, as a DSLR sensor is delicate and a scratch to its surface will do more damage than any amount of dust.
Don’t be tempted to dive in with a paintbrush, a lens cleaning brush, or anything that could damage the sensitive chip.
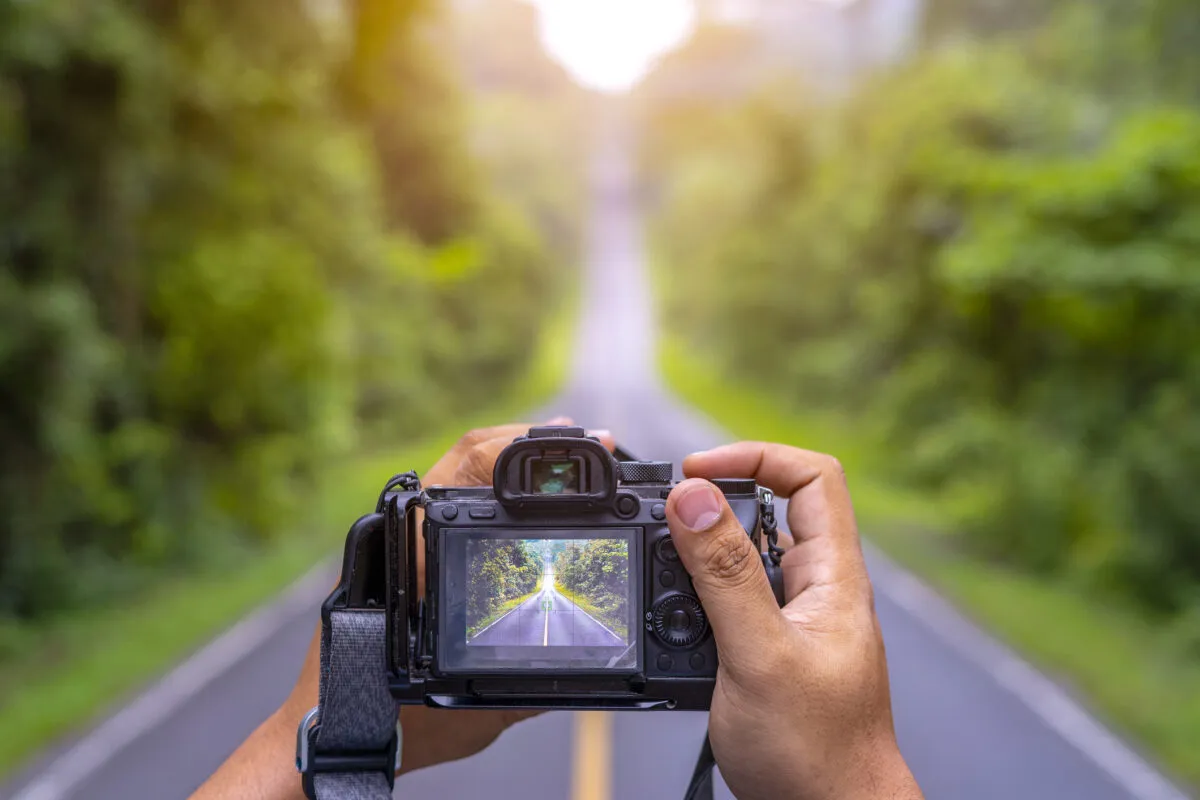
It’s possible to clean a sensor without touching it at all. Lightly attached particles of dust can be removed using a blast of air.Special blowers are available for this, some shaped pleasingly like a rocket.
Hold the camera with the lens mount pointing down, then blow air up into the camera. Dislodged dust will then drift down
under the force of gravity.
Before you begin, clean the outside of your camera and the area you’re going to work in. This is important to prevent you from adding more dust to the sensor than you remove.
If you’re using a blower, keep it in a sealed plastic bag so it doesn’t collect dust and blow it into your camera’s innards.
You’ll also want to make sure your camera battery is charged, as it will be on and holding its mirror open throughout the cleaning process.
