Newtonian reflector telescopes are popular for amateurs for their relatively low cost for any given aperture and their naturally good colour correction. But due to the loose way in which the two mirrors are typically held, Newtonians can lose their optical alignment relatively easily.
The process of bringing the mirrors back into optical alignment is referred to as collimation.
Collimation is about getting a Newtonian’s ‘sweet spot’ in the centre of the view through the eyepiece.
This sweet spot is where stars appear sharpest: it’s the circular area on a Newtonian’s main mirror where light is focused to maximum resolution.
More practical astronomy guides:
- How to take care of your telescope
- How to safely align an equatorial mount using the Sun
- How to stop dew forming on your telescope
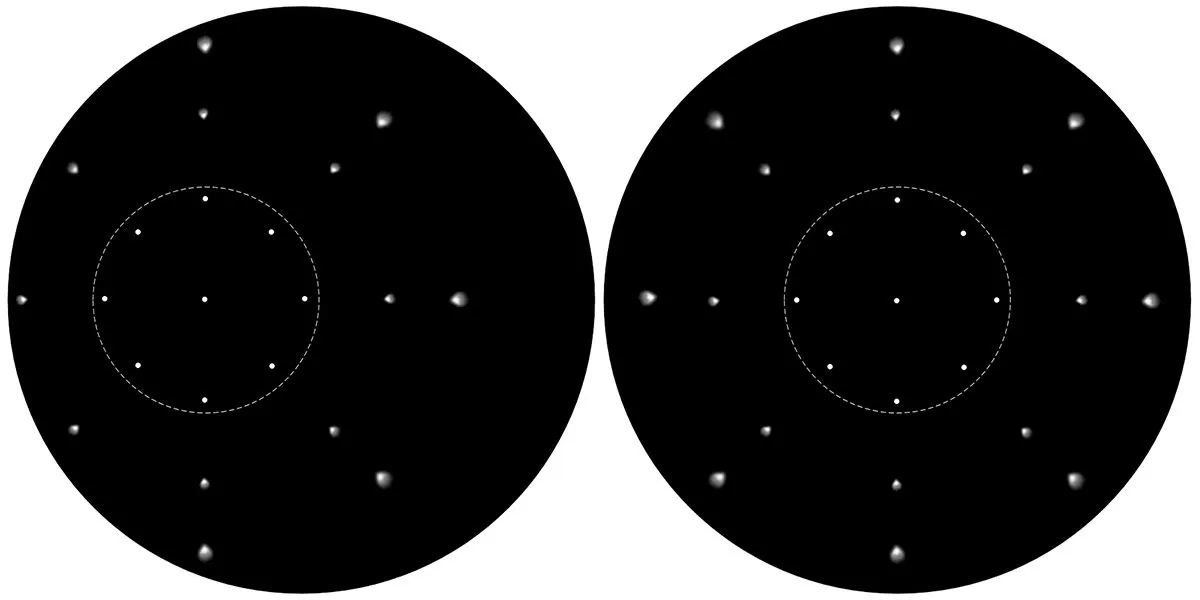
Outside the sweet spot star images appear larger and get distorted into V-shapes. This distortion away from the centre of the view is present in all Newtonians, even perfect ones.
It’s called coma as it makes the stars look like mini-comets.
If the mirrors in the telescope become slightly misaligned – as a result of a knock or changes in temperature – the sweet spot can move away from the middle of the eyepiece’s field of view and end up off-centre.
If this happens the middle of the eyepiece view will be looking at an area of inferior quality outside the sweet spot.
Collimation realigns the mirrors to bring the good area back to the middle of the eyepiece field, restoring the best star images and allowing you to see the most planetary detail.
Although the job of collimating a Newtonian may seem daunting if you’ve never done it, once you have the right tools and understand the principles, it becomes relatively quick and easy.
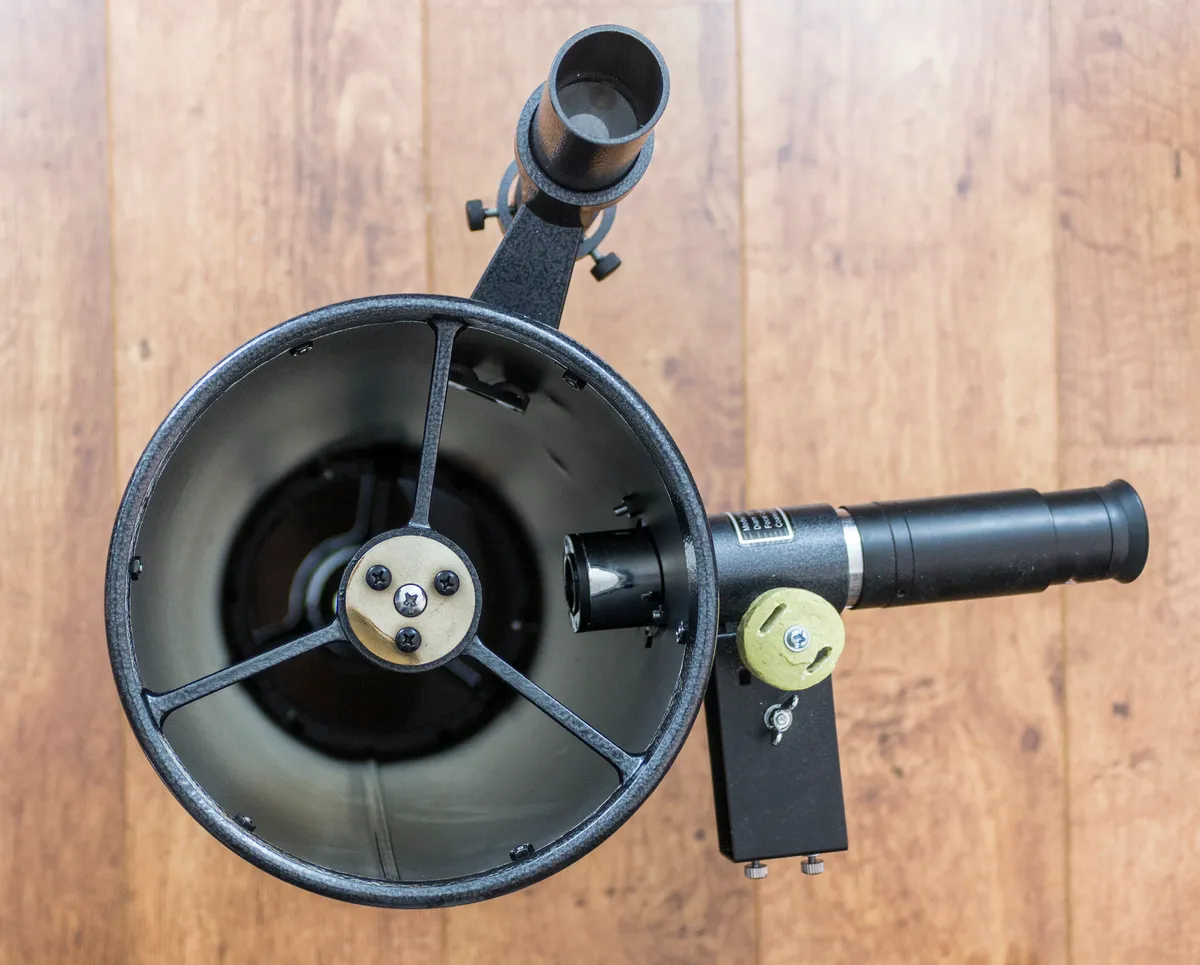
Size of sweet spot is another aspect to bear in mind. In a Newtonian it is dependent on the ratio between the telescope’s focal length and the diameter of its main mirror.
For telescopes where this ratio is relatively low (short, wide scopes) the sweet spot is small: for these scopes regular collimation is crucial so that objects at the centre of the view can be seen at their best.
Much more so than for Newtonians with a higher ratio (long and relatively thin): they will have a much larger sweet spot and will be far more forgiving of small amounts of misalignment.
For these scopes collimation is less critical and can be done much less frequently.
Our step-by-step guide below describes a relatively easy way to re-collimate your Newtonian telescope with simple tools, by making small adjustments to the secondary mirror assembly and to the primary mirror cell.
We’re not using a laser-based telescope collimation device here; these do allow precision alignment but add an extra layer of complexity.
Instead, keep things simple and you’ll learn how to quickly collimate your Newtonian scope.
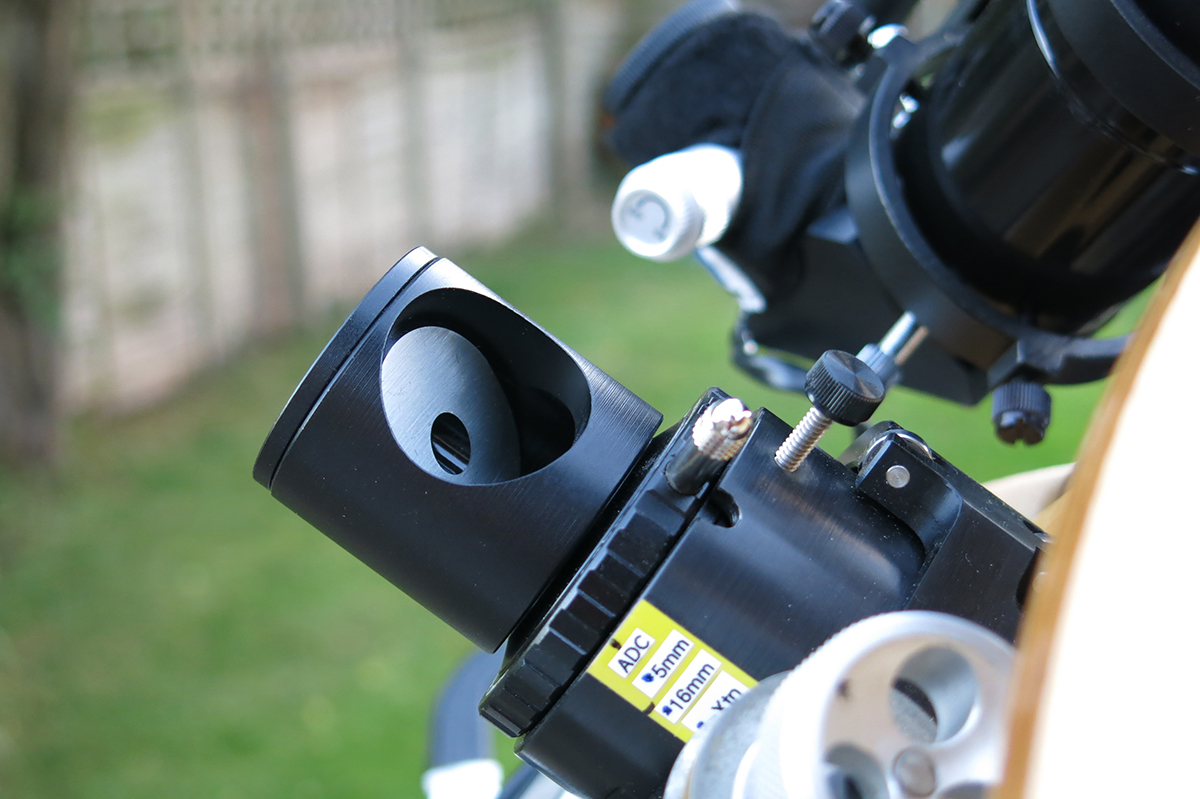
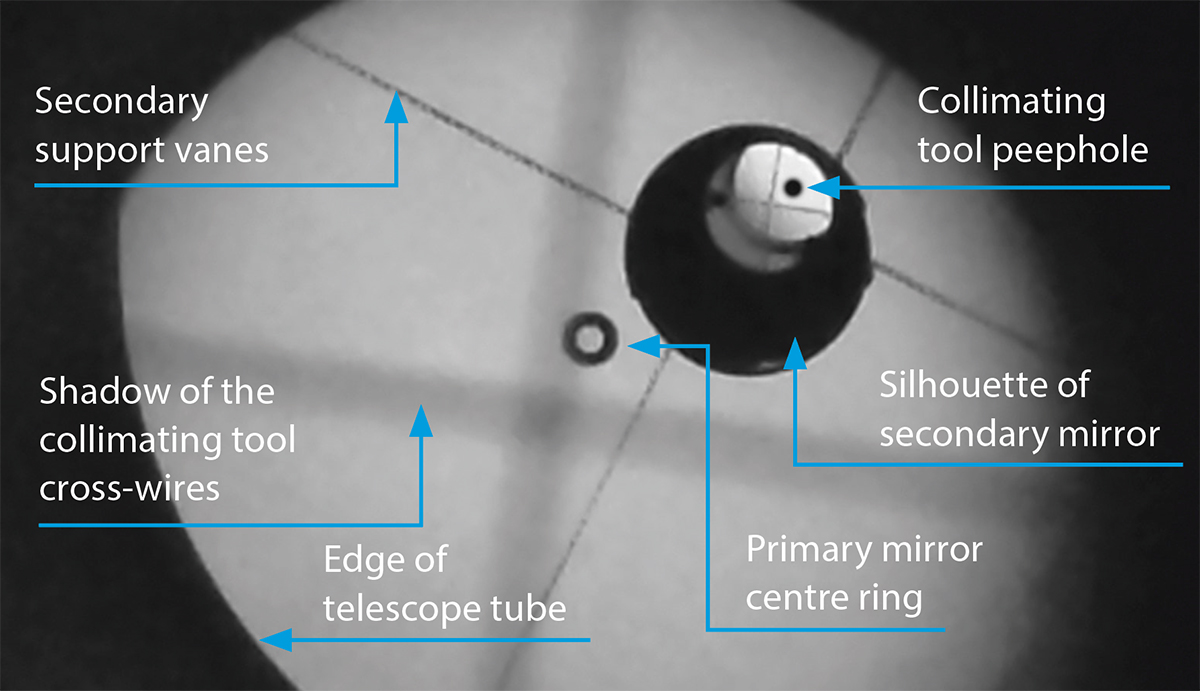
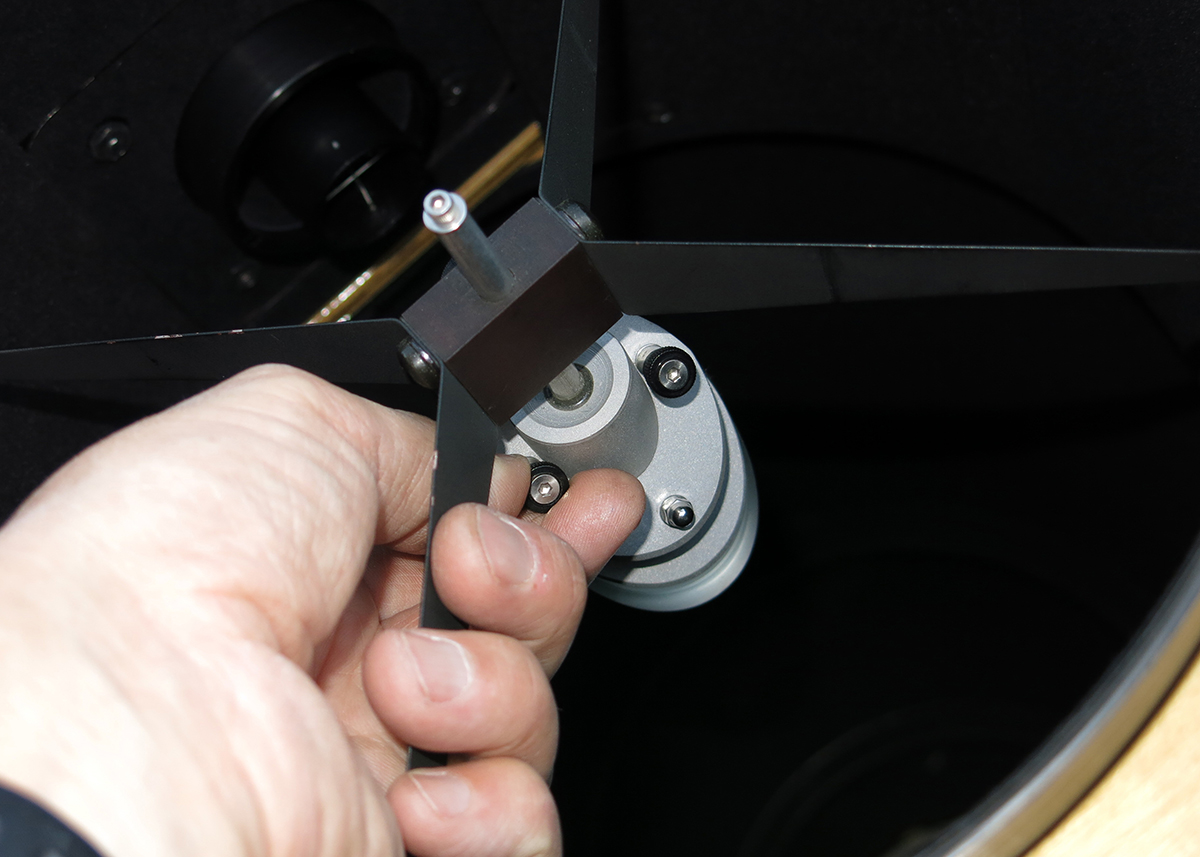
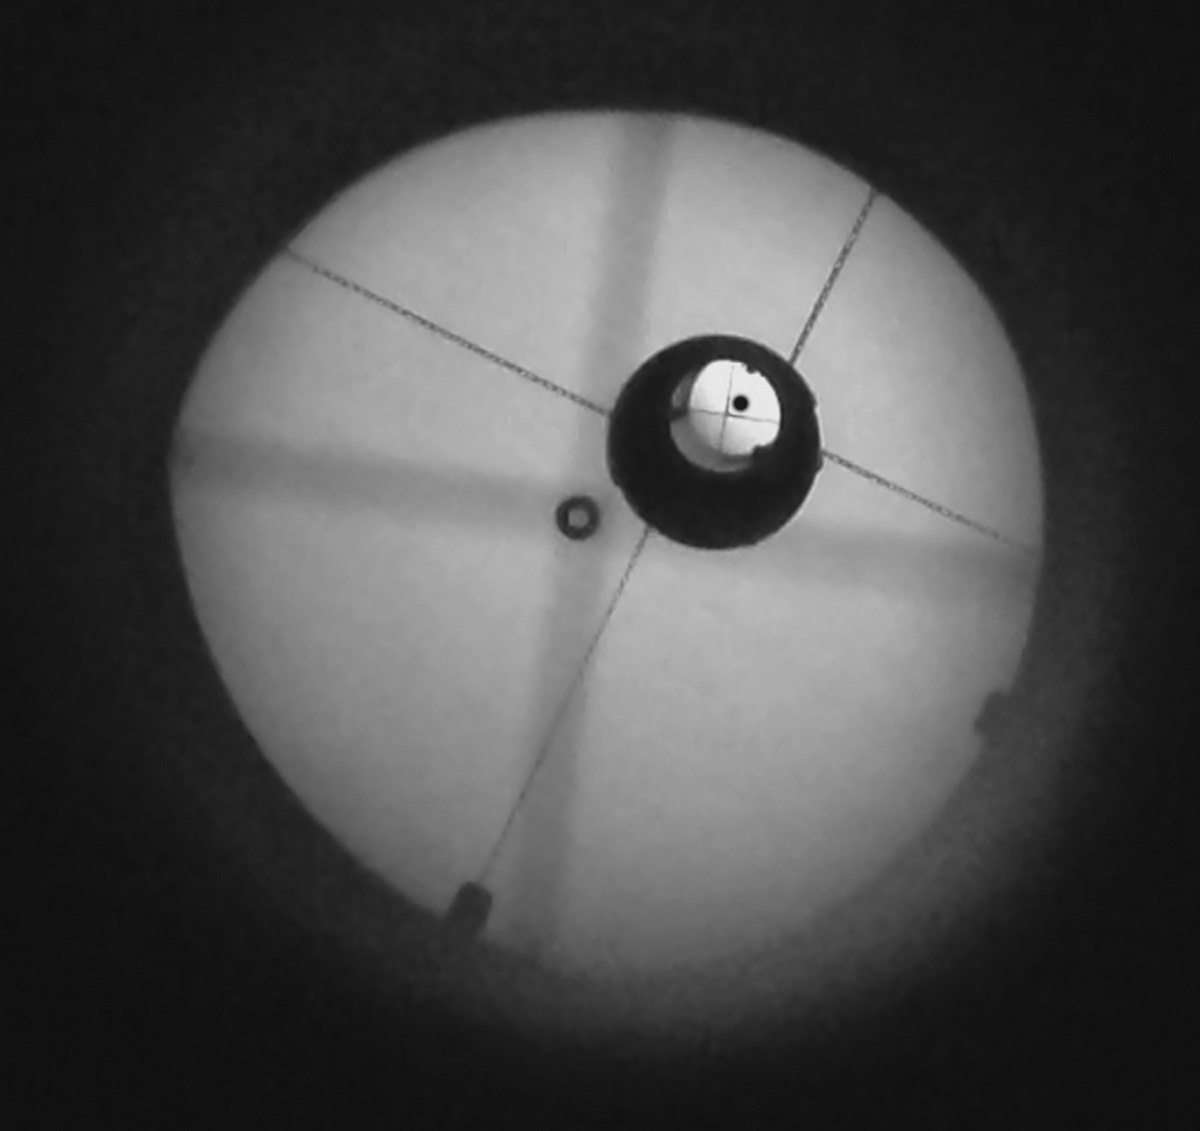 How to collimate a Newtonian telescope. Credit: Martin Lewis[/caption]
