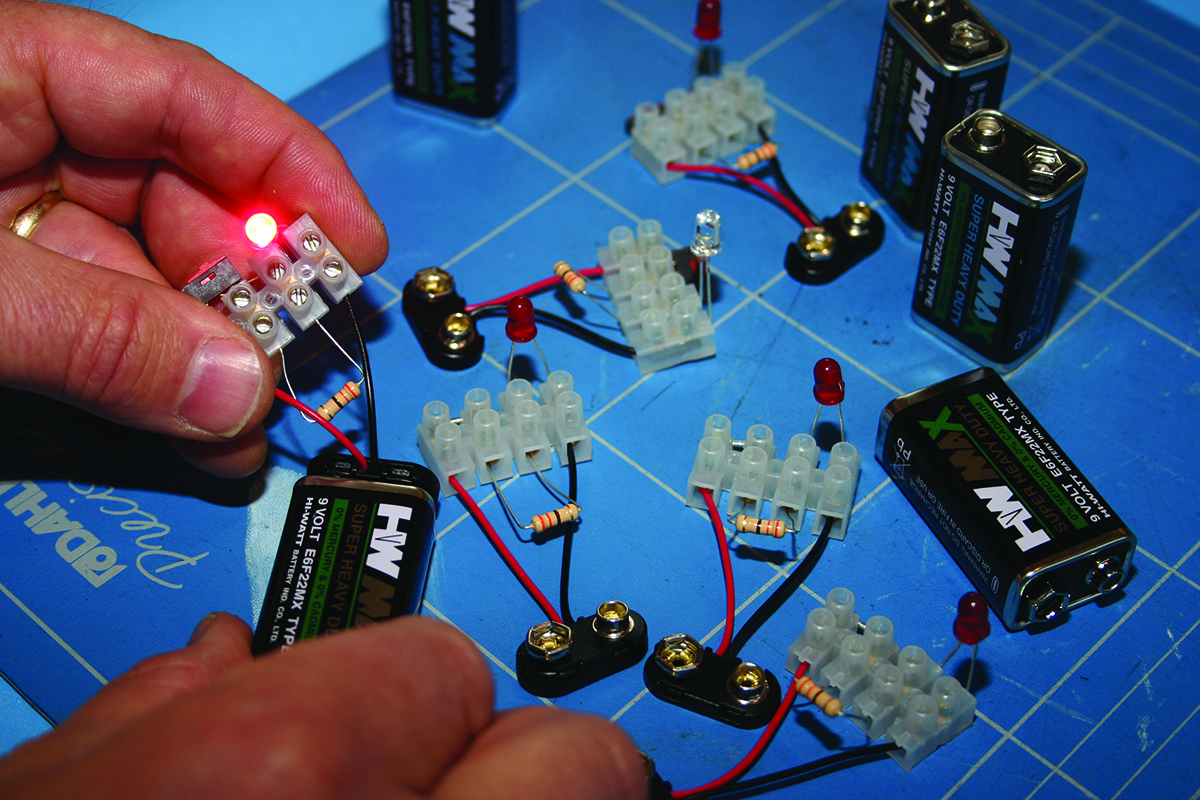
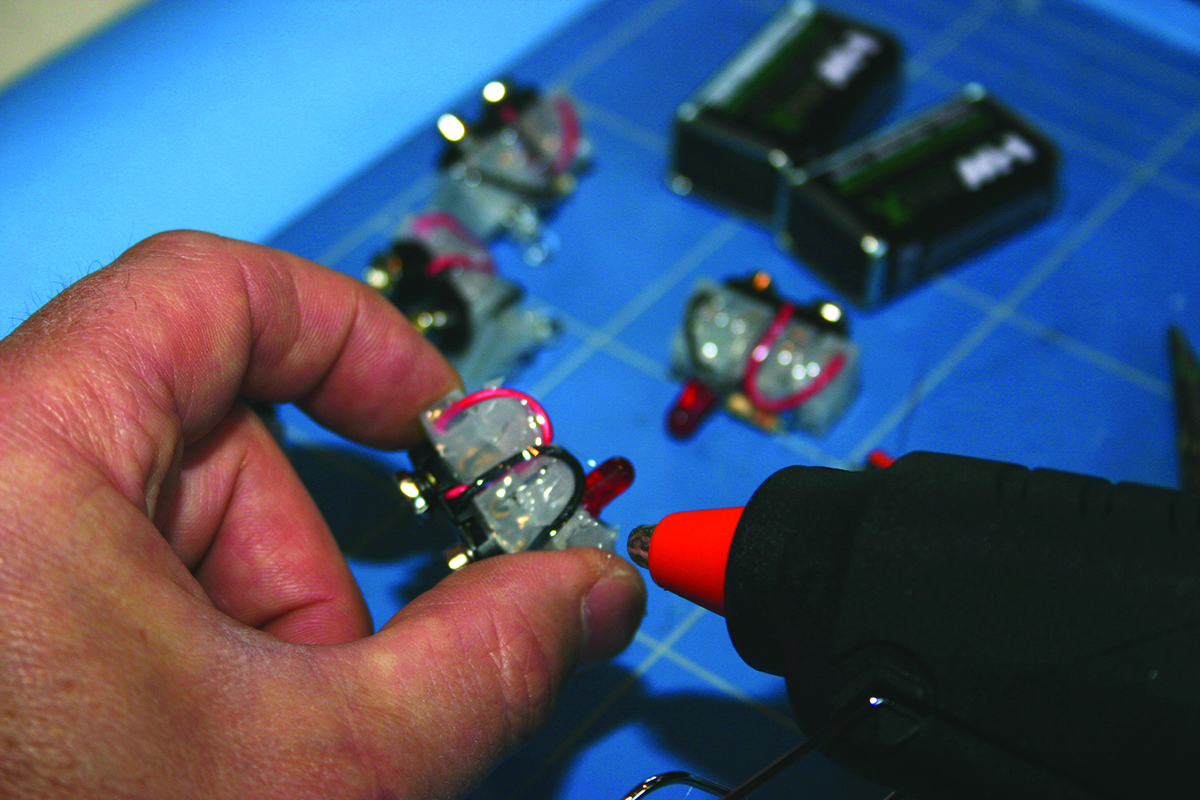
A red light torch is a vital tool for astronomers, as it helps you find your way in the dark or check star charts without spoiling your dark-adapted vision. In this guide we'll show you how to make a very simple torch using a red light emitting diode (LED).
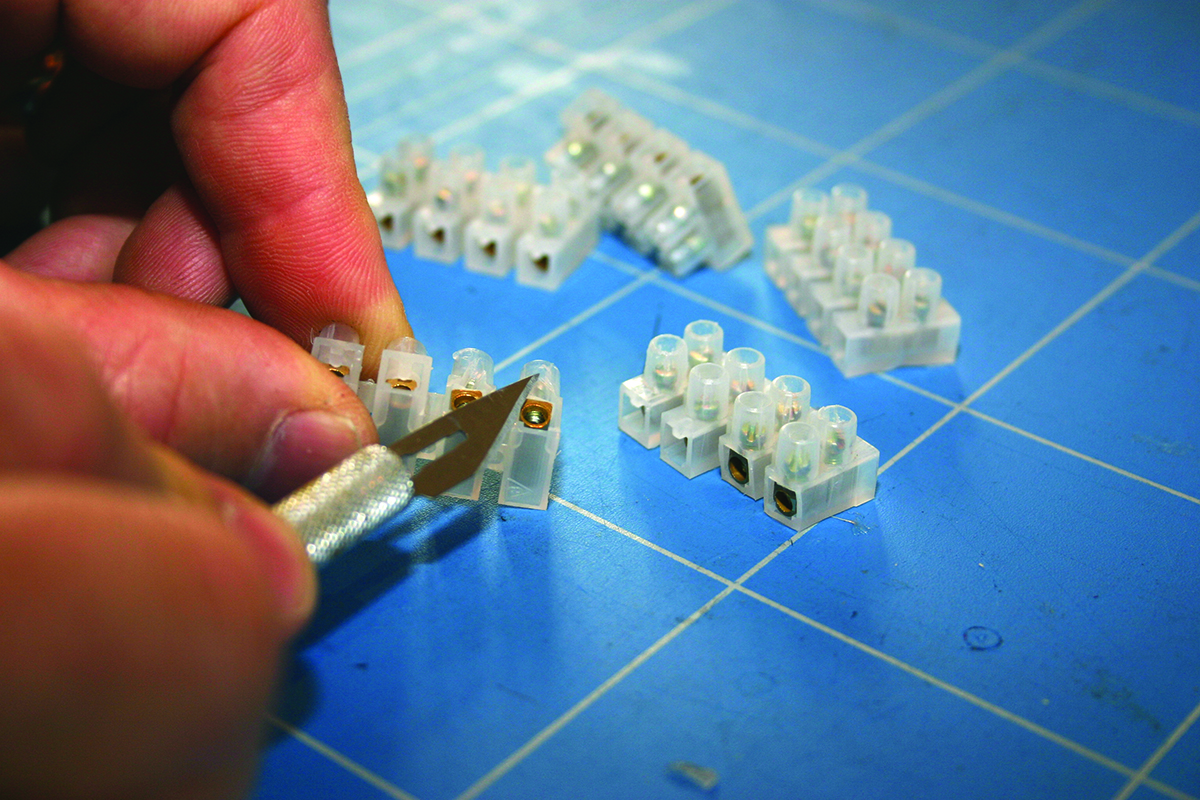
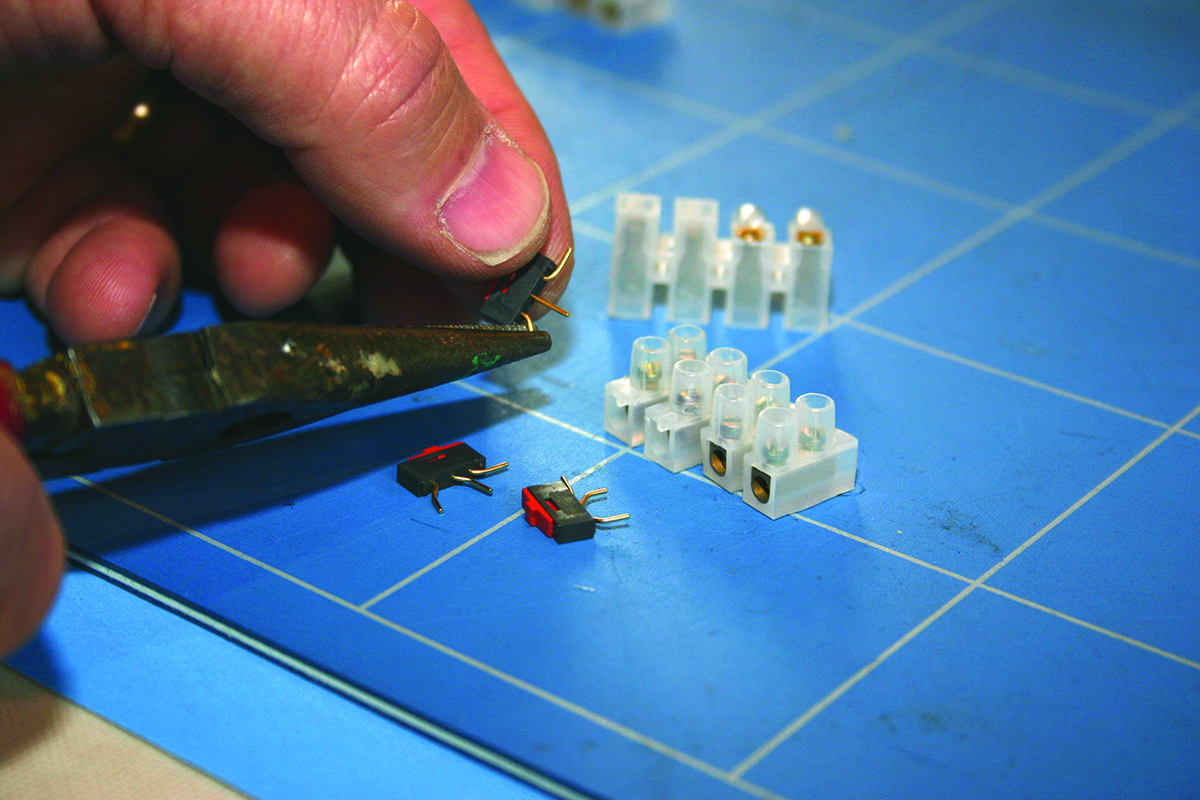
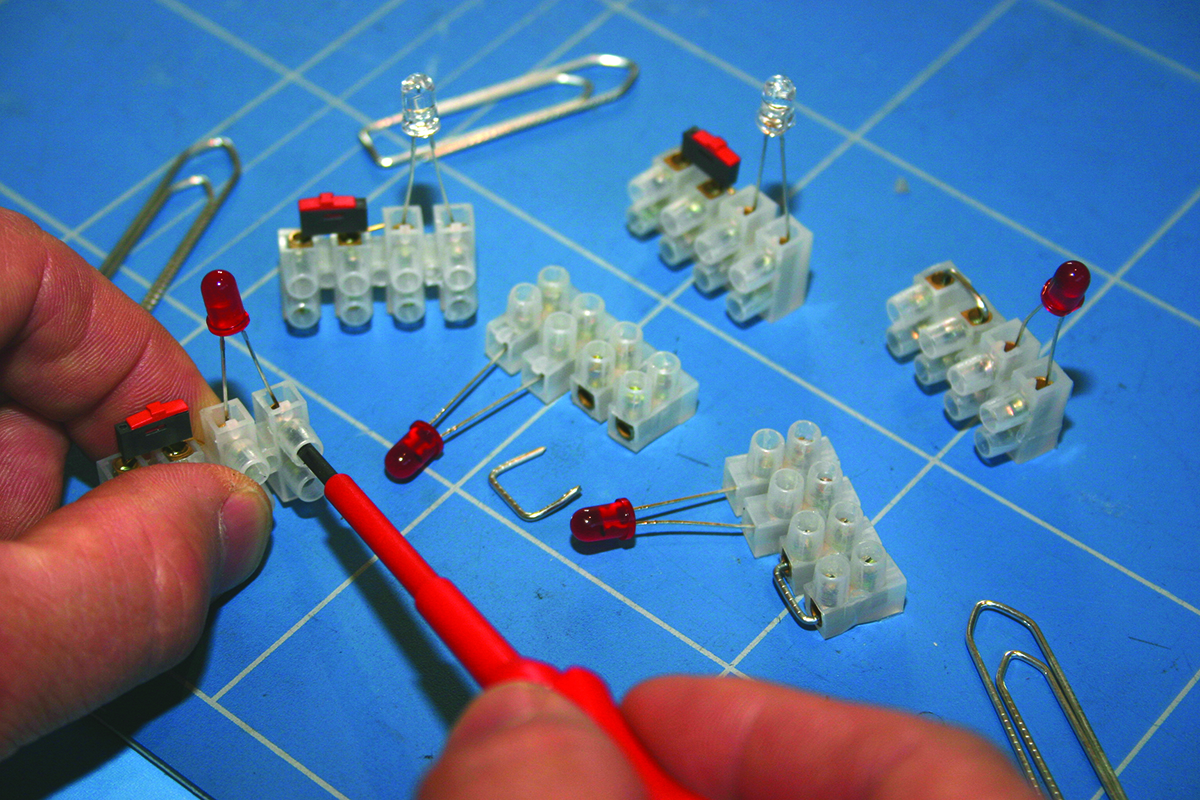
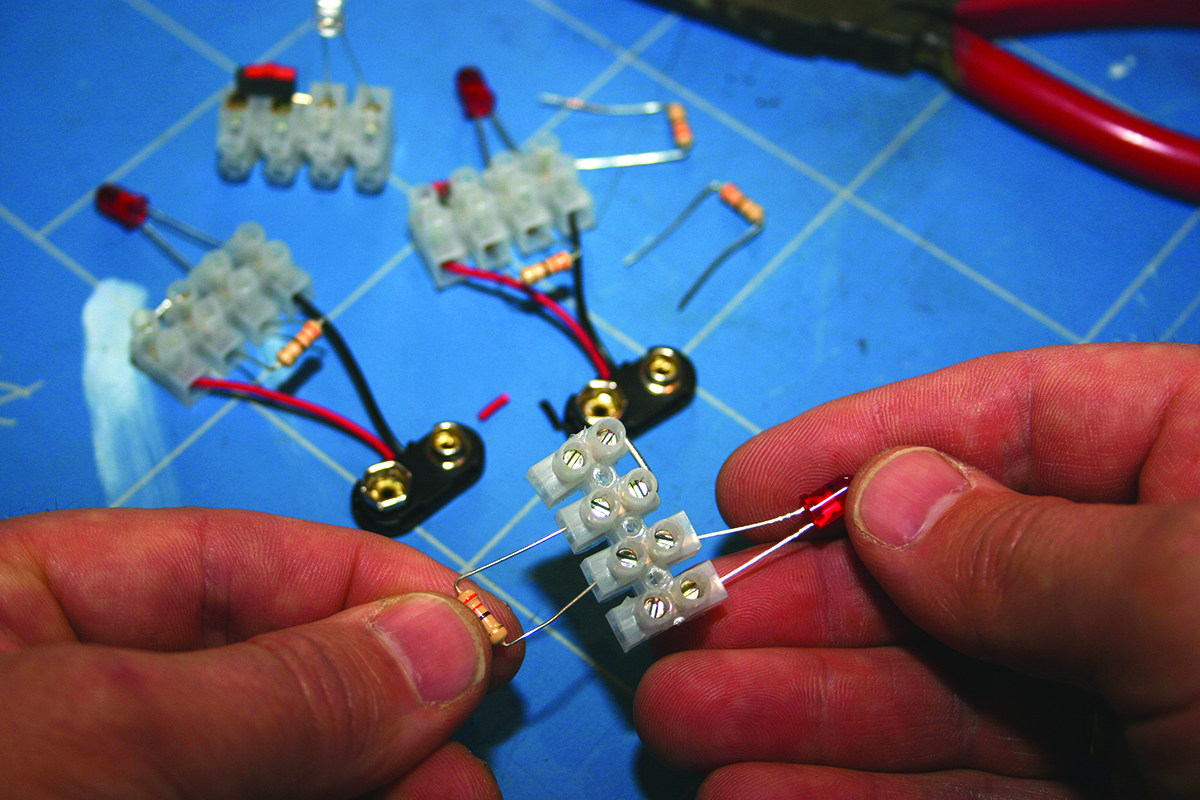
You won’t need any electronics, expertise or soldering skills because we’ll be using ‘chocolate box’-type terminal blocks, for which you only need a screwdriver to join the parts together.
And although some of the components are quite small, they’re easy to work with and don’t require any special handling.
More DIY astronomy
- Set up a Raspberry Pi meteor detector
- Make an LED torch pointer
- Build a smartphone holder for your telescope
The torch doesn’t have a casing as such. It’s really just a small cluster of parts which, once connected and checked, are held together with glue and sit on top of a snap-on battery connector.
The resulting ‘blob’ can be clipped onto any standard PP3 9v battery – the square type found in household smoke detectors – and will provide many hours of useful light.
Because the completed torch isn’t much larger than the battery itself, it can easily be stored in an eyepiece box or carried in a pocket.
Our step-by-step guide explains how to make a standard hand-held version of the torch, but with a little ingenuity you’ll be able to customise the design to meet a variety of needs.
What to use your red light torch for
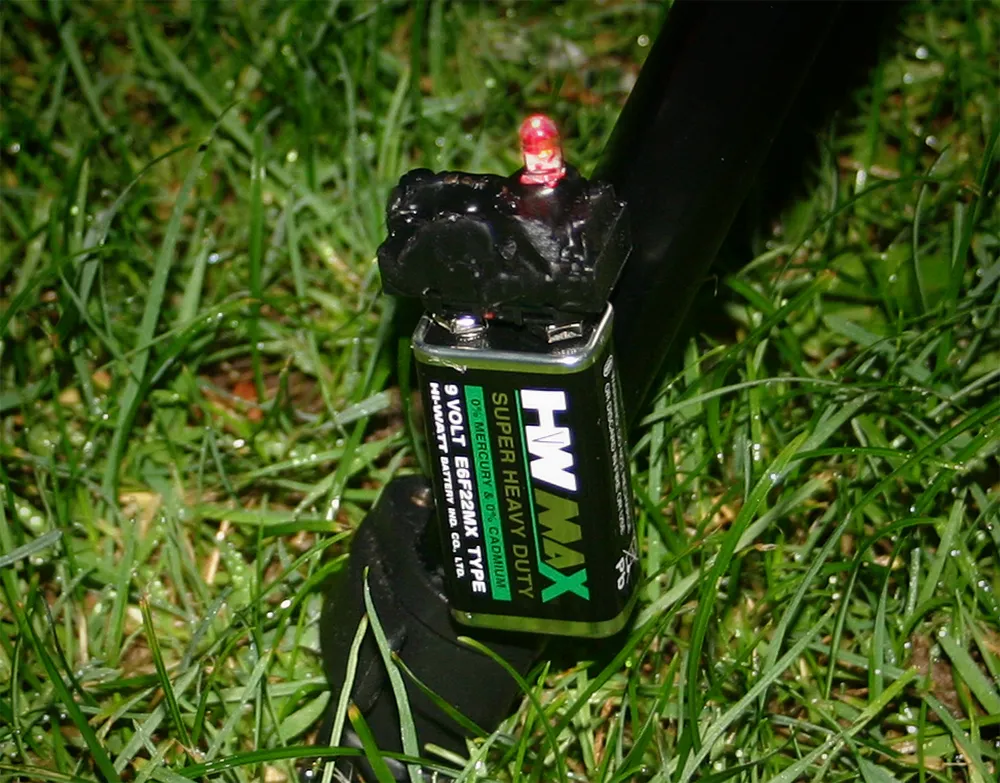
A bright red LED is useful for finding your way around and searching for dropped items.
By fitting self-adhesive Velcro pads, you can attach your torch to different parts of your setup for hands-free illumination.
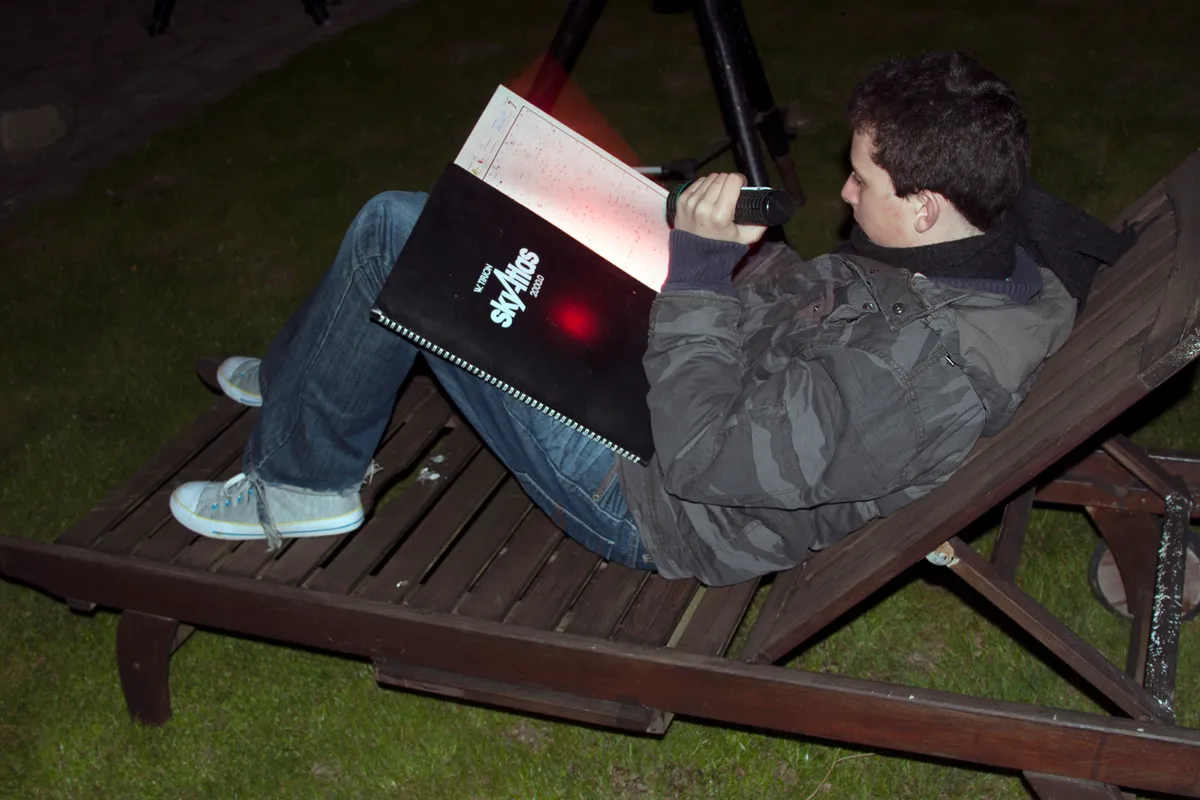
A lower-powered red LED version, attached to a simple wooden stand, is invaluable for reading sky charts or sketching.
By using flashing red LEDs you can make effective, eye-catching warning lights. These can be attached to the feet of your tripod or boxes of equipment so other people can avoid tripping over them.
Why use a red light torch?
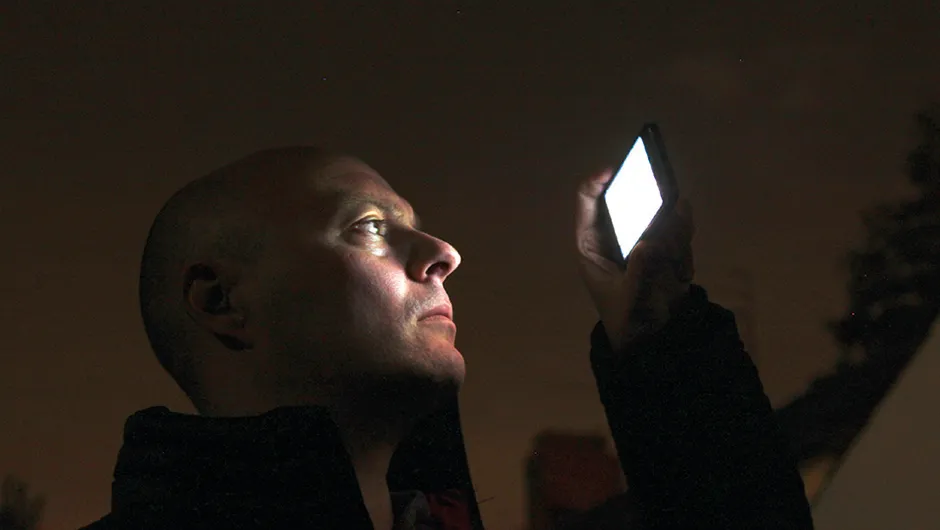
The red light produced by these LEDs is invaluable to astronomers since it doesn’t spoil night vision – when our eyes become sensitive to very low levels of light and pick up fainter objects when observing.
The retinae at the back of our eyes have two types of sensor cells – rods and cones. The rods pick up very low levels of light, becoming extremely sensitive when it has been dark for a while.
Our eyes become adapted to the dark gradually – it can take up to 20 minutes for them to become fully adapted.
Sudden bright light sources like normal white light torches, car headlights and camera flashes spoil this sensitivity. But the pure red light generated by LEDs has virtually no effect on the rods, so we can make red torches and warning lights that don’t spoil night vision.
For this reason it's also worth turning your smartphone screen red if possible, as the bright screen will spoil your night vision. Read our simple shortcut to turn your iPhone screen red.
And for more on the science behind seeing, read our guide to averted vision.
Equipment you'll need to build your red light torch
The components required to make the torches (LEDs, switches and resistors) are readily available from electronics suppliers and are relatively inexpensive.
And if you make several torches – all for yourself or perhaps for friends in a local society – you can buy the parts in larger quantities, which keeps costs even lower.
Our design might be described as more ‘practical’ than aesthetically pleasing, but in just a few minutes you can create a useful set of lights for a fraction of the price of the commercial alternatives – and maintain everyone’s night vision as well.
For extra help, download our wiring diagram and photos to help you build your red light torch.
