Green lasers are very useful as star pointers when we show people around the sky at star parties and astronomy events. But there has been concern about their use, especially in built-up areas and near airports, with some astronomical societies banning them.
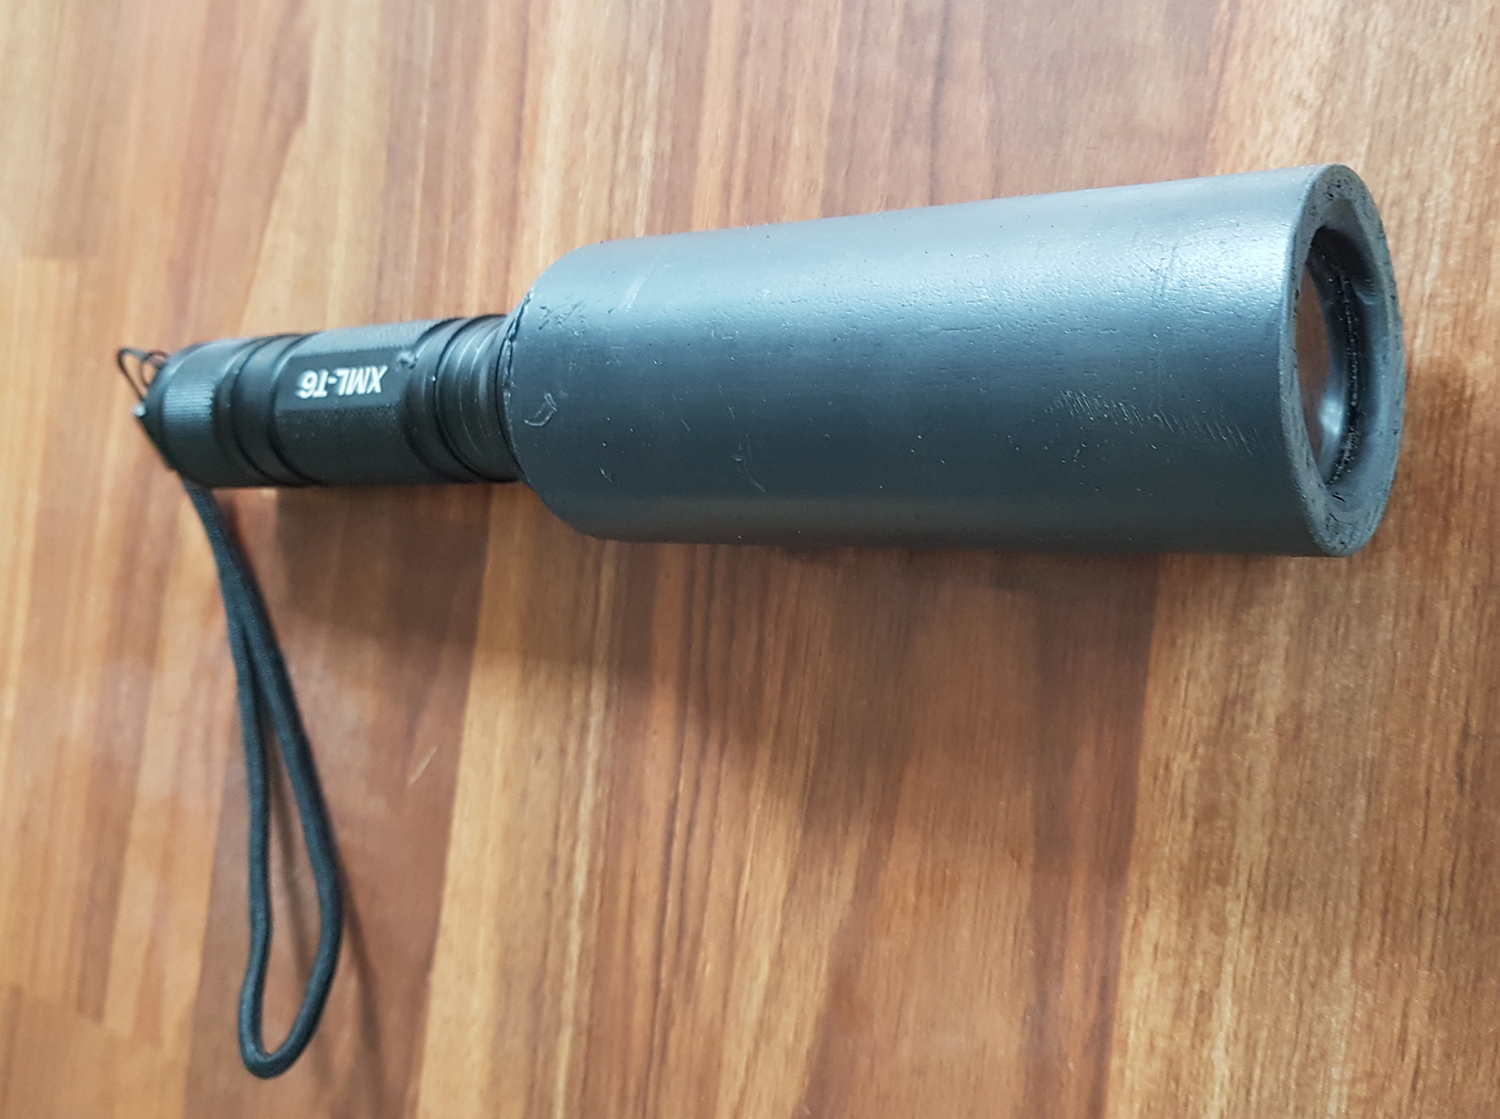
The advent of inexpensive but powerful compact LED torches with adjustable focus gives us an opportunity to make a safer alternative.
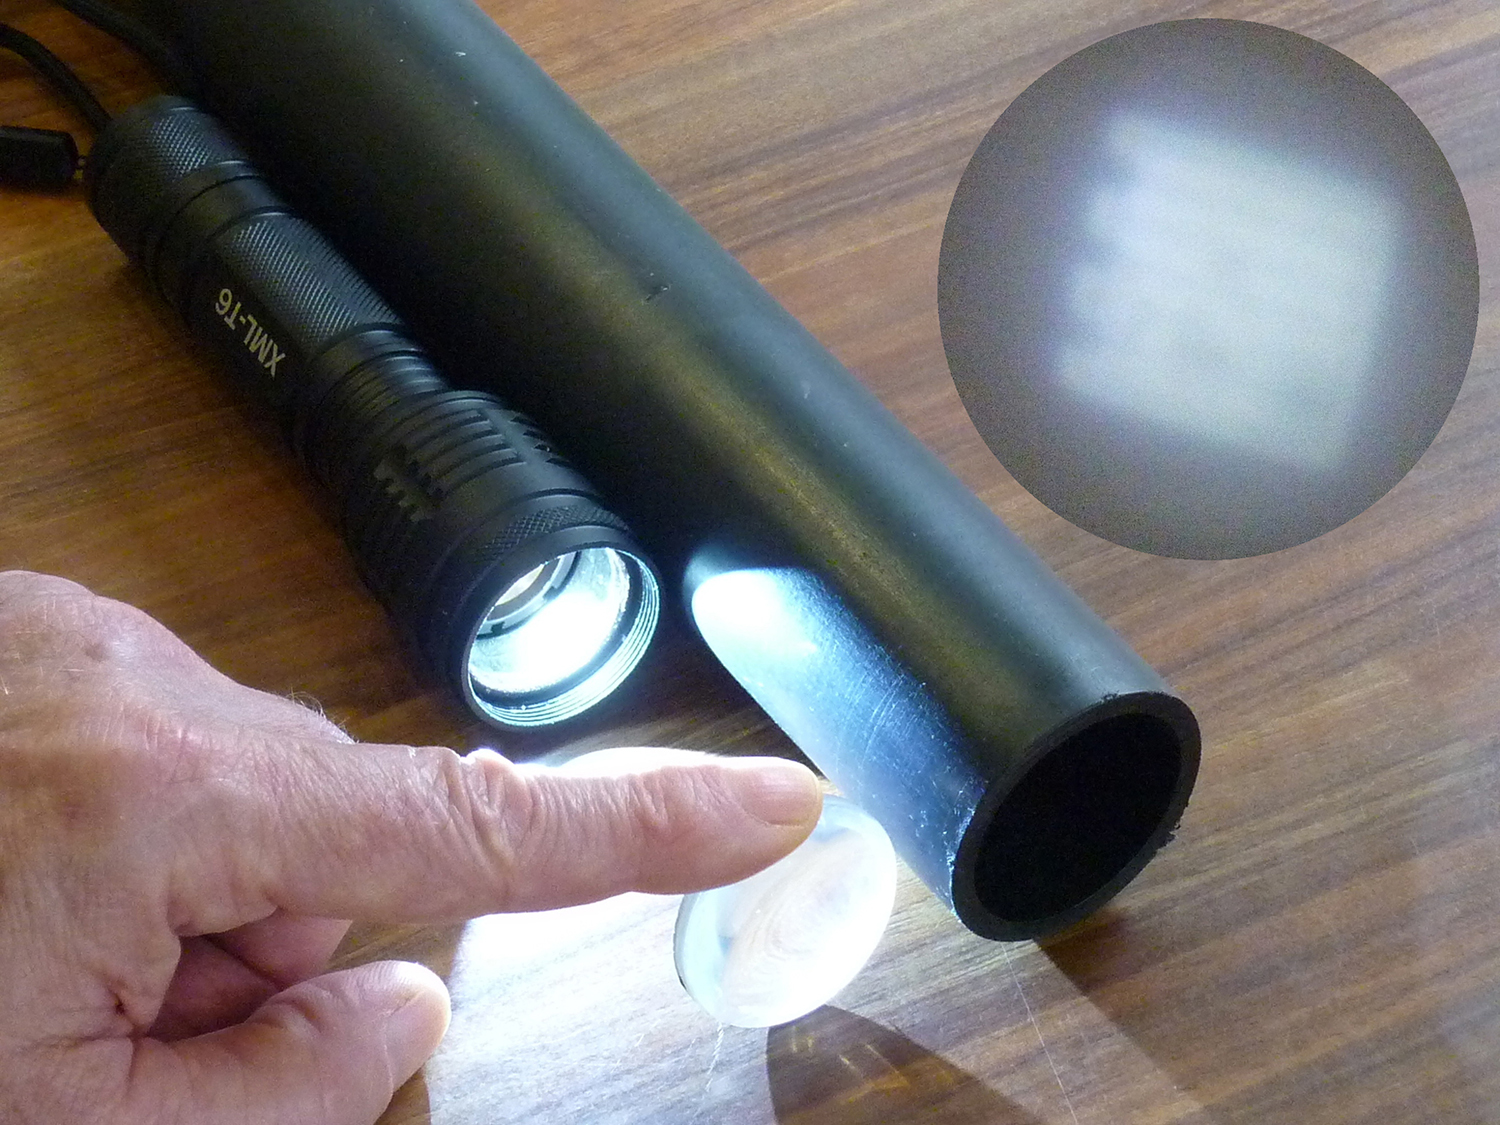
Although these LED torches are focusable, they do not produce the narrow pencil of light that makes a good pointer. To achieve that we need to extend the torch and replace the existing lens with one of a greater focal length.
You will need a torch with a bright LED because our conversion will result in a beam that is dim: we used one with a specified luminous flux of 1,000 lumens.
We’d recommend that you read the reviews when buying online as some of the sellers’ brightness claims are rather optimistic. If you get a torch that gives you the option of AAA or 18650 lithium-ion batteries, use the 18650 as this will give you a brighter beam, last longer, and can be recharged.
Adjustable focus makes the accuracy with which you must cut the tube and assemble the parts far less critical, because you can use the adjustment to compensate for any imprecision.
We used an IceFire T70 torch with an XML-T6 LED as this met all the necessary criteria for this project, but you can search around for a similar model.
You will need to replace the torch’s lens, so the lens cell should be one that unscrews. Our existing lens had a focal length of 25mm and we needed a replacement with a focal length about four times as great. We also needed to extend the torch with a length of tube.
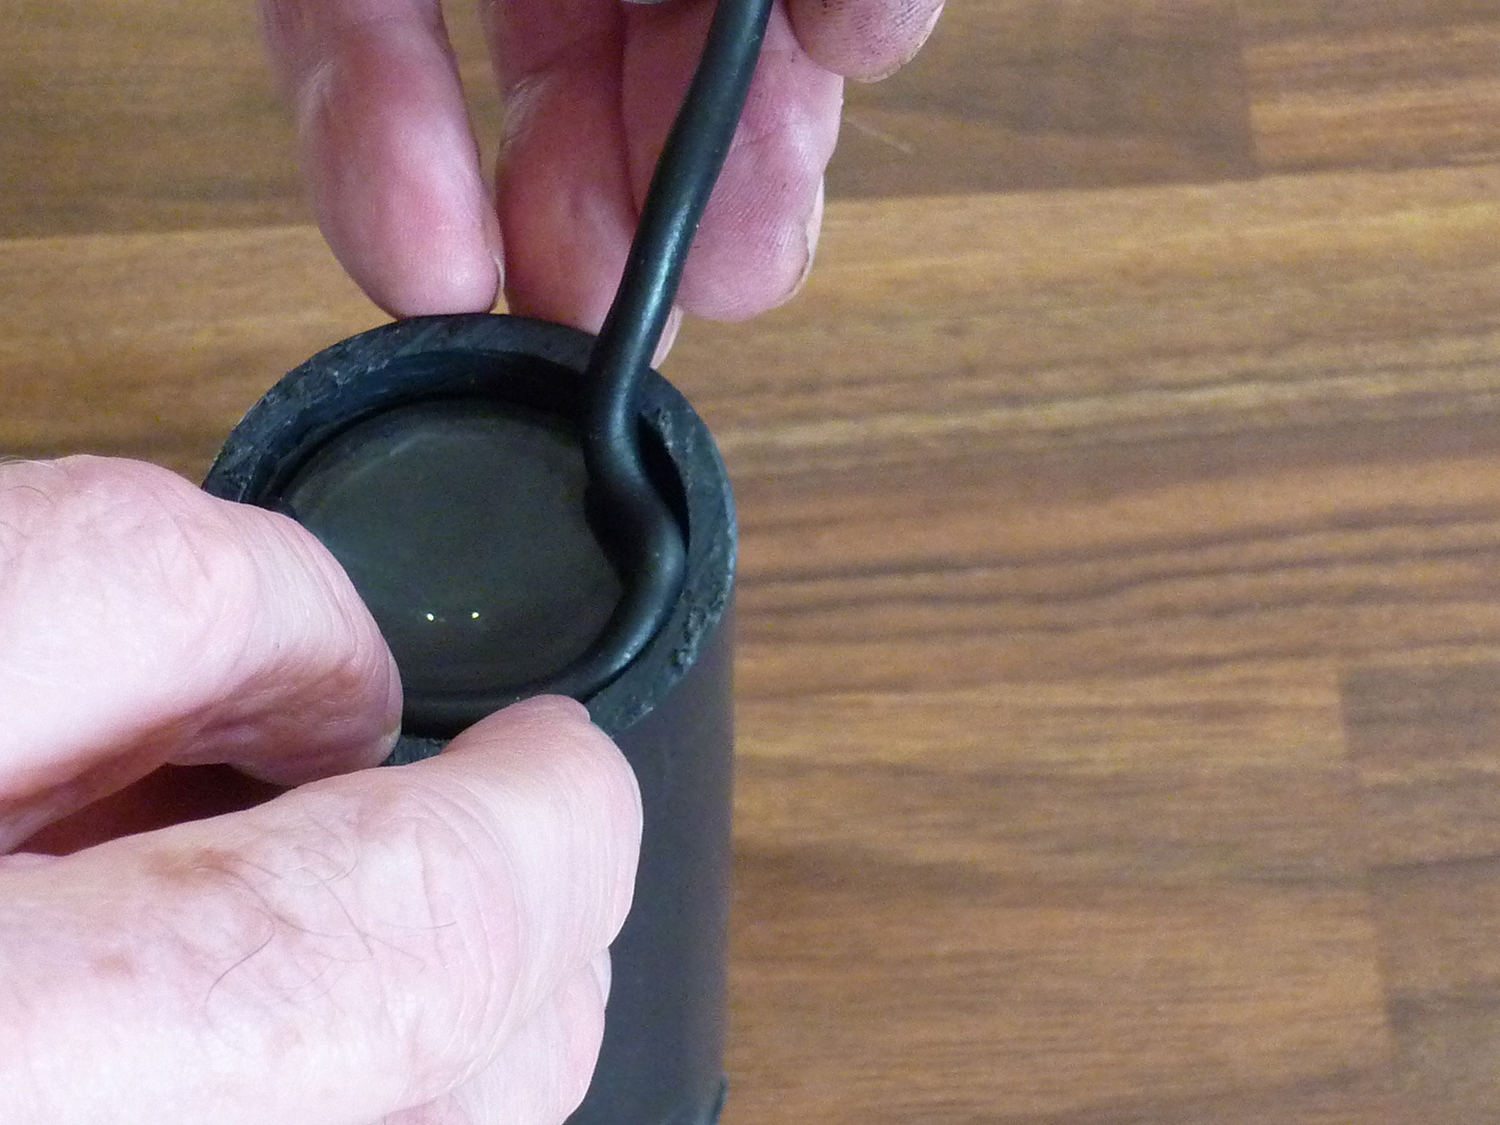
To cement the parts together we used mouldable glue, which sets with a pliable rubbery consistency and fills gaps, so the tube doesn’t have to fit tightly.
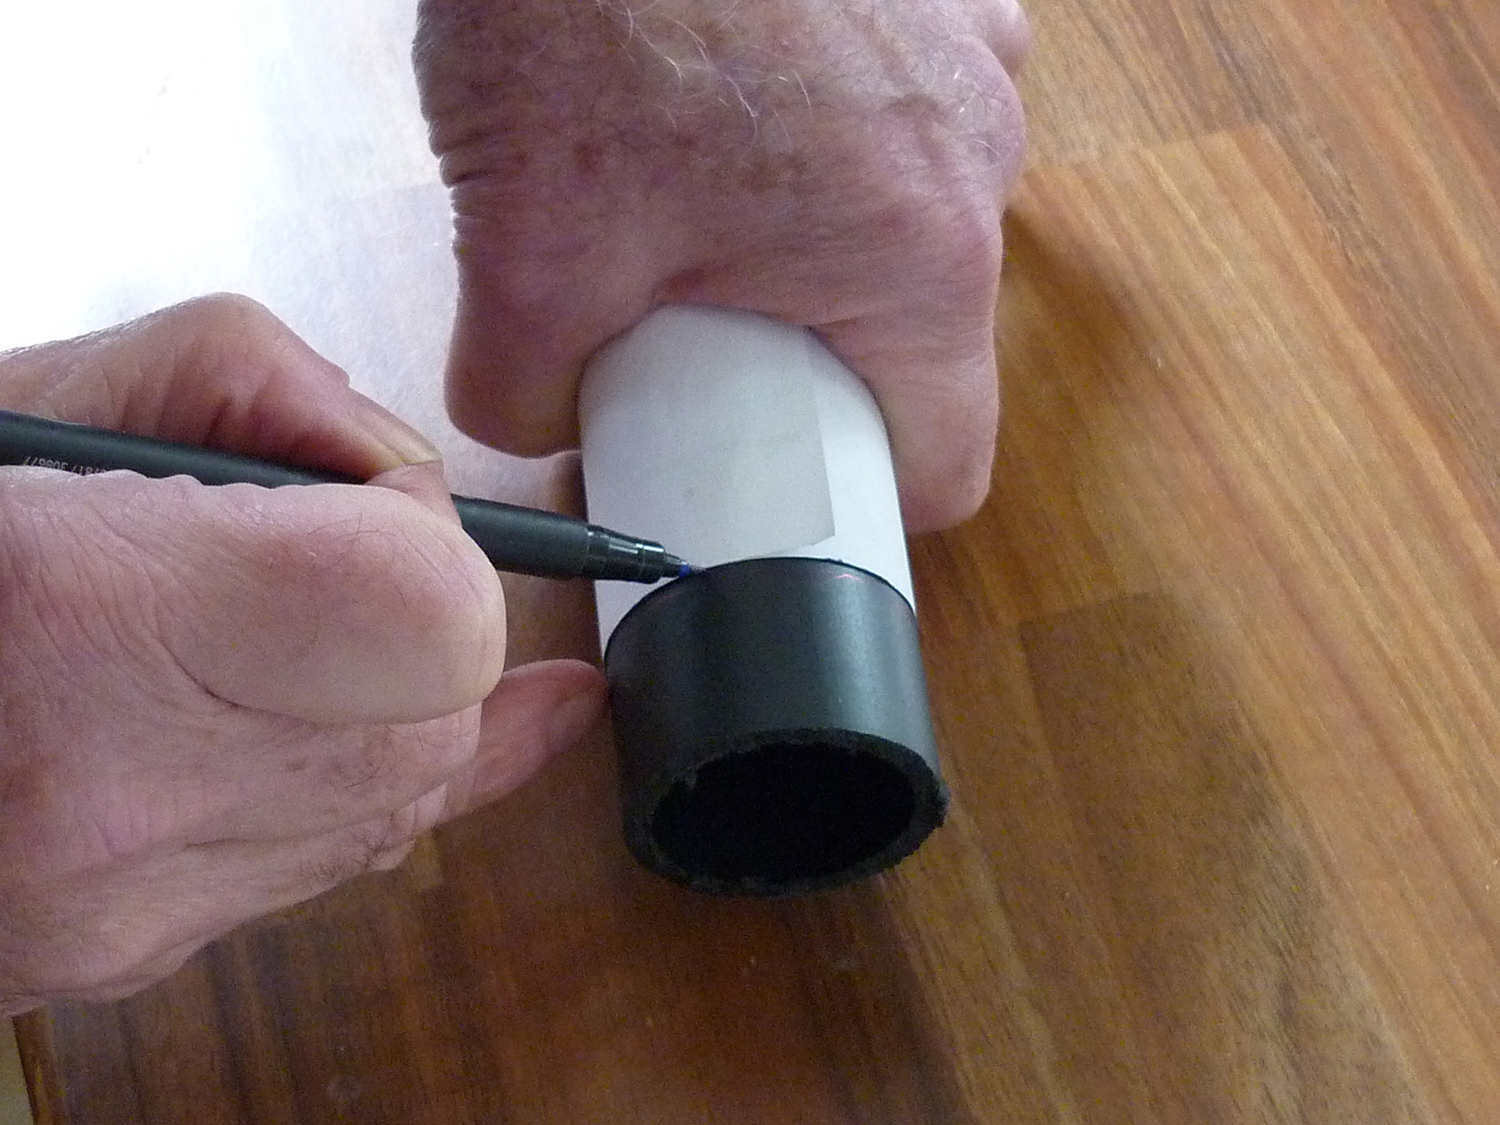
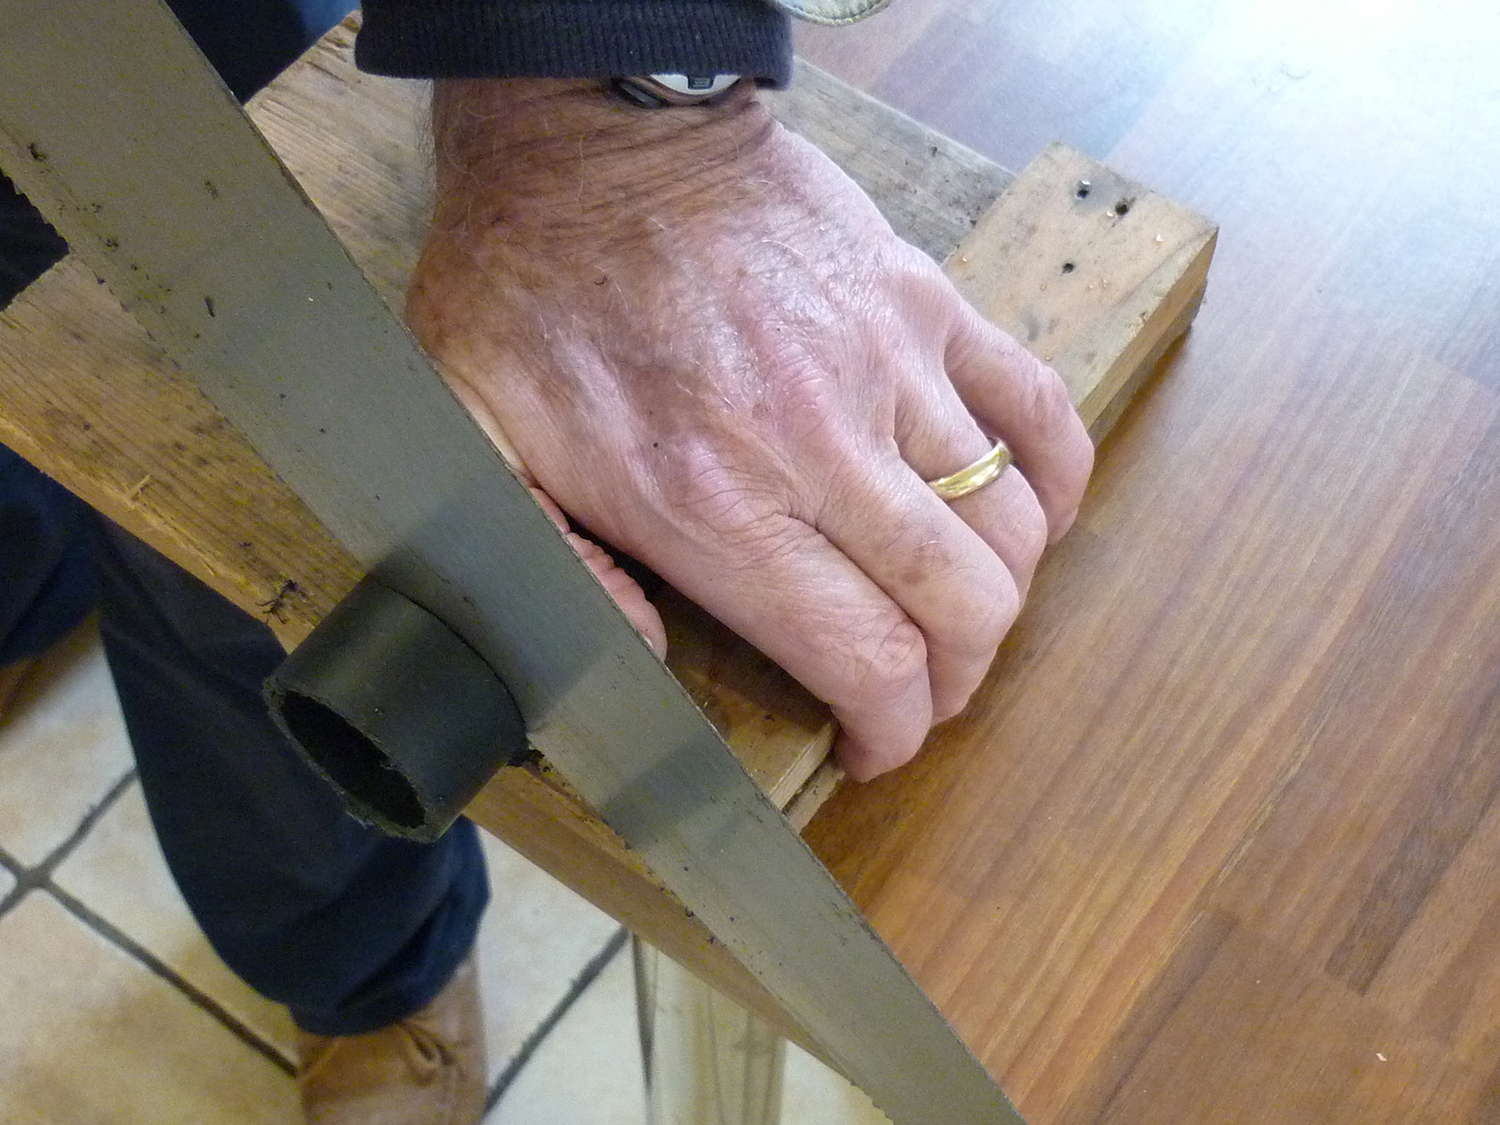
Measure the diameter of your torch and if you don’t already have a tube, use online pipe data tables like the one found here for PVC pipe measurements to find a suitable product. Avoid polyethylene tube as mouldable glue won’t adhere to it.
Your replacement lens needs to be smaller than the inside diameter of the pipe, but the larger it is, the brighter your beam will be, so use as large a lens as you can.
The exact focal length is not critical. Ours is 100mm, but a 20% difference either way will still be satisfactory. For the same diameter lens, a longer focal length will give you a narrower, but less bright, beam and will, of course, create a more unwieldy result.
We obtained our lens from a damaged eyepiece which, along with used budget eyepieces, are a good source of lenses. If you have to purchase a lens, note that optical quality is not important for this purpose, so even a cheap plastic one will give you a clear enough beam to guide people around the sky.
