Every year, dozens of asteroids large enough to destroy a city narrowly miss Earth.
Though there are several searches currently hunting for these potential killers, such as Pan-STARRS and the Catalina Sky Survey, many close passes are only discovered after the asteroid has already zoomed by.

With more and more asteroids being discovered and their positions noted, and asteroid 2024 YR4 making headlines as a potential (albeit slim) threat to Earth, the time has never been better for astronomers at home to observe these passing space rocks for themselves.
Here we'll tell you everything you need to make your start in asteroid watching.
Where asteroids are in the Solar System

Main belt
Most asteroids are found in the main belt between Mars and Jupiter, between 2 AU and 3.2 AU (astronomical units). Between one and two million are over 1km across, though there are thought to be hundreds of millions that are smaller than this.
Trojans
Located 60º ahead of and behind a planet are two stable gravitational ‘wells’. Asteroids that fall into stable orbits in these wells are known as Trojans. Jupiter has by far the most, with over 6,000 that we know of.
Hildas
Found between 3.7 AU and 4.2 AU, these asteroids have a 3:2 orbital resonance with Jupiter. We know of around 1,100 Hilda asteroids.
Near-Earth objects
These are the asteroids that orbit within the inner edge of the asteroid belt. We know of over 16,000 objects in this region, though there are likely many times more. There are two classes of asteroids that cross Earth’s orbit: Atens asteroids and Apollo asteroids.

Pick your asteroid
Start with the right asteroid.
"It’s best to start with a bright object," says Richard Miles, director of the Asteroids and Remote Planets Section of the British Astronomical Association.
"If you have a 6-inch aperture telescope or larger, there are so many possibilities."
How bright an asteroid appears depends on its size and proximity.
Most can only be seen when they’re at opposition or on their closest approach to Earth.
Though the brightest objects, such as Vesta and Ceres, will be visible with a small telescope or binoculars, the majority of asteroids will require a larger instrument.
Whatever your setup, you can find out what asteroids will be visible at minorplanet.info.
The website holds a table of the positions of most known asteroids, known as an ephemeris service, and allows you to filter by factors such as date, brightness (limiting magnitude) and position (declination).

Find out when it's visible
Once you have selected an object to focus on, you will need to work out where on the sky it will appear during your observing window.
The Minor Planet Center, a website run on behalf of the International Astronomical Union, has another ephemeris service that allows you to generate accurate RA and dec. coordinates for asteroids at time intervals of anywhere between a few seconds and several days.
Additionally, several observing planners, such as Cartes du Ciel, SkyTools3 and MegaStar, not only allow you to search for potentially visible asteroids, but also allow you to create a star
chart to help you find them.
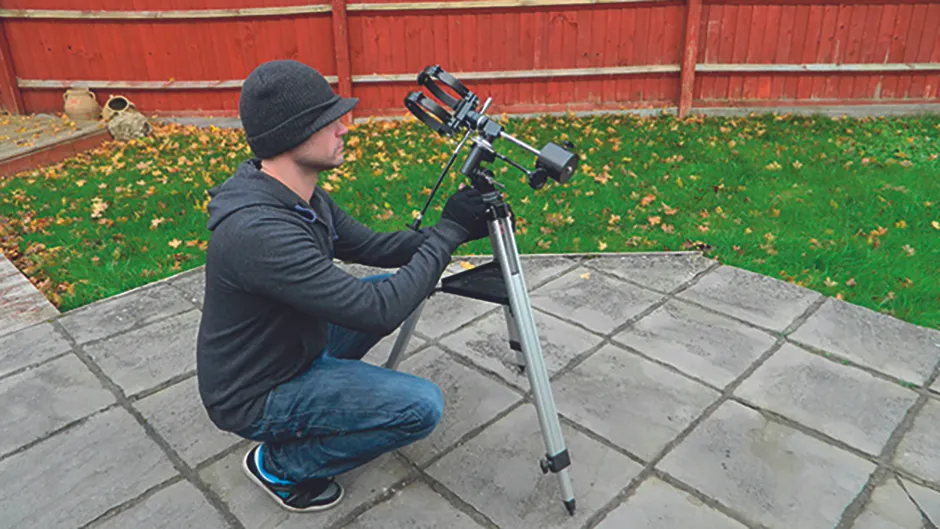
Get set up for observing
Now you’re ready to head out and start observing your asteroid.
Start by polar aligning your scope and mount as precisely as you can, as this will make finding an asteroid much easier.
If you don’t have a Go-To mount, it’s best to find a bright star close to your intended target and then star hop until you reach your intended area of sky.
Once in position, there should be what appears to be an extra star nestled in amongst the regulars – a potential asteroid.
However, verifying this takes time as asteroids move across the sky imperceptibly slowly, so you will need to record your observations.
Make a sketch of the view, including a dozen or so nearby stars as a reference.
Return to the eyepiece a few hours later, or even the next night, and make a note of the body you thought was an asteroid.
Has it moved? If it has, you’ve detected your first asteroid.
Collect data
Next comes a bigger challenge: astrometry, or measuring an asteroid’s position.
Not only is this an interesting test of skill, but it can also help defend the planet.
Most of the professional asteroid search programmes, such as NEOWISE, ask amateur astronomers to submit their own measurements to keep tabs on these celestial wanderers.
This allows scientists to predict an asteroid’s path more accurately, and calculate whether there is a risk of it colliding with Earth at a future date.
The MPC allows members of the public to submit positional data for asteroids.
There are several campaigns, such as NASA’s Target Asteroids! and those run by the British Astronomical Association, that will list specific asteroids to track, but the MPC will accept positional data for any asteroid you choose to try your hand at measuring.
Here, though, a simple sketch won’t be enough. You will need to take images, and for that
you’ll need a monochrome CCD or CMOS camera.
A colour one won’t suffice, as Miles explains: "Colour cameras have the three different sensors – red, green and blue – in a matrix on the chip, so you don’t have a simple method of recording the position, because the different colours are spread over slightly different parts of the sensor.”
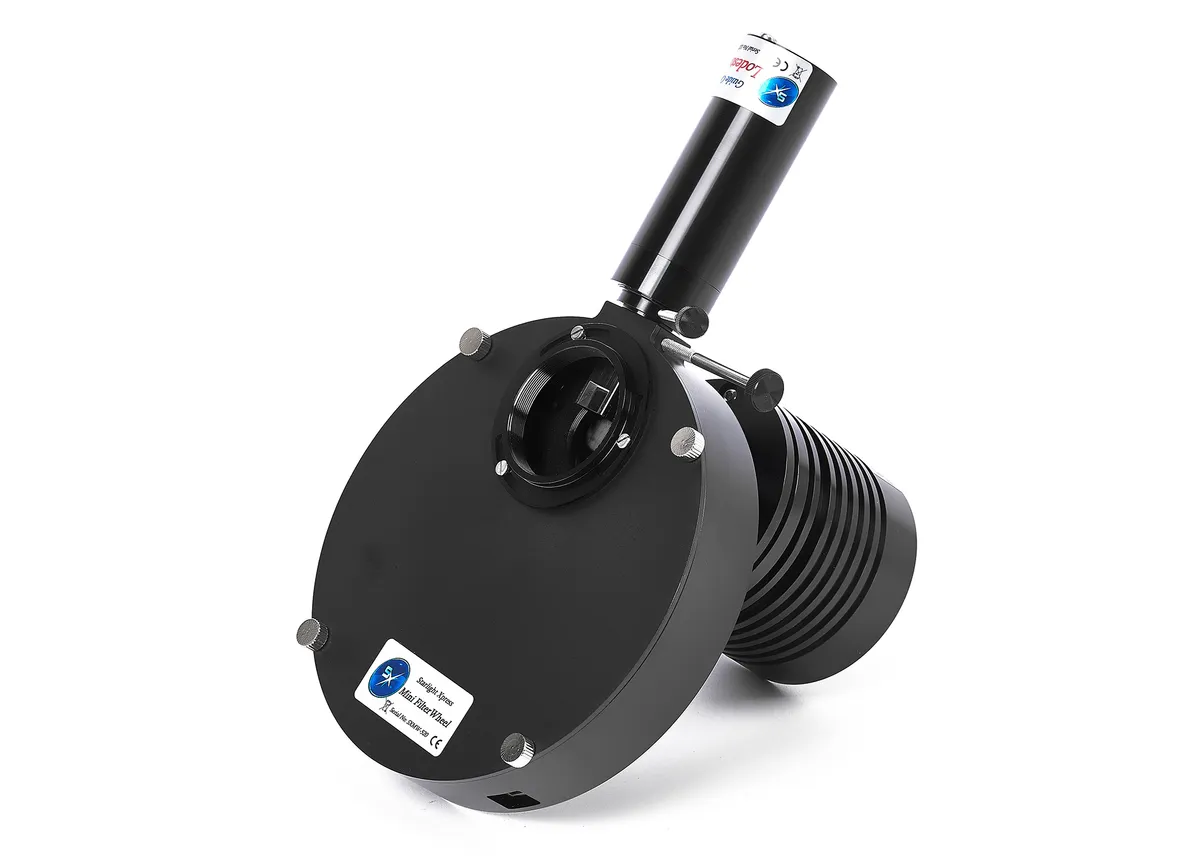
Choose your camera
Exactly what camera is best will depend on your setup.
To get useable positional accuracy, aim for a pixel scale no greater than 3 arcseconds per pixel.
However, the field of view should be wide enough to include several reference stars that can be used later to pinpoint the position of the asteroid.
A good Go-To mount is also recommended. Not only will this make finding the asteroid easier, it can be set up to write positional information directly into the image file.
"The header of the image needs to list exactly where the telescope is pointing,” says Jay Tate, director of the UK’s Near-Earth Object Information Centre, also known as Spaceguard.
"You can put that in manually, but it’s a chore. A Go-To telescope will automatically write the RA and dec. into the file’s header."
If possible, your mount should be set up to write latitude and longitude as well as a precise
time code into the header. This will later be read by data reduction software.
There are several free programs available, such as Astrometrica, AstroImageJ or IRIS, as well as the paid-for MPO Canopus, AstroArt and MaxIm DL, that can help you to process your data and find the asteroid positions.

Photographing the asteroid
Now comes time to image your asteroid.
While a single exposure can be used, calibrating it with dark frames and flat-field frames will help increase your precision.
"If you are targeting a main belt asteroid you can also take a series of short exposure images and stack them together.
"This will give you a better signal-to-noise ratio than a single long exposure, and depending on how many images you take, you can reach a fainter magnitude than you would otherwise expect," says Tate.
"A near-Earth object would probably move in that time though, so it doesn’t work as well."

After taking the first image, it’s a good idea to run it through your data reduction software to ensure that you have the asteroid on frame, and that the telescope’s positional data is correct.
However, creating full astrometry data will require at least three images, taken with enough time between them to show that the asteroid has noticeably moved.
"For an asteroid in the main belt, if you leave 15-20 minutes between exposures you should see movement," says Tate. "For a near-Earth object the time can be much shorter."
With all the data taken, it’s time to process it using your data reduction software.
It’s a good idea to perform dark subtraction, flat-fielding and aligning before you load your images into the software.
You can visually confirm that you have caught the asteroid by skipping between images, searching for a dot moving across the frame.

To create the astrometry data, the software will use the RA and dec. of the centre of the image to locate the background stars, the positions of which are known to a great degree of accuracy.
From these it can then work out exactly where the asteroid is.
Most data reduction packages will output this data as a file which can then be submitted to the MPC.
If you catch the bug and start tracking more objects, trying to push the magnitude limits of your scope, the MPC may choose to assign you an observatory code, signifying your home as a watchtower keeping its ever-vigilant eye on the sky.
If you have success observing and photographing an asteroid, let us know by emailing contactus@skyatnightmagazine.com.
This article appeared in the July 2017 issue of BBC Sky at Night Magazine.