Building a permanent post, or pier, for your telescope to sit on is a step up from using a tripod.
For observing the heavens through the eyepiece, it means you can be set up in minutes, and it’s ideal if you’re an astrophotographer too.
It’ll be a more rigid platform for your kit that can’t easily be knocked out of position.
Plus, you only need to polar align your telescope once.
You can buy telescope piers, but they are surprisingly expensive.
Here, we’ll tell you how to build one for a fraction of the cost.
Choosing your telescope pier's location
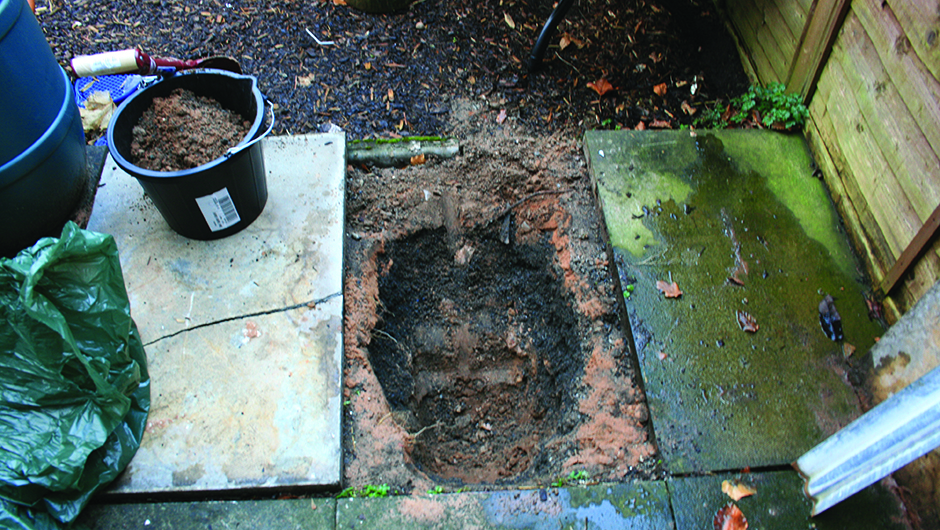
The first thing to do is to choose a site for your pier.
This should have a clear view of the north celestial pole so that you can polar align your scope, and should be relatively clear of obstacles and bright lights blocking your view.
If you use a desktop computer for autoguiding or astrophotography, you might want to consider siting the pier close to a door, since the various USB and connecting cables are typically only about 5m long.
You can get most materials used to build this pier from your local DIY store, apart from the underground drainage pipe for the main column, the metal plate that the mount is attached to and some small metal spacer blocks.
The pipe can be bought from a building trades supplier, while the metal plate, which is a piece of off-cut 1.25cm-thick mild steel, can be sourced from your local engineering company.
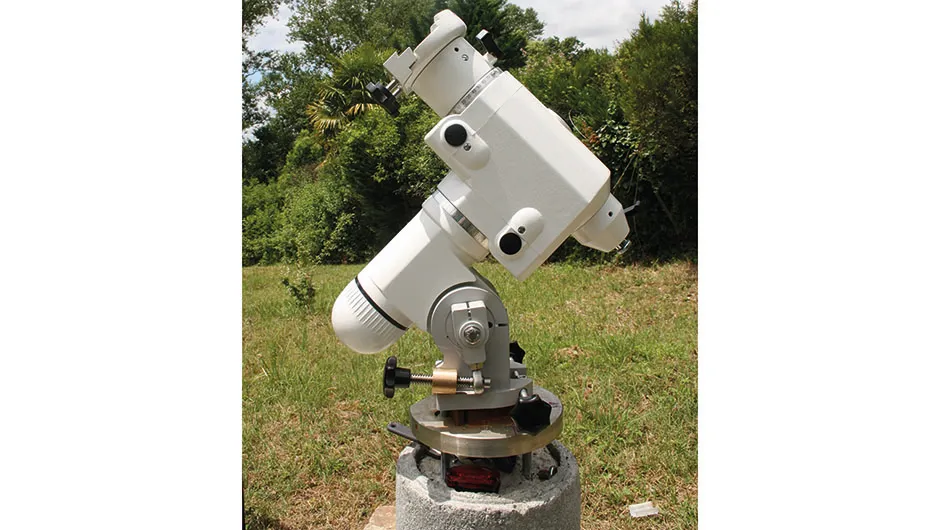
Get the spacer blocks here too; they support the collar of our mount, an HEQ5, making it even more steady.
The base of your mount may be different, so check and measure your requirements first.
You can also buy mounting plates tailor-made for your mount; some astronomical suppliers call them pucks.
The drainage pipe is filled with concrete to make it solid; mix three parts aggregate (stone and sand) to one part cement to make this.
Both can be bought from any DIY shop, and can be mixed a few bags at a time in a heavy-duty plastic storage box.
Tools and materials
Aggregate
For the concrete; nine bags of stone and sand mix.
Bolts
Four 12mm-diameter, 150mm-long.
Cement
For the concrete; three bags.
Hand tools
A shovel for mixing concrete and spanners for tightening bolts.
MDF sheet
12mm-thick sheet, and L-shaped brackets to fix it to the pier column.
Nuts
Eight, to match the bolts.
Plastic dustbin
For the cover. Get one with clamps that secure the lid.
Steel lintel
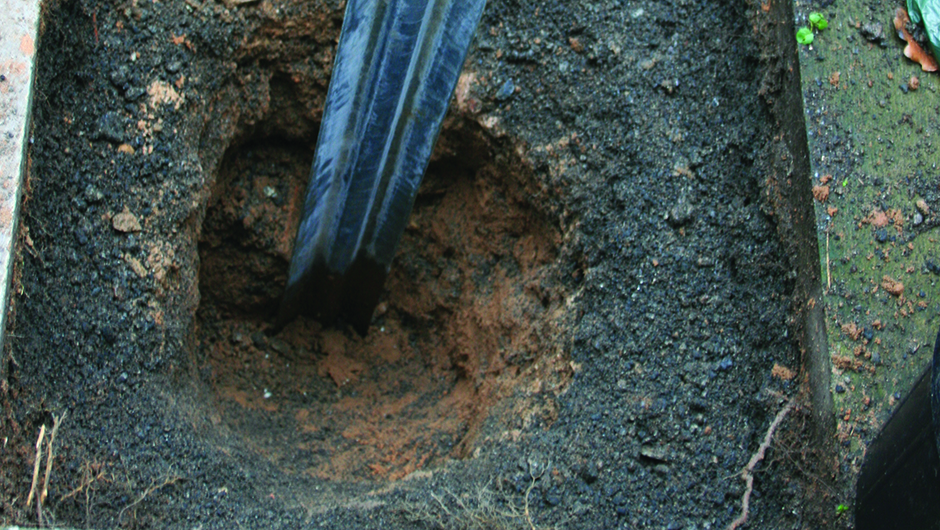
Runs down the centre of the column to add strength; should be at least 1.2m long.
Strong plastic box
Ideal for mixing the concrete.
Building the telescope pier
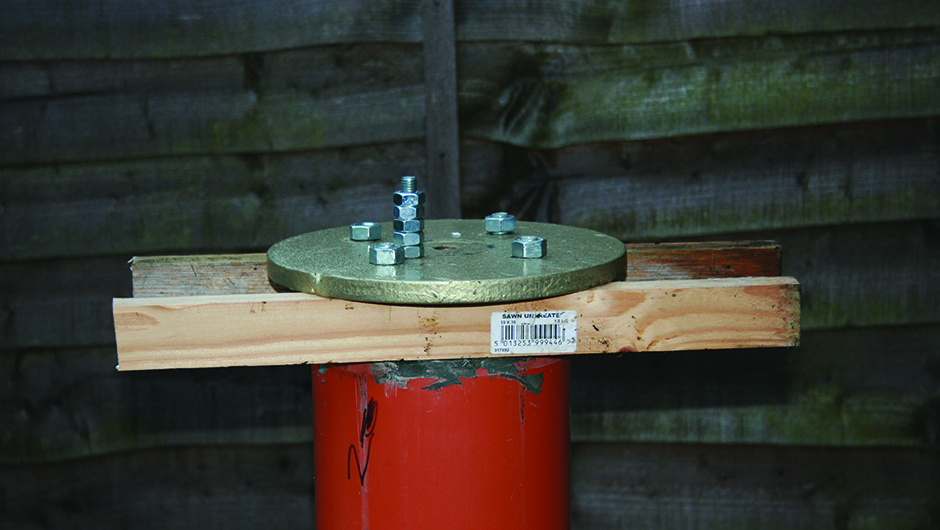
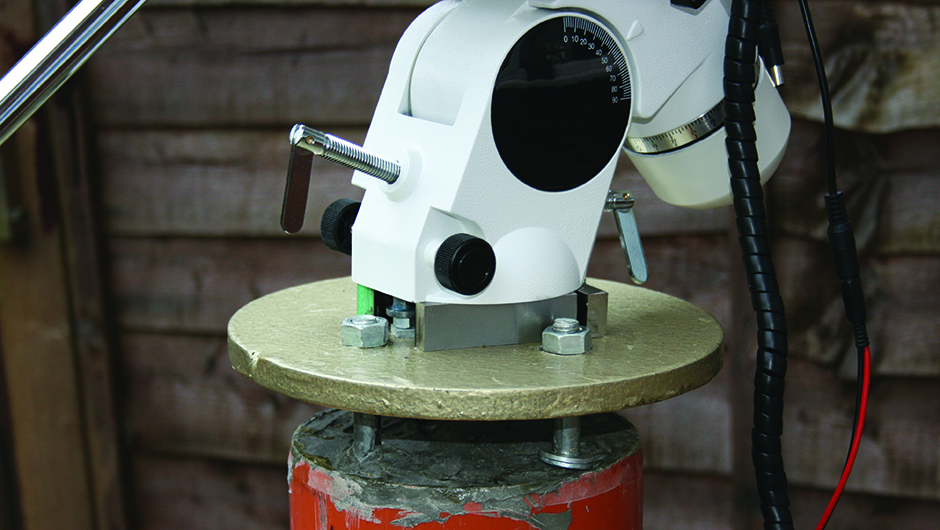
You’ll need four long bolts and eight nuts to secure the mounting plate to the top of the pier.
We used 1.2cm-diameter bolts for the HEQ5 mount, but check the diameter of the holes the bolts will go through on your mount before you buy them.
You’ll also need to have six holes drilled in the plate.
One is in the middle for attaching it to the mount; four go near the edge for the bolts that join the plate to the pillar.
Finally, one should be on the north side of the plate to take a bolt for the mount’s azimuth adjustment to work against.
Give the plate a couple of coats of metal paint to protect it from rust, then attach the bolts to the plate before filling the pipe with concrete.
When the concrete reaches the top, sink the bolts into the wet concrete head-first and put two pieces of 20mm-thick wood between the pipe and the plate to support it.
This will ensure that the bolts are set into the correct position, and as soon as the concrete is set you can remove the wood.
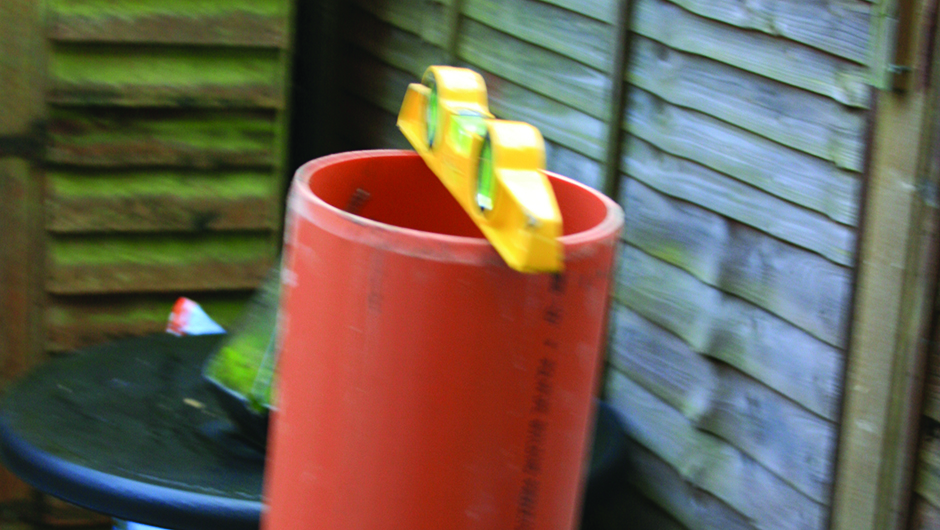
The gap is important for getting the plate dead level, and for getting a bolt upwards through the middle hole to secure the mount.
Shield the base
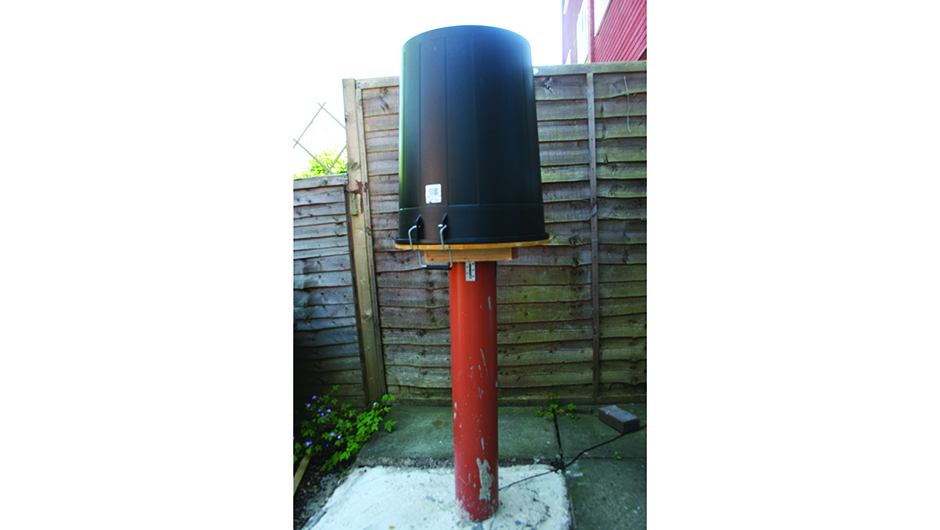
To protect the mount head, you can fix a circular MDF table under the metal plate with L-shaped brackets, varnish it and seal the gap where it meets the pier, then cover this with a black plastic dustbin to create a watertight cover.
The table was cut to the exact size of the top of the dustbin, which has two metal fasteners that hold it securely on the table.
With the telescope and counterweights removed, the dustbin can be easily slipped over the mount.
A coat of paint can brighten up the cover.
While this may not be the most beautiful observatory, it is entirely weatherproof and will reduce your setup time to just a few minutes so you can grab a quick opportunity to do some observing.
It is also rock solid, enabling you to take stunning astro images completely untroubled by unwanted movements and vibrations.
