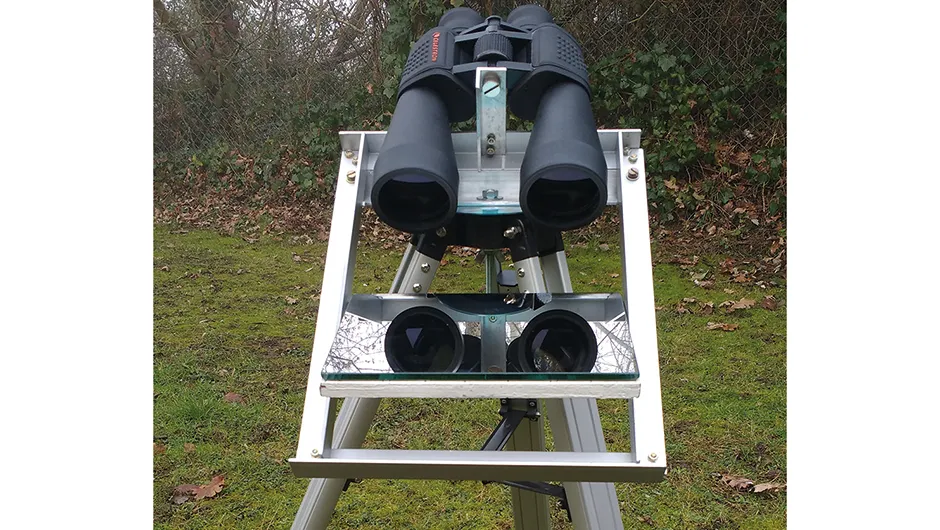
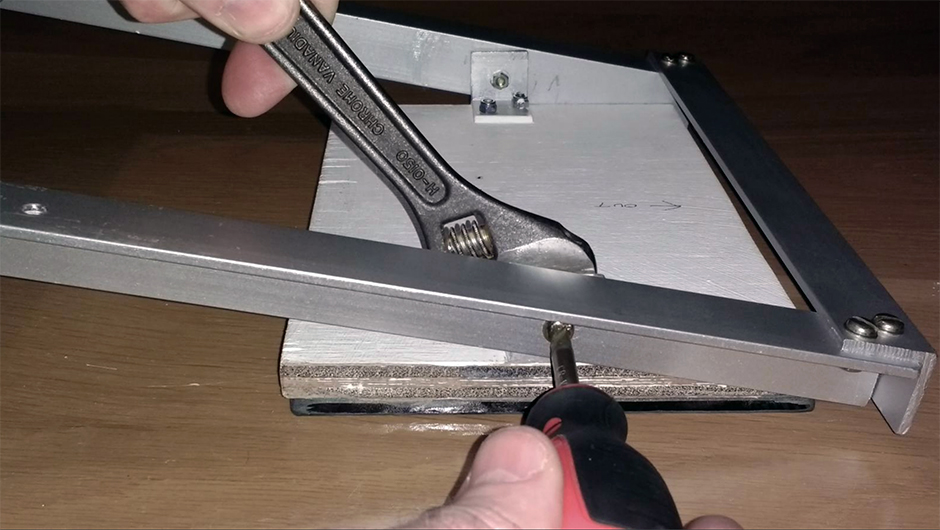
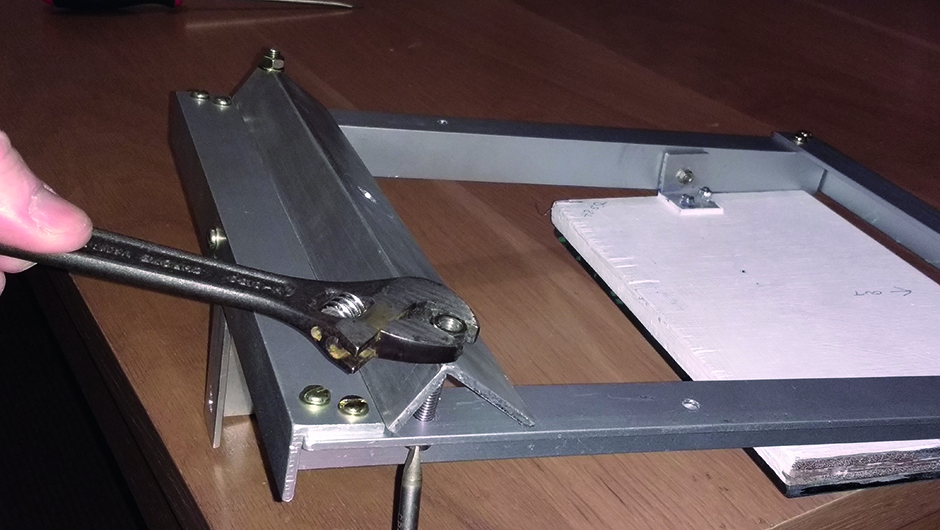
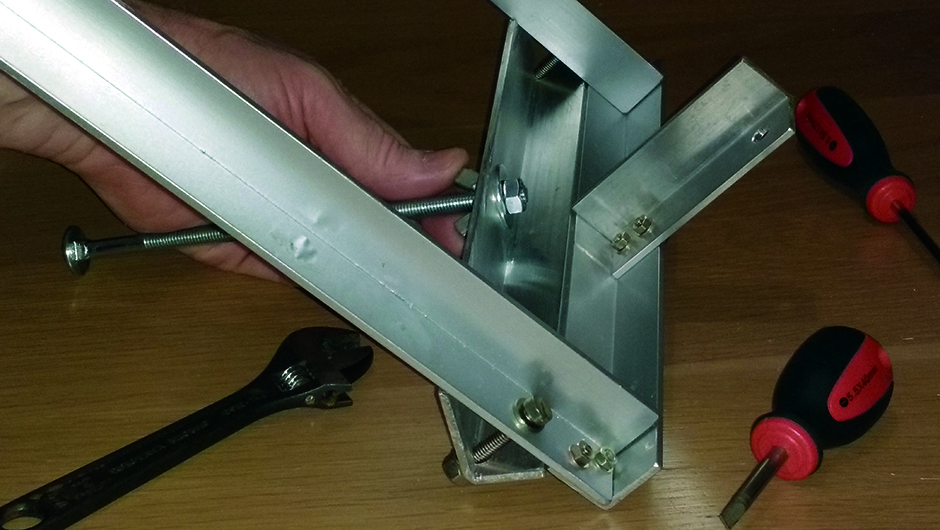
One of the well known negatives of binoculars is the challenge of holding them steady. Mounting them on a tripod is an option, but this can make viewing targets at higher altitudes uncomfortable.One solution is the binocular mirror mount.
A binocular mirror mount is a device that securely holds your binoculars in a comfortable downward-facing position pointing towards a mirror that presents a reflected view of the sky.
Commercially produced binocular mirror mounts can be purchased, of course, but since the devices are relatively simple – mechanically speaking – they can be quite easily constructed using basic materials and a few tools.
This article will show you how.
Mirror matters
The mount in this article is made from two sizes of aluminium angle section, plywood sheet, some standard fixing hardware and a front reflecting, or first surface, mirror.
Regular mirrors have their reflective coating on the rear of the glass.
They produce a slight double image, which although is imperceptible in general use, would compromise a magnified view.
First-surface mirrors can be sourced from many specialist suppliers and usually made to your requested size.
The mirror must be sufficiently optically flat to ensure that the paths of light reaching the objective lenses of your binoculars remain parallel.
It’s therefore important to make the supplier aware of its intended use when ordering your mirror.
The mount can either be rested on a flat surface or attached to a telescope tripod with a flat top and central mounting hole.
Both options are possible as the mount uses a long coach bolt that acts as a supporting leg on a flat surface or a bolt to attach the mount to a tripod.
Using a tripod is often a more convenient option than trying to find a suitable flat surface outdoors that’s at a comfortable viewing height.
To work with this mount your binoculars must have a threaded, central mounting point for which you’ll need the correct hand screw.
This mount was designed around a 12x60 pair of binoculars, but it is also compatible with the more commonly used 7x50 or 10x50 variants.
Tools and materials
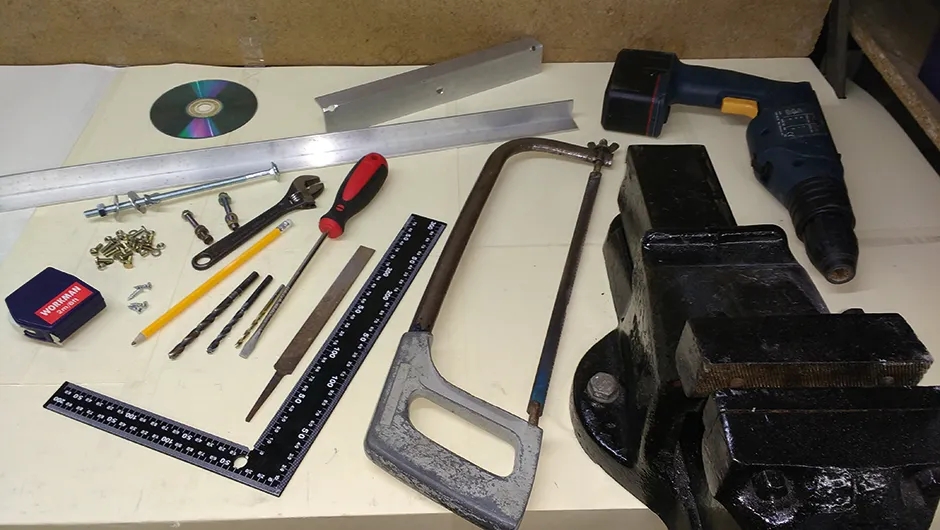
Tools
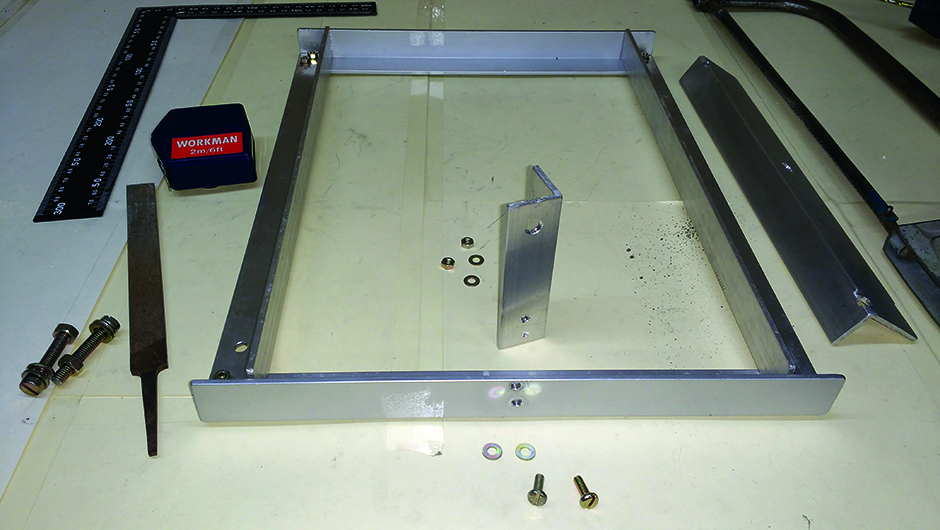
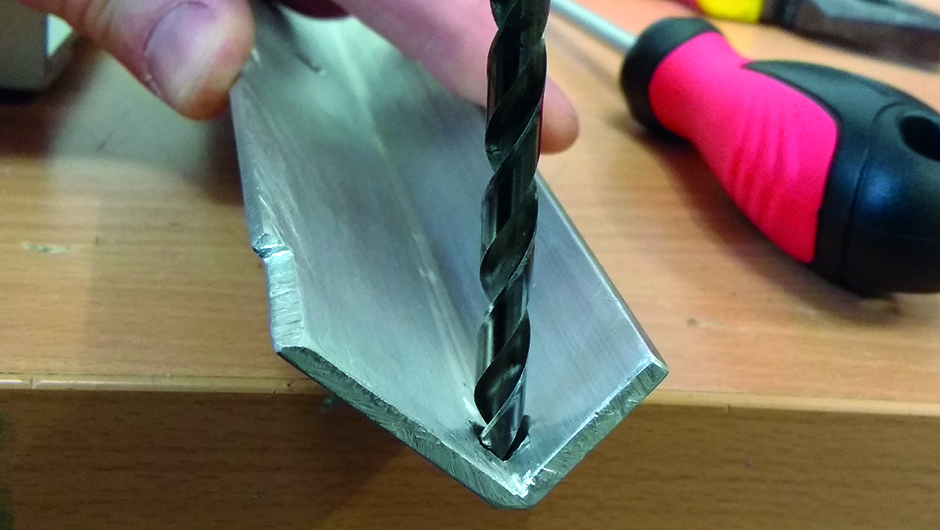
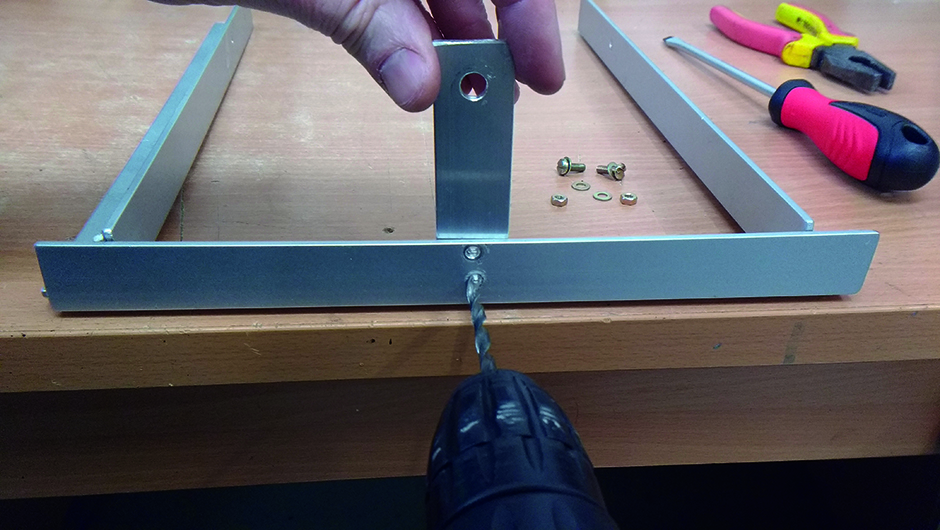
Hacksaw, vice, engineering square, pencil, drill (with 4, 6 and 8mm bits), small adjustable spanner, screwdrivers, fine metal file, sandpaper.
Materials
One 1,425mm length of 25x25mm aluminium angle and one 380mm length of 25x40mm, both 3mm gauge. A 145x220mm first surface mirror, a piece of 12mm-thick 225x150mm marine plywood, a CD.
Sundries
One M8x180mm coach bolt with nut, a wing nut and two 25mm penny washers, two M6x30mm nuts and bolts with four washers, 16 M4x15mm machine screws (four need to be countersunk), M4 nuts and washers, silicone sealant.
Using the binocular mirror mount
When attached to the mount, your binoculars are secured at an approximately 45° downward angle.
You adjust the view up and down by simply tilting the mirror.
The open frame design allows you to position the mirror by holding its plywood mounting cell, meaning that there’s no need to touch the reflective surface of the mirror.
The azimuth is altered by rotating the entire assembly, either on your chosen surface or around the axis of the central tripod mounting bolt.
Because the underside face of the mount’s supporting angle section sits on the flat top of your tripod, a CD is inserted in-between to act as a washer – reducing friction and minimising wear on the tripod’s top face.
By simply tightening their respective fixings, the friction for the mirror pivot and tripod mount can be easily adjusted for the ideal balance between ease of movement and rigidity while viewing.
In use, the reflected view initially makes locating celestial objects slightly more challenging than if you were holding your binoculars.
But once you’ve mastered the technique of using this mount, you may well find yourself gazing downward into space instead of upwards for many hours!
