The EQ6 mount and its many variants offer tremendous value for money and are strong enough to hold telescope tubes up to 12 inches in diameter.
They track well, have an easy-to-use controller and allow you to use a guidescope.
However, they are let down by a rather poor set of alignment bolts.
This is often referred to as the bendy-bolt problem, though it is not just the bolts that are the issue: what they screw against needs to be substantially stronger too.
It can sometimes seem nigh on impossible to get the bolts firmly tightened while maintaining a good alignment, or you find you have achieved a good alignment but as soon as a heavy telescope tube is added something moves.
This is where the EQ6 Wedge comes in.
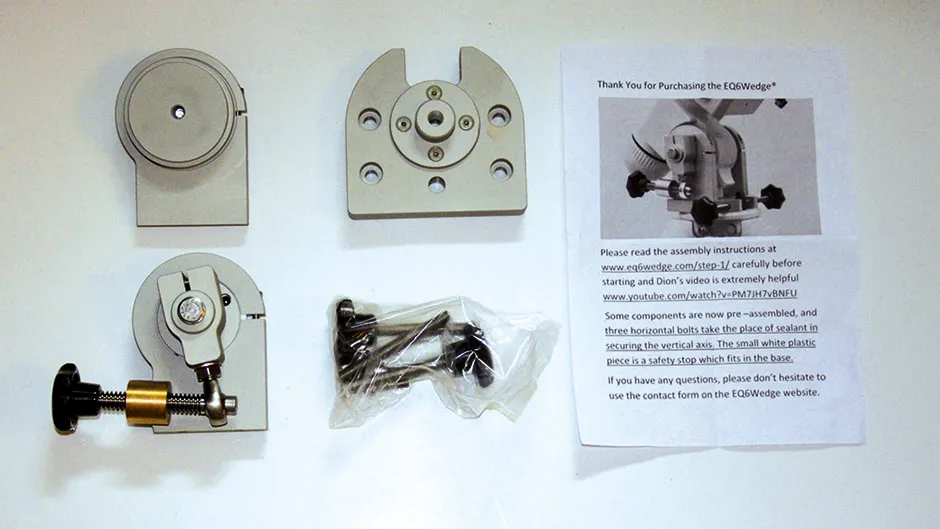
Components - EQ6 Wedge kit – see below for an image of what comes in the box. The two parts on the left attach to the horizontal axis of the mount. The part that attaches to your tripod or pillar is middle top. The instructions give a link to the manufacturer’s website.
Tools - 17mm or adjustable spanner, 5mm and 6mm Allen keys, small flat-bladed screwdriver, protractor or digital angle gauge.
Sundries - Thick towel, blanket or camping mat to rest the mount on while installing the wedge.
Although there have been various after-market products that have attempted to provide a fix (such as stronger bolts, which only solves a part of the problem) there has not been such a comprehensive remedy until this product.
Not only are the bolts a great deal stronger, but also the adjustment mechanism has been properly engineered.
Rather than having two bolts pushing on a piece of metal while being turned, the new mechanism uses the rotation of a bolt to move a threaded sleeve, which in turn moves the mount in altitude.
There’s no bare metal against bare metal movement involved in the altitude adjustment.
When the device first appeared its usefulness was immediately noted.
It turns a mount that can be very frustrating to use into one where fine alignment is a breeze and the mount retains its alignment once done.
There isn’t a great deal of choice in this price category for a mount that can take such a payload, and even with the extra expense of the wedge (€325) it is still very good value.
The EQ6 Wedge has been designed to replace all of the lower part of the EQ6 mount that attaches to a pier or the tripod – in other words, the part that never moves in altitude.
The wedge can be used with all the variants of the standard EQ6, including the NEQ6 and HEQ6, and all the Pro, SynScan and SynTrek versions.
It can also be fitted to the variants of the Orion version labelled Atlas.
Learn the components
Installation is fairly straightforward and the wedge is now supplied partially assembled.
However, before starting it is worth taking a few minutes to understand how the wedge actually alters altitude (the azimuth adjustment is self-evident).
This is simply a question of which bits can move in relation to others.
Our Tools and Materials section at the top of this article shows you what comes in the box, and you can see the two side panels of the wedge on the left of the image.
The bottom one has a lever attached to the altitude adjusting bolt and knob. The adjuster turns the screw that moves the lever, which revolves the central part of the side panel.
This central part is fastened to the horizontal axis of the EQ6.
For this to work the Allen screws that fasten the lever to the central axis must be tight and the Allen screws that tighten the outer rings of the side panels onto the central axis must be loose.
When the mount has been aligned the Allen screws on the outer rings can be tightened.
It is clearly very important to have the correct screws tightened and loosened when adjusting and then using the mount.
Step-by-step
1
First steps
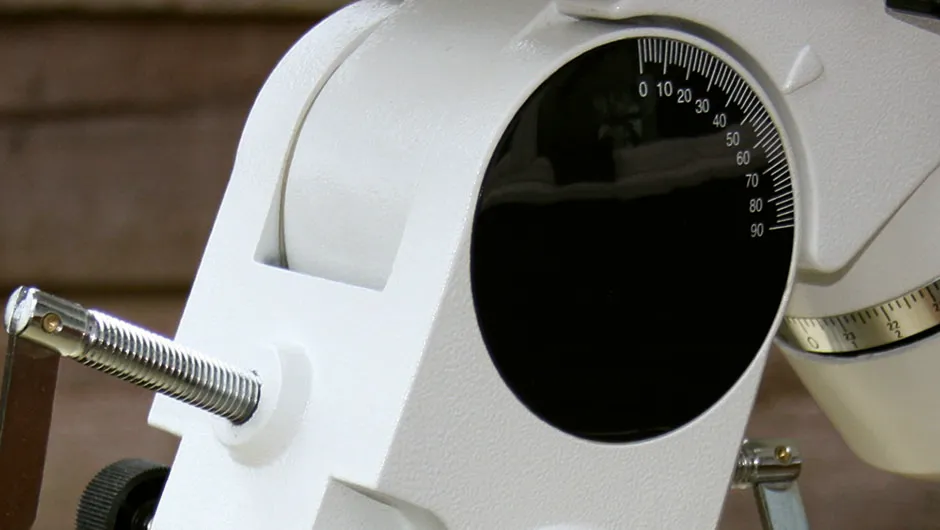
Pop off the plastic covers of the horizontal axis using a flat-bladed screwdriver.
Loosen the nut and remove the central bolt.
Separate the top of the mount from the base.
This can take some coaxing. Remove the plastic discs that separate the two parts.
2
Long threaded bolt
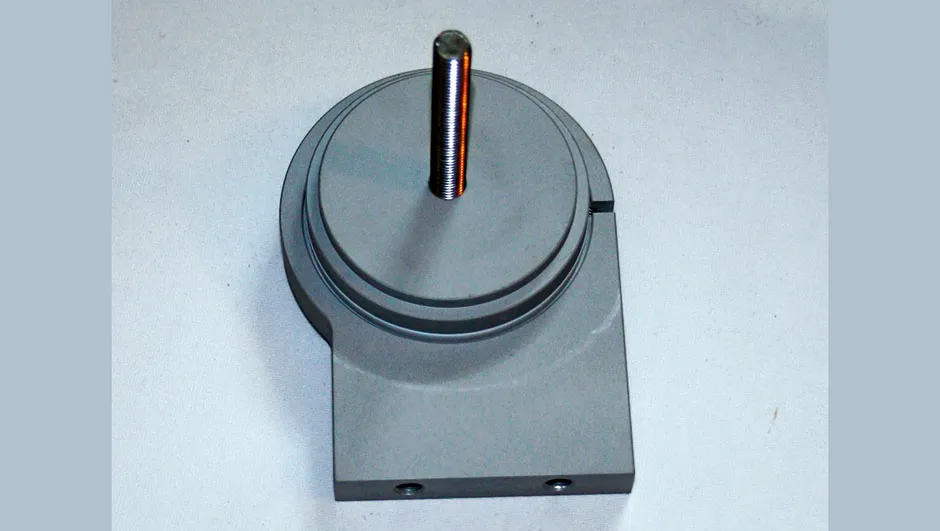
Screw the long threaded bolt into the bearing end and attach it to the mount on the side that has a recess.
Put the corresponding bearing end on the opposite side.
Note the bearings (ie, the discs) rotate independently of the outer parts when the Allen screws are loose.
3
Get your bearings
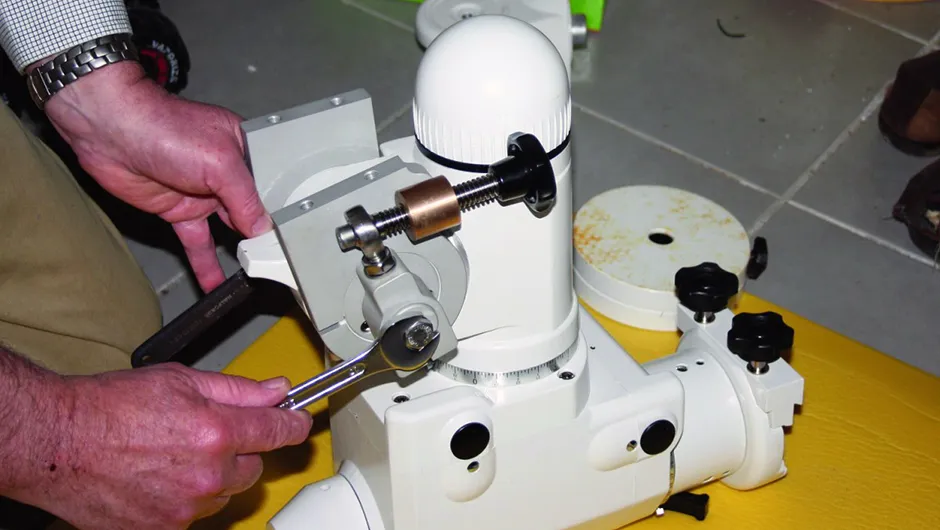
Tighten the bearings onto the mount by using the two bolts as shown here.
The idea is that the central bearing parts are firmly joined to the mount so that when they rotate due to the adjuster moving, the upper part of the mount rotates to change its altitude.
4
Allen bolts
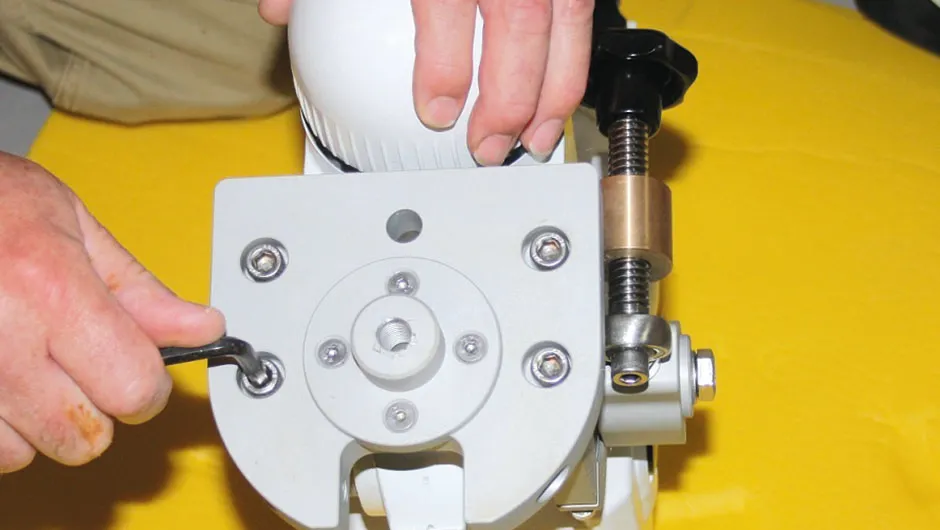
Attach the bottom plate using the Allen bolts.
Tighten them a little at a time in a diagonal pattern.
This plate has an attachment for your tripod; it can be detached if you intend to fix the wedge to a pier that has sufficient clearance.
5
Don't overtighten
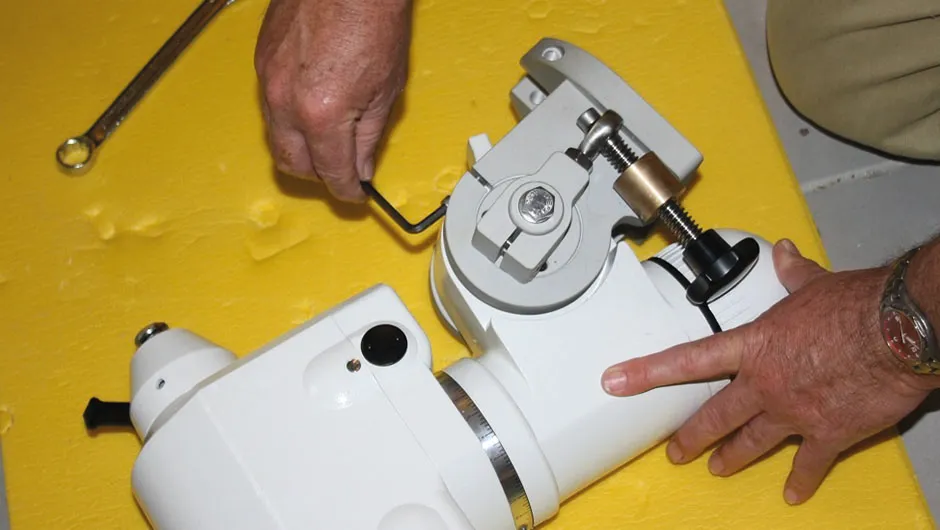
Tighten the Allen bolts that grip the side plates to the mount taking care not to overtighten.
There’s a fair amount of friction between these surfaces so there is no need for these bolts to be hugely tight.
You can now attach the wedge and mount to your tripod or pier.
6
Altitude adjustment
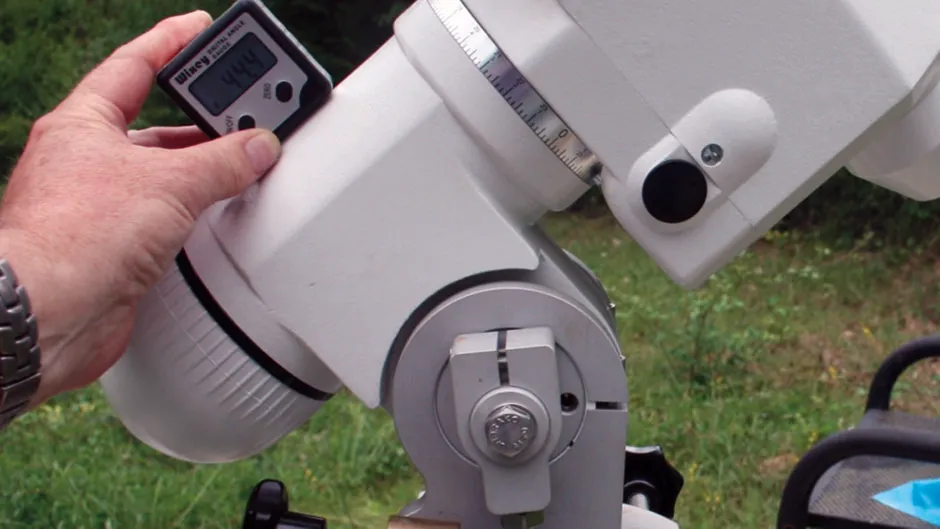
Loosen the bolts on the rings and lever, and set the altitude adjuster to the middle of its range.
Use a protractor or gauge to roughly set the altitude to your latitude by moving the mount.
Tighten the lever bolts allowing you to fine tune the altitude with the knob.
Robert J Lucas is director of Virtual Science Ltd, where he designs virtual experiments for educational purposes.


