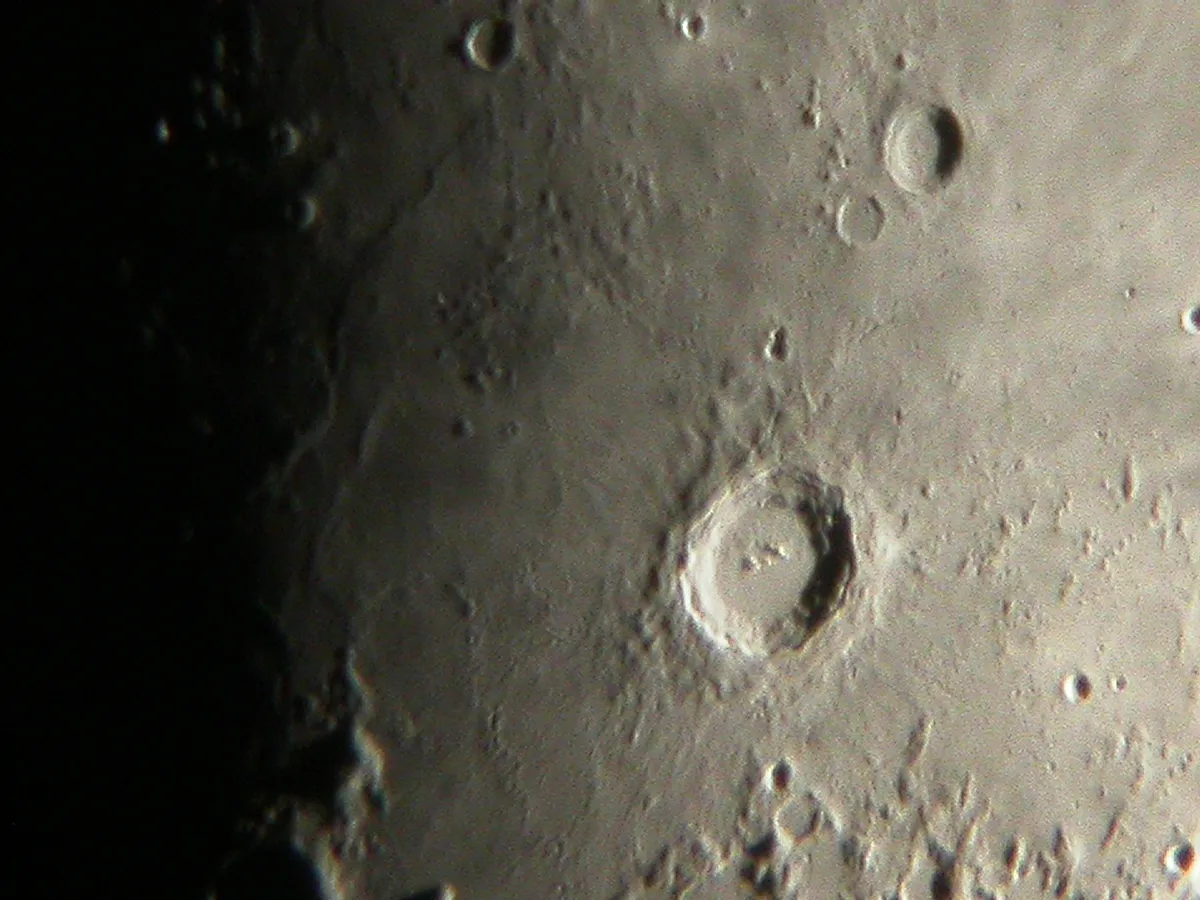
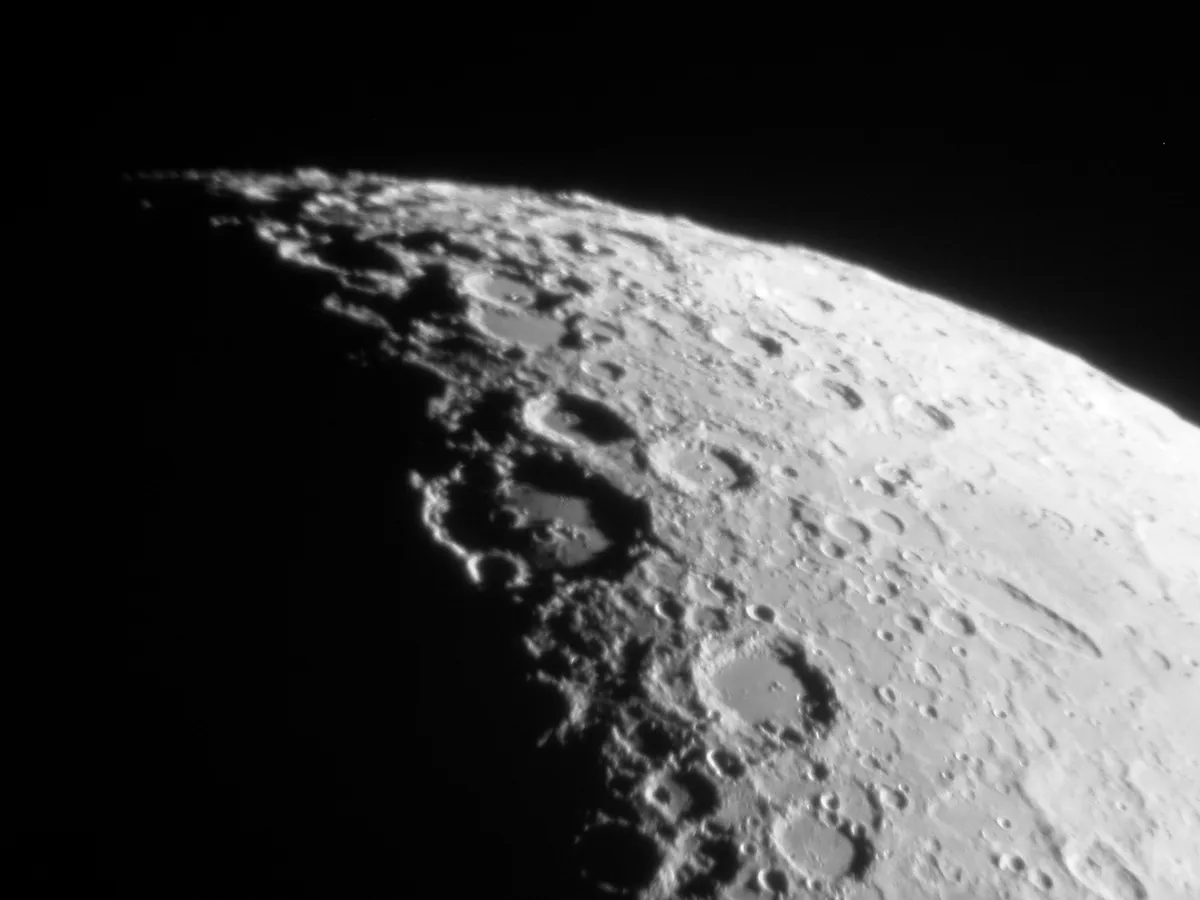
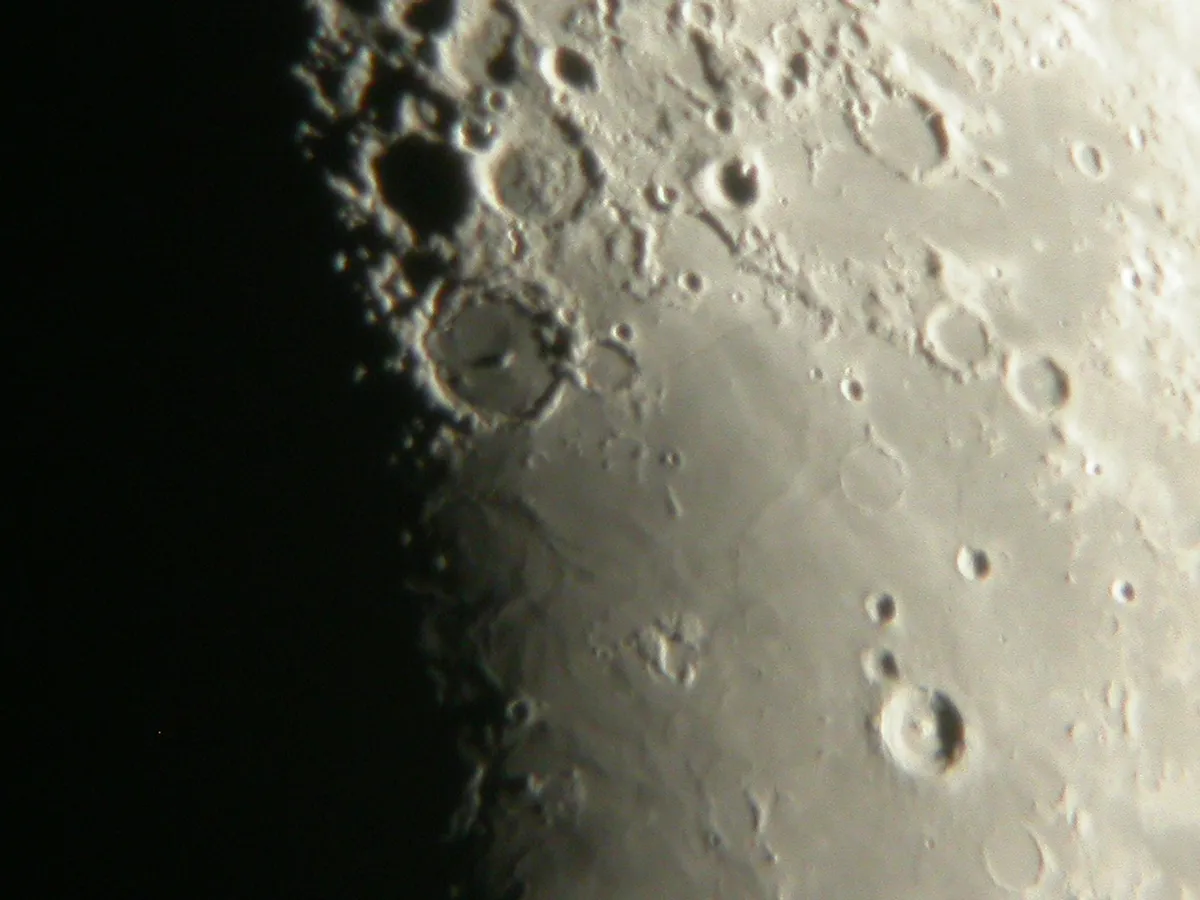
The Moon is the second brightest object in the sky and the nearest celestial body to the Earth, and it yields its secrets to the smallest of optical aids.A modest pair of binoculars, if suitably supported, can reveal a dramatic lunar landscape full of tantalising detail, while even the smallest astronomical telescope delivers breathtaking vistas of craters, solidified lava plains and lofty mountain peaks.
As an airless panorama frozen in time, you may be forgiven for thinking that the Moon would lose its appeal once its features became familiar.
Yet as the cycle of phases marches across the face of the Moon each month, the constantly changing illumination ensures that its features never appear the same way twice; you don’t know quite what to expect each time you look in the eyepiece.
The desire to photograph what you see is a strong one, but how do you go about capturing the Moon?

Many of the techniques from traditional 35mm photography still apply, but in this age of electronic imaging, you may be pleased to discover that a humble domestic digital camera is likely to possess all the features you need to get started.
If your camera has a threaded ¼-20 adaptor on its base, then you can attach it directly to a tripod, which will steady the view and permit you to use any built-in zoom lens functions without blurring.
As with any astronomical photography, you need to ensure that the camera is focused at infinity.
Most modern digital cameras have presets for twilight and night scenes, so it’s quite possible to record the changing phases of the Moon.
However, any surface detail other than the major mare is likely to prove frustratingly elusive another optical aid.
What you'll need to get started
Tripod - A photo tripod that’s adjustable for height and equipped with a manoeuvrable pan-and-tilt head is desirable. Even if your camera isn’t equipped with a ¼-20 thread, it will enable you to support most tripod-compatible binoculars for initial experiments.
Binoculars -A pair of 7 x 50 or 10 x 50 binoculars with a built-in tripod adaptor provides an introduction to afocal digital imaging and a means to develop your technique.
Telescope - A small astronomical telescope with a driven equatorial mount will enable you to concentrate on your digital imaging without having to continually centre the Moon in the field of view.
Afocal camera bracket/eyepiece adaptor - If your digital camera has a ¼-20 thread on its base, there are brackets available to couple it to your telescope. If your camera’s lens has a filter thread, it may be possible to couple it to the eyepiece with an appropriate adaptor.
Sharp relief
The best times for imaging the Moon are the few days centred around the first- and last-quarter phases.
Then, the craters and mountains close to the boundary between the light and dark hemispheres of the Moon cast long shadows, and details are thrown into sharp relief.
Your initial instinct may be to focus the telescope on an interesting region of the Moon and simply hold your camera up to the eyepiece and click the shutter.
This is the simplest execution of the afocal method and may be employed with just about any scope or, indeed, tripod-mounted binoculars.
It can often produce spectacular results, but in order to guarantee a measure of success it pays to support the camera in some way.

For your first attempts at afocal digital photography, ensure that your telescope is equipped with an eyepiece of 17 to 25mm focal length.
If you wear glasses to correct for long- or short-sightedness, wear them while focusing to approximate a true infinity view.
It also helps to use an equatorially mounted telescope with a motor drive so that you don’t have to continually reposition the Moon in the centre of the field of view.
Until you gain experience, it’s wise to configure the camera’s exposure and aperture controls to auto, but the focus should always be set to infinity.
If your photo tripod is anything otherthan the most basic type, you should beable to manoeuvre the camera intoposition so that its lens is lookingdirectly into the eyepiece of thescope.
If it has a zoom lensthat extends from the bodyof the camera, be sureto leave sufficient clearance between it and the eyepiece to avoid damaging the camera’s delicate zoom mechanism.
The LCD preview screen on the back of your camera will be very helpful in lining up the shot.

If the Moon doesn’t appear sharp on the screen, adjust the scope’s focuser by a tiny amount until it does.
When taking an exposure, it’s best to use a cable release to minimise shaking, but if your camera doesn’t support one, use the built-in timed release function.
With a digital single lens reflex (DSLR) camera, you can dispense with the lens entirely and place the camera body at the focus of your telescope, using the scope’s main mirror or lens as a kind of ‘super telephoto’.
To do this, all you need is the appropriate T-mount adaptor. However, the majority of consumer digital cameras do not permit you to remove their lenses.
There are also afocal camera brackets available if your camera body isn’t equipped with a built-in ¼-20 tripod thread.
Alternatively, if your camera’s lens is of the non-extending zoom type and is fitted with a thread for filters, it is possible to buy an adaptor ring to couple the camera body directly to some eyepieces.
The web links below give further details on all of these products.
By using these simple techniques, you’ll be able to capture the Moon in considerable detail, hopefully whetting your appetite for a future How To in which we’ll discuss higher-resolution lunar and planetary imaging.