How to photograph Neptune and its moon Triton

How to photograph Neptune and its moon Triton

A careful balance of settings is required to capture the Solar System’s outermost planet Neptune and its largest moon Triton.

Magazine gift subscriptions - from just £18.99 every 6 issues. Christmas cheer delivered all year!
Published: November 2, 2020 at 9:30 am

Neptune is a tricky target for astrophotography: being such a distant planet it appears small and dim from Earth. To be fair, as it typically hovers at mag. +7.8 it’s only dim compared to its Solar System neighbours.

For imaging the brighter planets, it’s normal to use a high frame rate camera configured for short exposures. If you're in need of a new model, browse all our online camera reviews.
Neptune by Peter Brown, Guernsey, Channel Islands. Equipment: Celestron CPC1100, Canon DSLR.

By capturing frames at a rate of tens (or sometimes hundreds) every second, it’s possible to take advantage of the short periods when distortions caused by our atmosphere are at a minimum. These frames are then extracted, aligned and averaged for a decent result.

The lower brightness of Neptune means a bit of balancing is required between gain (amplification, which intensifies an image and makes it brighter but which can also, if set too high, boost frame noise) and exposure.

For more on imaging the outer planets, read our guide on how to photograph Uranus and Neptune.
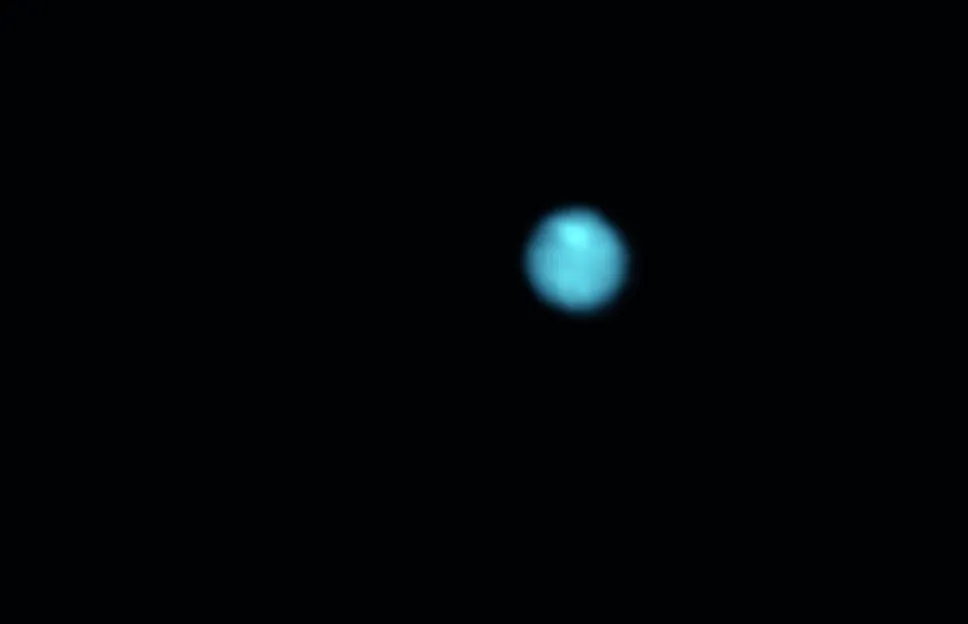
Neptune (colourised for aesthetic reasons) imaged in late 2017 with a ZWO ASI290MM and 610nm IR filter. Below it is Triton, which was exposed separately. Credit: Martin Lewis
Neptune (colourised for aesthetic reasons) imaged in late 2017 with a ZWO ASI290MM and 610nm IR filter. Credit: Martin Lewis

High gain allows a faster frame rate, but the additional noise (unwanted artefacts) means you’ll need more frames; lower gain may give cleaner frames, but you’ll need longer exposures.

The latter results in a lower frame rate that will be less able to overcome seeing distortions. Getting the right balance of settings requires time, experience and patience.

Neptune’s dimness forces your hand. Here, longer exposures are a necessity and this means lower frame rates.

To stand any chance of obtaining detail from the planet you’ll need steady seeing and, as you’ll be using high magnification, a degree of accuracy in your mount’s polar alignment is desirable too.

Photographing Neptune's moon Triton
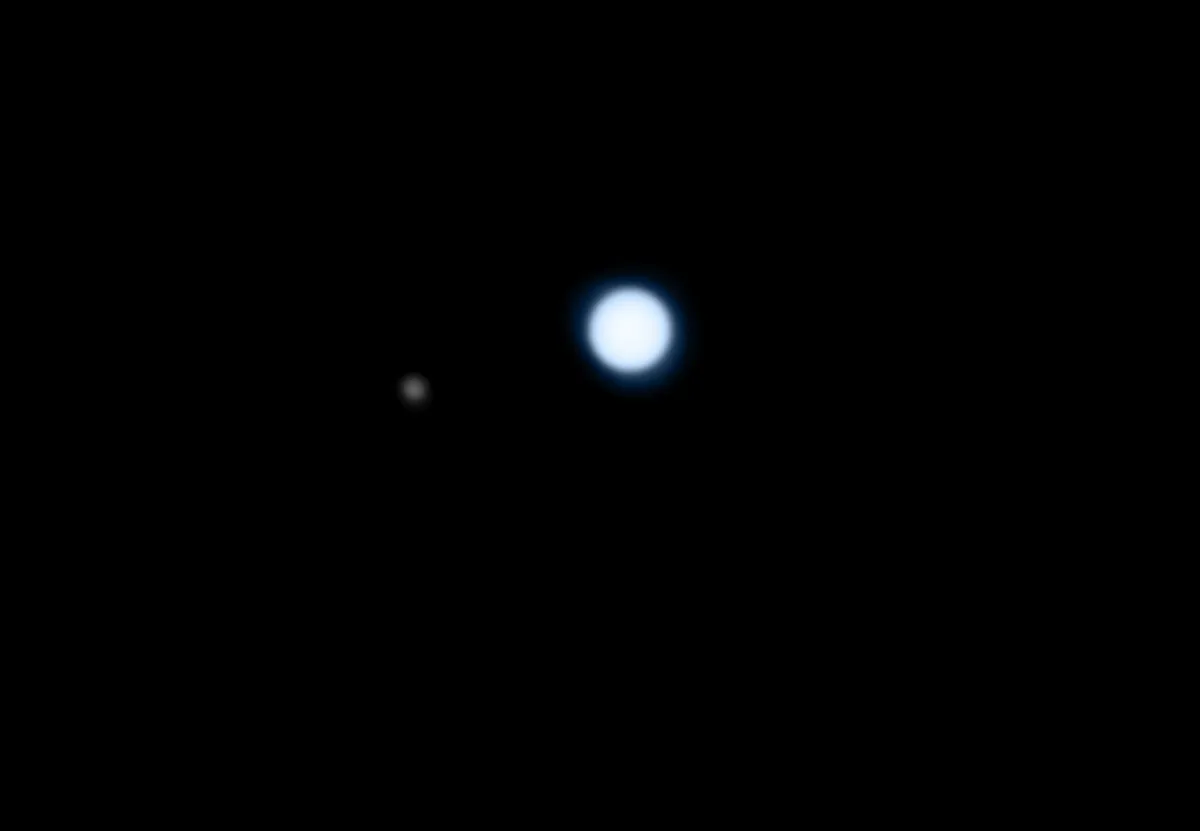
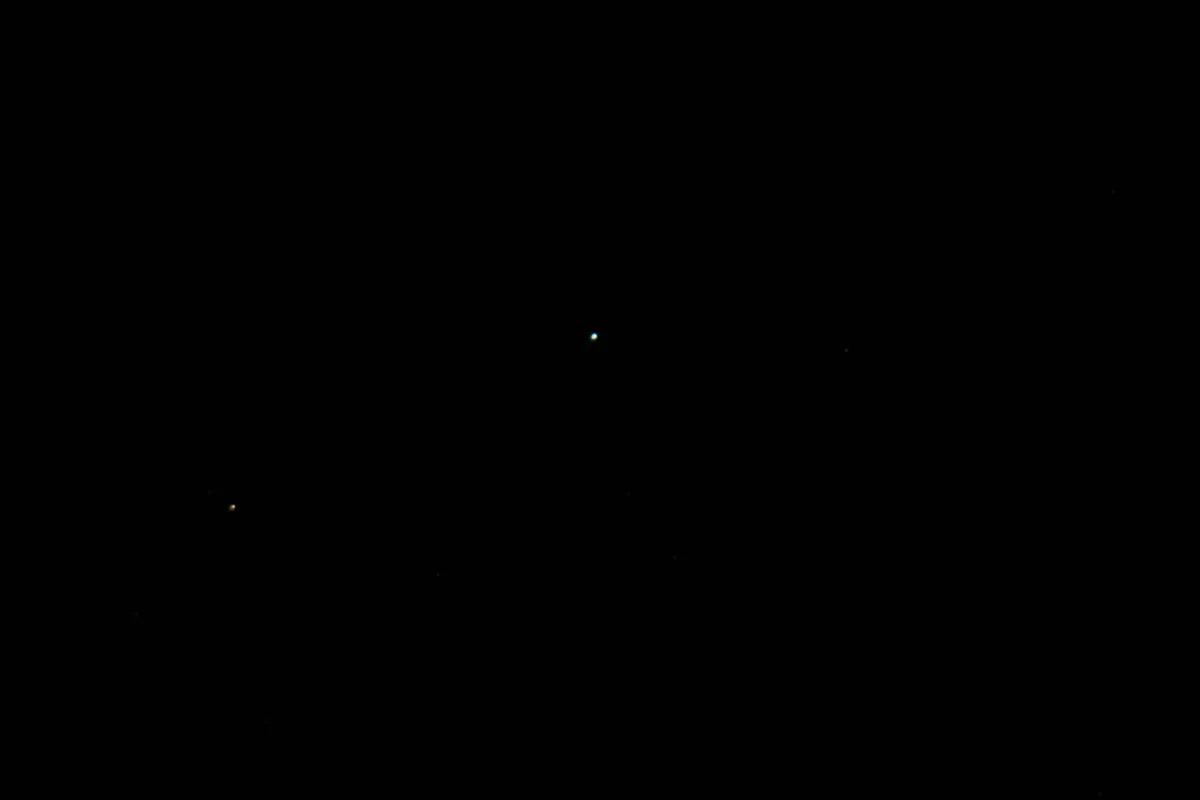
Neptune and its largest moon Triton imaged through a 356mm telescope. Credit: Pete Lawrence

One surprising extra is Neptune’s largest moon, Triton. At mag. +13.5 this is straightforward to image with a planetary camera; that’s as long as you don’t mind over-exposing Neptune.

In order to catch it, you’ll need a setup that can show Neptune as a disc, albeit a rather small one.

The orbit of Triton appears as an ellipse, which is separated from Neptune’s centre by 3x the planet’s apparent disc size at its closest point and 8x at its furthest point.

The orbital ellipse has a minor semi-axis of 6 arcseconds and a major semi-axis of 16 arcseconds. This means it’s possible to catch Triton more or less at any point in its orbit, it’s just a bit easier when closer to an elongation.
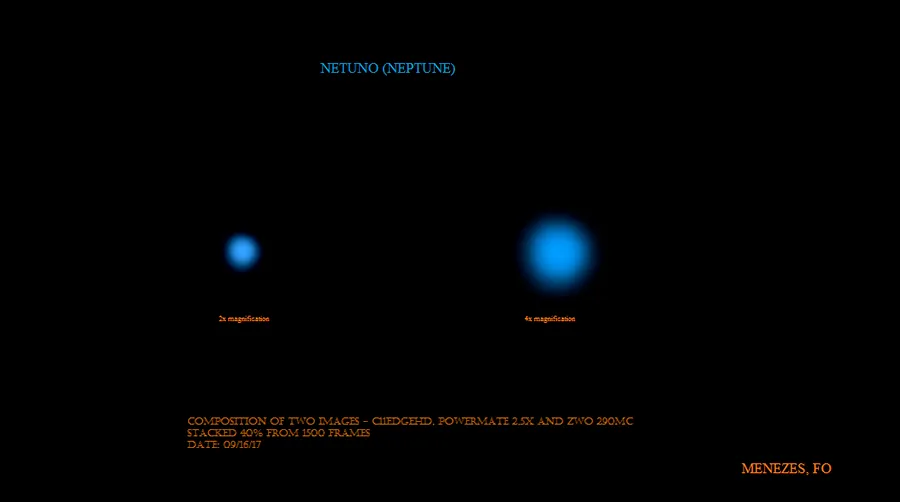
Neptune by Fernando Oliveira De Menezes, Sao Paulo, Brazil. Equipment: Celestron Cpc C11 Edge, Asi 290 Mc, Powermate 2,5x

Through an eyepiece, Neptune has an apparent diameter of 2 arcseconds. Triton, meanwhile, has a diameter of 2,707km and orbits Neptune in the opposite direction to the planet’s rotation.

Through amateur kit, Triton appears like a blurred star, a consequence of seeing distorting its image, high magnifications and longer exposures.

There are programs and apps to help find where Triton is relative to Neptune such as WinJupos (jupos.org).

Once you’ve located Neptune, that odd procedure which requires you to extend the exposure time of a planetary camera beyond what you might be used to, is easy to deal with and will allow you to image the remotest large moon in the Solar System.
How to photograph Neptune: step by step

Step 1

How to photograph Neptune and Triton

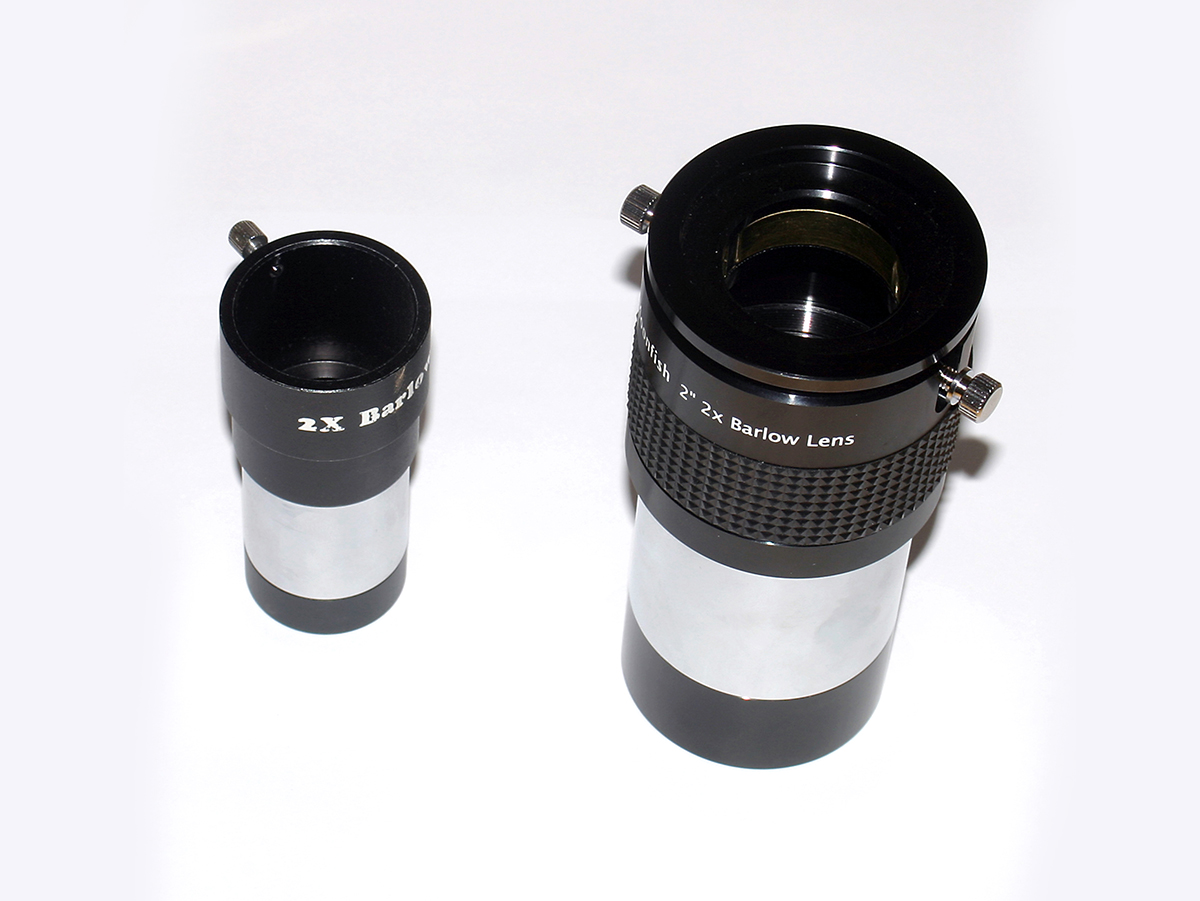
We’d recommend a 200mm scope as the minimum size for this task. Ideally, it needs to be working with a focal ratio (read our guide to telescope stats) of 3–5x the pixel size in microns of your camera. This can be achieved with a Barlow lens or a Powermate. To find your camera’s pixel size, look up its specifications on the manufacturer’s website.

Step 2

How to photograph Neptune and Triton

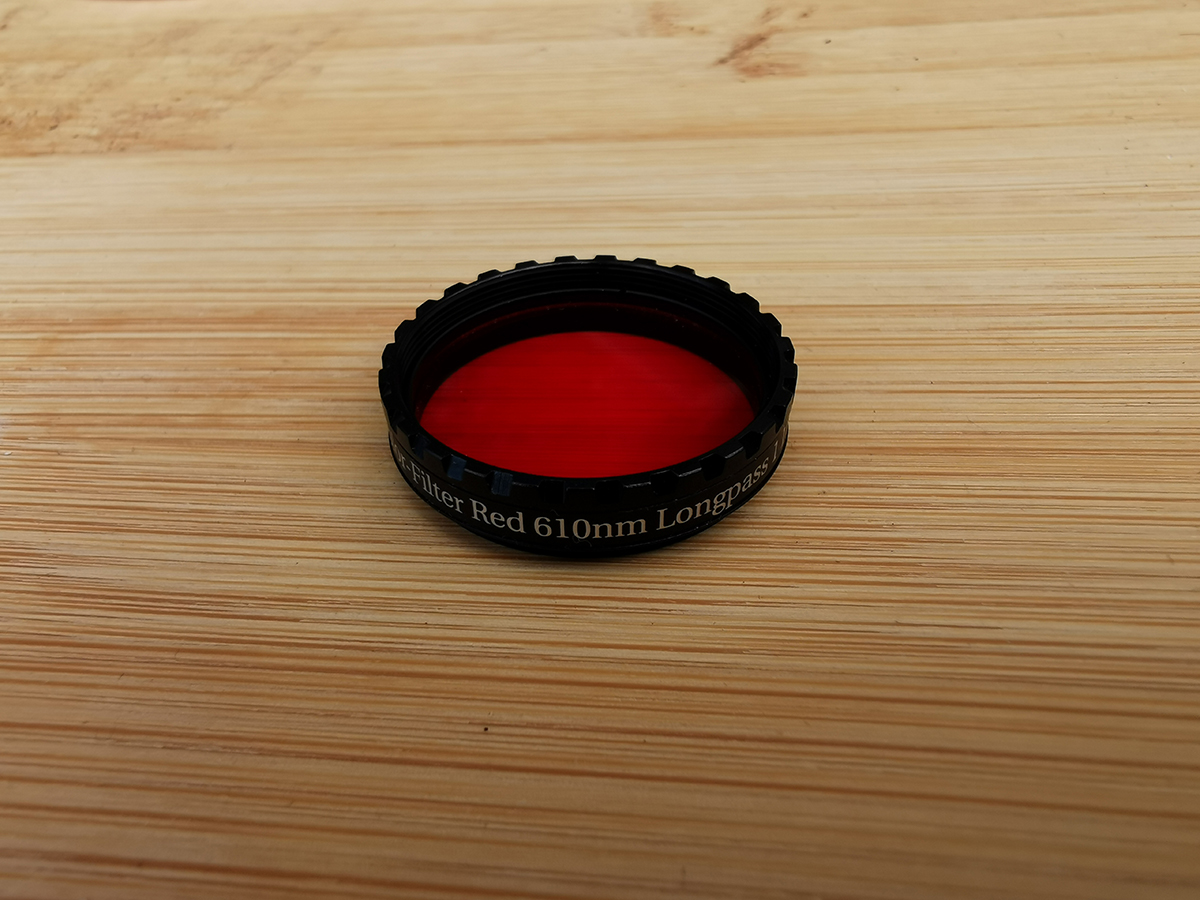
It’s up to you whether you image using a colour or a mono camera. Good results on Neptune’s disc can often be achieved using a mono camera and a 610nm (red) filter (read our guide to telescope filters). However, for Triton, finesse isn’t necessary as it’s light you’re after. A luminance filter (IR+UV blocker) combined with a colour camera will give a bright image.

Step 3

How to photograph Neptune and Triton

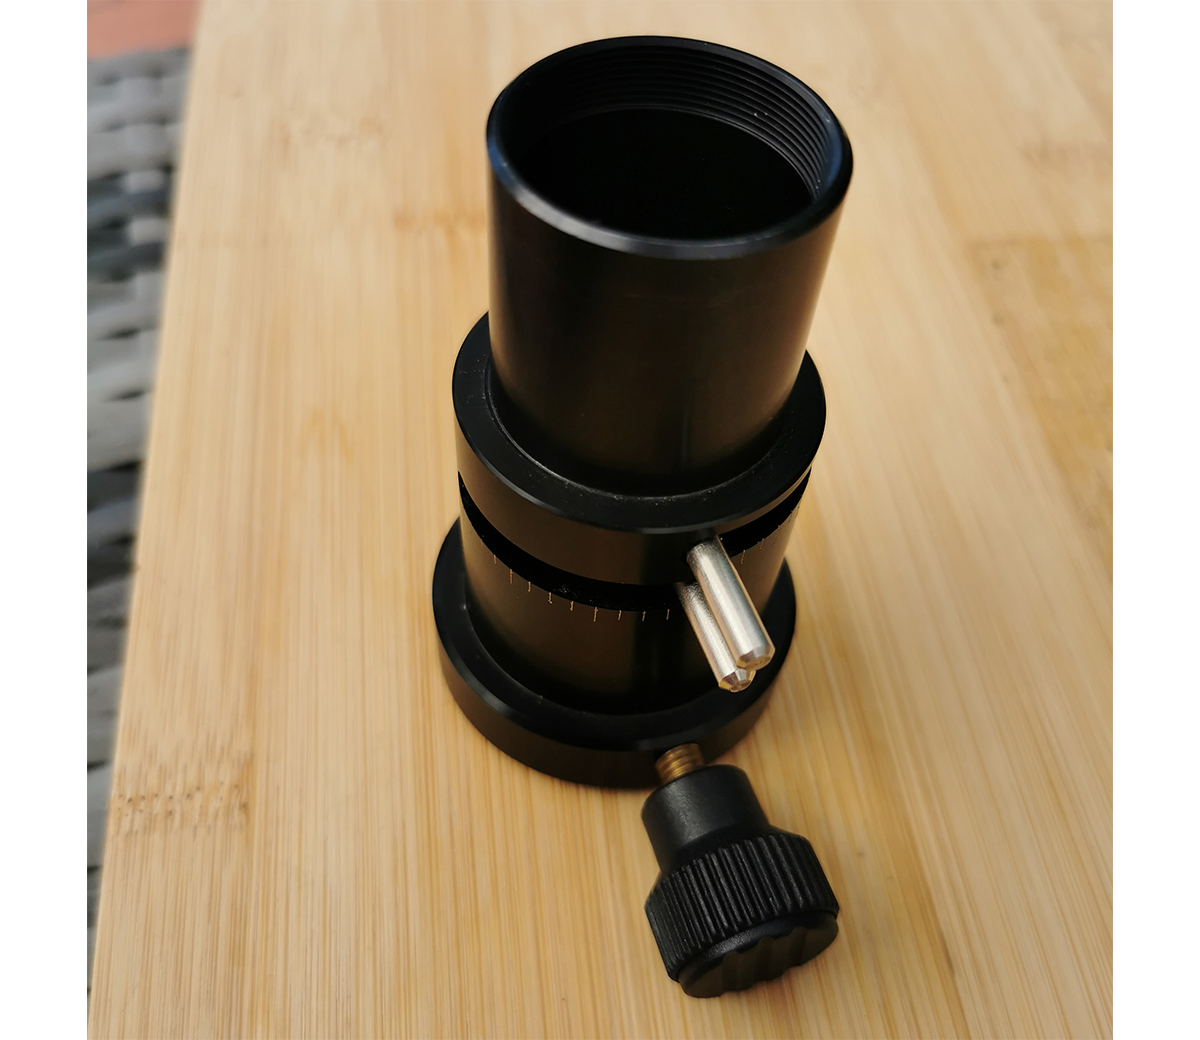
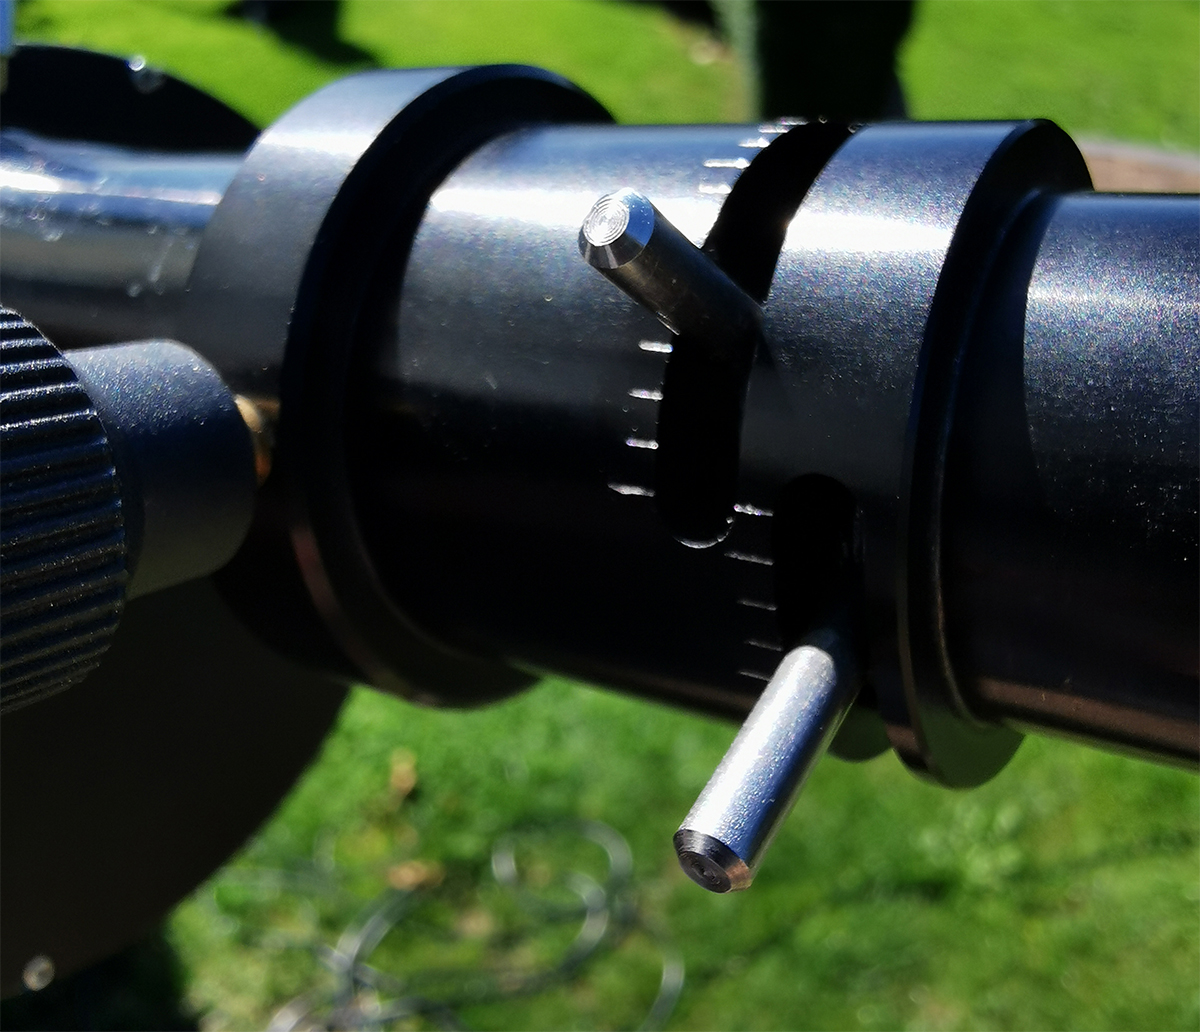
If you image using a colour camera, an atmospheric dispersion corrector (ADC) is useful to remove colour fringing caused by the atmosphere. An ADC has two levers which adjust two internal prisms used to recombine atmospherically dispersed light. Aligned together, the levers should point level with the ground and then be moved apart symmetrically to correct for fringing.

Step 4

How to photograph Neptune and Triton

Using a colour camera, over-expose Neptune to reveal colour fringing; then adjust the ADC’s levers until it goes. Obviously, mono cameras can’t show the fringe colours and here a red-pass filter is recommended to give a view least affected by seeing. Once set up, adjust the gain to 50–70% and the exposure accordingly, to get a correctly exposed view of Neptune.

Step 5

How to photograph Neptune and Triton

Focus on the planet as accurately as possible. At high magnification it’s recommended that you use an electronic focuser, as this will allow adjustment without having to wobble the scope. Once focused, increase the exposure to reveal Triton near Neptune. If possible, keep the gain at less than 70%.

Step 6

How to photograph Neptune and Triton

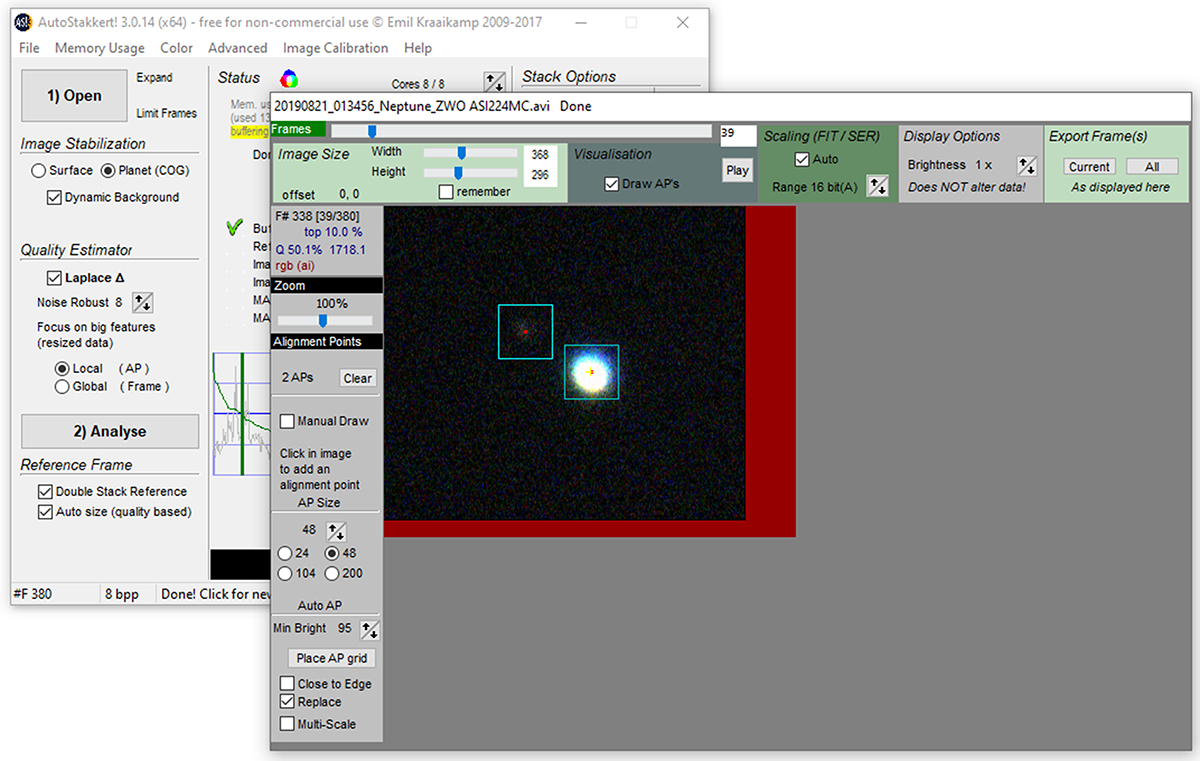
Once Triton can be seen, start your capture sequence. Aim for several hundred frames as a minimum; it’s worth capturing a number of sequences. Once recorded, pass each one through your preferred registration stacking software. In AutoStakkert! you can mark Neptune and Triton for final stacking.

For more on this, read our guide to image processing.

Have you managed to photograph Neptune and Triton? We’d love to see your pics! Send us your images or get in touch via Facebook, Twitter or Instagram.

Pete Lawrence is an expert astro imager and a co-host of The Sky at Night. This guide originally appeared in the November 2020 issue of BBC Sky at Night Magazine.

This website is owned and published by Our Media Ltd. www.ourmedia.co.uk
© Our Media 2024