We're going to show you how to make a time-lapse video of the night sky that demonstrates the rotation of Earth by showing the stars moving across the sky over time. We'll show you the equipment you need, how to get set up and what setting you should set your camera at.
The stars seem to rise in the east and set in the west, yet this motion is not the stars moving, but Earth spinning on its axis.
In the Northern Hemisphere, the axis of rotation is pointing towards the star Polaris, in Ursa Minor, and all other stars appear to be rotating around it.
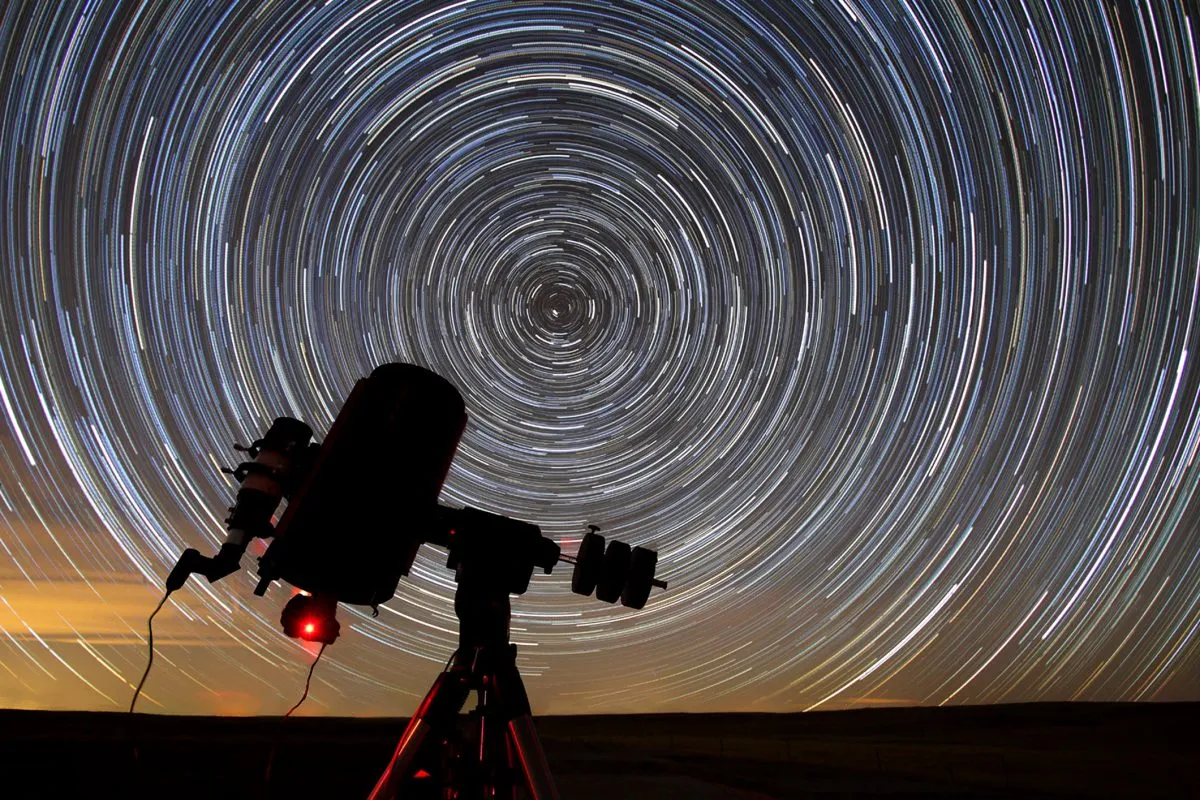
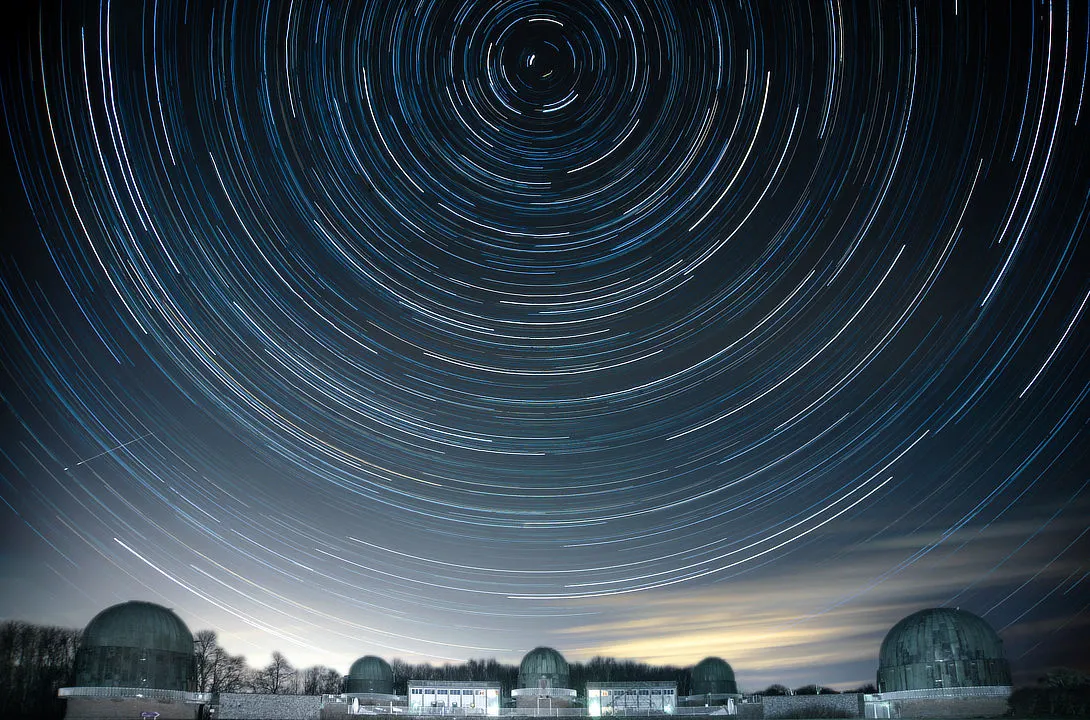
Astrophotographers can show this effect with long-exposure photographs of the night sky, which show the trails of the stars as they circle Polaris.
Such pictures of star trails can be stunning (for more on this, read our guide on how to shoot star trails), but there is another, more engaging way to show this motion: a time-lapse video.
In this tutorial, we'll show you how to make a time-lapse video showing the stars moving across the night sky, just like the one below. For more time-lapse and astronomy videos, visit my YouTube channel.
Why shoot a time-lapse of the night sky?
The basic purpose of a time-lapse is to show the change that happens during a timescale we are not usually aware of, or can only perceive at widely spaced intervals.
This change could be the development of storm clouds, a plant growing or, for the purposes of this project, the apparent movement of the stars.
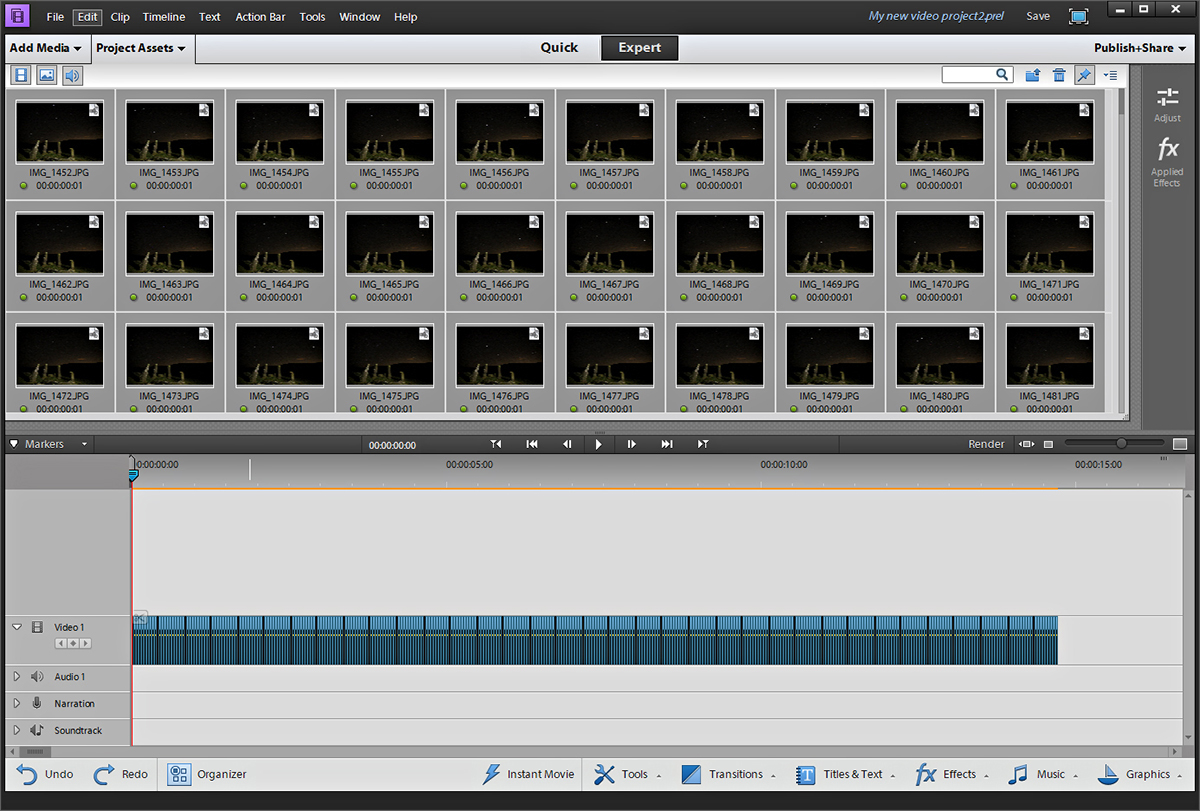
To create the video, we are going to take a series of images of the night sky separated by a certain period of time, called the interval. Each image taken will represent a single frame of the final video.
The standard playback speed of a video is 25 frames per second, which means the interval is 1/25th of a second.
We’ll still be using the rate of 25 frames per second for our video, but the difference will be that each shot will be separated by a greater interval.
Furthermore, as we are capturing the night sky, each shot will have an exposure of several seconds.
The duration of our time-lapse will therefore be determined by how many shots we can take. For example, taking 250 shots at 25 frames per second will make 10 seconds of video.
We’ll need to know how long to leave our camera running to produce the length of video we want.
For this, we need to know the interval, which is made up of two things:
- The exposure time (how long the camera’s shutter remains open)
- The buffer time (how long it takes to write the resulting shot to the camera’s memory card)
A sufficient amount of time should be allowed between shots for the camera to finish writing the picture to the card.
The sum of these two values gives us the interval between shots. We can now calculate the duration of our time-lapse shoot with the formula:
Interval x frame rate x time-lapse video duration = shooting time needed.
So, if our camera settings result in an interval of 25 seconds and we want a 10-second time-lapse video, the total shoot time will be 104 minutes (25x25x10= 6,250 seconds, or just over 104 minutes).
By following this guide, you too should be able to create an atmospheric time-lapse video showing the motion of the night sky.
