A solar funnel is a great way to safely observe the Sun or a solar eclipse, as it provides a way to safely project a view of the Sun using your ordinary telecope.
The solar funnel we're describing here uses a projection technique to disperse sunlight over a wide area and onto the screen.
Because the eyepiece is internal, there is no way for you to accidentally look into the light path.
And this is key, because observing the Sun or a solar eclipse without proper solar filters can seriously damage your eyesight.
Although this is a safe technique, it is important that equipment is never left unattended, especially when children are around.
For a similar project, you could also make a solar projection screen.

Downloads
Solar funnel measurements
The length of the cone for our solar funnel is calculated to suit small refracting telescopes with a focal length between 300mm and 1,000mm.
Because the aperture of such telescopes will be relatively small and they lack internal structures, heat build-up is not a problem.
However, if your scope’s main lens is larger than 3 inches we recommend reducing the effective aperture by using a cardboard mask with a smaller hole (2 inches) cut in the centre and taped over the dew shield.
Solar funnels are less suitable for use with Newtonian reflectors as these telescopes have large apertures and the secondary mirror can be damaged by heat.
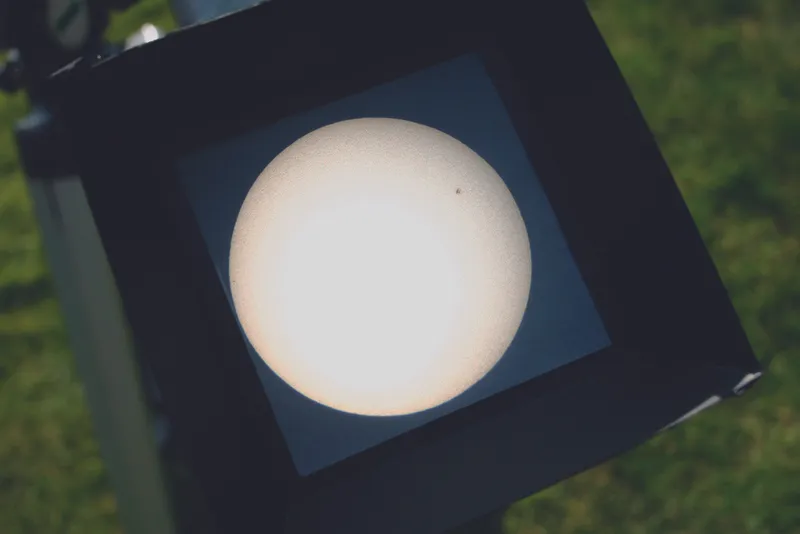
How the solar funnel works
The solar funnel displays the Sun in white light: in other words, all the visible wavelengths of light are seen.
The eyepiece determines the size of the image; we found that any eyepiece with a focal length between 12mm and 25mm produces acceptable results, so you may be lucky enough to have a suitable candidate in your accessory box already.
Using a solar funnel is straightforward.
After capping your main lens and any accessories – such as finderscopes – and with your eyepiece fitted, position it in the focuser.
Ensure the eyepiece is firmly fixed in the funnel and gripped in the focuser.
Next, align the telescope with the Sun. Don't look down the eyepiece to do this!
The easiest way is to watch the shadow the telescope tube casts on the ground.
Line up the scope so the shadow becomes small and round. When it is, you should be pointing towards the Sun.
Remove the lens cap (or uncover the opening of your aperture reducer, if you fitted one) and you should see a bright image of the Sun or solar eclipse somewhere on your screen.
Finally, make small adjustments to the mount and focuser to centralise the image and bring out any fine details on the Sun’s surface.
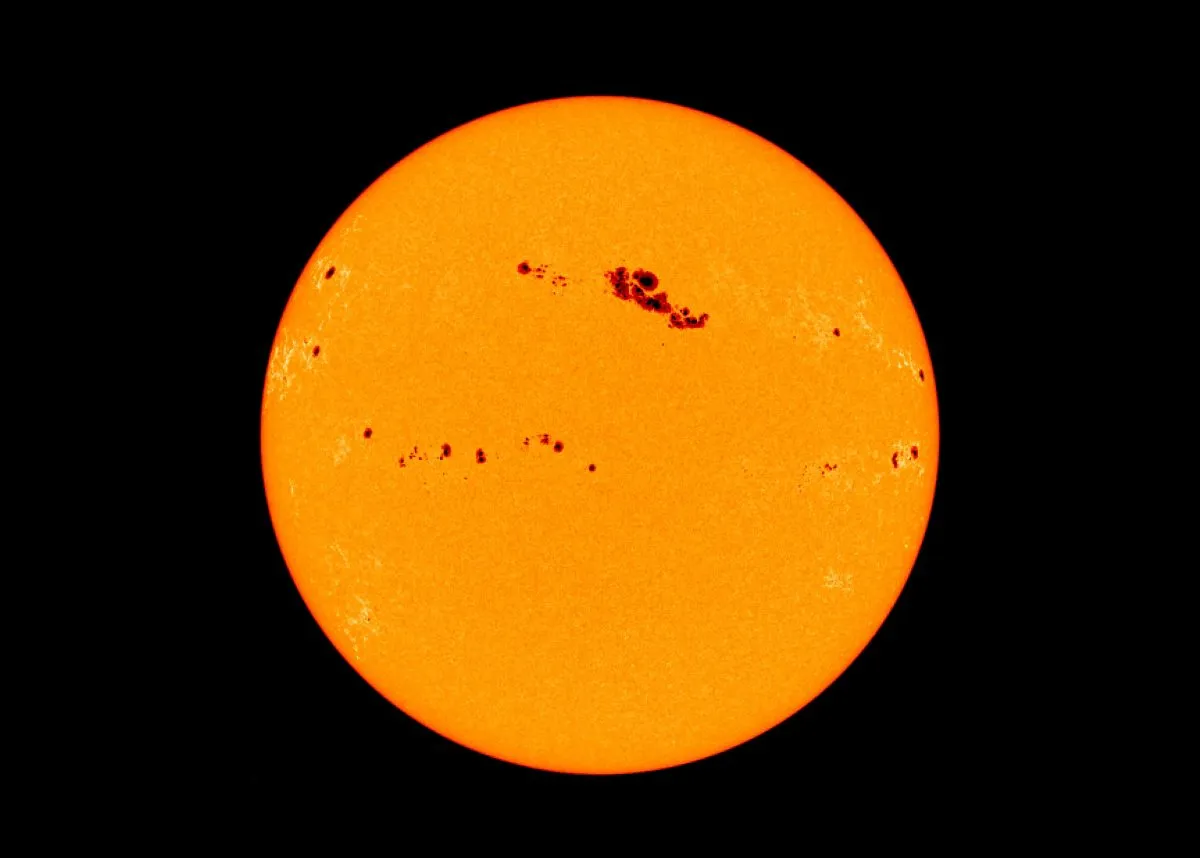
All being well, you should be treated to a display of sunspots, which appear dark against the bright surface.
You could sketch these and keep a record or (as we did) photograph the screen using a camera or smartphone.
If you’re feeling ambitious you could draw a circle on your tracing paper screen in advance and then mark sunspot positions in-situ with a felt-tipped pen.
Or you can download our solar observing form (PDF) to help with this.
Replace this screen after each viewing session and keep them as a record of your observations.
You should also be able to see variations in tone across the solar surface.
A nice paint finish or sticky-backed plastic covering would increase the solar funnel’s longevity; the logo is, of course, optional.
Whatever you choose to do, we know you’ll get a lot of pleasure from making and using this simple device.
Tools and materials
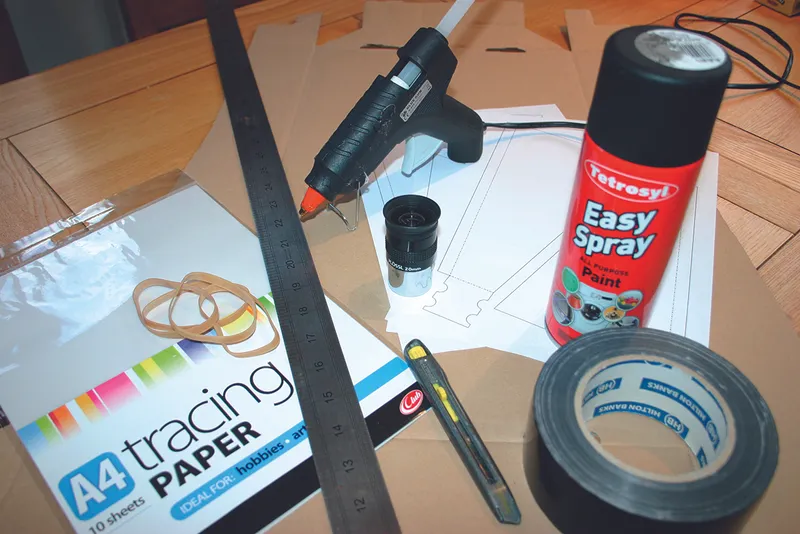
Cardboard and tracing paper
Three pieces of thin, A4 packaging card for the funnel. Tracing paper works really well for the screen although any translucent, thin material is worth trying.
Eyepiece
Any low-cost eyepiece with a focal length in the 15-25mm range will suffice.
Finish
For a non-reflecting internal finish, matt black spray paint works well. For the outside, you could use gloss paint or sticky-backed plastic.
Tools and sundries
Craft knife, steel ruler, hot-melt glue gun or strong craft glue, spray adhesive or glue stick, black duct tape or electrical tape, strong elastic bands.
Step-by-step
Step 1
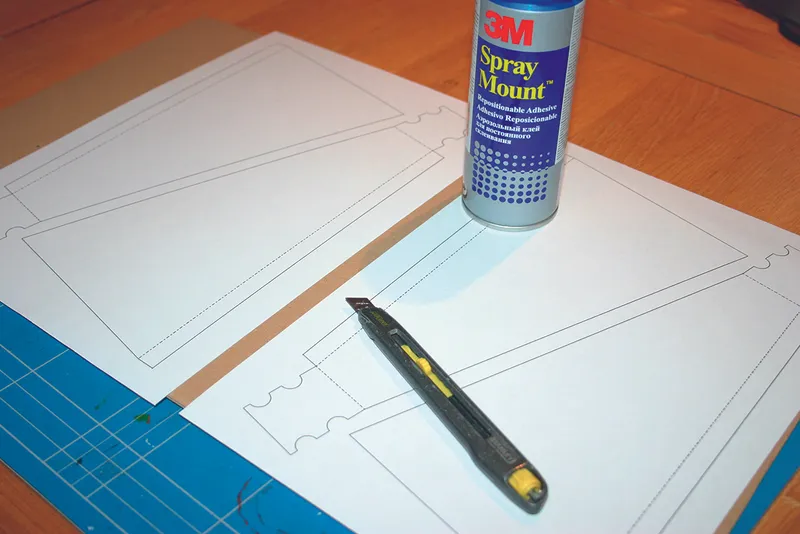
Print out two copies of the funnel template and one copy of the back screen panel. (Templates for both parts can be found under downloads at the top of this article).
Stick the templates to the A4 card using spray adhesive or a glue stick.
Step 2
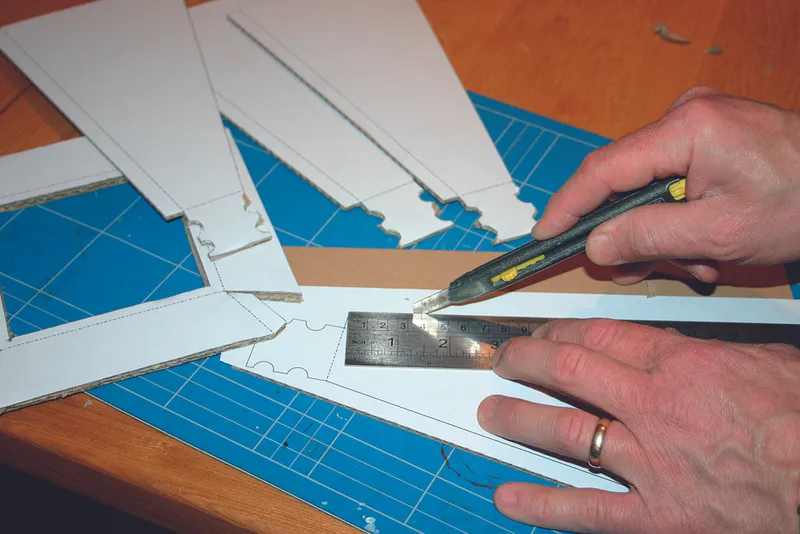
Using a steel ruler to keep the lines straight, carefully cut out the four sides of the funnel and the back screen panel.
Score or partly cut the dotted lines where the card will be folded. The templates can be gently peeled off or left in place.
Step 3
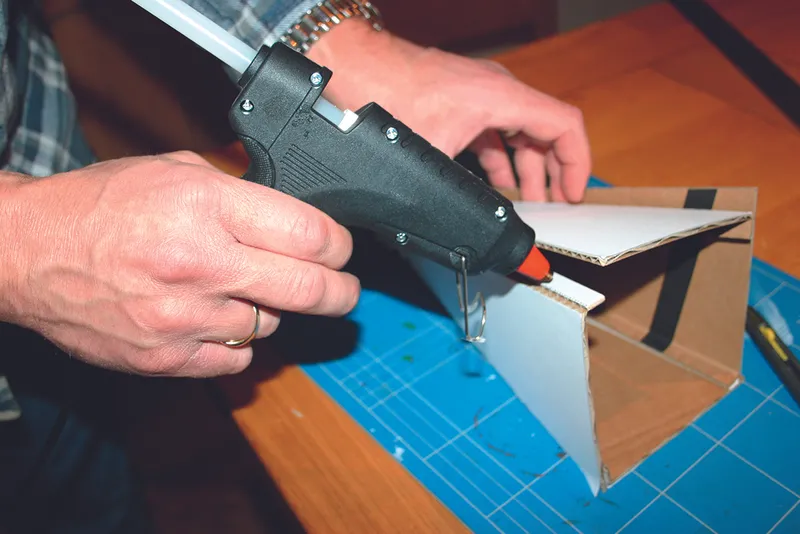
Use a hot-melt glue gun (or strong glue) to bond the four sides of the funnel together and make up the back screen frame.
Use tape to temporarily hold the parts together if you’re using traditional glue.
Don’t glue the four ‘jaws’ at the bottom of the funnel together.
Step 4
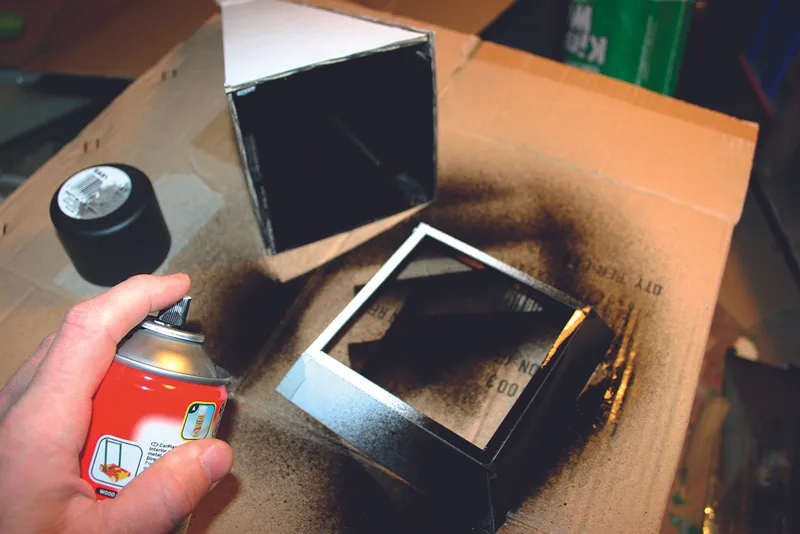
Before fixing the tracing paper, give the inside of the funnel and the whole back screen frame a generous coat of matt black spray paint.
You could also cover the joints using black tape to keep out stray light and neaten things up.
Step 5
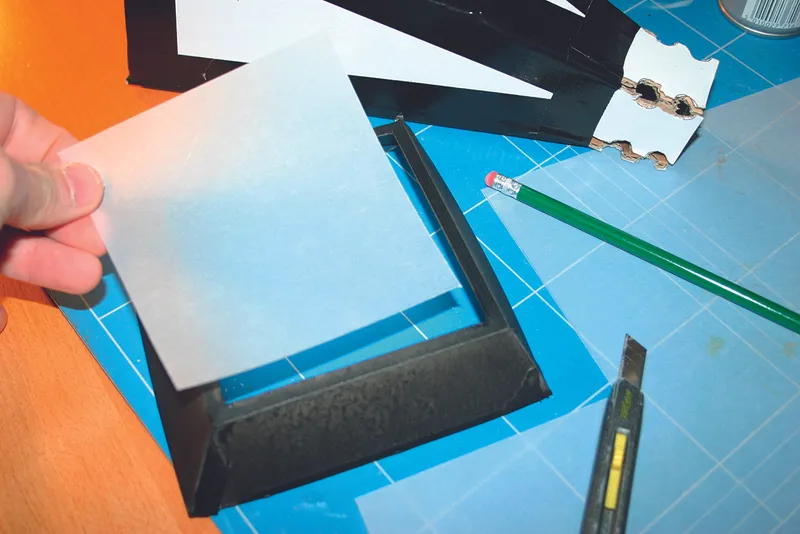
Cut a square of tracing paper and tape or glue it across the inside of the opening of the back screen frame.
Glue the back panel into the end of the funnel to attach it permanently or tape it if you think you’ll want to change the screen occasionally.
Step 6
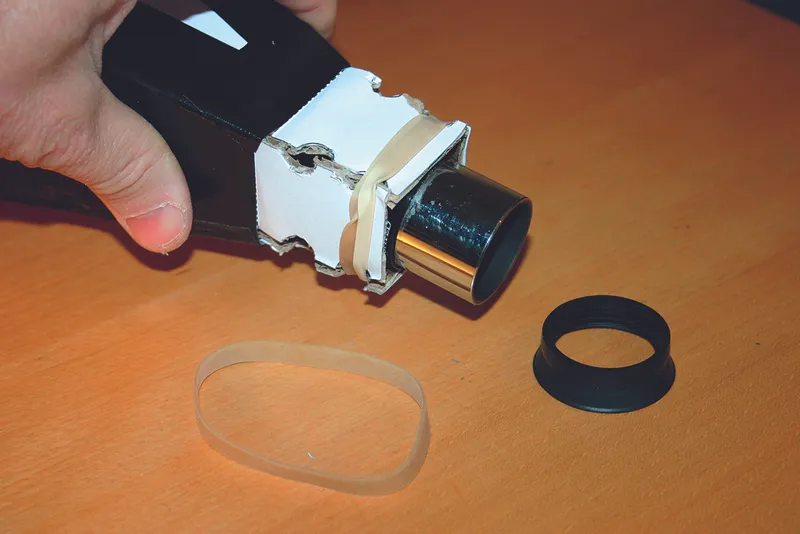
Remove your eyepiece’s rubber eye-shield and push it between the four ‘jaws’ at the bottom of the funnel.
Wrap strong elastic bands around the ‘jaws’ to hold the eyepiece in place. Apply additional tape to hold it securely.
Have you completed our solar funnel build and observed the Sun or a solar eclipse? Let us know how you got on by emailing contactus@skyatnightmagazine.com
Click here for even more DIY builds:

