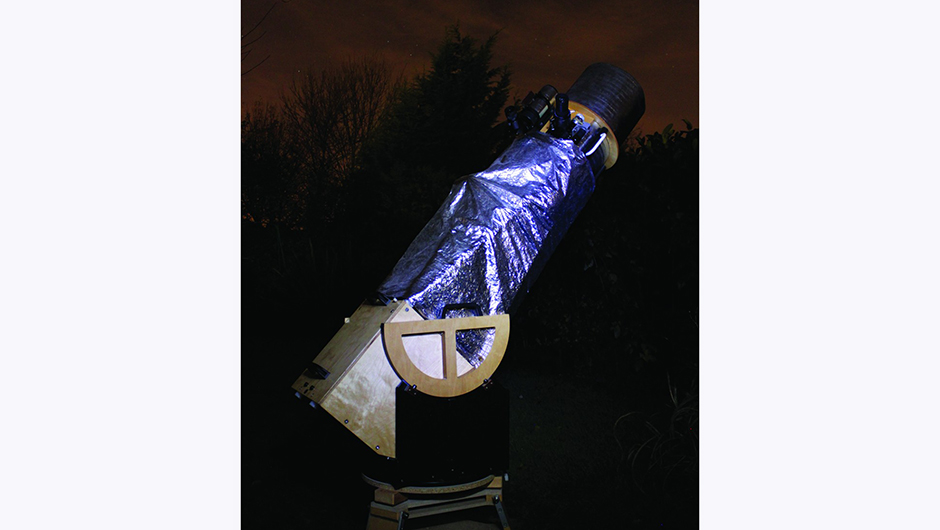
Thermally optimise your telescope and it will acclimatise to the cold outdoors much better and quicker.
In this guide we'll reveal why it's important to let your telescope cool down to reach the same temperature as the outside air, and how to do it.
Thermal dynamics can have a big influence on the views you get through your telescope, blurring planetary detail, distorting star images and degrading contrast in detailed objects such as globular clusters.
If you really want the best performance – whether for astrophotography or visual observing – get to grips with these issues and minimise their impact.
Methods of cooling and thermally optimising your telescope
Fans and batteries
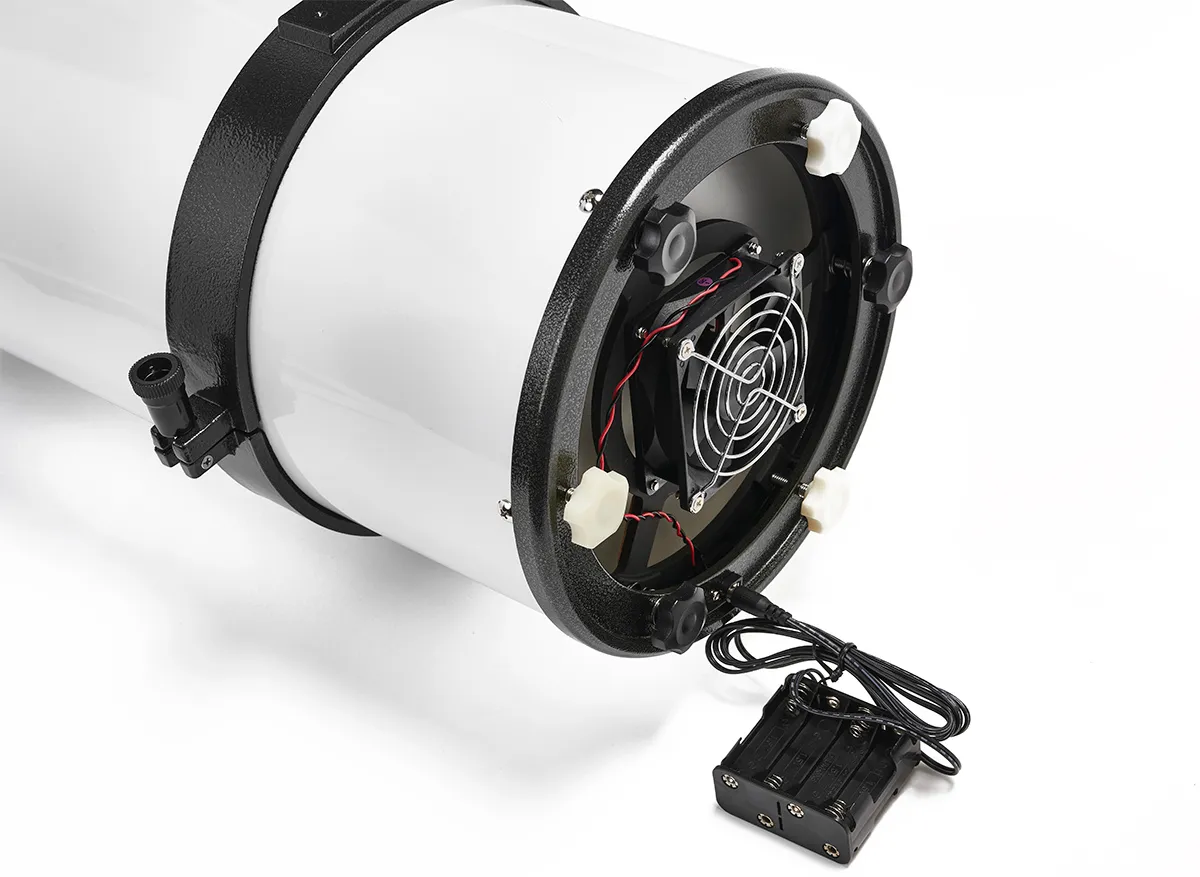
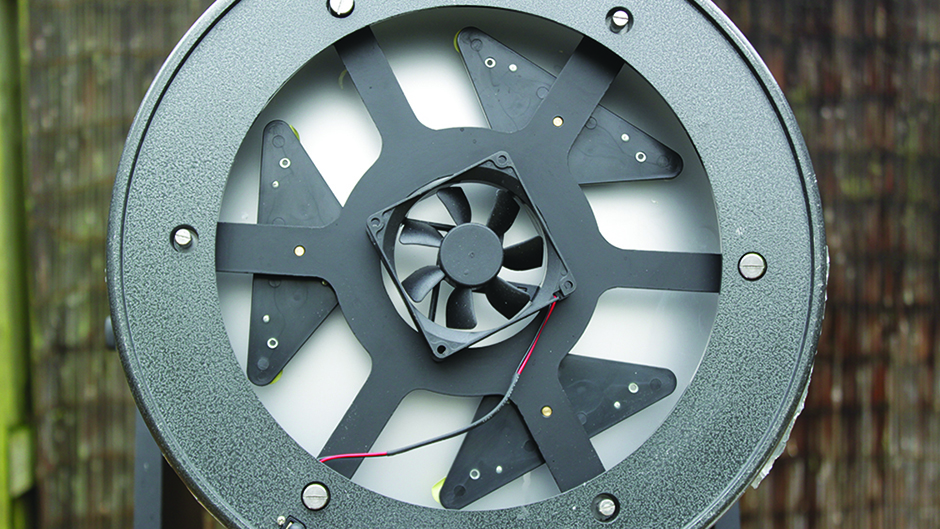
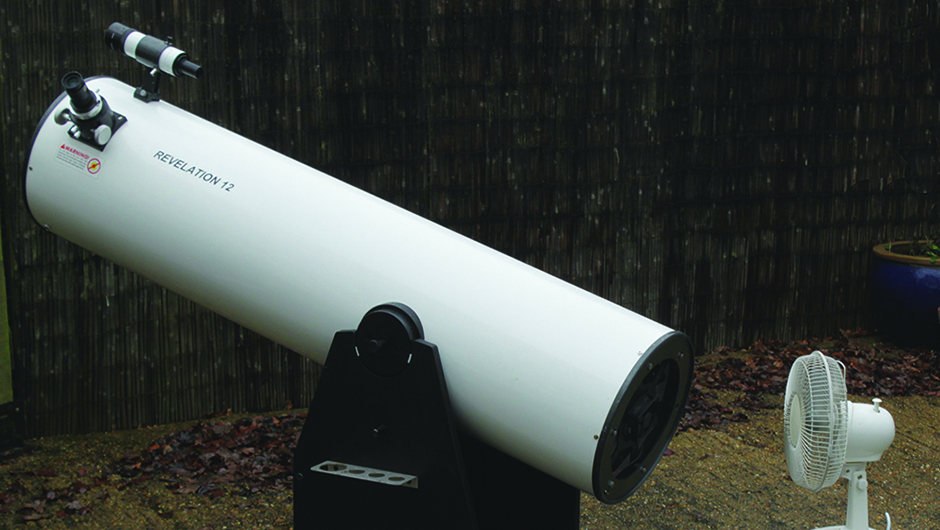
For Newtonian mirror cooling, choose a low-vibration ball bearing or Hydro Wave bearing DC computer fan. Power the fan from an external power supply or an onboard battery pack.
Radiator foil

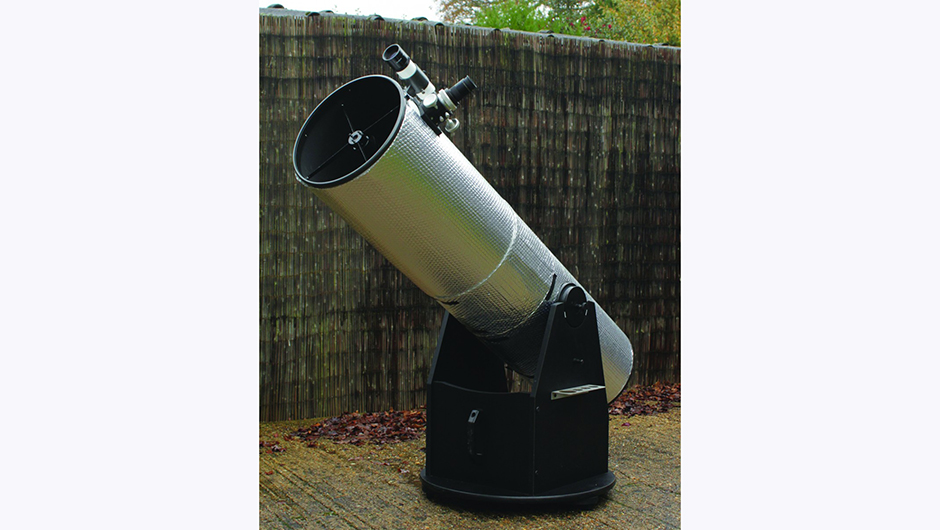
The aluminised insulation sold to fit behind radiators or line lofts can also be used on the outside of a telescope tube.
Space blanket
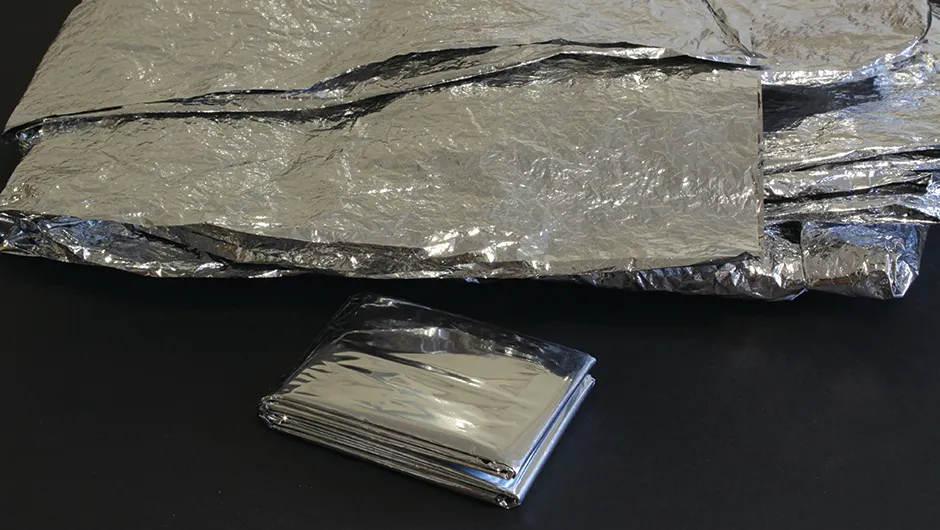
Aluminised Mylar space blanket is an alternative to radiator foil and can be bought from camping and outdoor shops. Ideally, use both products.
Scissors and insulating tape will be needed to cut and hold the radiator foil and space blanket in place.
Thermal Equilibrium optimisation and why it's important
Inside a cooling telescope, the warmer (less dense) air rises from hotter parts of the instrument as they lose heat by convection.
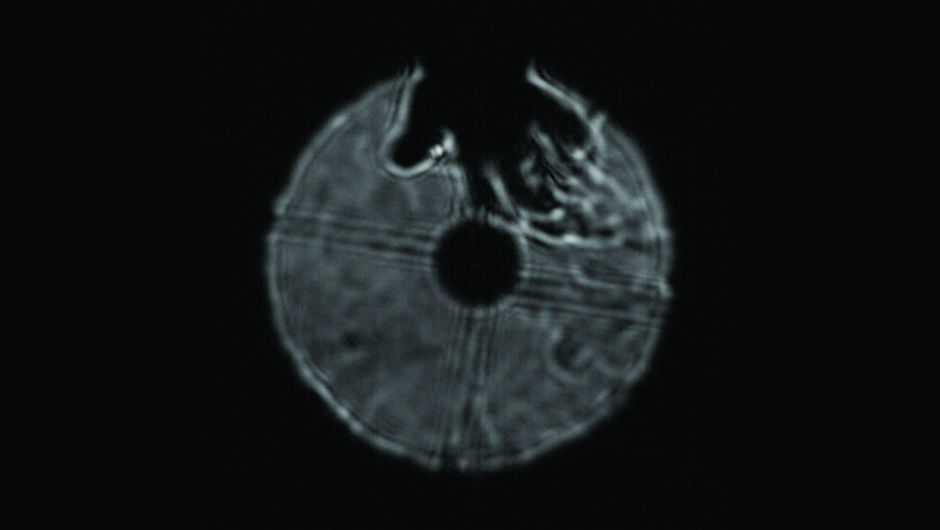
These ‘tube currents’ are trapped inside the telescope and, because the warmer air has a different refractive power than the cooler air, they introduce differing delays to light passing through.
This upsets the ability of the telescope’s optics to bring the light to a sharp focus.
The longer the optical path inside the telescope and the more unequal the air temperatures, the greater the problems caused by tube currents are.

For a scope with a 1m focal length, even a 0.1°C temperature difference over the length of the scope is enough to degrade images.
Larger telescopes are more affected than smaller ones due to their longer light path, but also because they have a smaller ratio of area to mass, meaning they take longer to cool down.
Reflectors tend to suffer more than refractors because light has to make one passage of the tube before being collected by the mirror and bent inwards away from the tube walls, where the worst convection currents often lurk.
In principle, to eliminate the problematic convection currents you just need to allow all parts of your telescope to cool to ambient temperature.
Thermal effects really subside when the optics and other parts inside your telescope have a less than 1ºC difference to the ambient temperature.

When within 0.5°C, not only do the tube currents die right down, but the layer of warmer unstable air that is otherwise tenaciously stuck to the front of the mirror or primary lens almost completely melts away – allowing maximum optical performance.
Unfortunately, getting the telescope to cool down sufficiently is often not so easy.
If it has been stored indoors, taking it out into the cold night air and expecting it to perform at its best straight away is a mistake.
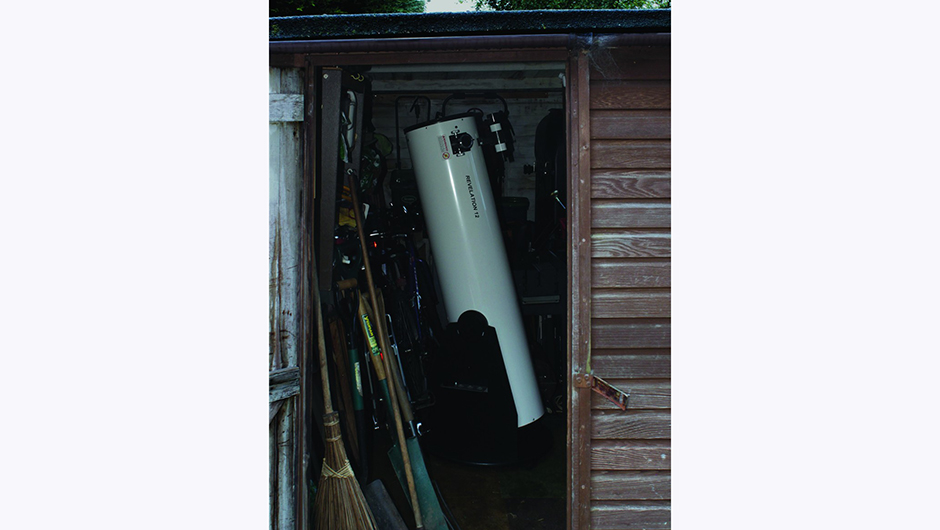
It's much better to store the telescope outside and allow it to cool down properly beforehand.
A small or medium telescope might cool down fully in 30 minutes, but a large one can take several hours to properly acclimatise.
Because air temperatures continue to fall through the night, the scope may stubbornly remain a few degrees above ambient.
Big telescopes have big mirrors and the large mass and poor conductivity of glass mean they don’t give up heat readily.
Fans blowing gently on the back of the mirror can really help.

Telescope cooled? Issues remain
Even if the telescope has lost all of its heat to the air, you can still get convection issues of a different kind.
Parts of the telescope that face the radiatively cold night sky, particularly the top face of the telescope’s tube, can drop several degrees below ambient temperature, inducing convection currents of cold air that continually cascade down inside the tube.
Unlike normal tube currents, which tend to die down with time, such ‘inverse’ tube current processes can plague you all night.
Combat such effects by wrapping parts of your telescope in a poorly-radiating material like shiny aluminium or a layer of insulation.
The best way to check for any residual thermal issues before starting to observe is to perform a star test where you rack an eyepiece well inside focus.
This allows you to clearly see any thermal currents in the tube silhouetted against the bright expanded disc of the defocused star.
Read our guide on how to build an artificial star to test the quality of your telescope.
Follow the steps below to see how badly thermal issues affect your telescope and reduce their severity to give sharper views of the night sky.
