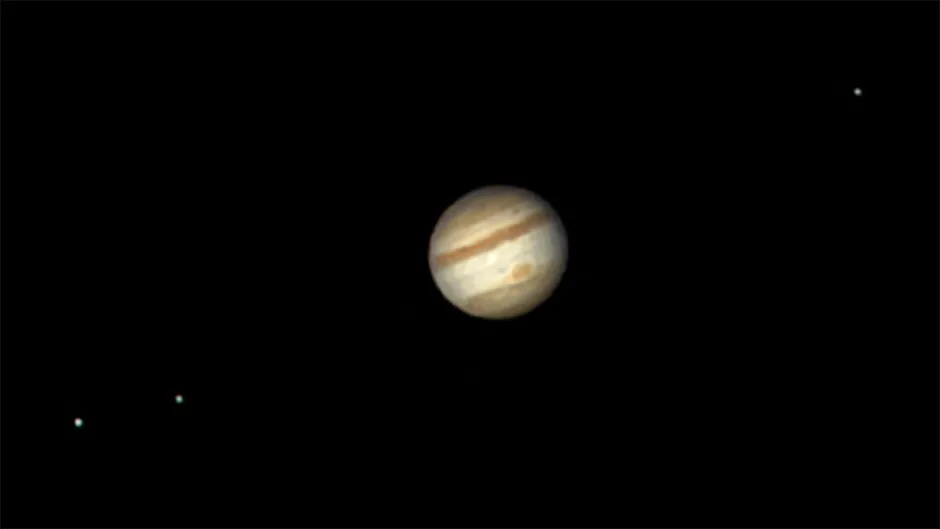
One of the greatest leaps in stargazing recently has been that it is now much easier to take pictures of celestial objects with a telescope.
In days gone by, the astrophotographer had all manner of telescope-mounting regalia for his or her camera, not to mention the processing of the now almost forgotten film.
Then the CCD camera arrived on the scene.
This stands for charge-coupled device, an electronic light sensor that’s used in digital cameras.
At first, only astro imaging experts used them because CCDs came in big, heavy cameras with complicated controls and were expensive.
But the era of digitally imaging the heavens had arrived.
Pretty soon the CCD and its electronic-light-sensor cousin the CMOS (complementary metal-oxide-semiconductor) chip found their way into a smaller, lighter, friendlier package called the webcam.
These were cheap and simple to use, so it’s not surprising that they opened up digital astro imaging to everyone.
Webcams were originally developed to sit by your computer to make video calls and home movies, but soon astronomers found that they worked really well on the night sky when you fitted one to a telescope.
They’re particularly well suited to the brighter objects in the Solar System like the Moon, Venus, Mars, Jupiter and Saturn.

A webcam works well on these subjects because it records a video comprised of many individual picture frames played quickly, one after the other.
When you look at the Moon or the planets through a telescope, you also magnify imperfections in the atmosphere, which leads to shimmering and boiling images.
But there are fleeting moments when the atmosphere is calm, and since a webcam records many frames per second, it captures these calm moments of perfect seeing.
This is when the view of the Moon or stars is at its best.
You can leave it at that, or you can then use several of these good frames from the movie to make your final image.
You can do this, and more besides, with the help of a computer program to enhance your picture.
See ‘Create the perfect snap’ below.
Webcams are designed to sit by a computer, so how do you attach one to a telescope?
Well, first you have to remove the webcam’s front lens and add an adaptor barrel in its place.
You can buy special adaptor barrels from telescope suppliers, or you could use an old 35mm film canister or a bottle top with the end cut off – anything that’s the right size to fit into the eyepiece slot.
The new adaptor barrel is then taped or glued to the webcam and the webcam is slotted into the telescope so that its light sensor chip is sitting where your eye would be to get a magnified view through your scope.
You can see where the webcam sits in the main image above.
Which webcam?
The Philips Toucam is often cited as a good webcam for astronomy, but sadly Philips doesn’t make it any longer – it has been replaced by newer models like the SPC230, which you can buy for under £20.
There are many other computer webcams available for a similar price too, such as the Logitech QuickCam and the Microsoft LifeCam.
All of these webcams need their lenses adapting.
If you don’t fancy having a go yourself, a shop called Astronomiser offers a modification service.
Finally, regardless of what telescope and webcam you have, you’ll need to connect it to a laptop computer to grab images of the night sky.
Create the perfect snap
Your webcam movie file of a planet or the Moon will most likely be in a format called an AVI file.
All it takes is a little computer wizardry to get a good-looking image or two from it.
For this, you’ll need some software to process your movie file, and a good program to do this is called RegiStax.
This great bit of software (free to download from www.astronomie.be/registax), analyses the movie file from your webcam.
It ignores each frame that is too badly affected by wind shake, your mount’s tracking errors or too much turbulence in the atmosphere.
It’s left with the best frames from the movie, which it then puts on top of one another to improve the detail, quality and colour in them – what’s known as stacking.
These stacked frames may still be subtly different from one another, so the program will apply rotations, shifts, colour balances and other tweaks until it ends up with a brand-new, single, cleaned-up image.
Stacking means the images you end up with are brighter and sharper.
Indeed, it can sharpen your image so much that the final result is far better than the best original frame in the stack.

Top webcam tips
To get great images with your webcam, take a short video that’s around a minute long.
Your stacking software can create a sharp final image from this.
Also choose an observing site that doesn’t have too many trees or houses.
These give off heat, as can patios, creating swirling air currents that can cause your image to wobble.
Setting up in the middle of a big field or by the sea is ideal.
One of the most difficult things with a webcam is to accurately focus it.
There are two ways to do this, depending on what you’re imaging.
For the Moon, frame the jagged edge (the terminator) in the webcam and use the contrasting features to gain focus.
For planets, you can use a nearby bright star to focus the webcam before moving the scope’s view back to the planet.