Starting out in astrophotography is an exciting, but often bewildering, experience. When you think about it, it’s probably one of the strangest types of photography out there.
You’re going out, in the dark, at night – sometimes in remote spots – trying to capture a picture of something that’s not only really distant but extraordinarily faint by any normal photographic standard.
Oh and, by the way, not only will the entire sky be moving while you’re doing this, but the atmosphere you’re shooting through will be wobbling too.
For more imaging advice, read our guide to astrophotography image processing or discover our pick of the best astrophotography cameras and the best astrophotography telescopes.
And that’s before you’ve even considered the prospect of actually processing the data you’ve captured.
It’s no wonder there are so many slip-ups that it’s easy to make.
Here we'll look at 12 common astrophotography mistakes and how you can avoid making them.
I’ve made every single one of them myself at one point or another, and I’m sure in time you’ll find new and interesting ones of your own too – the astrophotography learning process is one that never ends!
Deep-sky astrophotography Masterclass
Interested in astrophotography? Sign up for our Deep-Sky Imaging Masterclass and find out how to capture distant galaxies and nebulae.
Click here to book tickets for all three Masterclasses and save 20%
12 common astrophotography mistakes
Not getting focus right and capturing soft data
As imagers we dedicate hours to setting up a scope and mount, getting the auto-guiding or tracking just right and then carefully processing the data we capture.
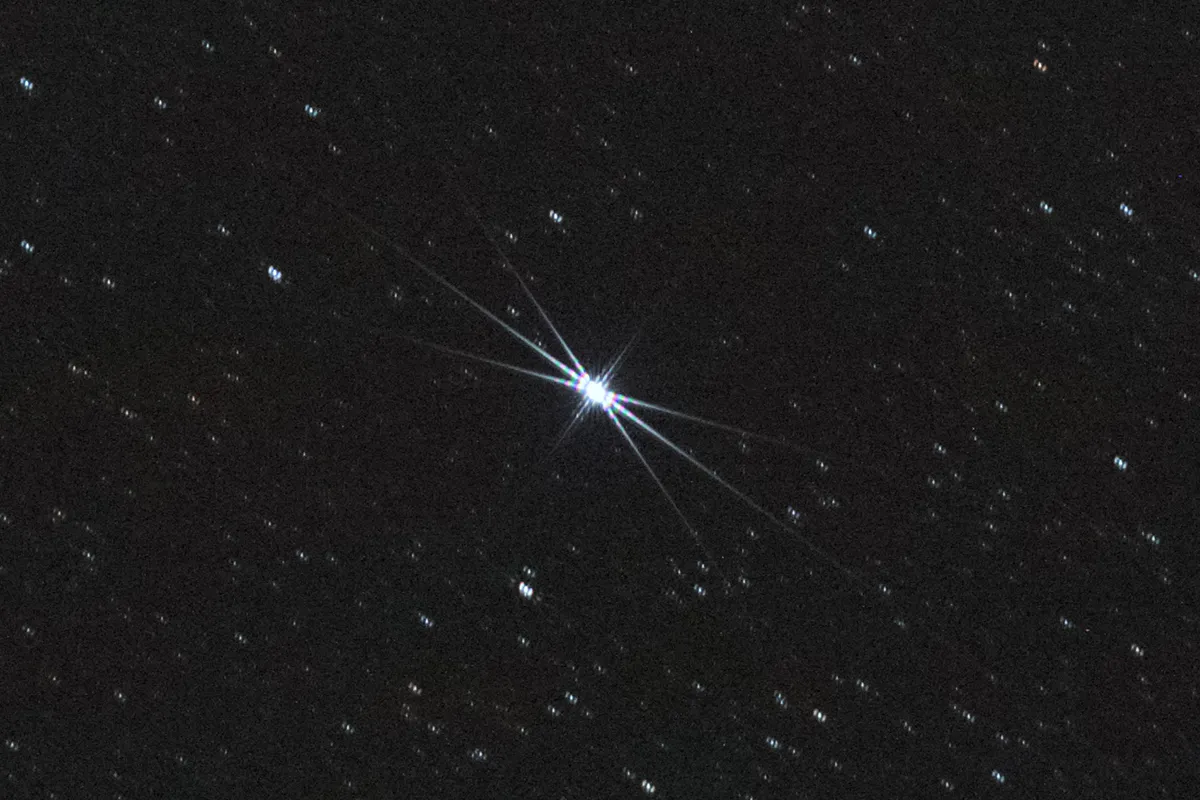
But the quality of the final image all hinges on a pivotal process that can all too easily be rushed: getting the optics perfectly focused.
If you’re not using a focusing aid – such as a Bahtinov mask – time spent carefully confirming focus will never be wasted.
When doing this, try to slowly adjust the focuser a little way past what you think is the focus point, and then gradually return back through to the other ‘side’ of that point until you’re absolutely sure where it is.
If you’re using a live preview screen on a camera, check focus on several medium-bright stars in the frame, as sometimes it’s not easy to accurately judge when a bright star is at its smallest and, therefore, sharpest.
And once you’re focused, continue to check that the optics you’re using remain in focus throughout your imaging session.
Did you very slightly nudge the focus ring on the lens as you manoeuvred the camera around, for example?
Has the focus of your imaging system changed minutely as the air temperature has varied?
Did a filter change alter the focus point?
Athough they can be time-consuming, all of these little checks, will ensure the data you capture is the clearest and crispest it can be.
Not letting optics cool
With clear skies a rarity in the UK, it’s understandable you’d want to start imaging as soon as you’ve got your kit outside.
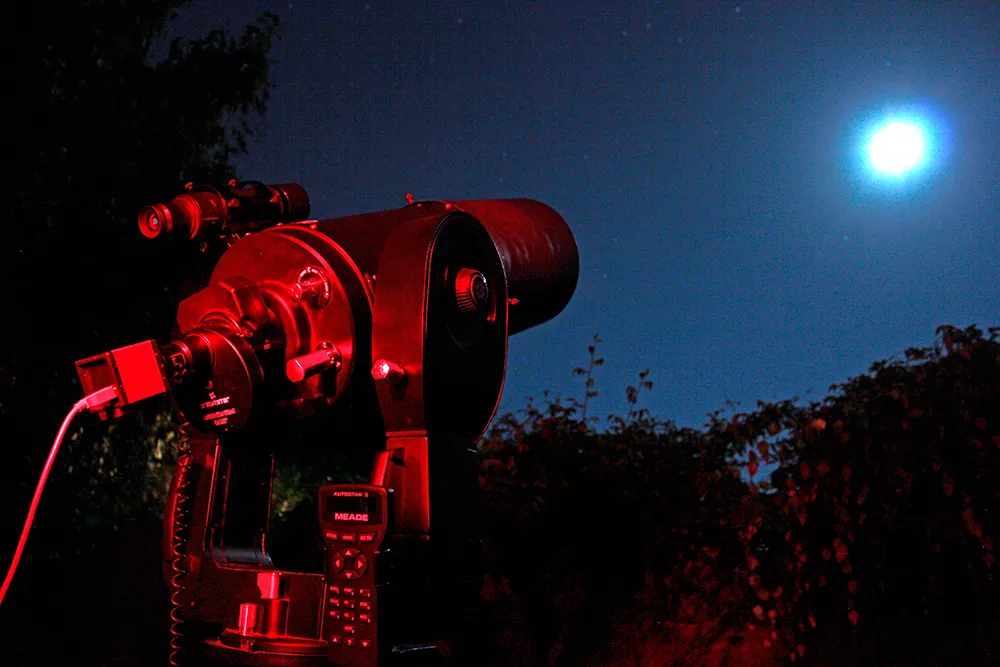
However, it’s essential to allow a telescope’s optics to cool down to close to the ambient air temperature before you do, particularly in the case of high-resolution lunar and planetary imaging.
This is because air currents inside a warm telescope can degrade any data you capture, making the final image softer.
If it is safe to and there’s no risk of inclement weather (and there’s a clear night ahead), put the covered telescope outdoors in advance of your imaging session and you’ll get better results.
Clipping the black point in post-processing
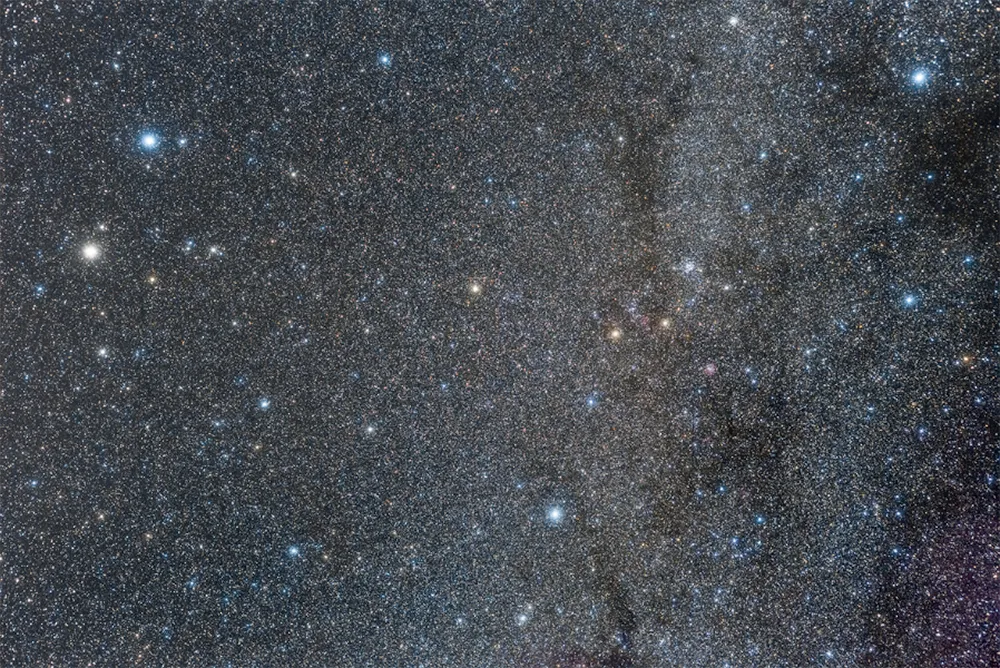
Here we come to our first ‘mistake’ that's concerned with something a little more aesthetic than practical, and it centres on how we wish to represent space in our images.
When it comes to the depictions of areas around celestial targets, or the night sky more generally, I’m of the view that – in most kinds of astrophoto – space, and the night sky, should never be completely black.
The sky, the Galaxy and beyond is full of the diffuse light of stars and other sources, and so to make the background of an astro image a solid black doesn’t seem quite right.
Now you may disagree on aesthetic or artistic grounds, in which case I very much respect your choice, but if you’ve never considered this before, check that you’re not inadvertently ‘clipping’ the black point.
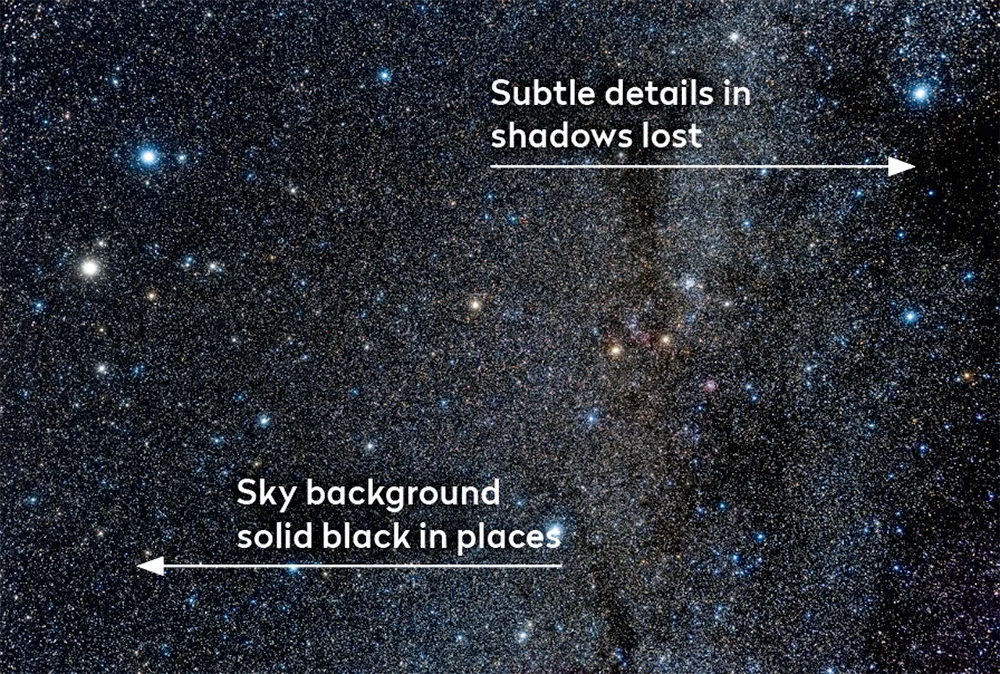
This is where the contrast of an astrophoto is tweaked to a stage where, when you inspect the ‘levels’ tool of an image editor like Photoshop or GIMP, the so-called ‘black point’ arrow slider cuts off the left edge of the levels histogram.
This results in subtle, darker shades in the picture being lost and appearing simply as solid black.
This is something to watch out for in deep-sky and nightscape imaging in particular, as it can lead to a loss of detail in shadowy features like dark nebulae.
Not planning your composition
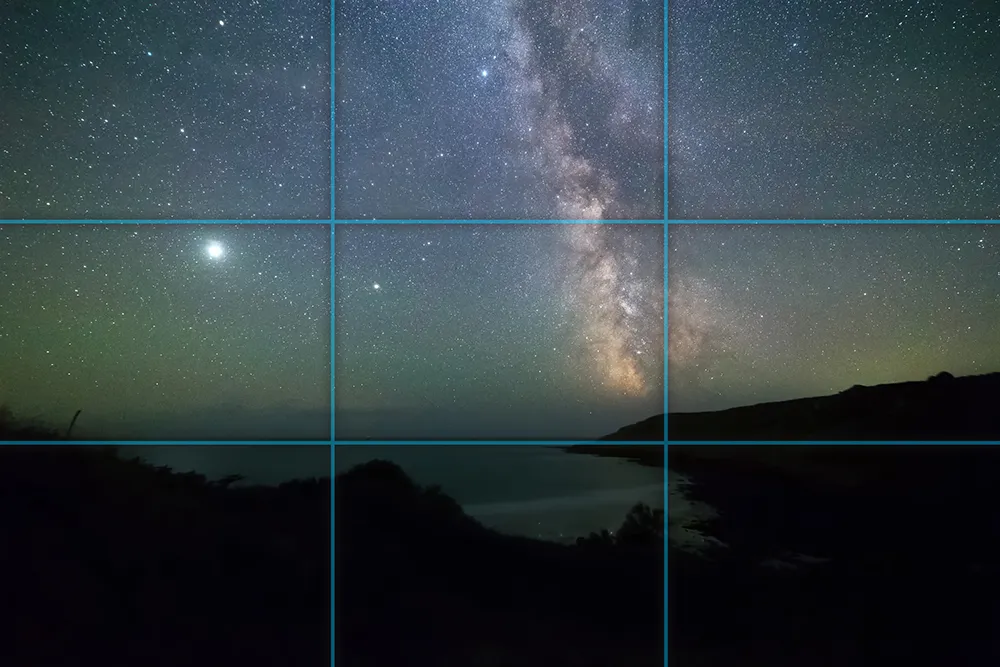
Composition is one of the easiest things to overlook in imaging, yet it has a huge effect on the impact of an astrophoto.
If you’re setting up a shot, spend some time thinking about how you’ll draw the viewer’s eye into the picture and how the object or scene you’re shooting is placed in the frame.
For nightscape-style work, with a horizon and foreground, it can be useful to think about the ‘rule of thirds’ principle, where you arrange features or landmarks into three zones, with key features that you want to highlight placed close to the points where a set of lines cross near the centre of the shot.
For deep-sky imaging, offsetting an object from the centre of the frame will often create a more engaging composition than simply placing it right in the middle.
Using poorly collimated optics
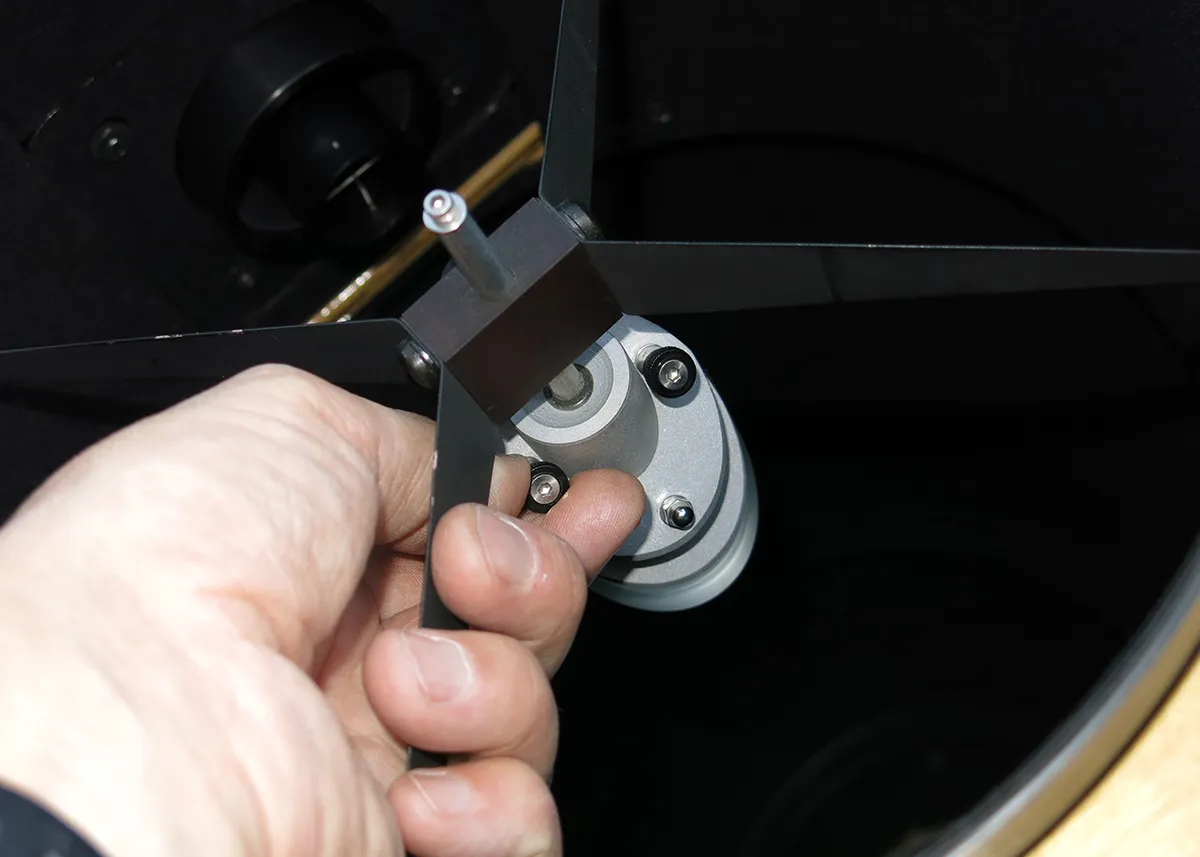
If you’re imaging with a reflecting telescope, it’s really important to regularly check the collimation – or alignment – of its optics if you want to take the best images you can.
This is especially important when carrying out long focal-length, high frame-rate imaging of the Moon and planets.
There are numerous online collimation guides for a variety of different telescope designs, and experienced members of your local amateur astronomy society may also be able to offer advice if you get stuck.
Over-sharpening your data
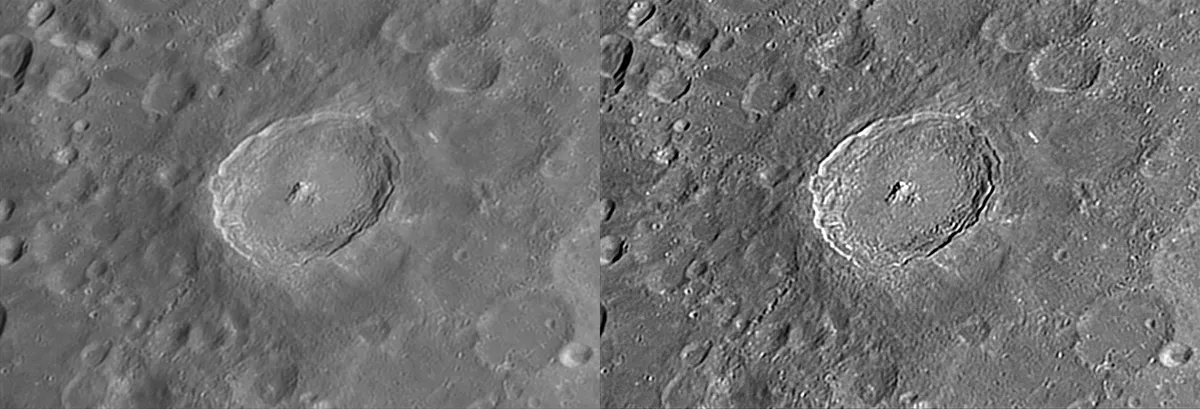
When you’ve spent so much time collecting precious imaging data it’s tempting to push it as hard as you can in the later post-processing stages: you naturally want to see if you can get as much detail as possible out, but it’s remarkably easy to sometimes take it a step too far.
Often you might not even notice what’s happened in that moment when you’re sitting at your computer, deep in thought about the processing.
I know I’ve certainly done it with my own pictures, and it’s only when I’ve posted the image online, or seen it on my website, that I think "Hang on, that’s a bit overdone".
Although one can push data too far in any field of astrophotography, I find it’s particularly easy to do in areas where we’re dealing with data that, from the beginning, has to be refined and sharpened to make fine details visible, like high-frame-rate ‘lucky’ imaging of the Moon and planets.
Here – when you’re wavelet sharpening or applying an ‘unsharp mask’ later in an image editor – nudging the sliders a little too much can quickly result in sharpening artefacts, like dark borders around features or a general ‘crunchy’ look.
To be vigilant, I find it’s good to make adjustments incrementally, going back and forth to check each step, and then leave the image for a while.
When you come back to it with fresh eyes and compare it to earlier iterations, you’ll see if you’ve really made the enhancements you want.
Not reccing a site before visiting at night
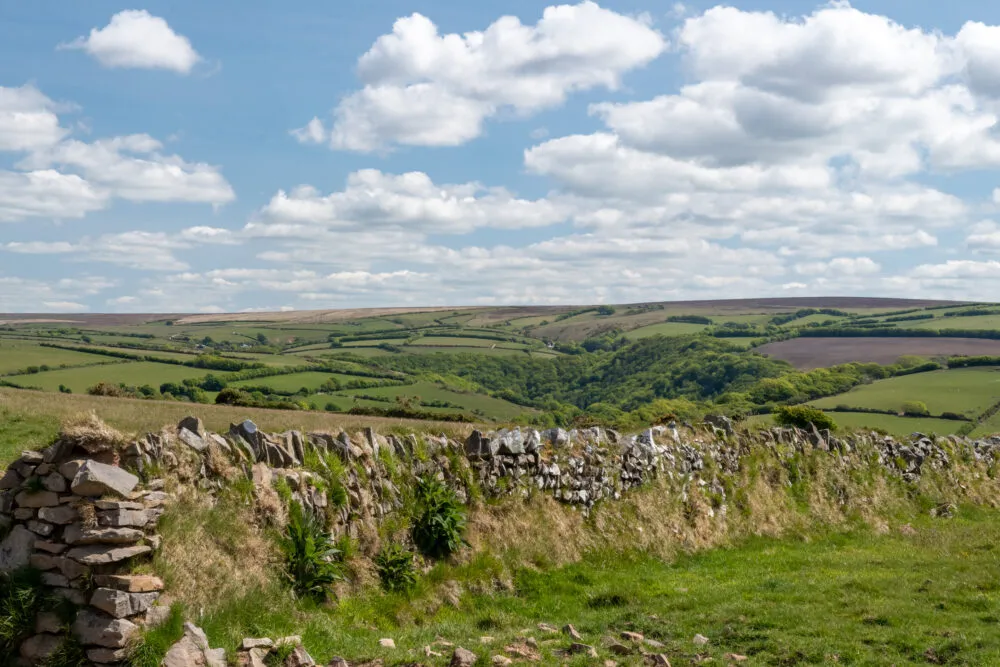
If you’re planning on travelling to a new dark-sky spot or one you haven’t visited for a while, recce the site beforehand in daylight.
Not only should this help you identify safety issues and avoid hazards, but if you’re a nightscape imager it’ll also give you a chance to scout out compositions.
Not shooting in RAW with your DSLR
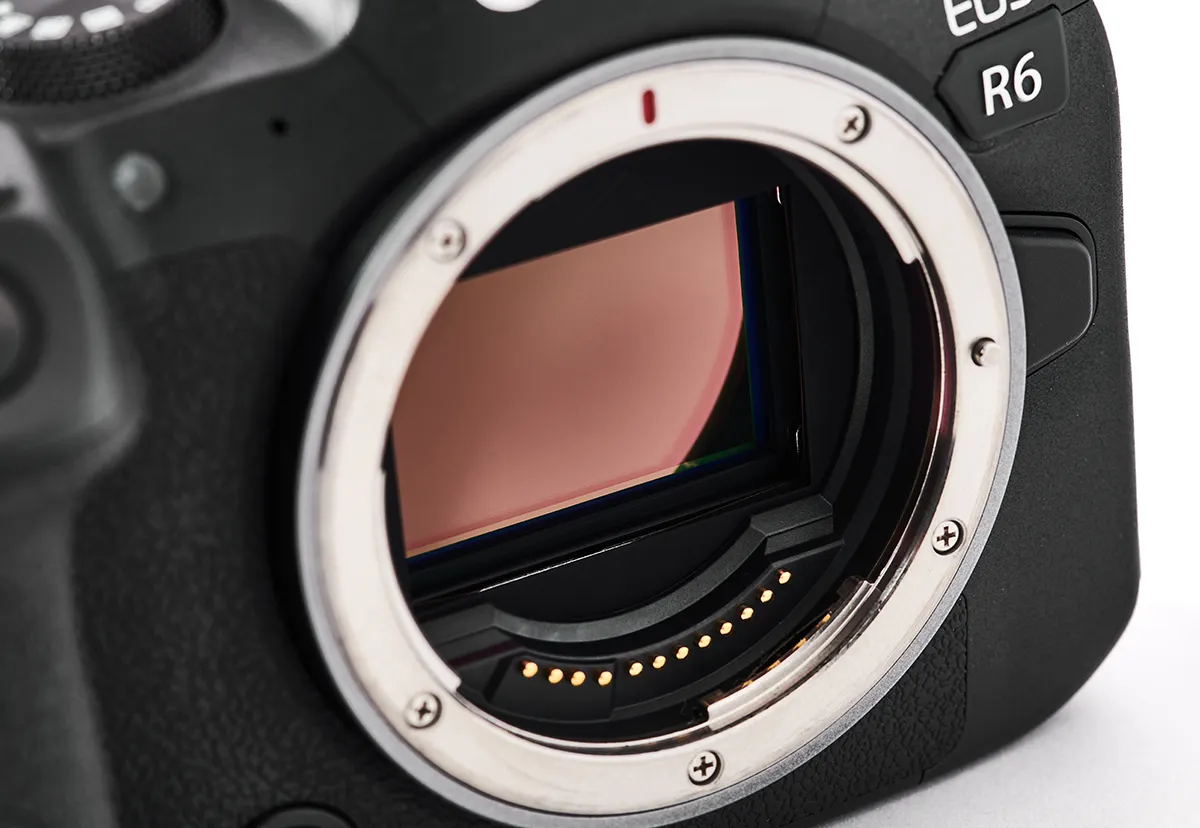
One of my biggest regrets from my early days of digital astrophotography was not shooting in RAW format when using my first DSLR.
While I can go back to the vast majority of the DSLR images in my archives and process the RAW files from scratch again – with the benefit of experience and new processing software or techniques – the images from those early years are just standard JPEG files, which by their nature are compressed.
The RAW format files preserve much more data, so it’s similar to having a digital negative, while if you try to process an old JPEG you’re essentially working with an inferior copy of the full data captured by the camera.
Even if you don’t have the software or intention to process RAW files now, I’d still recommend shooting in RAW, as years down the line you may wish to revisit the data to see what’s lurking in it.
Not gathering calibration files
In a similar vein to neglecting to shoot in RAW, is the issue of capturing calibration files.
This is mainly applicable to deep-sky imaging with a telescope or long lens, and it’s one of those occasions when a little effort can have a big effect on an image.
In basic terms there are two kinds of calibration files that are worth capturing as a beginner: ‘flats’ and ‘dark frames’.
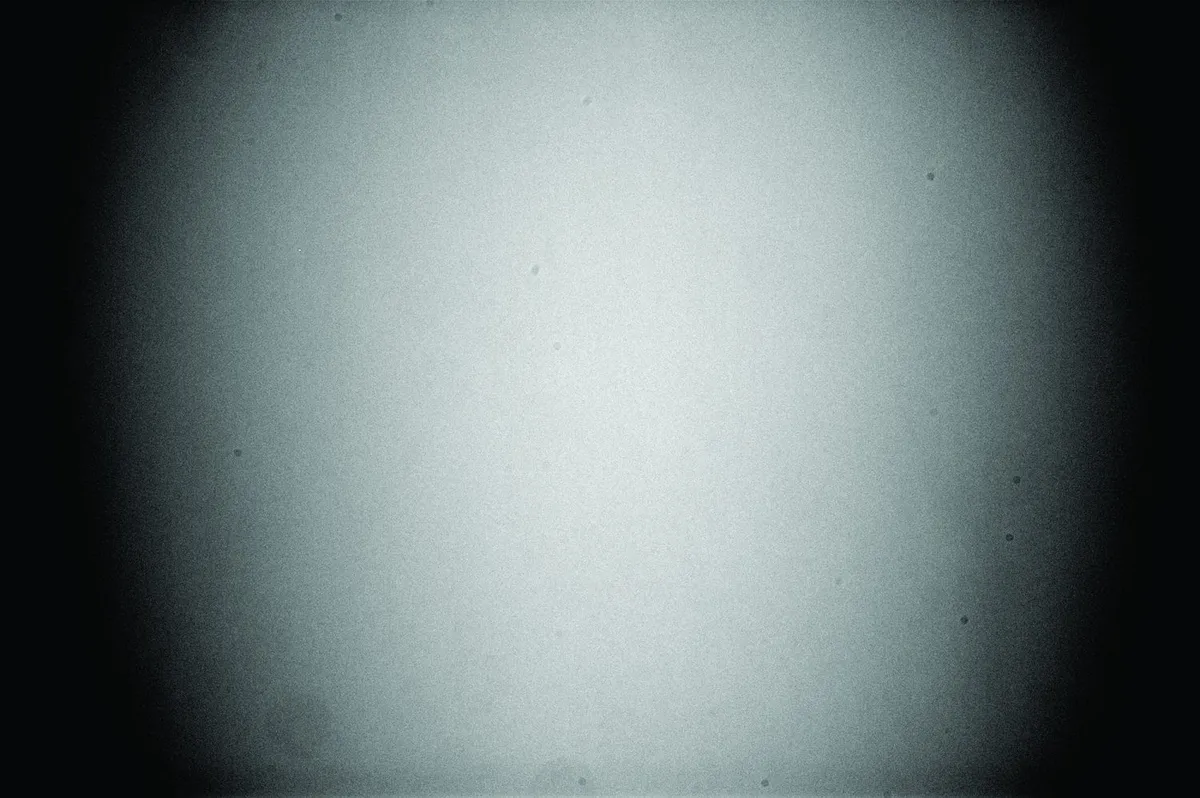
Flats, or flat fields, are images used to capture the optical defects in the imaging system, such as dust shadows on the camera sensor and vignetting (the darkening in the periphery of a frame caused by the optical housing of the telescope).
Flats can be captured using a clean, white cloth or pillowcase carefully placed over the front aperture of your telescope; you then shine a torch onto the cloth and take a well-exposed image.
Dark frames are exposures taken under the same settings and conditions as regular sub-exposures, except the lens cap or telescope aperture is covered so as to only record the camera noise.
In both cases these frames are then subtracted by software when it comes to processing the data, and the calibration they provide will substantially improve the quality of even a basic deep-sky photo.
Not preparing contingency kit
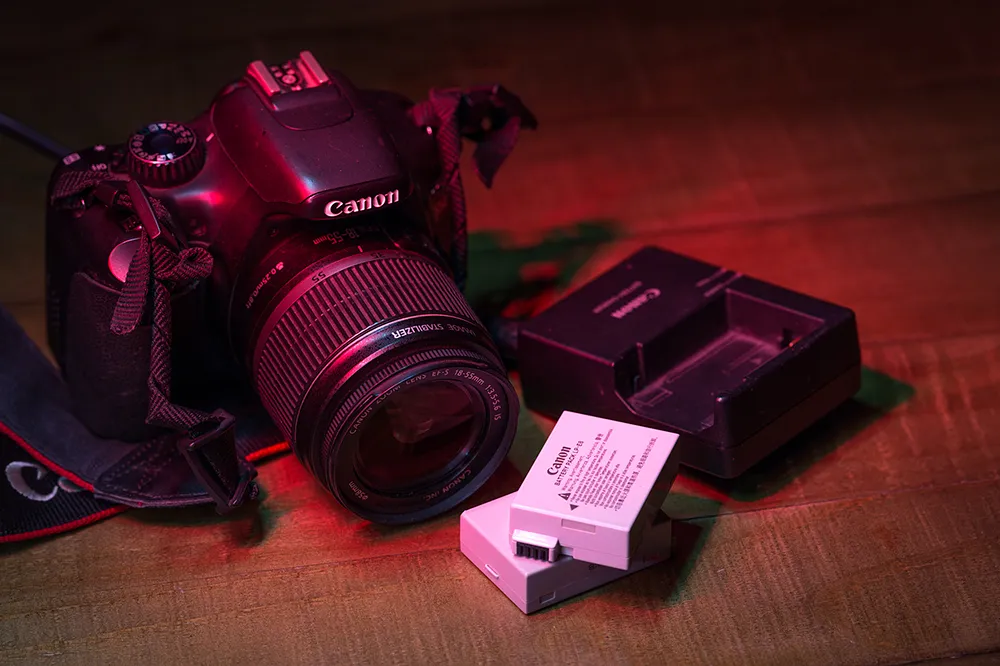
There’s nothing that ruins a night of astrophotography like turning up to an observing site with a camera that doesn’t have a memory card in it or that has a flat set of batteries.
My greatest triumph in this area was driving over an hour to a dark-sky spot with my entire imaging rig except the small – but absolutely vital – baseplate that holds the DSLR to the tripod head.It’s so easily done.
Alarm reminders on my phone throughout the 24 hours before an imaging trip are one way I now build in contingencies to avoid these things happening, as they’re harder to forget or overlook than a physical checklist.
Forgetting dew protection

If the atmospheric conditions are right, dew forming on the exposed surfaces of camera lenses and other optics can stop an imaging session in its tracks, sometimes over the course of taking just a few sub-exposures.
If you’ve spent a long time setting up or waiting for skies to clear, this can be really demoralising, so it’s good to be vigilant.
What’s more, on some nights even dew shields won’t be enough to stop moisture from forming on a telescope or camera lens.
There are many active dew prevention systems on the market. These typically work by wrapping around the telescope tube or lens and giving off a very gentle heat, which inhibits the formation of dew on the optics.
It’s worthwhile investigating even a basic system, as it should give you several happy hours of dew-free data capture.
Or you can make your own. Find out how in our guide to making your own camera lens dew heater.
Applying excessive noise reduction
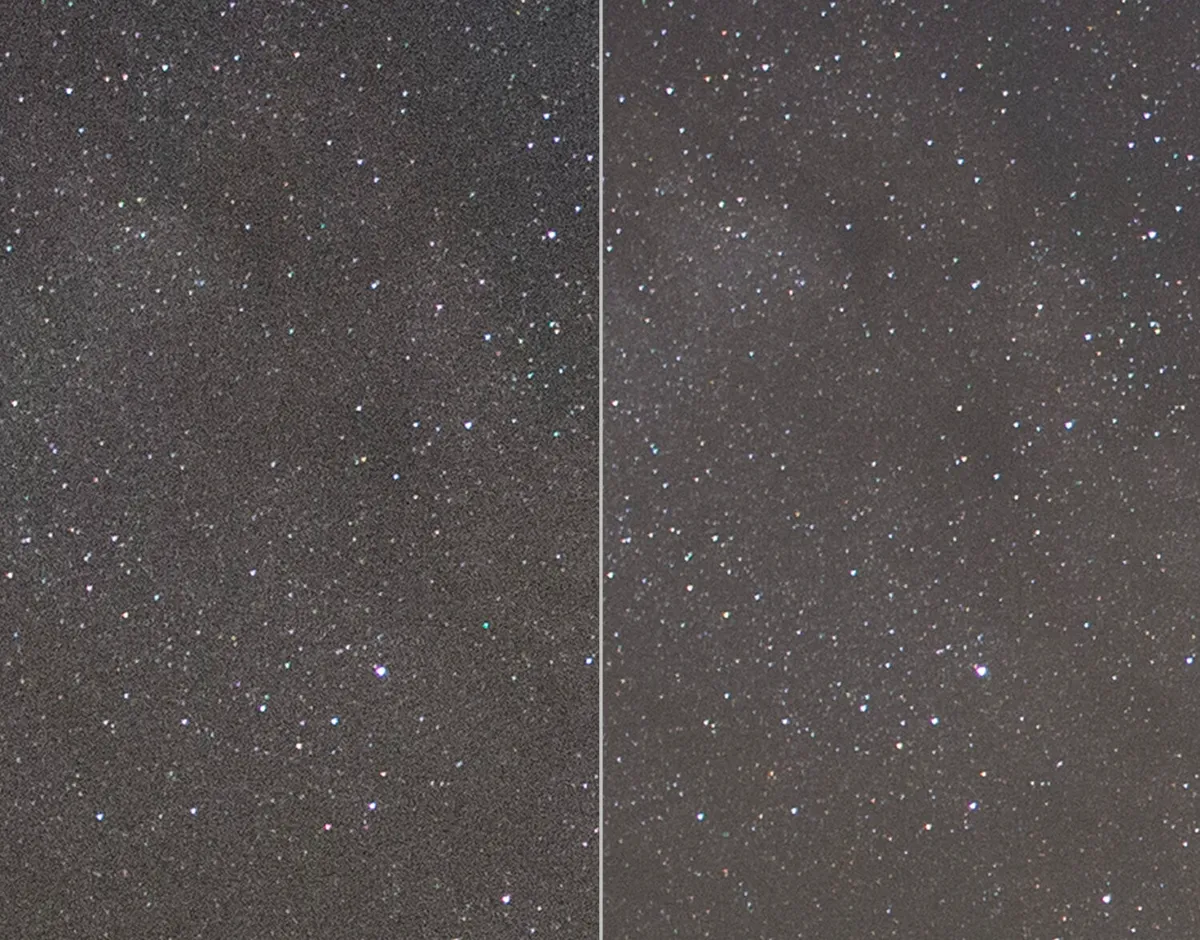
I’ll caveat this last point by saying that there’s no ‘right’ answer and what follows is my opinion, but it is something that beginner imagers are perhaps being too hard on themselves about, thinking they need to make their data look ‘perfect’.
When I look at astrophotos online I often see some that have had very strong noise reduction filters applied, giving the shot a really smoothed look.
Personally, I’m not bothered by a little noise in an image and I’d much prefer it over a highly smoothed background – in some ways the noise is part of the ‘story’ of the shot.
So if you’re tempted to massively crank up the noise reduction filter, maybe, instead, think about what leaving some of it in will bring to the picture.
This guide originally appeared in the August 2022 issue of BBC Sky at Night Magazine.

