CMOS cameras have become more popular in astrophotography over the past few years. Having started out as high-speed planetary imaging cameras they’re increasingly being used for deep-sky imaging by amateur astrophotographers. Now we are seeing fully cooled cameras and full-frame sensors arriving on the market.
The cost can be a fraction of that of CCD cameras a few years ago and now respectable images can be produced using small cameras priced under £300.
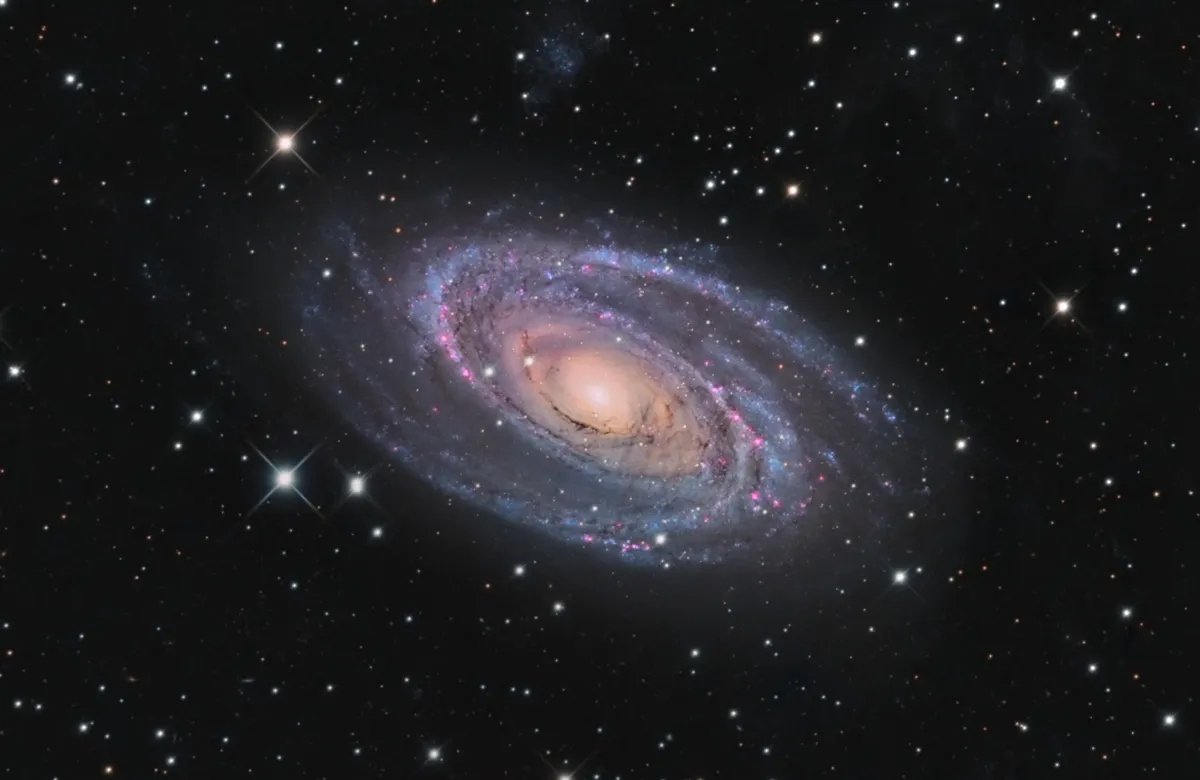
CMOS cameras have a lot of other benefits as well as price, such as short imaging times and the ability to capture without guiding on some imaging setups, thanks to the amount of detail that can be captured in a short exposure.
In this article we’re going to run through how to capture and process a data set for M31, the Andromeda Galaxy, using a CMOS camera for astrophotography.
For more info on astro imaging equipment, read our guides to the best cameras for astrophotography and thebest telescopes for astrophotography.
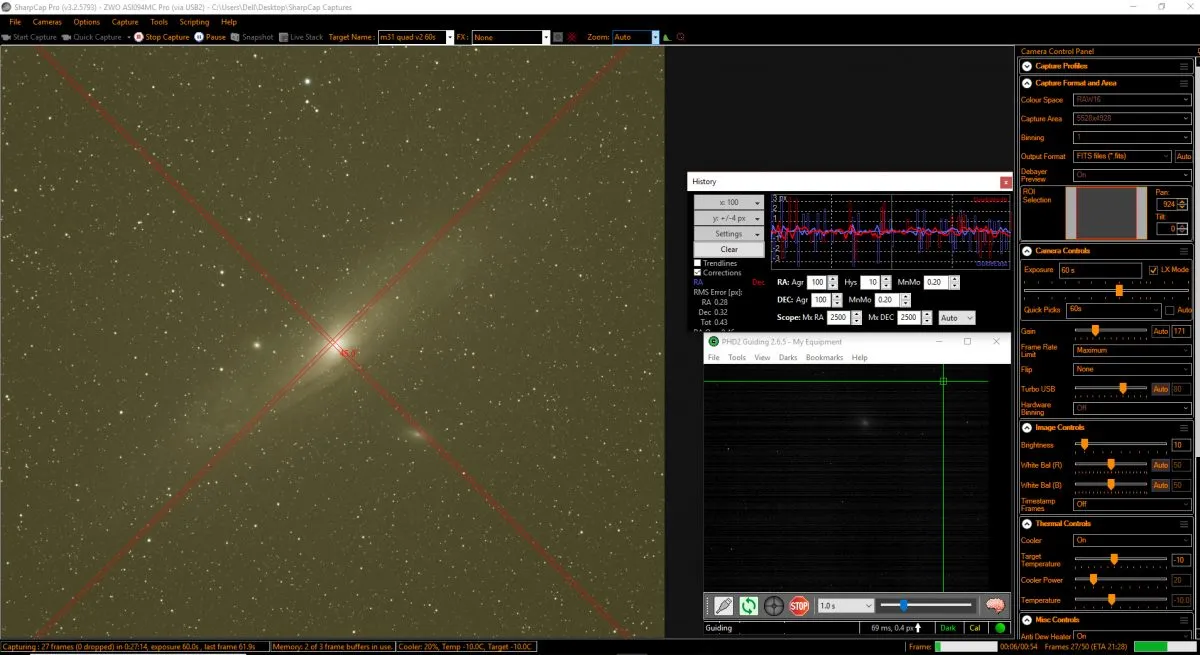
Camera connection and capture
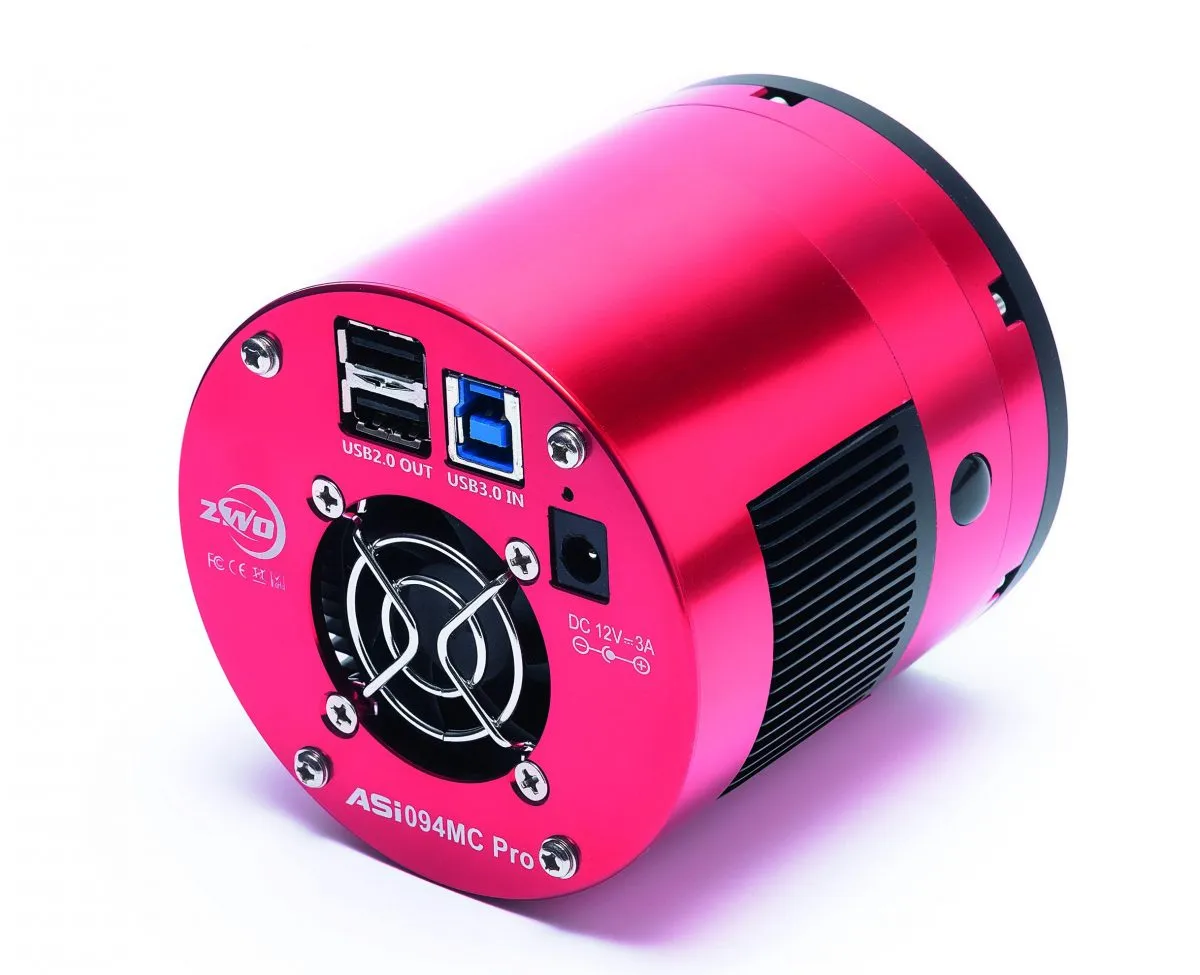
Many CMOS cameras come with a high-speed USB3 blue connector.This is a dual port and has the normal USB2 connector inside it.
When it comes to imaging deep-sky objects, the most stable setup is the USB2 method, as it is not so reliant on cable length or USB power output from the PC connections
Settings
Getting the settings right on CMOS cameras can be confusing, and one important step in particular is choosing the best gain setting.
Gain steps are set by the manufacturer and are different in each model. Take, for example, the Sony IMX290 CMOS sensor.
On cameras with this chip, if the gain is set too high it will introduce lots of noise, so it’s better to keep it around 200 to 300.
With other cameras it’s a case of experimenting to find the best level, but in general CMOS cameras don’t need the gain to be set as high as your average CCD camera; it’s best kept to a range of between 150 and 450.
The next settings to get right are image format and the camera’s bit mode.
The format needs to be set to FITS for the best capture and subtraction of calibration frames, while bit mode should be set to RAW and the highest bit number available, whether that’s 12-bit, 14-bit, 16-bit or more.
If the camera is set to a low bit mode, say 8-bit, it’s likely to produce poor images with lots of background noise when used for deep-sky imaging.
If the camera has cooling, switch it on and let the system settle before capturing. CMOS cameras really don’t need to be cooled to –30°C; generally around –15°C will give the best results.
Setting the exposure, each camera will react differently depending on the focal length of the telescope it’s being used with.
For a popular sensor like the Sony IMX183 on an 80mm f/6 telescope, start with 60 seconds for the exposure and a gain setting of around 300, capturing around 100 images at that setting.
Some of the latest cameras on the market have a new HGC (Hybrid Gain Control) noise reduction that switches on automatically as the gain is increased.
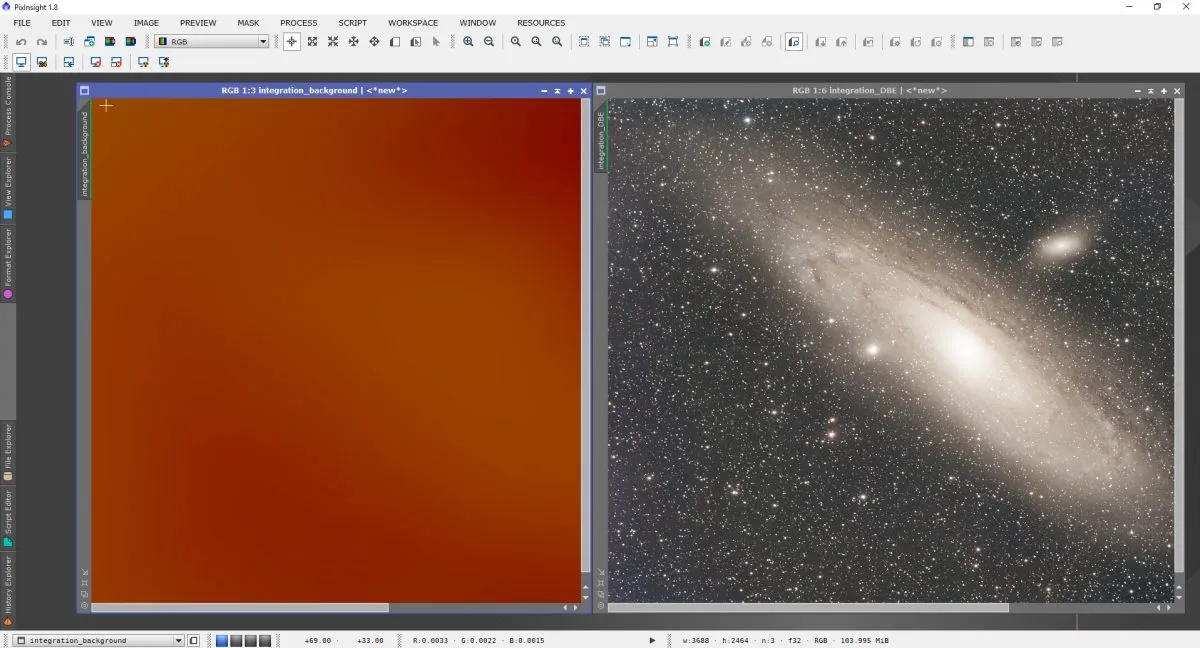
We used the capture software SharpCap (www.sharpcap.co.uk) to control the settings for the image of the Andromeda Galaxy; it can be used with many different CMOS cameras.
Once captured, naming the files with the equipment and the exposure time used helps to match calibration data when it comes to processing.
Calibration frames
The capture of good calibration frames is just as important with CMOS deep-sky images as they cut down on the amount of correction needed in final processing.
Use darks, flats and bias frames – despite there being some debate on whether the latter upsets the stacking of images, they do work for me.
I capture bias frames at around two seconds and that prevents any problems upsetting the subtraction in processing.
From experience, flat frames have given mixed results: subtraction was not always good with some CMOS cameras that had vignetting.
I made a change to capturing flats, getting them in daytime with a thicker cover over the telescope or using a flats panel on the front of the telescope.
With full-frame CMOS sensors on reflector telescopes this seems to have removed the vignetting.
Capturing around 30 frames of each of the darks, flats and biases works well, and after processing they are saved as masters for reuse.
This cuts down on processing time as images from large format cameras can take a long time to process in any software.
Image calibration
PixInsight is my go-to software for calibration and processing of CMOS images.
Using its ‘batch preprocessing’ you can load in images and calibration frames, and it is here that you need to set up the camera to read the Bayer matrix correctly.
FITS files can be read from the top down or the bottom up, and how they are saved depends on the camera and capture software.
In the ‘FITS’ header file of each image you’ll find useful information like Bayer settings, Exposure and Gain settings and the temperature the camera was set at for the capture.
Using pics taken with an Altair Hypercam 183C CMOS camera as an example, in some software the colour would be set to RGGB, but it needs to be set to GBRG and the box marked ‘Up-Bottom FITS’ needs to be unchecked, which PixInsight allows you to do.
This will then read the colour correctly and sets PixInsight apart from some other software. Getting the colour correct at the start of our processing is a really important part of the processing structure.
For our M31 image it took around an hour to calibrate the images.
Some programs like DeepSkyStacker are faster but can’t read the Bayer matrix in the same way, so the colour is stripped in calibration and this can lead to quite poor results.
Processing
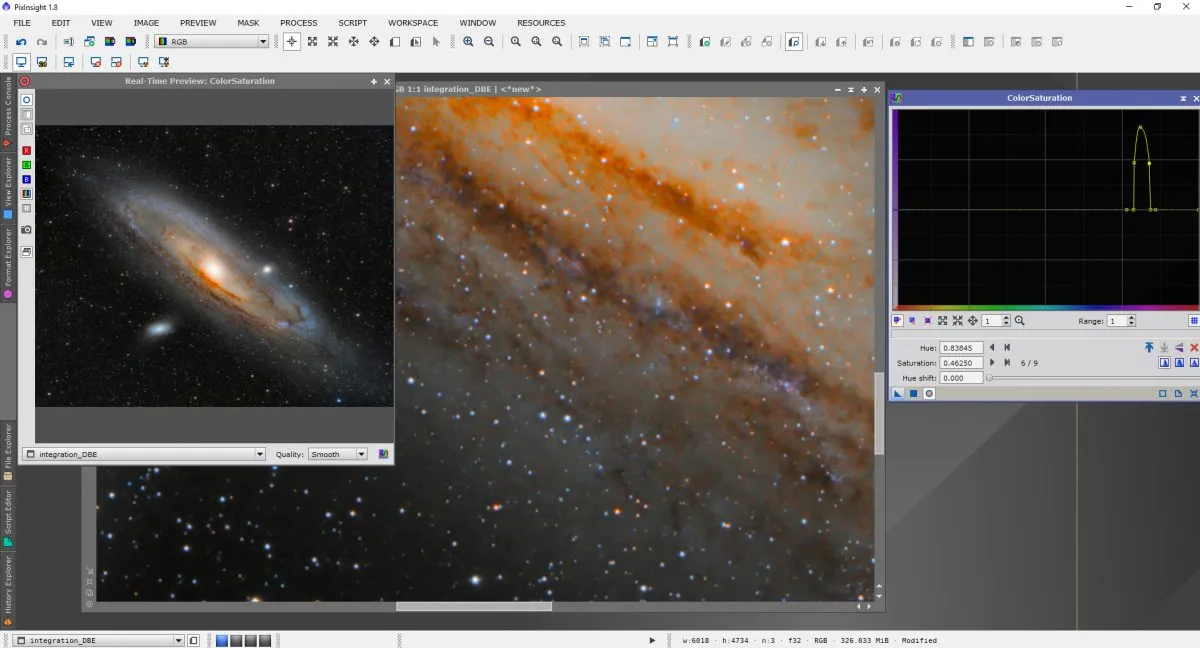
If you need to get used to PixInsight for processing, the best thing in each part of the workflow is to play a little with the settings to see what you prefer for your own data set.
At points through the processing, save the image you’re working on as a project in the ‘Save’ options.
This allows you to revert back to it if you make a mistake or need to stop and continue processing at a later stage.
Remember that when the image first loads on screen it will be very dull as it hasn’t had its histogram stretched.
To brighten the image initially without modifying it, use the ‘ScreenTransfer’ function.
The processing workflow is set to address parts of the image before stretching and after.
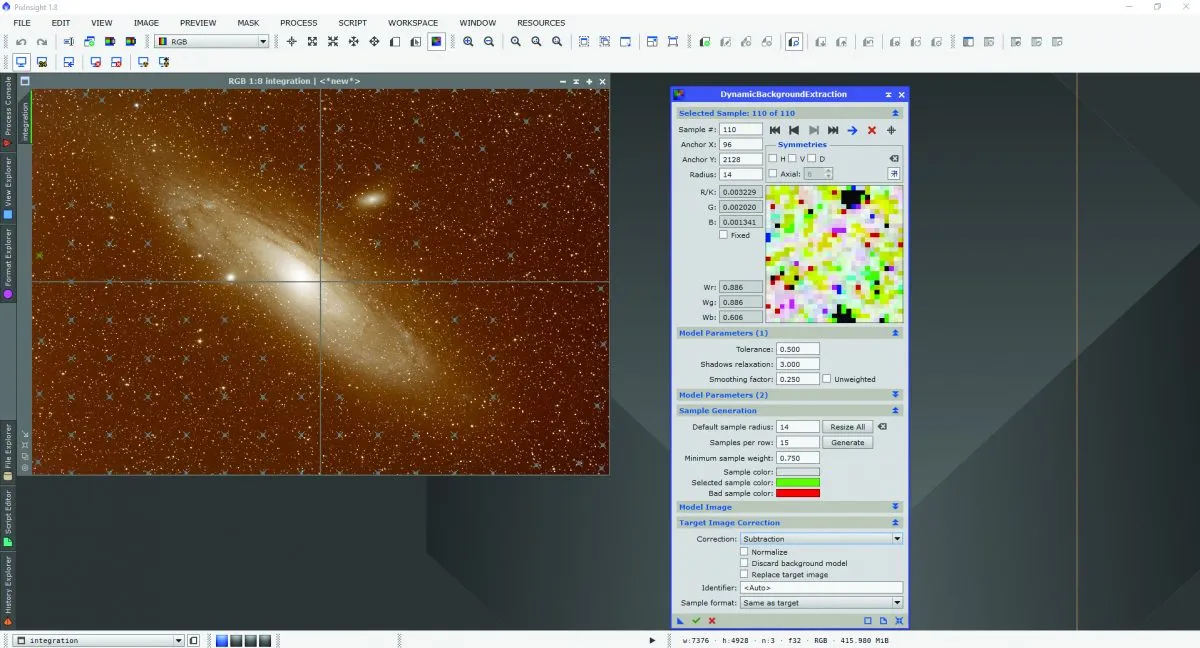
Parts of the PixInsight workflow to consider before stretching are:
- DynamicBackgroundExtraction
- BackgroundNeutralization
- ColorCalibration
Then use before using MultiscaleLinearTransform to remove background noise in the image.
HistogramTransformation is applied to bring out detail in the image permanently.
After stretching, the workflow continues with CurvesTransformation to add more colour, then MorphologicalTransformation to tighten the stars.
Finally ColorSat adds selective colour to stars and local parts of the image.
Once finished you’ll see a visible improvement in the picture.
Secrets to successful calibration
Poor subtraction in dark frames can cause all sorts of problems.
Issues like ‘digital rain’ in the background of images and poor subtraction of the starburst or ampglow can be a challenge to correct.
To fix this, dark frames need to be captured for the same length time as the main images: if you’re capturing 60-second exposures, you need 60-second darks.
If the camera is cooled, then capturing the dark frames around the same temperature as the light frames will help reduce background noise in the stacked image.
It’s common practice to capture dark frames at a different time to an imaging session.
But if the darks are captured on different length cables to the light frames this can cause all sorts of problems in getting a good subtraction.
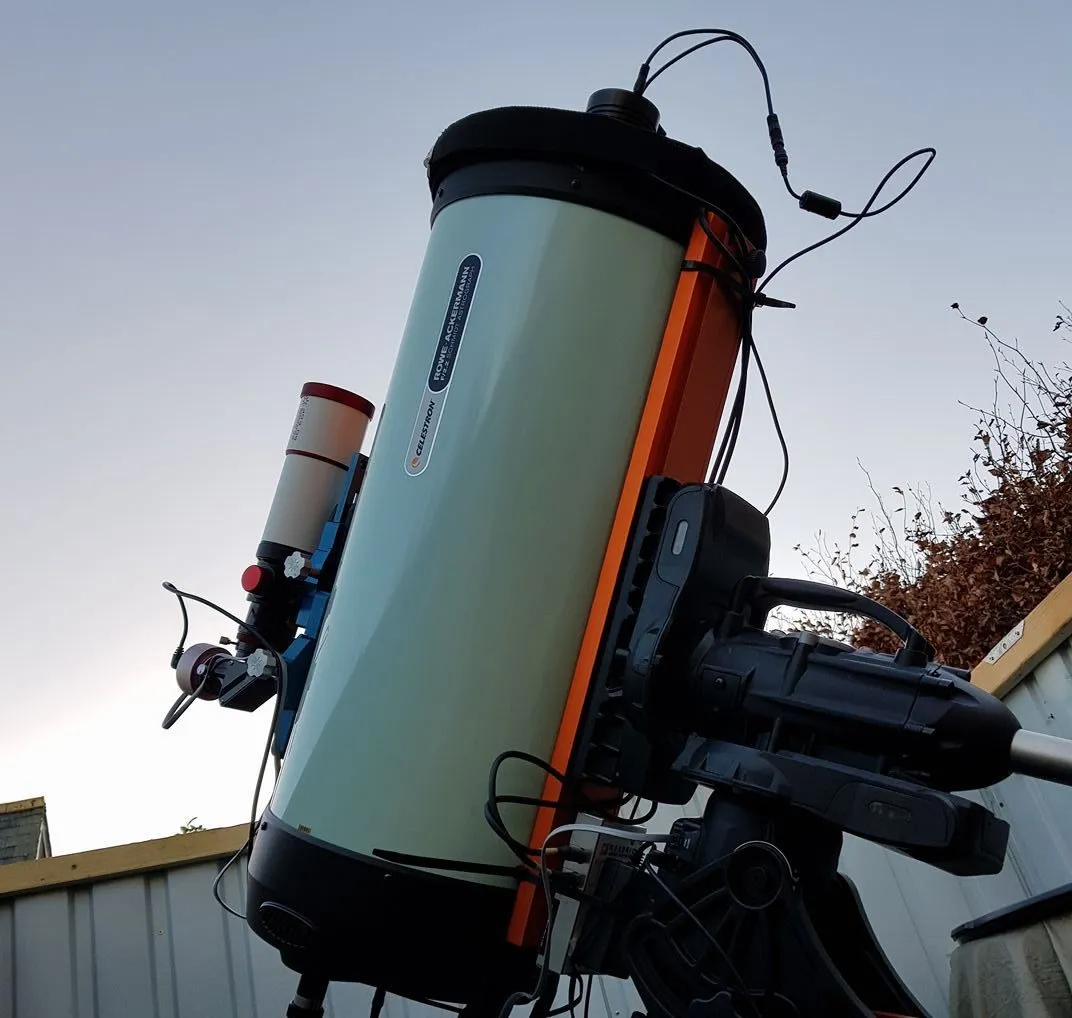
In my setup the cables are 7m long, running to a warm room next to the observatory where the computers are based.
They’re USB2, with the imaging camera on its own lead directly to the computer, not through a hub that has the guide camera connected.
If the darks are captured on a short cable connected to a local computer the resulting subtraction can contain lots of coloured hot pixels and a digital rain across the image.
Gary Palmer is an experienced astrophotographer. You can see more of his work at www.solarsystemimaging.co.uk