What can a solar photographer do when the Sun constantly shows a blank face? Look at the Sun’s edge.Even on days when the disc is spotless, the limb often sports handsome prominences. These arcs of hydrogen plasma are photo-worthy subjects for any astronomer equipped with a hydrogen-alpha (Ha) filter.
Using a 90mm Ha Coronado etalon filter mounted on a 92mm f/4.8 refractor gives us a versatile setup that can cover wide-field and closeup imaging.
With a small black and white streaming camera we can shoot wide to capture the full solar disc or, by adding a Barlow lens, zoom in on specific activity.
- Stay safe: never look at the Sun directly and always use solar filters on any equipment that is pointed towards it.
- For more solar astrophotography, read our beginner's guide on how to safely photograph the Sun, or try our advanced solar imaging for more experienced astrophotographers.

- %CONTENT%
On the day I captured the image you see above, named 'A Little Fireworks’, in July 2018, the prominences were spotted with the telescope and eyepiece, before switching to the camera to capture the frames for processing.
We captured two sets of data, one for the prominences and one for the surface detail. As atmospheric turbulence was low, we were able to add a Barlow lens to increase the magnification, improving the view of the prominences.
Critical sharp focus was attained with ease by using live view on a laptop screen.
We tuned the filter for brightness and detail, set gamma to low and turned the gain off. The capture duration was set for one minute, which yielded a stream of 1,800 individual frames.
At this magnification, an active prominence can show movement over a short time, so it’s important to plan the duration of capture so that movement does not result in any blurred detail after stacking.
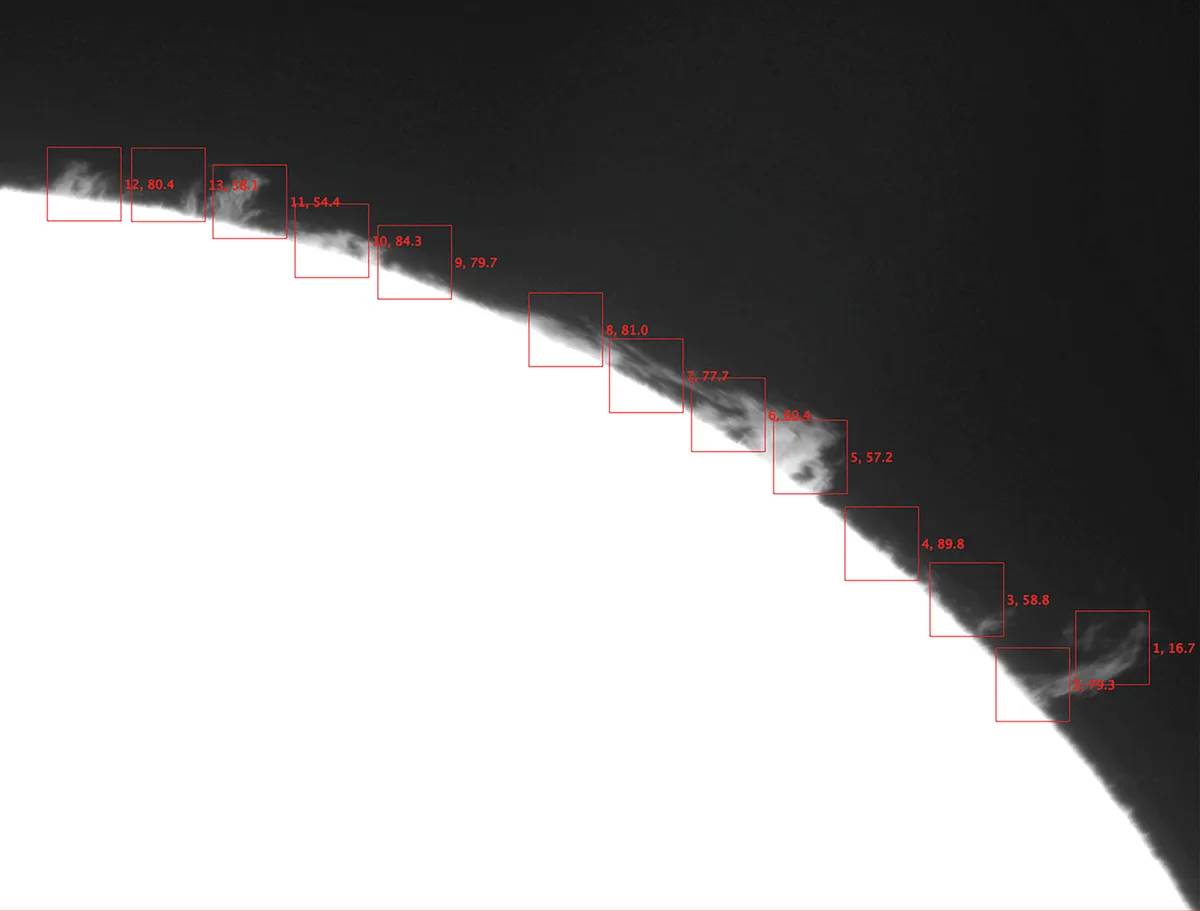
In the frame software such as RegiStax or AutoStakkert! can be used to analyse the stream of frames, sorting them from sharpest to blurriest.

We selected the best 25%, which were aligned and stacked ready for processing. Be sure to use multiple points (see image above) when aligning the frames to maximise sharpness across the entire field of view.
The resulting stack will provide a smooth image, allowing further processing to tease out the finest details.
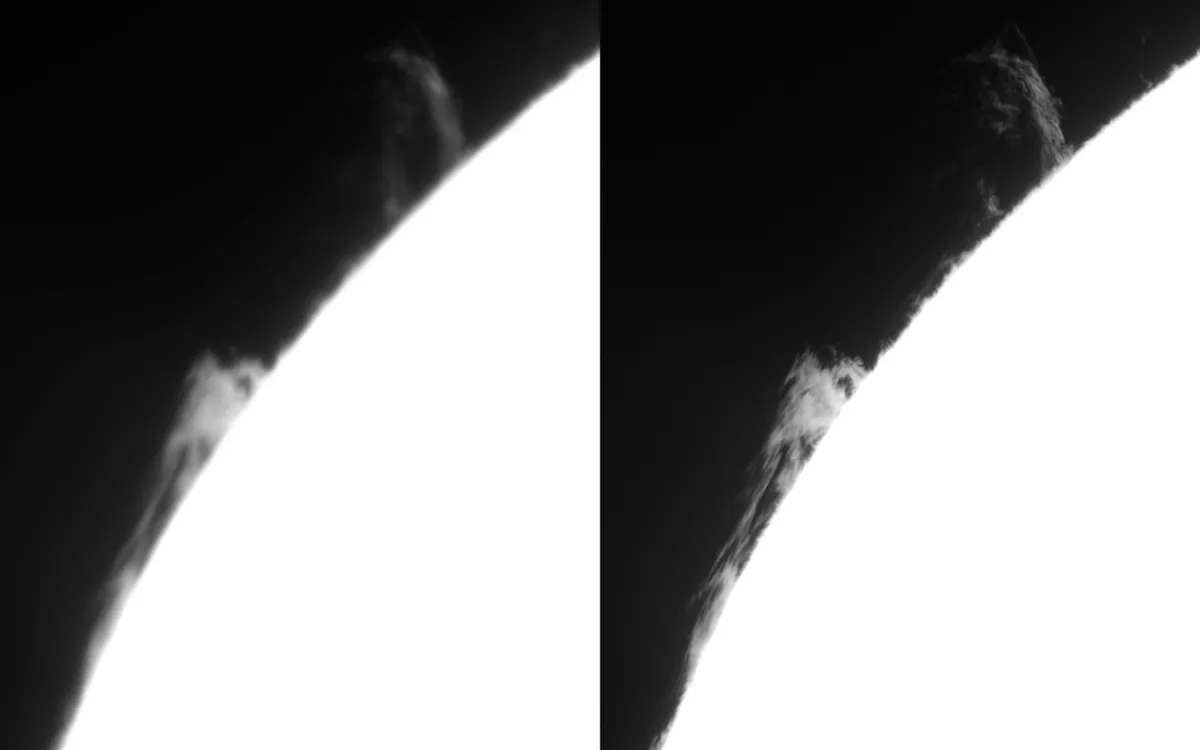
Open the stacked image in Adobe Photoshop or your favourite image-processing software. Most dedicated astronomy image-processing programs will provide a sharpening tool so select this.

Great attention should be paid to selecting settings that render additional detail but do not add artefacts. Experiment with the settings; we find a small pixel radius (1.0 pixels or smaller) will provide a good result, improving sharpness without creating harsh edges and unrealistic contrast.
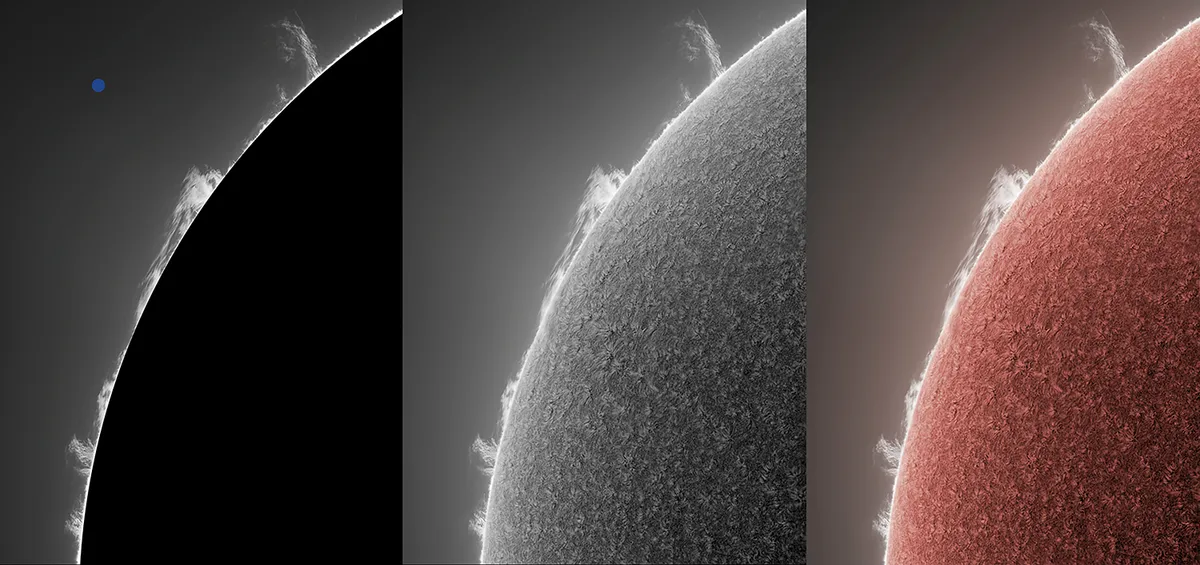
At this stage you can add a black occulting circle to mask the brilliant disc of the Sun. This will reduce glare and allow the faint extensions of the prominences to be seen clearly.
Although you can use the Magic Wand tool, we find it much easier to use the Circular Marquis tool.
Create a new layer and fill the circle in black to complete the occulting disc (see screenshot below).

Note the size of this circle in pixels: dividing this number by 109 yields the size of the Earth to scale.
An Earth-sized circle added to the final picture can illustrate the size of a massive solar prominence (see the left variation in the bottom set of three images).
If the observing session provides a good view of the surface of the Sun, this detail can be recorded and added to the final image. The surface is much brighter and requires different exposure settings than the fainter prominences.
We again processed using multiple point alignment and an unsharp mask to reveal a sharply detailed view of the solar chromosphere. The disc detail is cut and pasted into a new layer above the original prominence image.
There are many ways to process the layers for the final result (see the set of 3 examples below).

Here we have inverted the tonality of the surface, which can add to the perception of depth and dimension in the swirls of the Sun’s chromosphere. Layers for prominence and surface are colourised to enhance the final image.
Do keep an eye on the edge of the Sun. There is always something worthwhile to see and shoot. With practice, we will be in good shape to follow the curve of activity upwards and enjoy the Solar Maximum ahead.
For more solar science, read Lucie Green's guide Understanding our Sun: the science of the solar cycle.
3 tips for capturing the edge of the Sun
1
Selecting numerous points and stacking multiple times for each region will yield a sharp result across the entire image.
2
Create a circular marquis the size of the Sun to add a black occulting disc to your image.
3
Use a light hand with an unsharp mask to reveal detail without adding artefacts.
Alan Friedman is an artist and astrophotographer who is based in Buffalo, New York. He won the ‘Our Sun’ category at the Insight Investment Astronomy Photographer of the Year competition in 2019 with ‘A Little Fireworks’.
This article originally appeared in the July 2020 issue of BBC Sky at Night Magazine.
