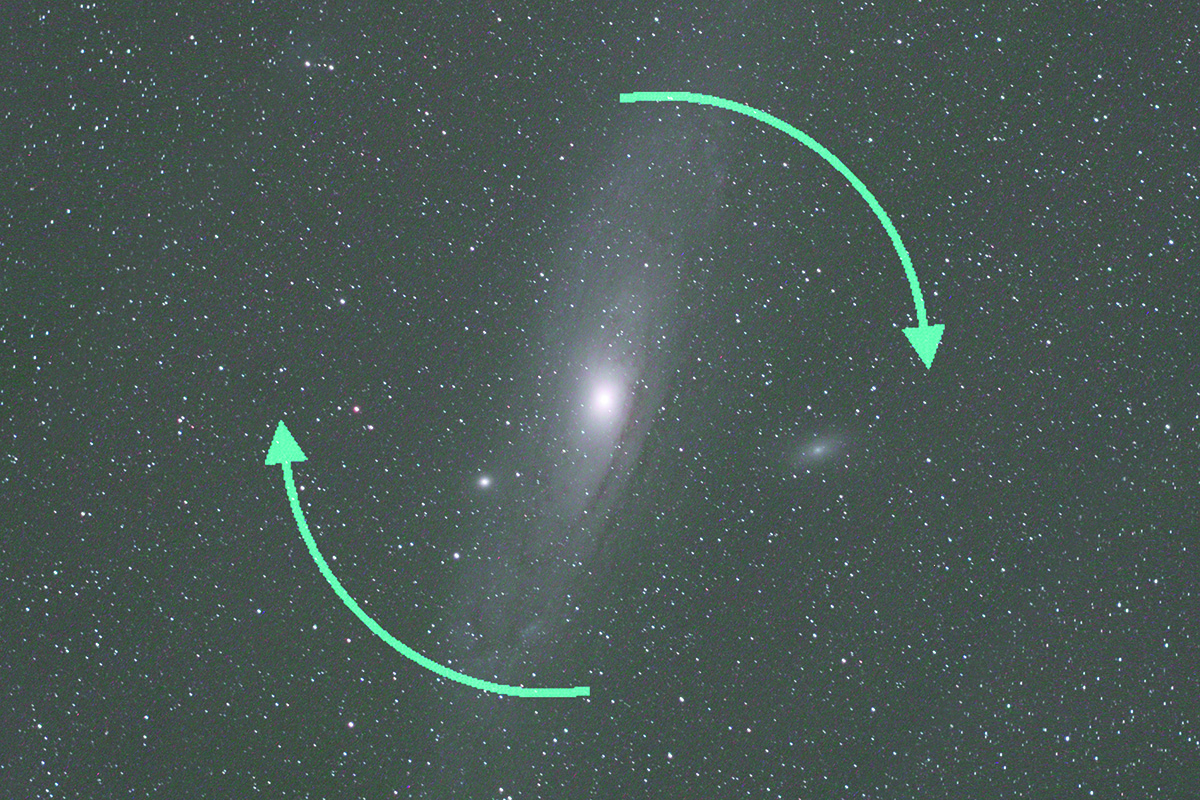
The Andromeda Galaxy, designated M31, is said to be the farthest thing you can seewith the unaided eye froma normal dark-sky location –mountaintops do not count.
It's fairly easy to capture a photograph of the Andromeda galaxy with a DSLR camera and a good lens, and in this guide we'll show you how.
But before we get started talking about how to actually take your photo, you'll need to know how to find the Andromeda Galaxy in the night sky.
More astrophotography guides:
- How to photograph Mars
- How to create a Milky Way mosaic
- Photograph Venus with a digital video camera
How to find the Andromeda Galaxy
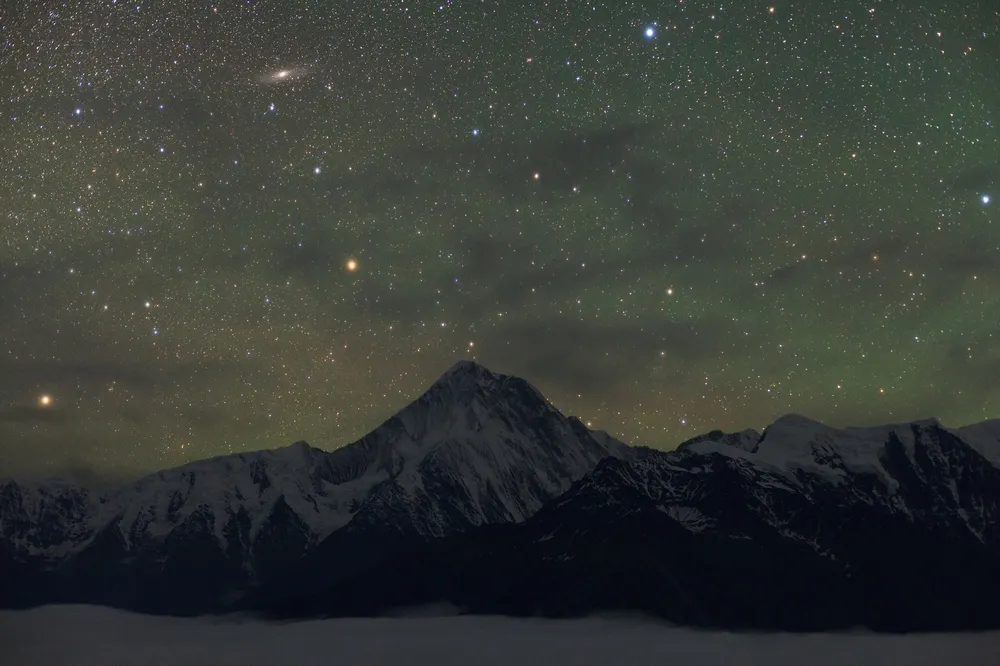
There are a number of ways to locate the Andromeda Galaxy, the easiest of which is to start from the Great Square of Pegasus.
Imagine a line from mag. +2.4 Scheat (Beta (β) Pegasi) in the upper-right corner of the square, to mag. +2.1 Alpheratz (Alpha (α) Andromedae) in the upper-left corner.Extend it for the same distance again, then bend the line up slightly to arrive at mag. +2.1 Mirach (Beta (β) Andromedae).
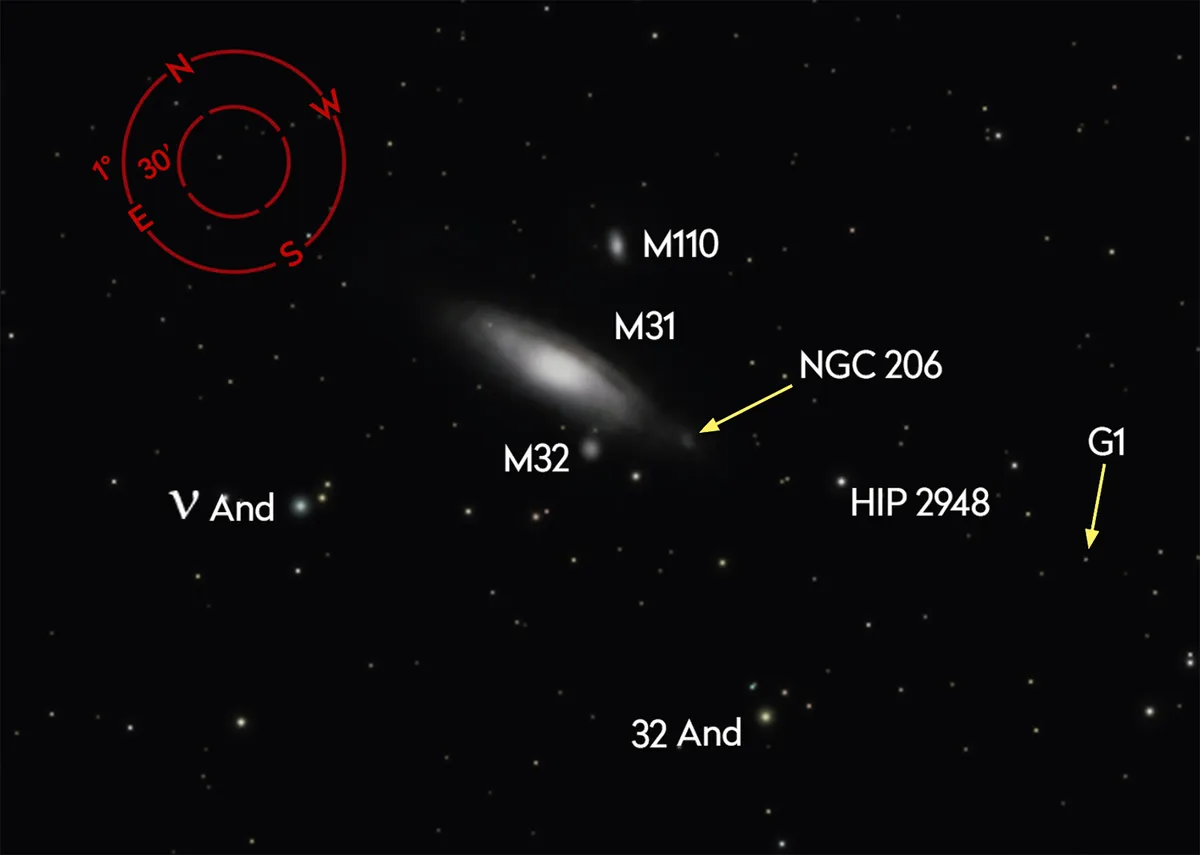
From there, turn by 90º, heading up the sky to reach fainter mag. +3.9 Mu (μ) Andromedae. Just above this is mag. +4.5 Nu (ν) Andromedae. Under darkish skies, M31 can be seen close to this star.
From an urban environment, the galaxy can be quite hard to see due to light pollution, but from a dark site it looks rather tantalising (for more on this, read our guide on how to capture astrophotos from a light-polluted city).
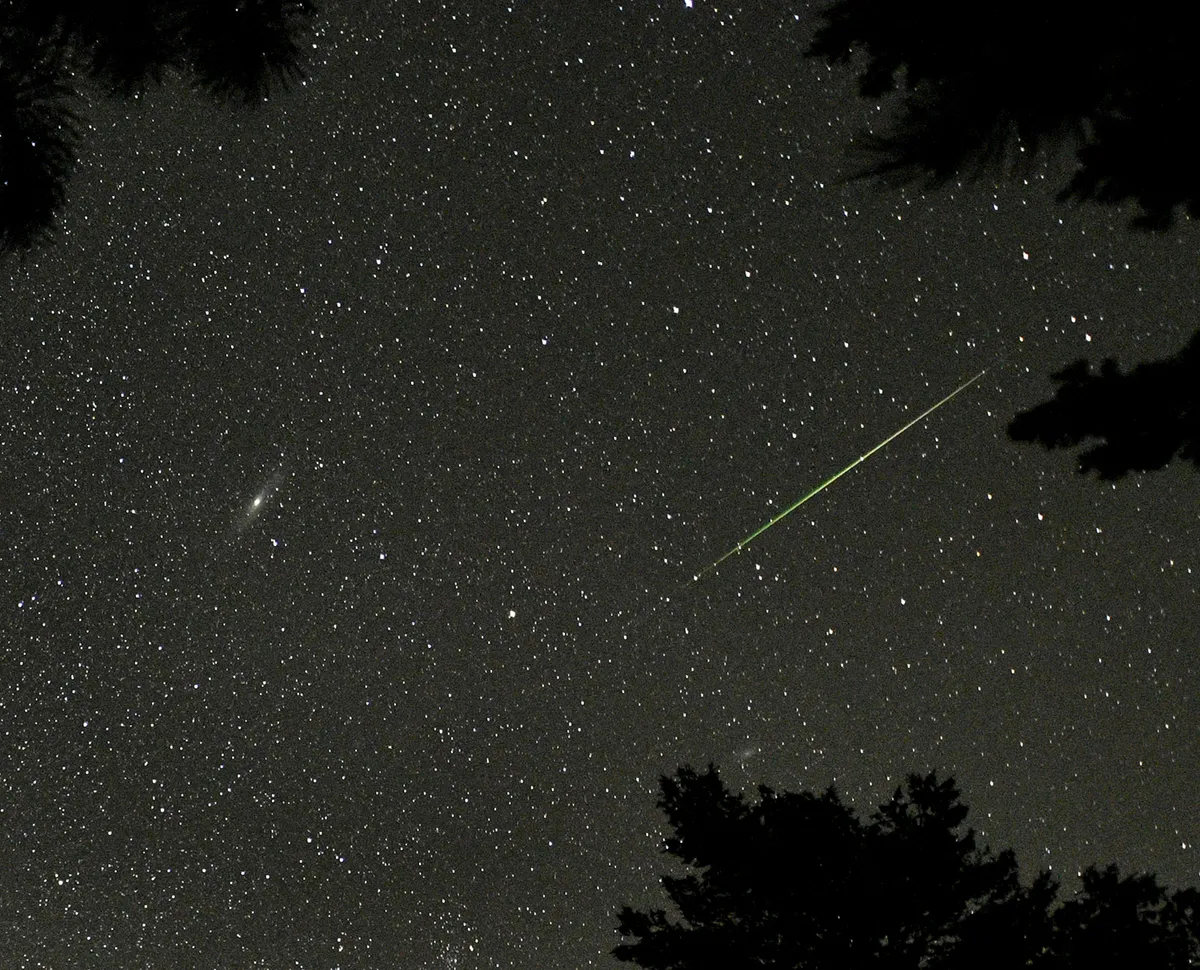
M31 is notably elongated and smudgy in appearance. It also has a reasonable apparent size. And if it looks that good to the naked eye, surely it must look amazing through binoculars or a telescope.
The sad truth is it doesn’t. It looks larger and if you have a sufficiently wide field of view you can also spot its two satellite galaxies, M32 and M110, but M31 itself looks like a larger smudge.
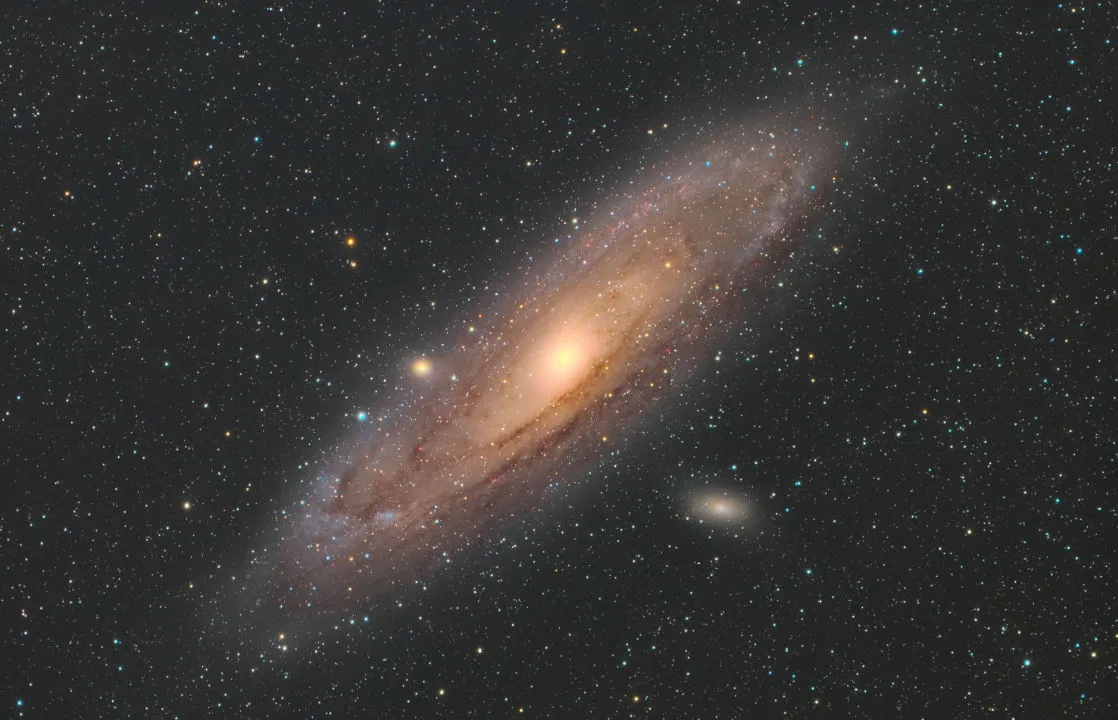
This is to do with the part of the galaxy you’re looking at. M31 is a spiral galaxy tilted towards Earth by 13º. This means that we get to see it as an ellipse in the sky.
If the galaxy were tilted over by 90º, it would appear face on; we would be able to see a bright circular core surrounded by spiral arms.
How to photograph the Andromeda Galaxy
Galaxies are fantastic objects to photograph. The elongated smudge that we see is just the core of the galaxy. The outer spiral arms are there but they are much fainter and so harder to see.
A large telescope with an aperture of 12 inches or more will start to show the arms, mainly by virtue of the contrast between the arms and the dark dust lanes between them.
The overall size of M31 in the sky is impressive. The bright core ellipse measures 30 arcminutes by 10 arcminutes. That’s an apparent size equal to one full Moon by a third of a full Moon.
A typical mid-exposure image of M31 will reveal more of the outer structure. In an average DSLR shot, this increases the galaxy’s size to 2º by 0.5º, or four full Moons by one full Moon.

The deepest exposures reveal an immense object measuring more than 3º by 1º (six full Moons by two full Moons) in apparent size.
Exploring the outer regions of M31 is fascinating, and not too hard to do as long as you have a driven tracking mount onto which you can mount your camera.
In order to catch the majesty of M31, you’ll need a field of view that can encompass its full size, or slightly larger, to give it a bit of sky context. For an APS-C DSLR this means a focal length in the order of 300mm or less.
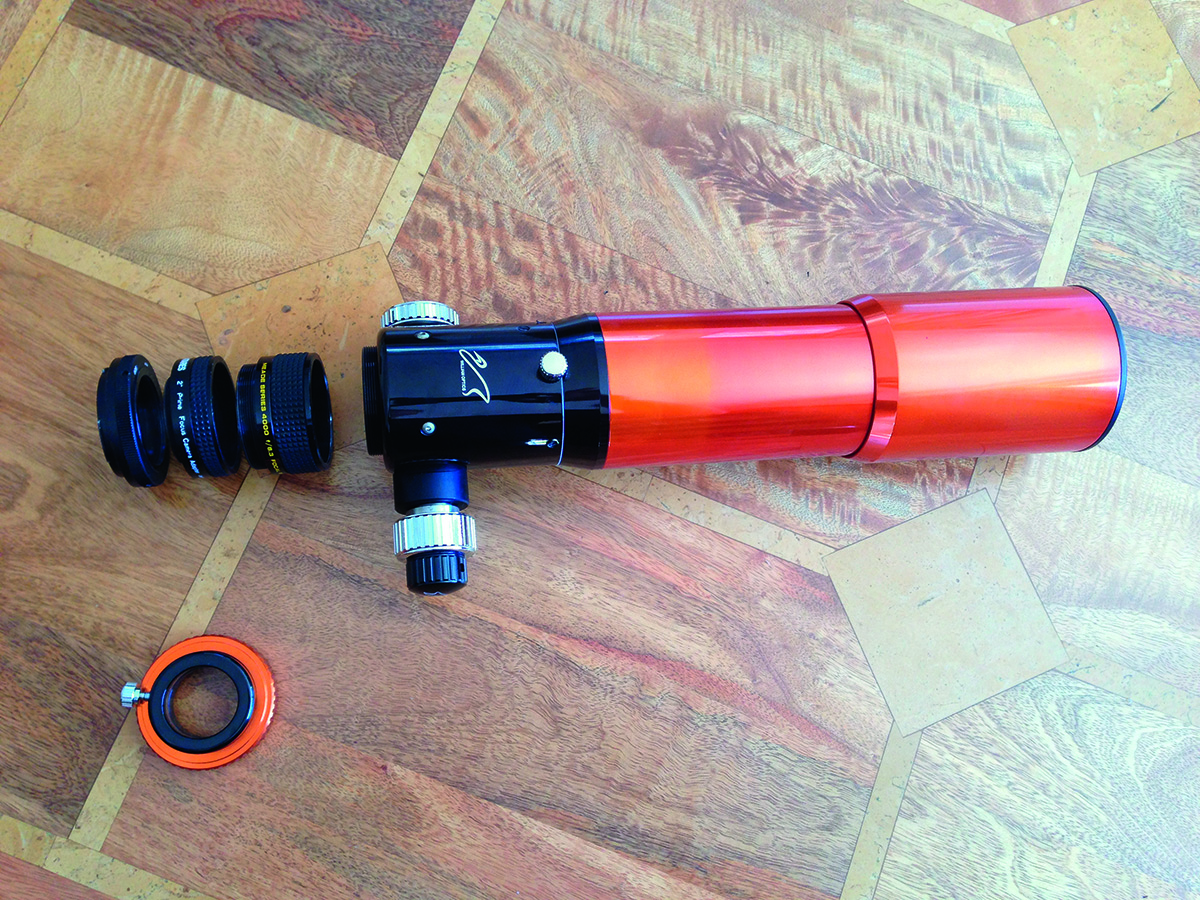
For example, on a Canon 60D, a 300mm lens gives a field of view measuring 4.3º by 2.8º, which is about right. As an alternative, you could use ashort focal length telescope with a focal reducer.
Whatever arrangement you use, it will need to be attached to a driven mount. If your mount offers autoguiding, then this is even better.
Once you’ve mounted everything, I’d recommend the use of a programmable remote shutter release cable. If you are able to connect your camera to a laptop, there are several programs that can control exposures that way.
One advantage of computer software is that it often provides focus assist functions too.
One basic but very important technique for M31 images is removing the effect of unwanted ‘stuck’ or ‘hot’ pixels. These will appear like stars in your image, but originate from within your camera.
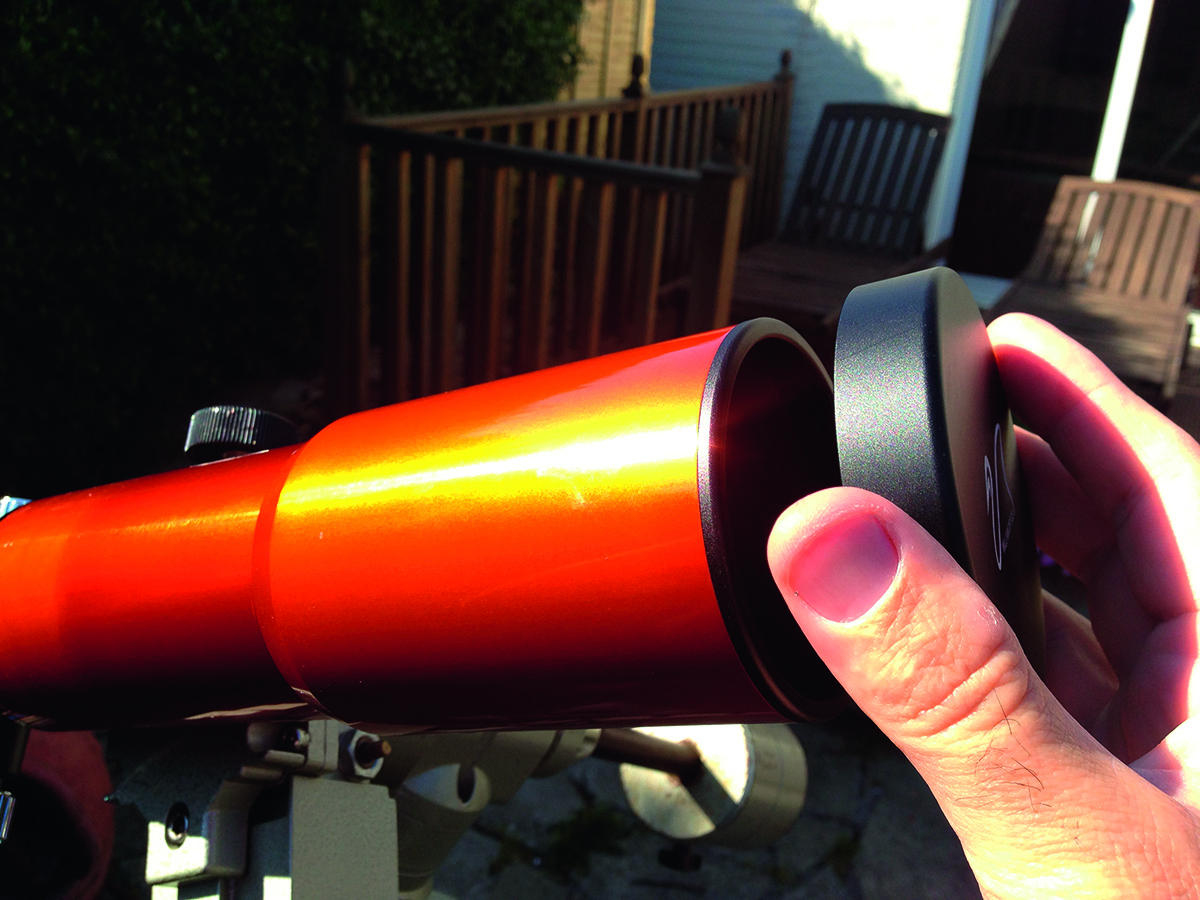
Fortunately, getting rid of them simply entails capping your telescope or lens and taking an exposure of the same length as the main shot.
Once this has been done, it’s a relatively simply job to remove the false stars with image processing software, ensuring that the ones that are left are the real deal.
For more on image processing, read our guide on processing the Andromeda Galaxy in Photoshop.
Follow the steps below and see if you can bag yourself a photo of several hundred billion stars, all in one shot.
