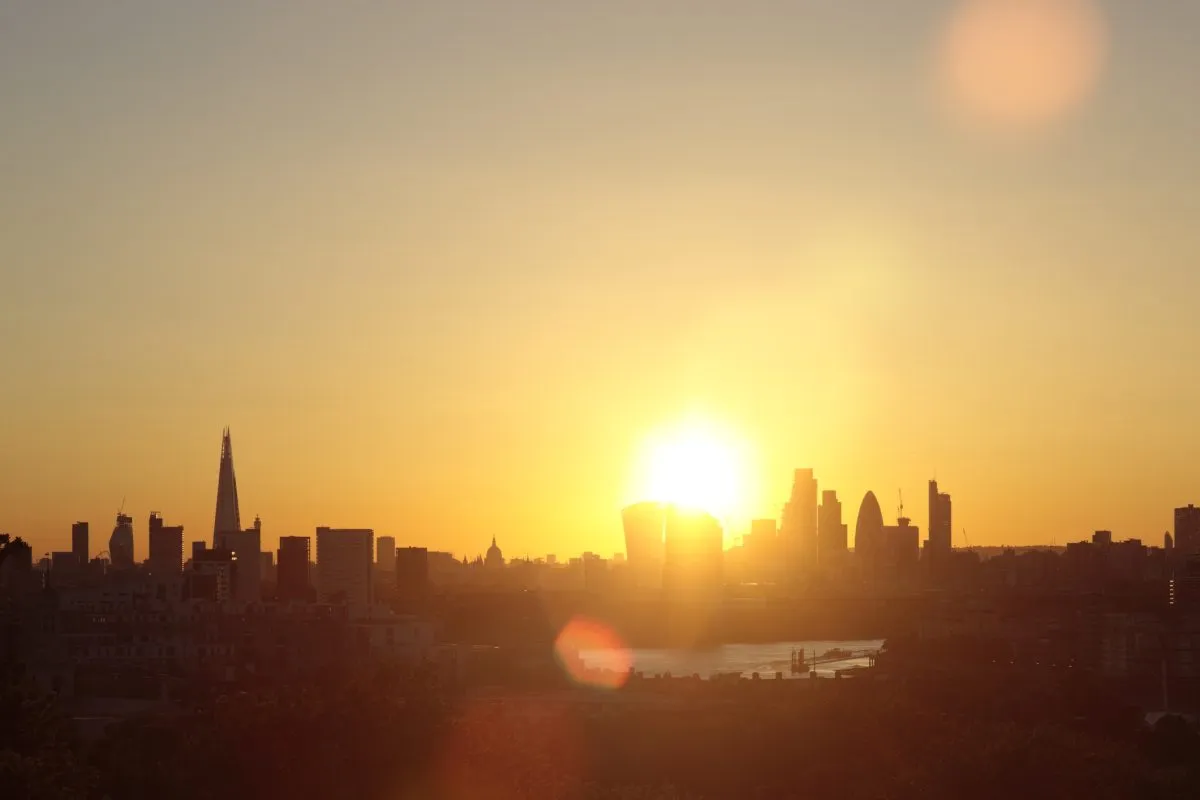
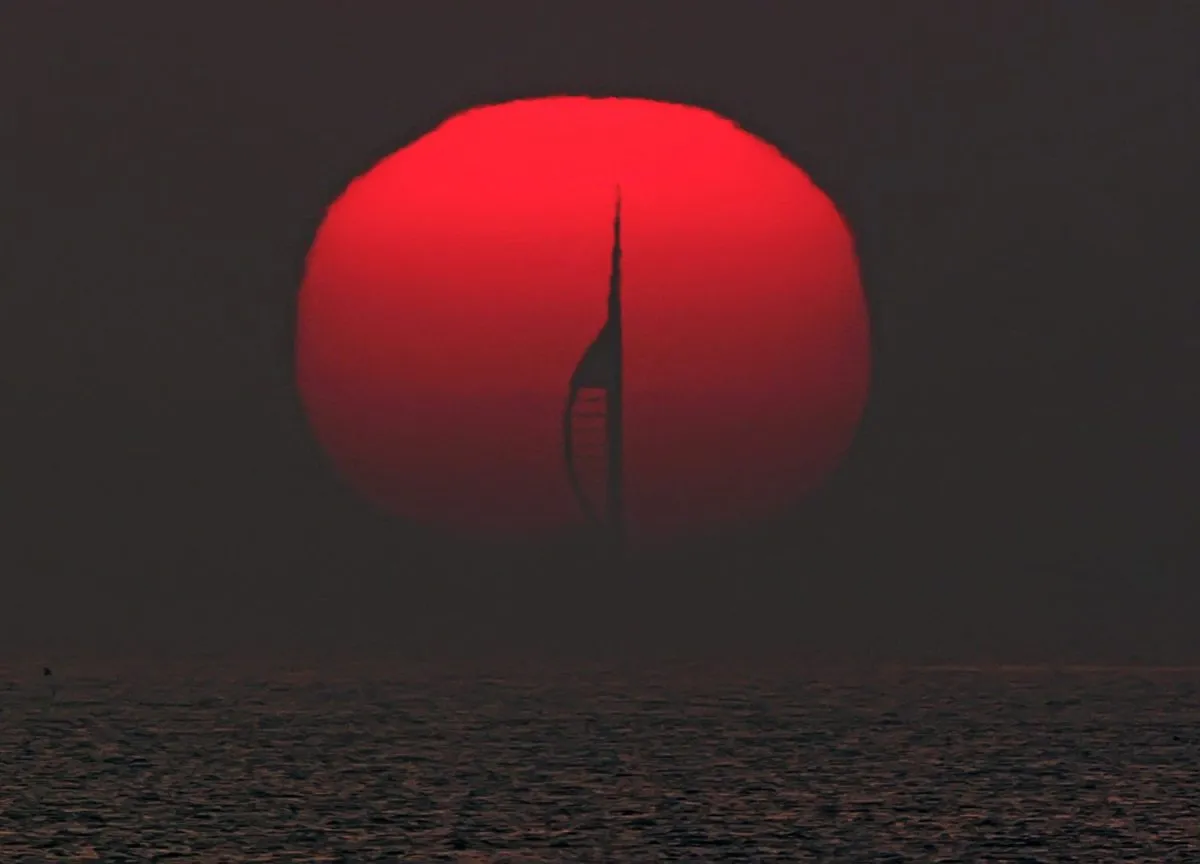
Sunset photography is one of the simplest yet perhaps most effective forms of astrophotography, as you're able to capture our host star just as it begins to dip below the horizon.
Few can resist the natural beauty of a sunset portrait, as you get to capture the splendour and colour of the Sun.
And beautiful colours of a setting Sun - particularly in the autumn months - are a photographer's dream: deep blue vignetting into yellow, orange and red.
And if you can capture an interesting foreground - or even a spectacular cityscape such as Manhattanhenge - in your photograph, all the better.

It might seem like a setting Sun is dimmer and less dangerous to view, but observing even a setting Sun without filters or proper equipment can cause damage to your eyesight.
A camera however, can fare better, and that's part of the reason sunset photography is so appealing.
Produce a spectacular image of the Sun’s last moments before it slips beneath the horizon and you'll have captured one of nature's greatest spectacles.
We're not talking about an up-close capture of the solar surface here. For more info on that, read our guide on how to photograph the Sun.

Sunset photography safety tips
As ever it pays to show caution.
When the Sun is less than a degree above the horizon, the thicker layer of atmosphere its light has to pass through attenuates its output.
It also scatters more of the blue end of the spectrum leaving the predominantly orange-red tones to dominate.
A safe way to achieve a camera view of sunset is to apply solar safety film to a telescope.
If you are going to use a telescope, cap any finderscopes before pointing at the Sun, as failure to do this may result in their cross hairs burning out.
Once the filter has been fitted, you can get started.

Top tips and key steps
Point your camera or telescope/camera combo at the Sun, being careful not to look through either camera or telescope as you do so.
Use your camera’s Live View mode to get a precise alignment.
Rotate the camera so the horizon is parallel with the edge of the camera frame.

Focus the image as best you can, zooming into the edge of the Sun’s disc.
This can be tricky to get right as the solar limb often appears to boil when the Sun’s altitude is low.
At your own risk, when the Sun has an altitude less than an apparent solar radius it’s possible to remove any solar safety filter from your telescope and image directly.
Discretion needs to be applied here and if you’re not sure what you’re doing, don’t try.

If you do decide to remove the filter, do not look through the camera’s viewfinder and never leave the setup unnecessarily looking at the Sun if you’re not taking photos.
In such circumstances, simply reapply the safety filter until you’re ready.
Use your camera’s lowest ISO value and set the exposure to the fastest shutter speed. Take a shot and examine for over-exposure.
If the Sun’s disc is over-exposed, re-fit the filter. If the Sun is dim enough not to over-expose, adjust the exposure so the Sun appears bright but its disc shows colour and doesn’t appear white.

Sunsets are a spectacle in their own right, but with a bit of planning or simply by monitoring how the Sun moves from one evening to the next, it’s possible to enhance an image with a foreground silhouette.
If you are up to the challenge, it’s possible to achieve something truly spectacular.
If you do manage to capture a beautiful sunset image, we'd love to see it! Find out how to send us your astrophotos or get in touch with us via Facebook, Twitter and Instagram.
This article originally appeared in the November 2019 issue of BBC Sky at Night Magazine
