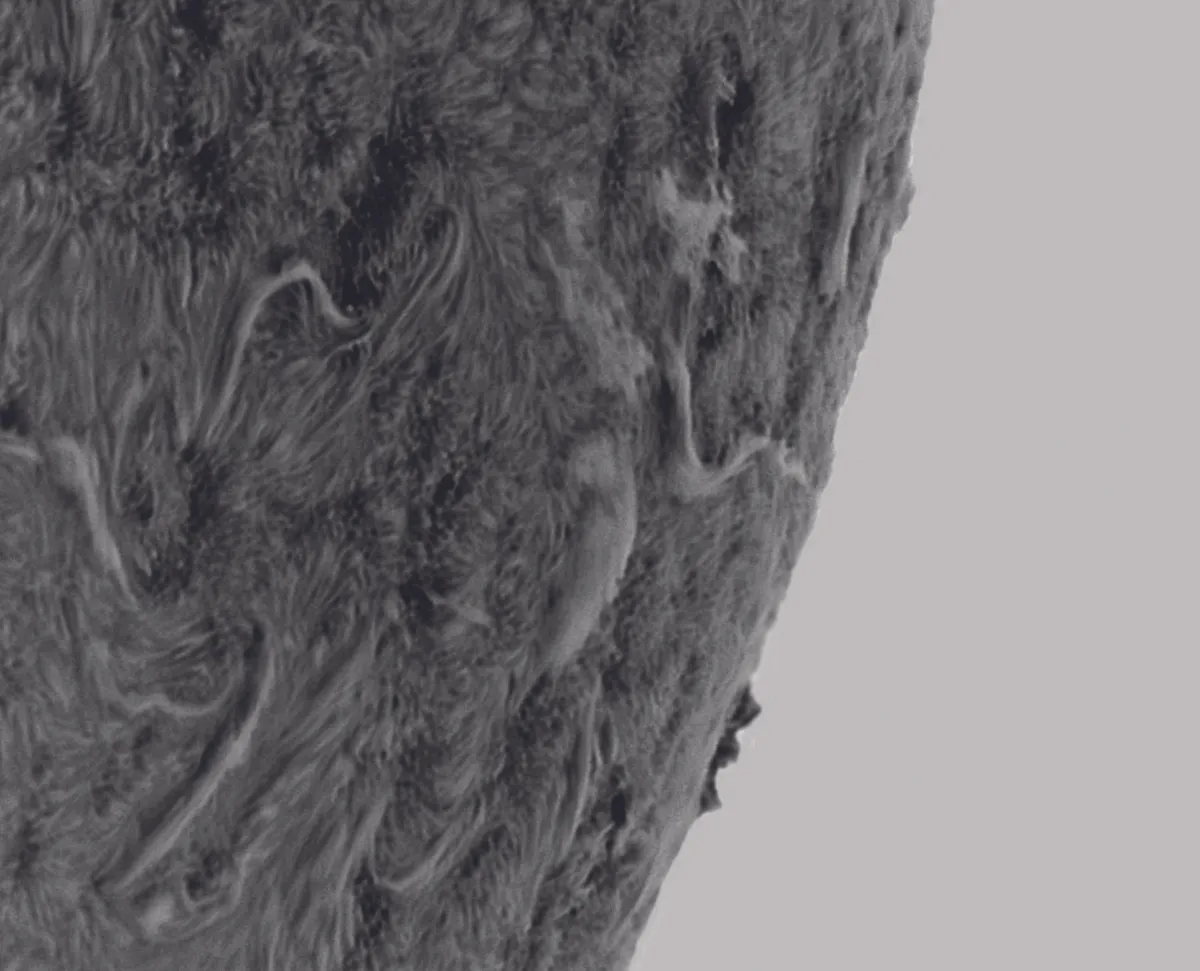
The quality of solar images produced by amateurs has come a long way in the past few years, so much so that they are comparable to some satellite images. While solar telescopes have stayed pretty much the same, cameras have evolved massively.
Many astronomers start out in solar imaging using hydrogen-alpha telescopes and colour cameras, and they have a hard time gaining detail in their images. This is because of the narrowband nature of the scope, which means a colour camera only uses a fraction of its chip.
Monochrome cameras produce much more detailed images, as they can make full use of their sensors.Of course, to achieve a colour image, we need to use processing software.
Colourised mono images are often described as having ‘false colour’, and most of the time this is added in a program such as Photoshop or GIMP.
The final colour you pick is a matter of taste, but you have to be careful not to oversaturate the colour as this will lead to a loss of detail.
Find more info on capturing a solar image in our guide, how to photograph the Sun.

As a guide, lighter colours such as pale yellow and a pale orange work best for keeping detail in the final image; darker reds can hide it, particularly around sunspots.
There are two ways to add colour in Photoshop.
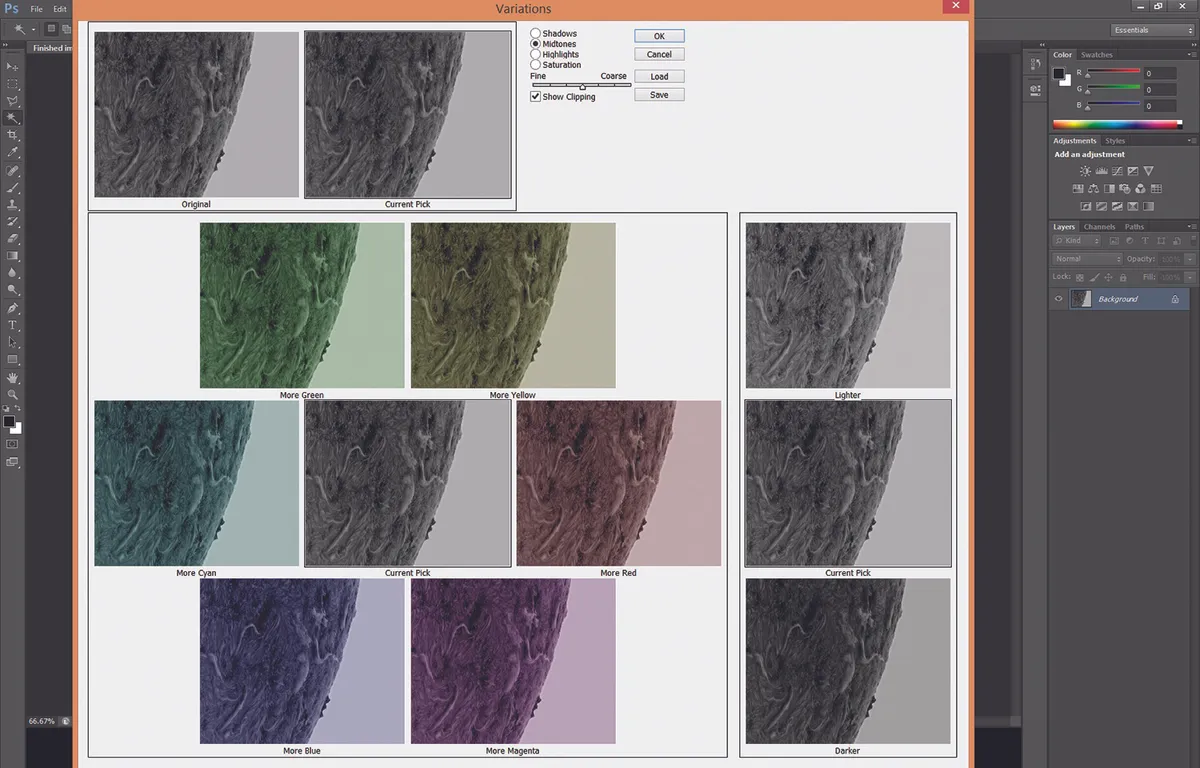
The first is to use Variations (Click Image > Adjustments > Variations) – note this option is only available on Mac OS when running Photoshop in 32-bit mode.
A new panel will open and the colours can be added by clicking on the required red, green or blue tabs.A live view of the colour can be seen at the top of the page, in the screen named ‘Current Pick’.Fine amounts of colour can be added by clicking multiple times on a colour.

Further changes can be made afterwards using Colour Balance (Image > Adjustments > Colour Balance).
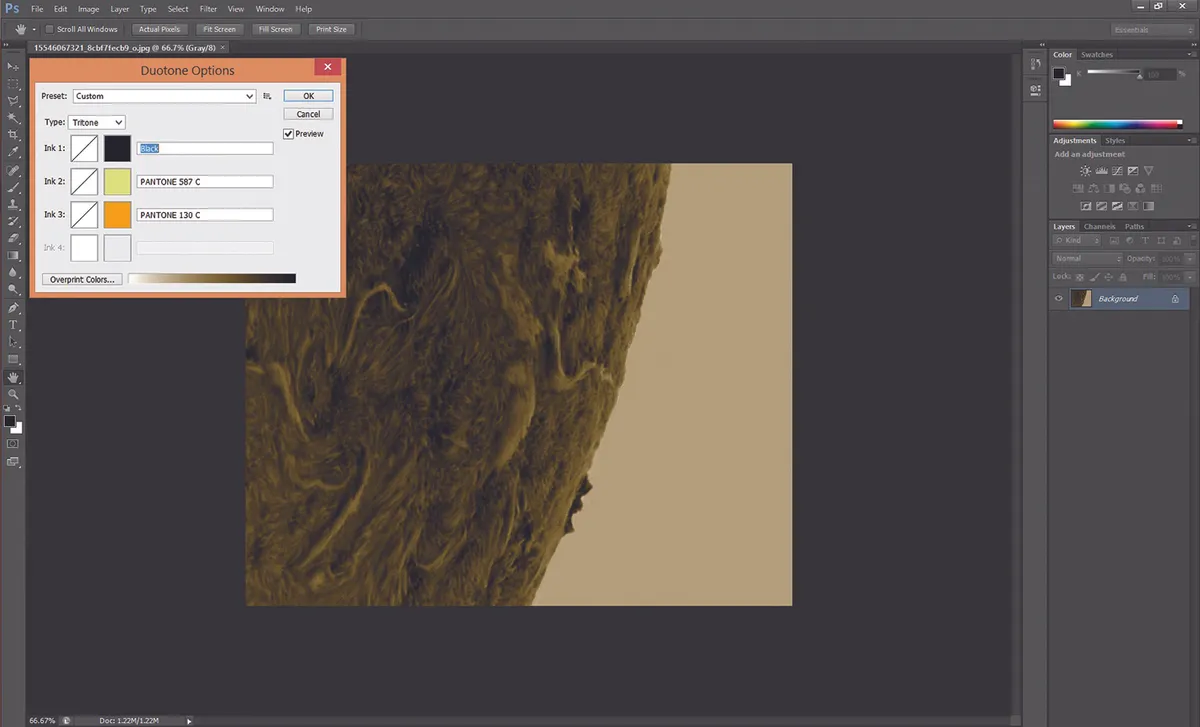
The second way is to use a process called Duotone; if you are processing tiff images, you’ll need to convert them to 8-bits for this to work.
Do this by clicking Image > Mode > 8Bits/Channel.
Tiff or not, the image also needs to be greyscale to start with (Image > Mode > Greyscale).
Now you can set it to Duotone (Image > Mode > Duotone), which will open the Duotone options dialog box.
In these options, change the type tab from Monotone to Tritone.
This allows you to pick three tones for your image. Black is automatically in the first slot, and you need to keep it to maintain contrast.

Select one of the blank boxes and choose a suitable colour; repeat for the second.
When done, you will need to turn the image back to RGB colour (Image > Mode > RGB Color).
If you are working on a prominence and a separate surface image, do not combine the layers when asked.
As with the previous technique, colour balance can now be used to adjust the colours for each layer to your preference.
This article originally appeared in the February 2015 issue of BBC Sky at Night Magazine.Gary Palmer is an expert solar imager. See more of his shots at www.solarsystemimaging.co.uk.
