One of the challenges of processing aurora images is matching what the human eye sees with what is recorded by a DSLR camera. A dark-adapted human eye will usually pick up some foreground detail while the aurora appears as a faint and slow moving green-greyish ‘wisp’.
In a strong auroral event, muted activity can quickly change into a very bright and fast-moving display, which can easily overexpose the shot.
In this case it’s best not to lower the ISO; instead increase the shutter speed.
With the shot captured, I run through the following processing steps in Photoshop, but they will also apply to other layer-based editing software such as GIMP.
The aim is to draw out the best from the foreground while retaining the essential components of the aurora against a dark sky.

1
Adjust the temperature
With the RAW image open in your editing software (there’s a plugin for Photoshop called Camera Raw), first look at the image’s colour temperature.
Aurorae can totally confuse a DSLR’s colour balance, so adjust the colour temperature until the scene better resembles what it looked like on the night.
Note the temperature slider compensates for the colour temperature of light: telling it that the light is more blue makes the resulting image more yellow. As with all processing, use small adjustments.
2
Brighten things up
Address the general darkness by raising overall Exposure by about +1, depending on the correction needed, then adjust Whites by about +10.
I add a touch (about +5) of Clarity and Vibrance too.
3
Sharpen and illuminate
In Camera Raw’s Sharpening and Noise Reduction panel, set Sharpening and Luminance to around 50; adjust this higher or lower as needed.

4
Photoshop it
Open the image in Photoshop proper to deal with any underexposed foreground subjects in the image.
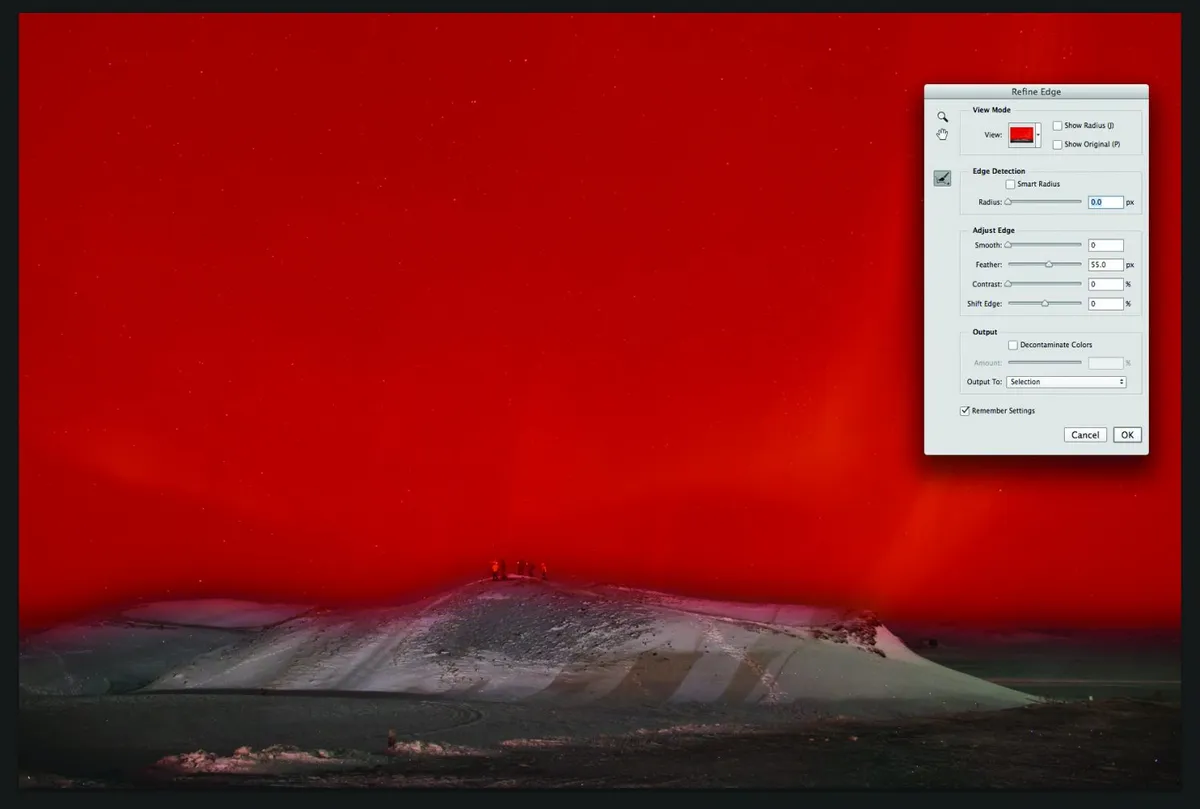
Mask any foreground with the Magic Wand or Lasso, adding feathering to the edge.
5
Aim for a natural tone
Using Levels or Curves, select the greyscale eyedropper. Dab this on the area of the masked image where the tonal value is approximately 50 per cent.
If this produces a bizarre result try another part of the masked image (you can always cancel and start again). Keep going until the resulting image has a natural tonal colour.
Adjust the values of the right-hand (white) and middle (grey) sliders until the foreground is revealed to an extent that would be natural to the human eye at night.

6
Now for the sky
Invert the mask and use Levels or Curves to lighten or darken the sky until it has a natural appearance, remembering that black skies look unnatural. Gently brighten the aurora to suit.
7
Final adjustments
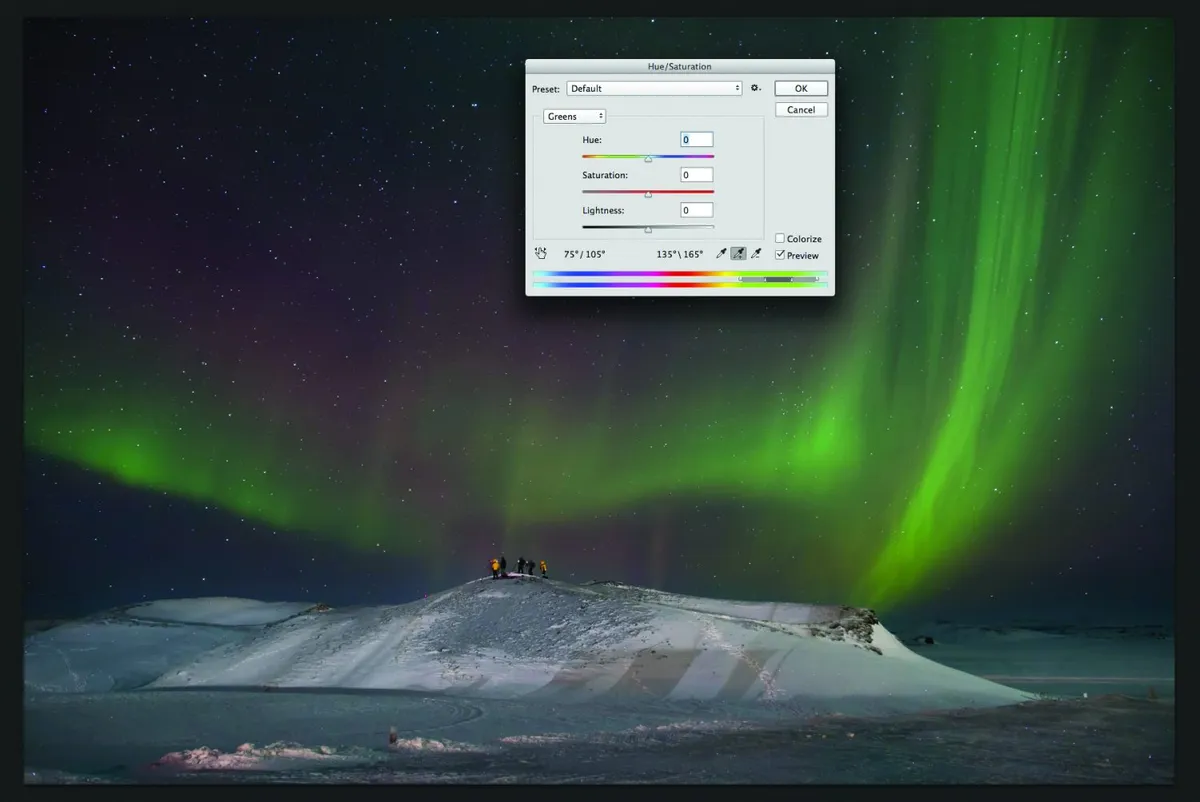
Adjust Hue/Saturation. Select Greens from the drop-down menu and use the colour picker to sample any aurora present.
Adjust the sliders until it has a natural colour.
8
Reduce the noise
Finish up with some noise reduction: I use Dfine 2, part of the Google Nik Collection of Photoshop plugins.
This article originally appeared in the January 2015 issue of BBC Sky at Night Magazine. James Woodend won the Insight Investment Astronomy Photographer of the Year 2014 competition with an aurora image.