Light pollution is one of the banes of an astrophotographer’s life. The glow that creeps into images not taken under perfect viewing conditions only gets worse with longer exposures, and pollution invisible to the naked eye can make itself known if you leave the shutter open long enough.
Image-editing programs offer a couple of ways to remove the light pollution.
These are not magic wands that can make images perfect in just a few clicks, and detail smeared beyond recognition by light pollution will not snap back into focus, but nonetheless it may surprise you how much you can rescue an image.
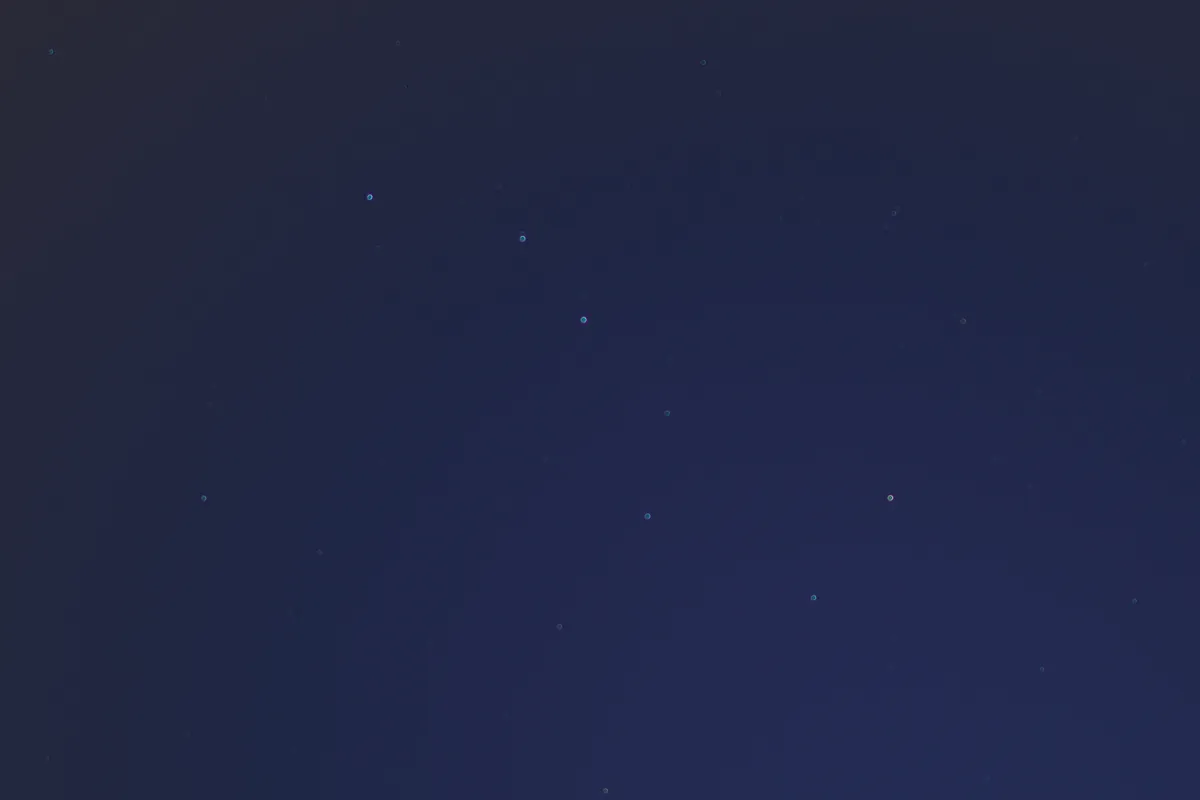
For this tutorial we’re using an image of the asterism known as the Plough, which is circumpolar in the northern hemisphere, taken a little too close both to sunset and an airport.
It suffers from a blue glow rather than the orange that’s frequently produced by street lighting, but the process for removing it remains the same.
For info on photographing it, read our guide on how to photograph the Plough.

Once you’ve got the image open in your editing software, your first port of call is the Hue/Saturation tool (Image > Adjustments > Hue/Saturation).
In the floating palette that appears, use the drop-down menu to select the colour range you want to work with – it would be yellows if your sky glow were somewhat banana-coloured, but in our case its blue.
Experiment with dragging the saturation and lightness sliders to the left.
This can remove a surprising amount of light pollution so long as there aren’t multiple colours to deal with, but this has the downside of removing any colour you’ve captured in the stars themselves.

To avoid this, you can do something clever with layers. In the Layers palette, duplicate the background layer (Right click > Duplicate Layer) and make sure the new layer is in front of the original by putting it above the original in the palette’s stacking order.
It usually goes there by default. Completely blur this new layer until no stars are visible using Gaussian Blur (Filter > Blur > Gaussian Blur).
In the floating palette that appears, set the radius to about 50 pixels – you want to make sure the star detail is completely gone.
Click OK, and you’ll be presented with a very smooth, averaged version of your scene, approximately the same colour as the light pollution you’re trying to remove.
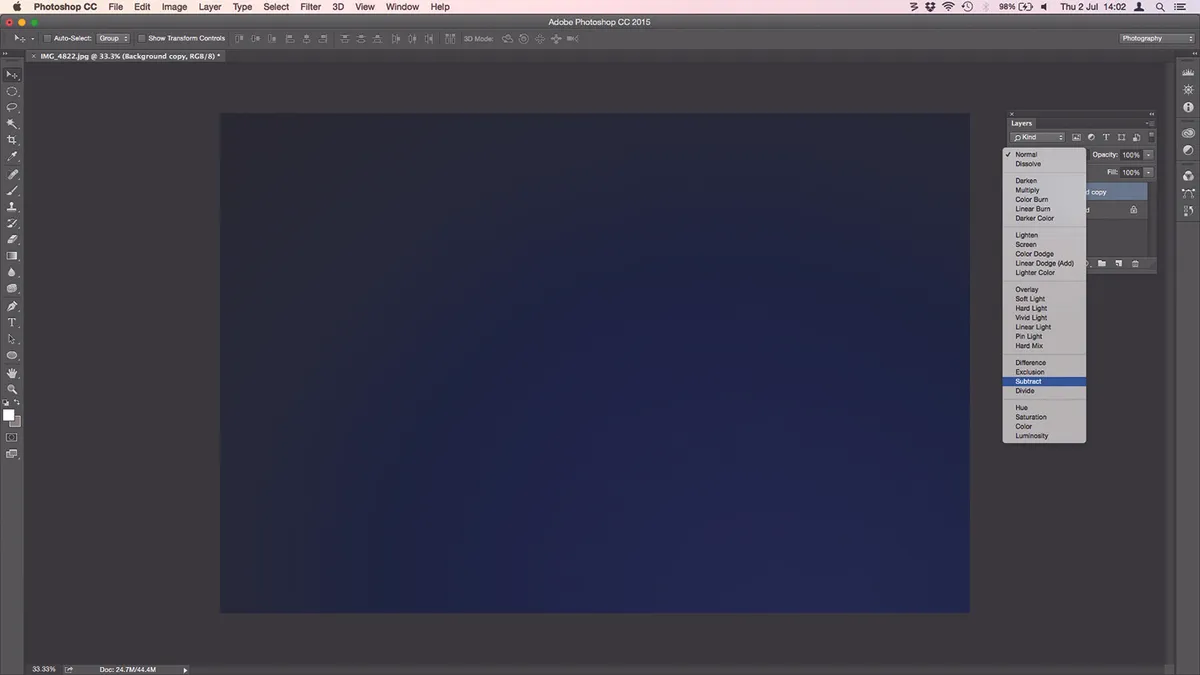
We’re going to blend the layers using the Subtract blend mode, which can be selected from the drop-down menu on the Layers palette.
Subtract is a simple bit of arithmetic that subtracts the numerical colour values of one layer from those underneath, displaying black if it returns a zero.

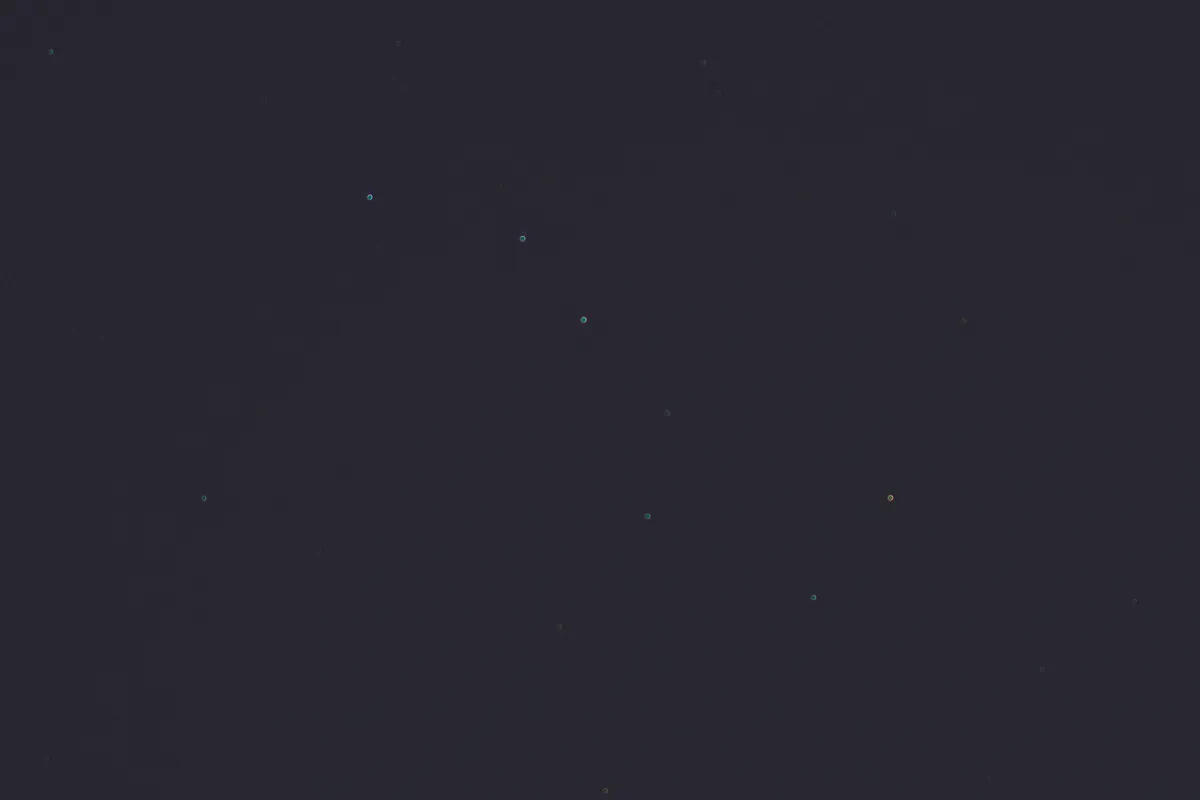
As we averaged out the top layer using the blur, the background becomes black while the stars retain their colour, and become even easier to see on the new dark background.
If you find the black a little too stark, experiment with the opacity of the top layer using the slider on the Layers palette (it’s next to the blend modes) to bring back a touch of colour.
This is also an opportunity to tinker further with the image by running a Levels adjustment on the background layer to enhance the stars further.

Doing this to our Plough image brings out a yellow colour from the star Dubhe (Alpha Ursae Majoris) on the right of the Plough’s ‘bowl’.
Once you’re happy, flatten the image from the Layers menu and save as a new file.
This article originally appeared in the September 2015 issue of BBC Sky at Night Magazine. Ian Evenden is a journalist working in the fields of science, tech and photography.


