Solar activity waxes and wanes over a period of around 11 years known as the solar cycle. We are currently in Solar Cycle 25, with solar scientists predicting an increase in activity over the next few years as we approach solar maximum.
The Sun has been showing increased activity recently, making this is a great time to review some of the techniques required to image it, including the use of white light, hydrogen-alpha and calcium K filters to acquire different views of the solar disc.
Solar imaging isn’t without risk, and concentration needs to be high at all times to avoid accidents.
Read our complete guide on how to safely photograph the Sun

It goes without saying that you should never look directly at the Sun nor point any instrument at it without using appropriate filters.
The two most common ways to observe the Sun using a telescope are in white light or with a solar narrowband filter.
Ready-made white-light filters are available or you can make your own (following instructions provided by the supplier).
Narrowband filters are more expensive and can be either built into a dedicated solar telescope or supplied to convert a night-time telescope, typically a refractor, into a speciality narrowband instrument.
Common narrowband filter types offer views in hydrogen-alpha or calcium-K, the former being the most common.
Other wavelengths are also available.

What each solar filter shows
Before you decide which filter to use when photographing the Sun, it pays to know the strengths of each.
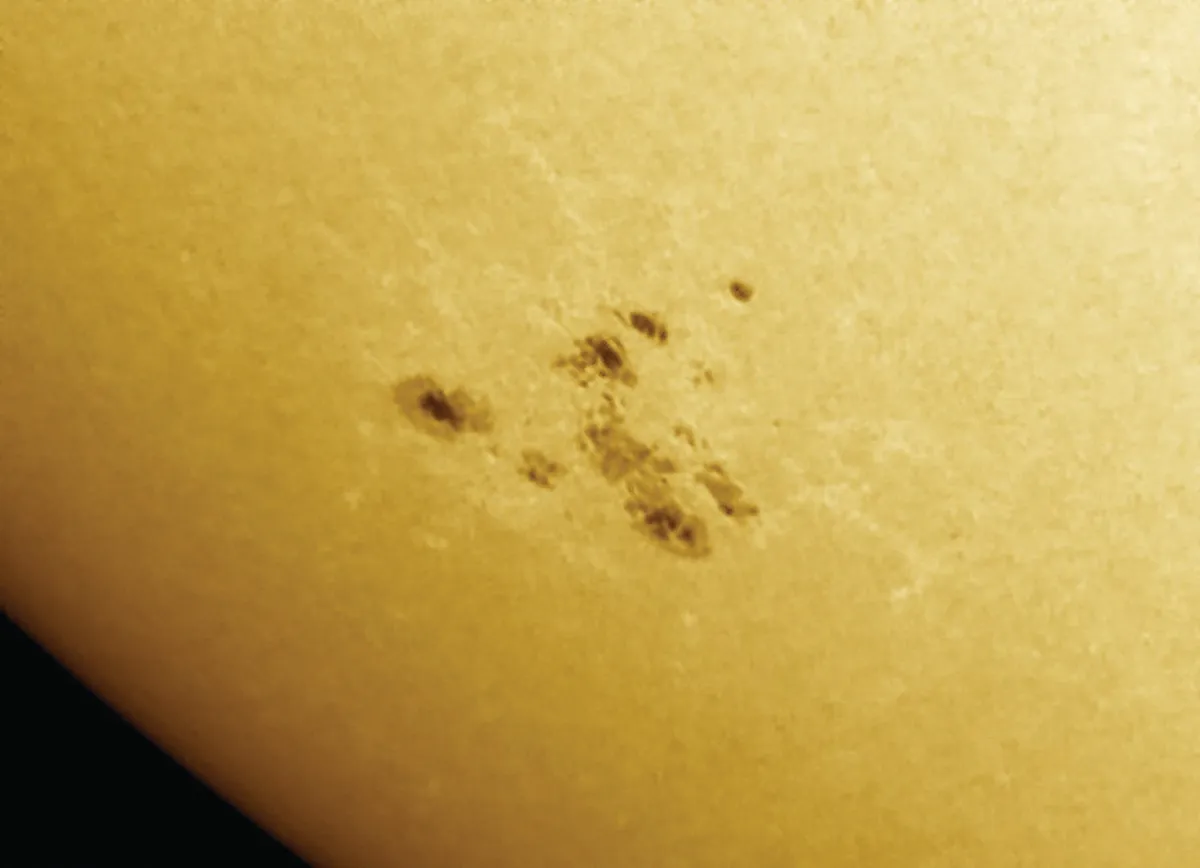
White-light filters show photospheric phenomena such as sunspots, sunspot groups, faculae, limb darkening, solar granulation and – very rarely – solar flares.
Features in white light tend to change in form subtly over the course of a few hours or days.
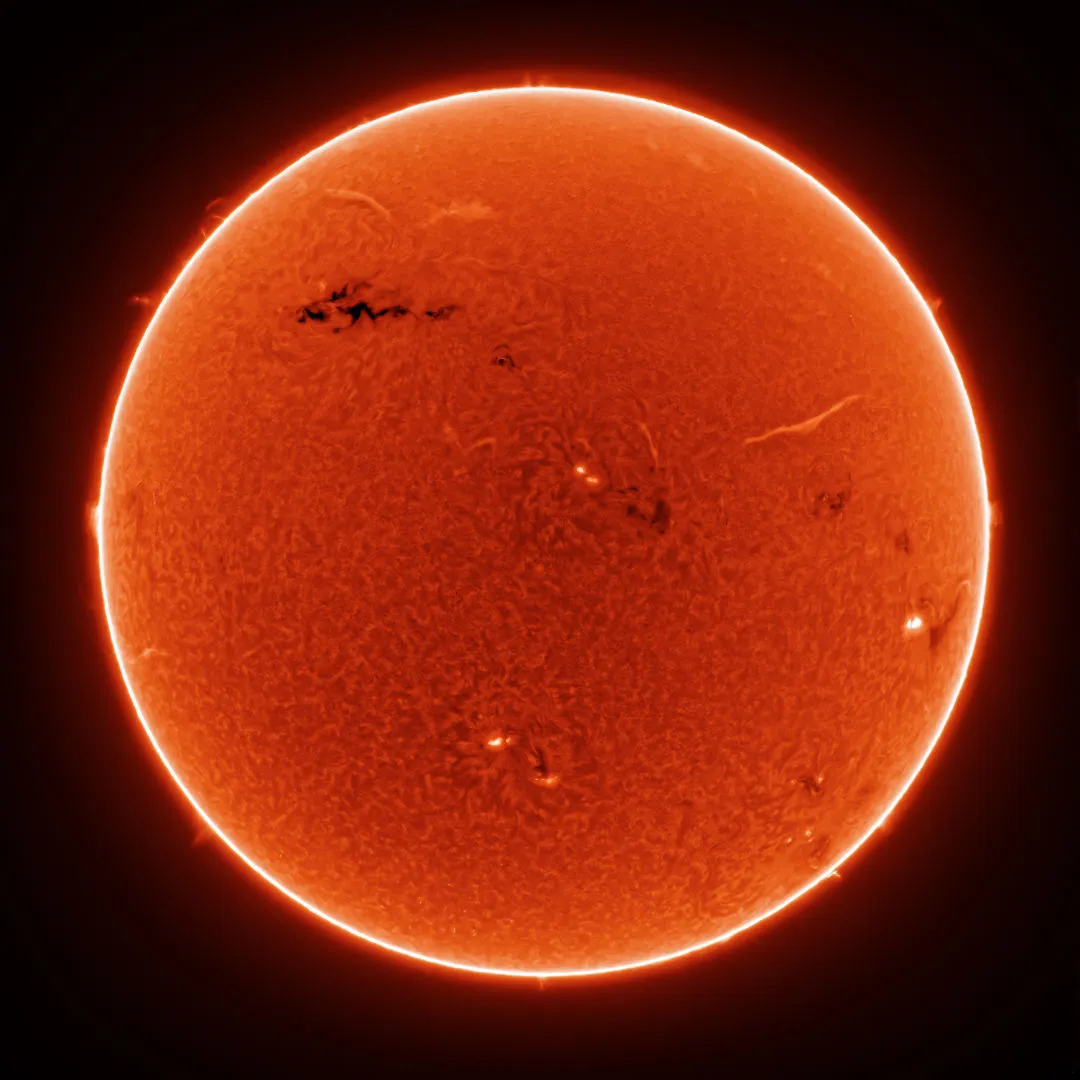
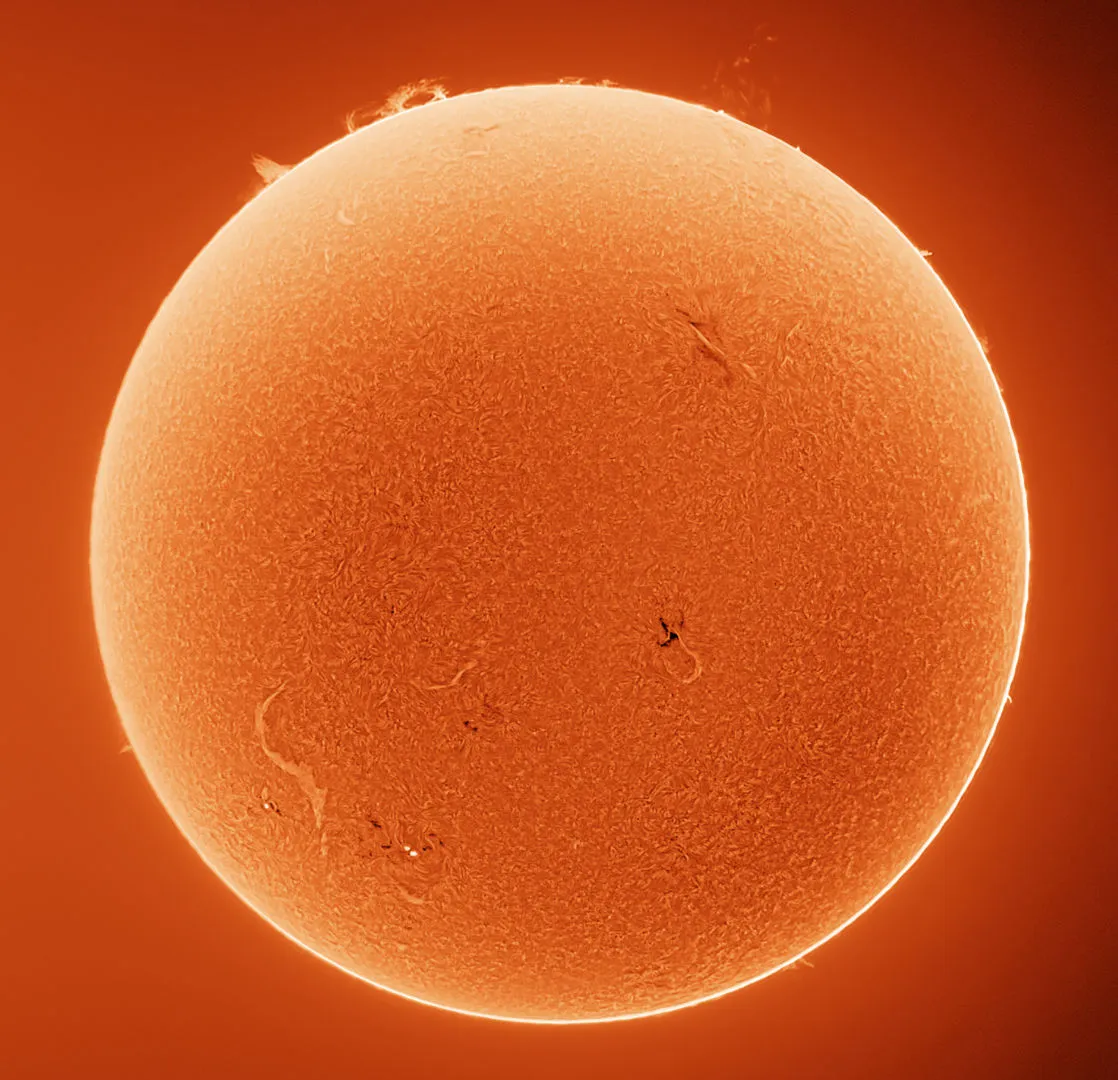
H-alpha filters reveal chromospheric and inner atmosphere (corona) features including active regions, plage, spots, spicules, filaments, fibrils, dark mottles, solar prominences and flares.
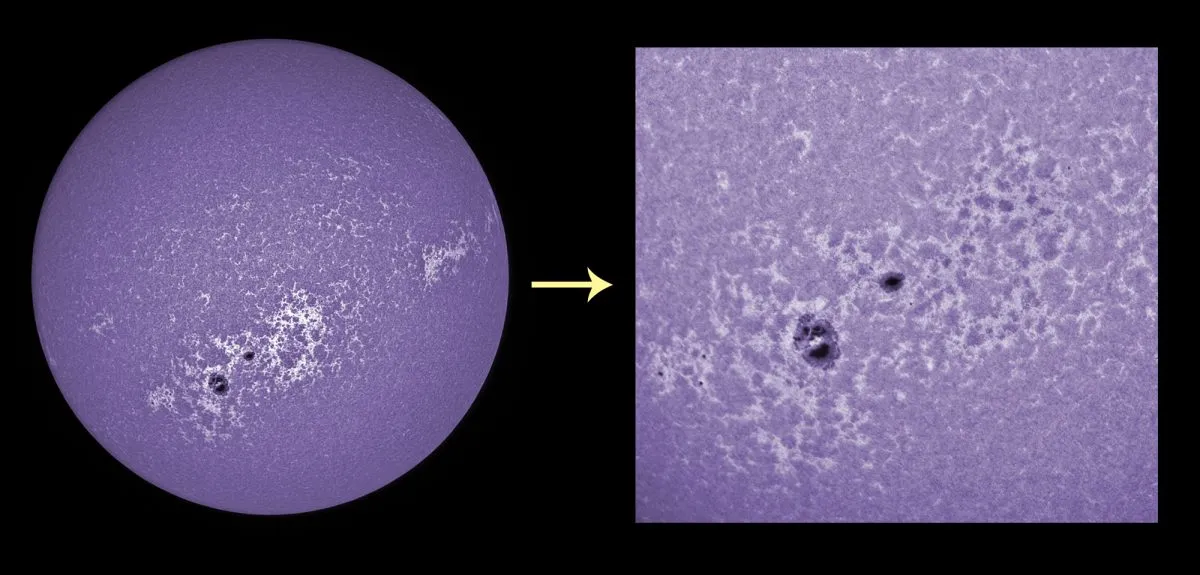
Calcium-K filters give views similar to white light, enhanced with elements of the solar chromosphere. This can include bright prominences.
Active sunspot regions are particularly clear with a calcium-K filter, as are the bright plage regions associated with them.
H-alpha views are the most dynamic and can change noticeably over the course of hours and sometimes minutes.
Calcium-K features exhibit changes over timescales similar to the white-light view.

Getting a clear shot
Whichever filter you use, the goal is to reduce the intensity of the Sun to a level suitable for direct imaging.
Once that’s done, the approach is then no different to that required for, say, the Moon.
Here, monochrome high-frame-rate cameras are king, their rapid capture rates helping to overcome seeing effects.
In addition, the essentially monochromatic nature of narrowband filters removes the effects of atmospheric dispersion where lower altitudes spread an object’s light into a spectrum of colour, effectively muddling the view.

Similar refinement can be achieved in white light by using a green filter, which increases the contrast of the slightly magenta dividing lines between solar granules, the fine rice-paper-like pattern that crosses the photosphere.
Near solar maximum, sunspots litter the Sun’s disc on a daily basis.
The next solar maximum is predicted for July 2025 (plus or minus eight months), making this a great time to begin your visual record of our nearest star.

Equipment
- Equatorially-driven telescope
- Appropriate solar filters
- High-frame-rate camera
Step-by-step
Step 1

Before fitting a white-light filter, hold it up to the Sun and check its integrity. If it has any rips or breaks, discard it and get a new one.
Make sure all finderscopes are capped or removed before pointing the scope towards the Sun.
For larger scopes with secondary obstructions, use a filtered offset aperture mask.
Step 2

Adjust camera levels so the middle of the Sun appears bright, but not overexposed – around 80–90% peak level.
Focus is critical. If spots are seen, use these.
If the disc is blank, use the Sun’s edge to achieve focus.
You may or may not see the photosphere’s granular texture, depending on scope size and seeing conditions.
Step 3

Dedicated H-alpha scopes are easiest to use, requiring little more than focusing and filter tuning.
H-alpha adaptor kits come in different forms.
A forward-fitting etalon requires a matching blocking filter at the eyepiece end.
A rear filter such as the DayStar Quark is a single unit that fits in the eyepiece holder.
Always consult manufacturer’s guidelines for your setup before use.
Step 4

The H-alpha Sun shows more detail than the white-light view.
With a correctly tuned filter, contrast should be good enough to show features that you can use for accurate focusing.
A mono camera is highly recommended; the internal filter matrices of a colour camera greatly reduce its efficiency and image quality.
Step 5

H-alpha features can have a wide brightness range, so aim for peak levels of 70–90%.
For bright prominences, peak at 90–95%, process, then cut and paste the surface into a separate layer for processing.
Inverting the surface can improve joins.
Faint prominences may require surface overexposure.
Step 6

For active, rapidly changing solar features, you can take still images at regular intervals and combine them into an animation.
Process each shot in a similar way before building the animation, otherwise flickering may occur as the sequence is run.
For very active features, consider using intervals of 20–60 seconds.
For more inspiration, have a look at our readers' gallery showing pictures of the Sun.
Have you captured a beautiful image of the Sun? We'd love to see it! Don't forget to send us your images.
This guide originally appeared in the July 2023 issue of BBC Sky at Night Magazine.

