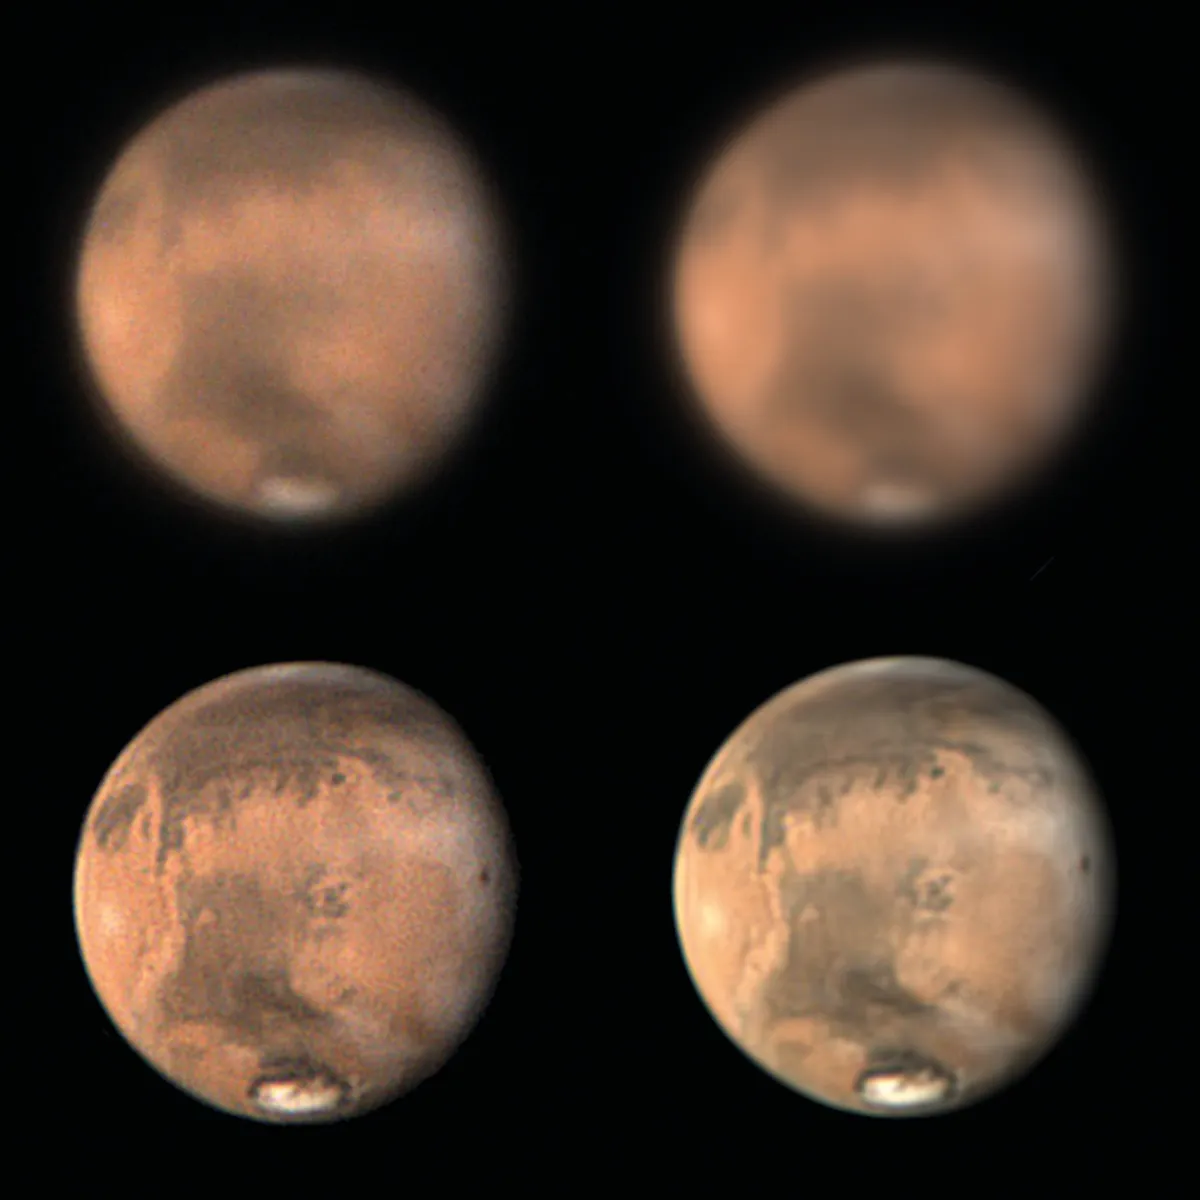
Digital video imaging has become the leading way of recording planetary detail in astrophotography. The method uses a high frame rate planetary camera to capture hundreds or thousands of digital frames, the best of which are aligned and stacked to produce a single master in which most of the blurring effects of our atmosphere have been averaged out.
This stack is then sharpened with dedicated software to draw out surface detail and produce wonderful planetary images.
When imaging planets, each exposure needs to be brief enough that it isn’t too blurred by agitation of the atmosphere, yet short exposure times combined with the low surface brightness of most planets means each frame tends to look quite grainy or noisy, similar to when you take a photo indoors in poor light.
- A guide to astrophotography stacking
- Imaging planets with a Dobsonian telescope
- A guide to CMOS deep-sky astrophotography
Although adding many frames together reduces this noise, the noise can return when processing is then applied to tease out the real planetary detail.
Noise in the finished planetary image is a problem as it can drown out the fine planetary detail you want to show and destroy smooth gradients in brightness and colour.
In this guide we'll look at how image noise arises in digital video imaging and what you can do to minimise it and produce better planetary images.
For more info on what kind of kit you need, read our guide to the best cameras for astrophotography.

What causes noise in astrophotos?
Noise in images is the unwanted variation in pixel to pixel brightness, which interferes with the true brightness variation of the object in an image.
For planetary imaging there are only two sources of pixel noise that generally matter: read noise and shot noise.
Read noise is electrical circuit noise that’s added to the image signal from each pixel when it is read from the sensor chip.
It is generally not an issue for planetary imaging, unless you are using narrow bandpass filters or the object isn’t very bright – the latter applies to Uranus and Neptune.
In these cases read noise can start to become a nuisance, especially if the camera suffers from it occurring in obvious bands or lines.
Shot noise is the main source of noise in planetary imaging and arises due to the particle nature of light.Photons from an object arrive at random intervals, meaning that the number captured by a pixel during one frame fluctuates.
With all the image pixels randomly fluctuating in this way, the planet’s image looks noisy.
The amount of shot noise in the stacked image is dependent on accumulated exposure time, regardless of the noise in individual frames.
The magnitude of the pixel shot noise during a frame is equal to the square root of the number of photons captured.A pixel signal of 100 photons has 10 photons of shot noise, whereas for a signal of 10,000 photons the shot noise is 100 photons.
Although the noise has increased by 10 times, the signal has actually increased by 1,000 times.However, the signal to noise ratio – the key measure of the shot noise – is 10 times better.
For each pixel, the higher the number of photons captured in each frame, the lower the shot noise is relative to the signal.
You can improve the signal to noise ratio of individual frames by using a camera with a more efficient chip or by increasing the photon count per pixel.
There are a number of ways to do the latter, including:
- Using a larger scope
- Increasing the exposure time, which can lead to worse atmospheric smearing effects
- Using a camera with larger pixels or imaging at a shorter effective focal length, both of which spread the light over fewer pixels, which can reduce resolution
Although noisy frames can make focusing more difficult, don’t worry unduly about noise in individual frames.
What matters is the noise after the frames have been stacked.
Stack your frames to reduce shot noise
By stacking your frames you’ll reduce random noise, and this reduction depends on the size of the stack.
By recording for longer you can reduce the noise in the stack. In fact, shot noise reduces by the square root of the number of frames in the stack.
Thus an imaging run that gathers four times as many frames will give a stacked image with half the amount of noise.

The square-root relationship between shot noise and both the number of photons gathered and the number of frames in the stack gives rise to a key principle of great importance in planetary imaging: the amount of shot noise in the stacked image is solely dependent on the accumulated exposure time, regardless of the noise in the individual frames.
You can choose short exposures (and raise the gain to give good screen brightness to allow focusing) or longer exposures (and lower the gain), but if you gather photons for the same overall duration the noise of the resulting stack should be the same.
This is because when the overall duration is the same, shorter exposures will enable you to gather more frames and the increased number of frames will compensate for the increased noise.
Not having to worry so much about what exact exposure and gain settings you use has advantages.
It means that on fainter subjects like Saturn you can set a shorter exposure than you might otherwise select and bump the gain right up, knowing that you will make up for the short exposure’s high shot noise by ending up with more frames to stack.
This method of more frames at shorter exposures and higher gain reduces atmospheric smearing, producing better images overall.
It does, however, assume that your camera and computer can cope with the higher frame rate without dropping frames.

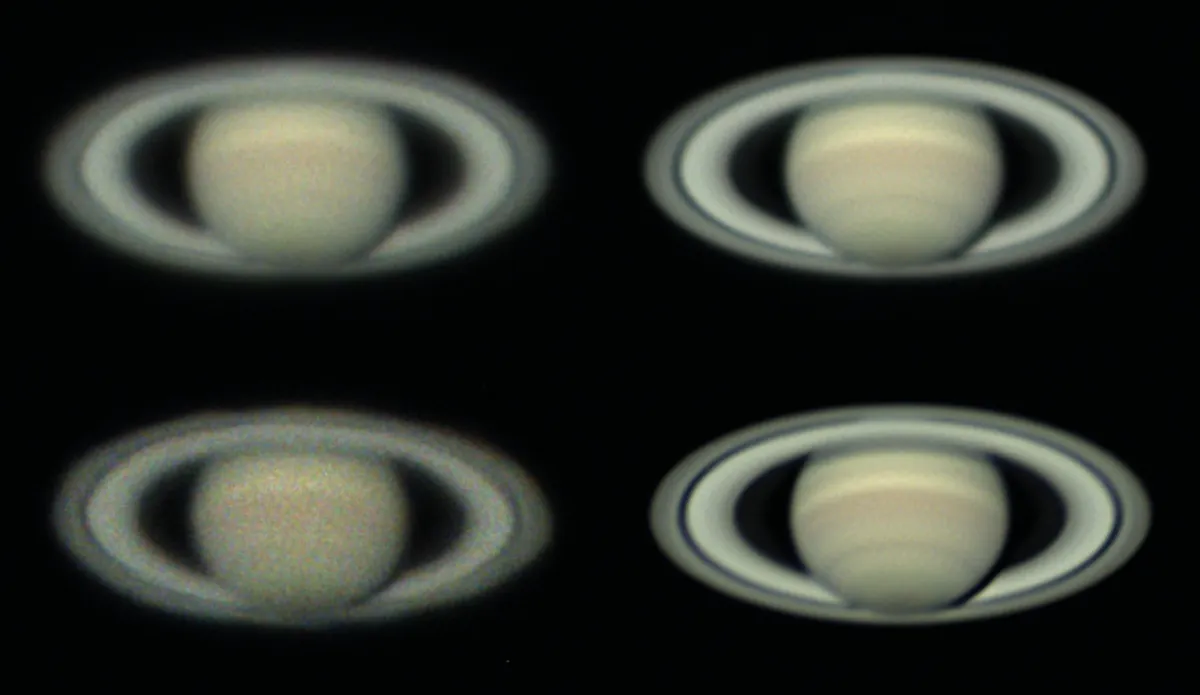
Compare the shots of Saturn above. The top right image was captured at low gain and long exposure, the bottom right at high gain and short exposure, but accumulated exposure time is the same. Long exposures give less noise for a single frame.
However, the noise is the same in the two identically processed stacked images. Note the improvement in detail in the bottom right image is due to the significantly shorter exposure, meaning there was less smearing due to atmospheric movement.
Reducing image noise by derotating in WinJUPOS
Although longer recording runs allow you to gather more frames and reduce noise that way, they can fall foul of another consideration.You can’t record for too long or fine detail will be smeared by planetary rotation, especially on fast-rotating bodies such as Jupiter.
This smearing can be overcome using the derotate function in the freeware program WinJUPOS.This combines processed stacks together after they have been adjusted to a common time to take out the rotation.
Adding stacked images together like this reduces noise, leading to more detailed images.
For more on this, read our guide on how to derotate planetary images in WinJUPOS.
Reducing noise in post processing
Once aligned and stacked, your image will appear to have little noise but also little detail.To bring out the precious finer features you need to process the image using something like wavelets in RegiStax.
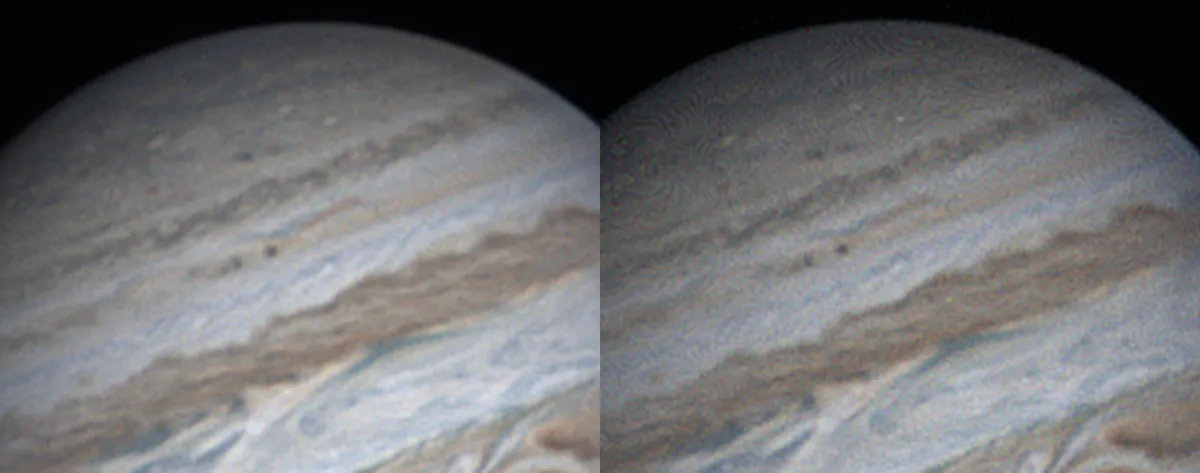
Unfortunately, this processing has the unwanted side effect of bringing out the noise.
On nights of better seeing, lower amounts of processing are needed to reveal the real detail, but even here some editing to reduce noise is usually required.
An effective method to reduce the noise from wavelet processing is to use the denoise function in RegiStax.Increase the denoise value until most of the noise is suppressed without affecting real detail too much.
Other methods of noise suppression can be added later and can be as simple as applying a Gaussian blur to all pixels (use a blur of between 0.5 and 1 pixels in size) in a graphics editor such as Photoshop or PaintShop Pro.
There are various specialist, stand-alone noise reduction programs such as Topaz Denoise or Astra Image. Photoshop and PaintShop Pro plug-ins that work by targeting noise of a particular grain size and leaving the detail can also be useful.
Topaz Denoise and Astra Image also do good noise reduction plug-ins for planetary imaging, as does Google Nik.
Can noise make an astrophoto better?

It may surprise you to know that noise sometimes serves a useful function too.Almost all planetary imaging is done using 8-bit cameras with 256 grey levels.
For satisfactory wavelet processing, however, the image needs to have much finer greyscale resolution: wavelet processing works best on a 16-bit image with 65,535 grey levels.Thankfully, you don’t need to resort to a slower 16-bit camera, though.
Stacking programs like RegiStax and Autostakkert! will take many 8-bit images and create a stacked 16-bit image capable of further processing.
But they can only do this if there is sufficient random noise in the signal to allow it to effectively calculate the intermediate grey levels by an averaging process.This is where shot noise helps out.
If you were to drop the gain down and increase the exposure time, the signal would be so high that there would be little shot noise, affecting your ability to optimally convert the image.
Martin Lewis is a keen astronomer with an in-depth knowledge of how to get the best from tricky imaging targets.

