An essential part of an astrophotographer’s processing toolbox, the Layersfunction exists in most processing software, including Adobe Photoshop and GIMP.
Layers can be used to stack multiple image files, a technique that reduces noise (unwanted artefacts) in the final image.
It also allows us to make gradual enhancements to our image files along the way.
You can find out more about this process in our guide to astrophotography stacking.
As the Layers function provides the ability to delete small processing errors at any stage of our edit, it means we don’t have to start again if we make a mistake.
Here we'll show you how to use Layers in Photoshop to stack and process an image of the Milky Way to bring out its wonderful, starry detail.
For more advice, read our guide to astrophotography and our tutorial on astrophotography image processing.
Open your image files
We start by opening the image files that we want to stack in Photoshop.
Click File > Open and navigate to the image file location. To open multiple image files in Photoshop, we hold the Ctrl key and select all the required files from the file location, before clicking Open.
Photoshop then uploads each of the selected files in separate windows.
Each of these files will be used to form layers within our stacked image. The file on the far left of Screenshot 1 – labelled Start image in our example – will form our base image.
We will copy and paste all the other image files onto this one.
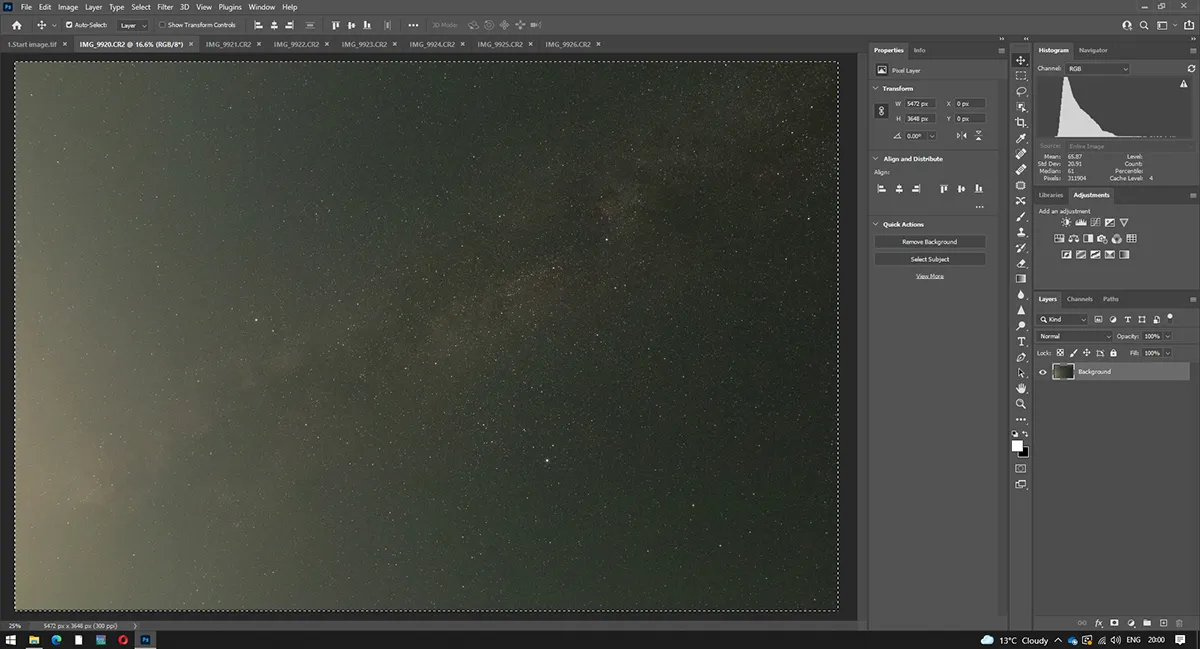
To combine these files into a single image ready for stacking, first start with the file window to the right of the base image – this will become Layer 1.
Click on the tab for this image and then press the Ctrl and A keys at the same time.You will now see the image highlighted with dashed lines.
Alternatively, you can click Select > All in the image window.By pressing Ctrl and C, this image is copied (or click Edit > Copy).
Next, click back on the base image window, and press Ctrl and V. This will place your first layer on top of your base image as ‘Layer 1’.
You can now delete the window that you copied this file from by clicking the X symbol in the corner of the tab and proceed onto the next image file.
Next, repeat the copy and paste steps for all the image files you wish to stack, so that these become layers on top of the base image.
Now we need to merge these layers into a single stacked file, reducing the number of layers to one.
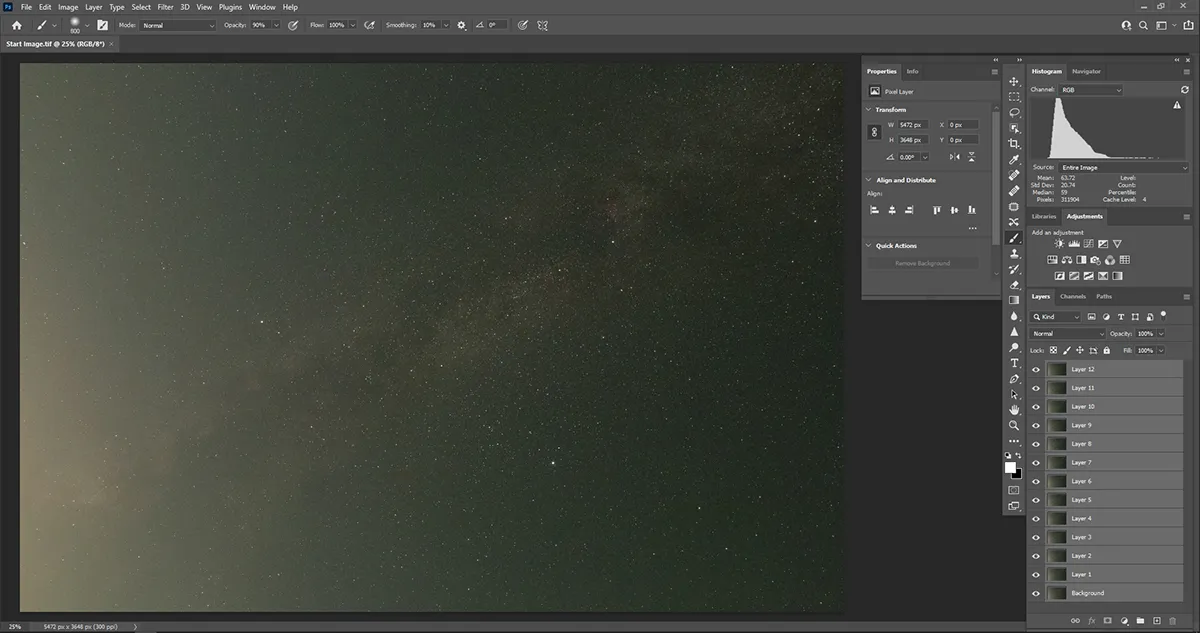
To do this, select every layer by holding down the Ctrl key while clicking each layer, so that they are all highlighted (see image above).
Next, click Layer > Smart Objects > Convert to Smart Object. Once Photoshop has processed this command, click Layer > Smart Objects > Stack Mode > Median.
You'll see the image change as the noise level is gradually reduced.
We can now use the Layers function in a slightly different way to edit this stacked image.
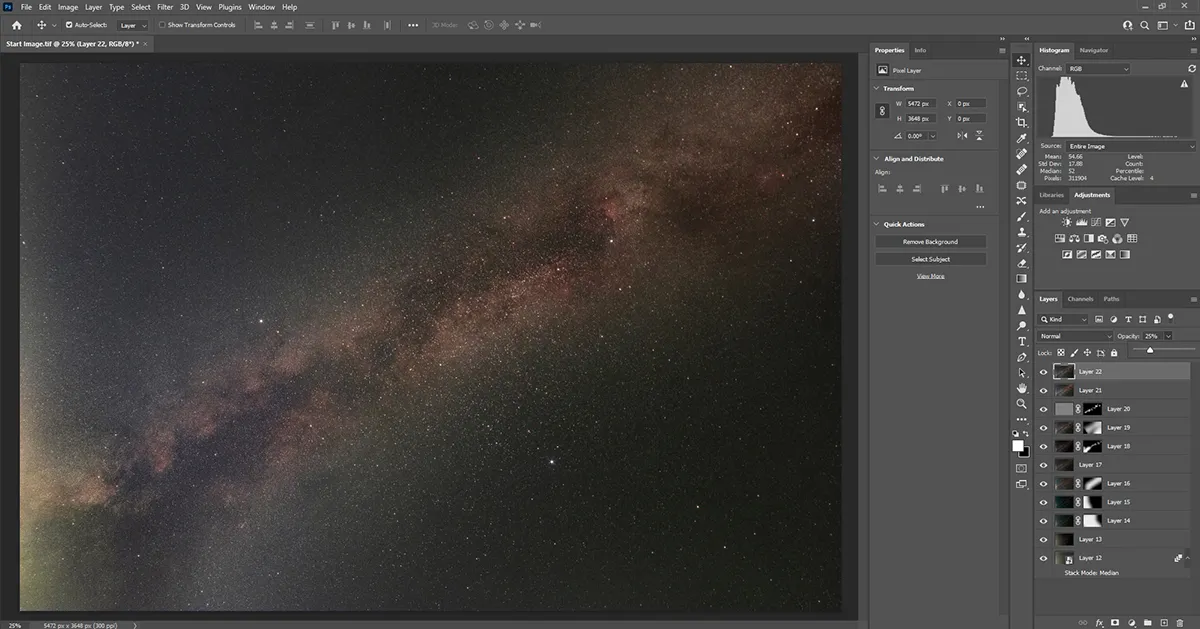
The most effective way to use Layers for editing is to create a duplicate of the preceding layer, so that we can use a new layer to make a separate adjustment each time.
To do this, hold down the Shift, Ctrl, Alt, N and E keys simultaneously. You will now see a new, identical layer form (see image below).
You can now select any item from the Adjustments menu - for example Adjusting levels, or Brightness/Contrast (which we have highlighted) - and make an alteration specifically to that layer.
Once satisfied with the adjustment you’ve made, use the mouse to right click on the layer and select Merge Down. This will combine your adjustment with the layer.
Adjust your edits
By creating a new layer before making a new adjustment, you are separating your process into stages.
The advantage of creating these layers for all the key steps is that you have the flexibility to go back to any point and quickly review all of your steps to see where something might have gone wrong, or to mark what you did right.
If you decide an adjustment has made a change that you don’t like, you can remove that layer by right-clicking on it with the mouse and selecting Delete Layer.
If you feel the adjustment was slightly too aggressive, you can also solve this by adjusting the Opacity for that layer.
Just move the Opacity slider to reduce the effect of the alteration.To ensure full control of your edit, repeat the above steps on every adjustment you make.
When you have finished, you can use the mouse to right-click on a layer and select Flatten image.
This ensures the finished image is in a suitable format to export as a JPEG or TIFF file (click File > Export as...).
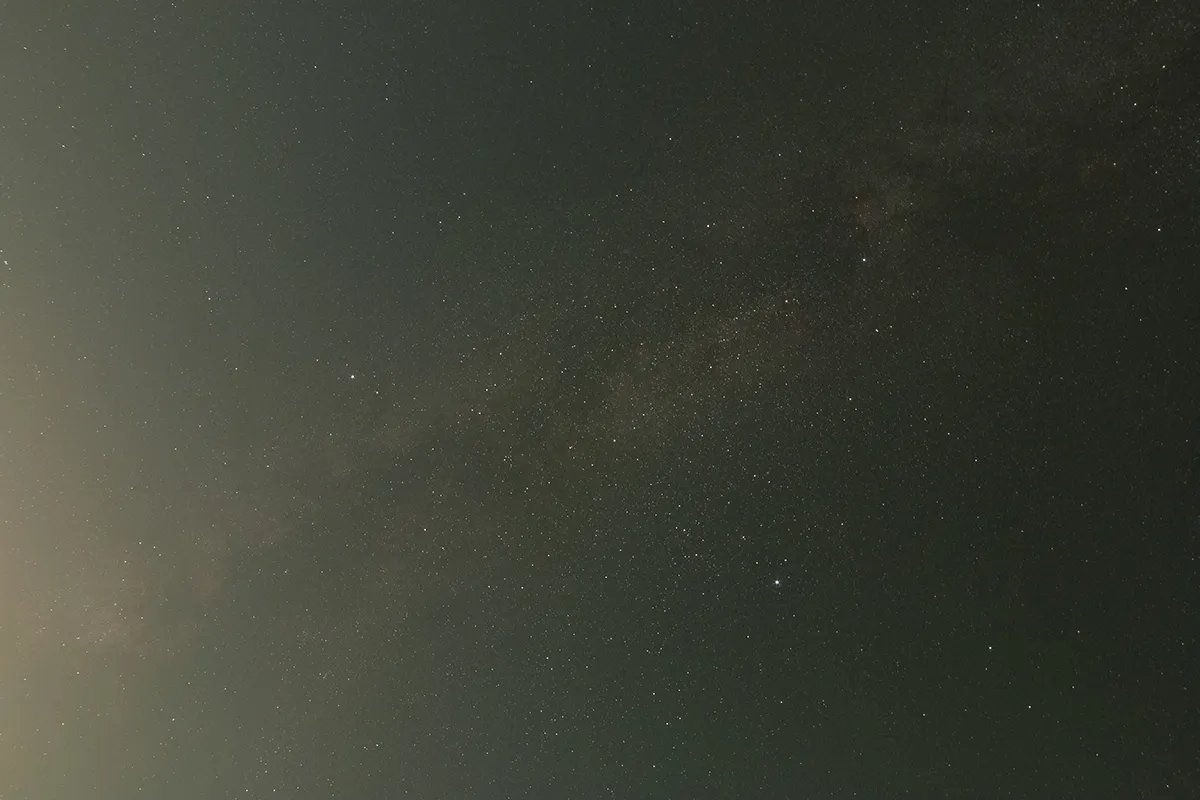
We now have the completed image (below), where the Milky Way is revealed in all its glory.
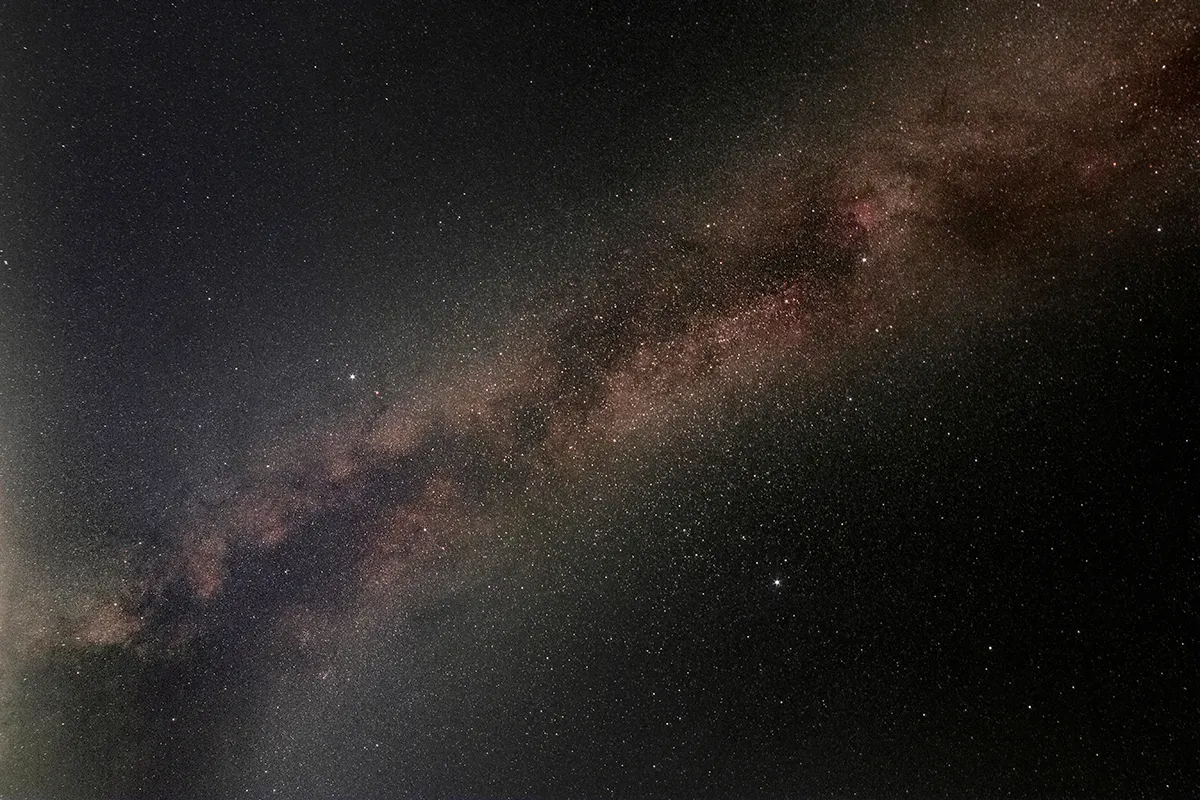
Stacking Milky Way images: 3 quick tips
- You can change the effect of an adjustment layer by amending the Layers mode; popular types are Colour and Luminosity.
- Try Hide All and Reveal Allmasks, where each adjustment layer is applied to the image.
- Use the eyeicon next to each layer to establish whether your most recent layer has improved the astro image before keeping or deleting.
This guide originally appeared in the January 2022 issue of BBC Sky at Night Magazine.


