Astrophotography can be expensive and time consuming.
But for those of us who can’t afford photography equipment or who can't spend hours perfecting a shot it’s surprisingly easy to achieve some great images of the night sky using only a smartphone.
In this three-part series we're going to take a look at some simple techniques, free apps and affordable accessories that can get you using your camera.
It's the easiest and cheapest way to start taking photographs of the sky tonight.
Part 1 – Zoom lenses
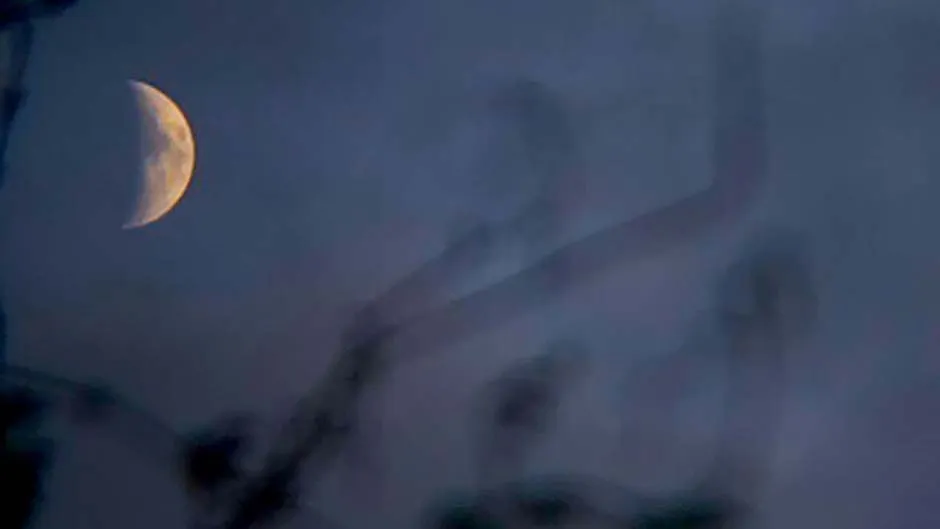
All smartphones have narrow-angle lenses and no zoom, but that doesn't mean they can't be used to take photos and videos of the night sky.
Although it's possible to zoom-in digitally, this degrades the quality of the image, to add true magnification you need to use an optical zoom lens.

There are several different sizes of zoom lens designed for smartphones that have become available in recent years.
A really basic choice that will mostly suit daytime phoneographers is the Olloclip Telephoto and Circular Polarizing Lens, £56, which gives you 2x magnification, so you get a little closer in before you have to zoom-in digitally.
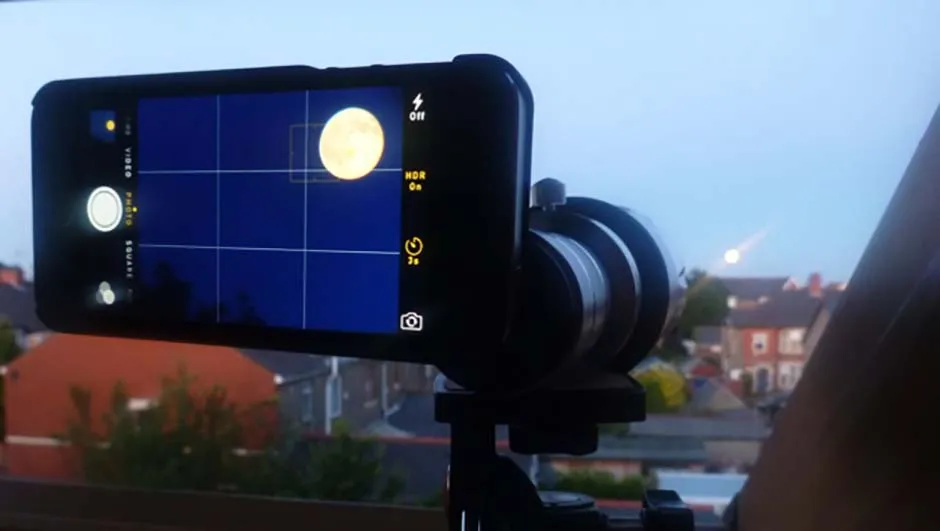
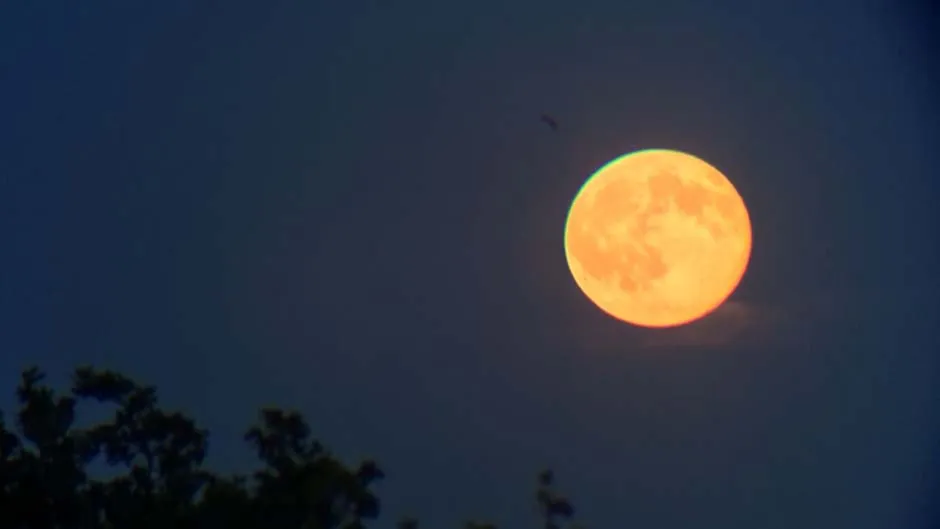
Much better for close-ups is the pocket-sized and lightweight Photojojo iPhone Telephoto Lens, £22.50, which offers 12x zoom and really lends impact to pictures of the Moon and setting Sun.
It comes with a tiny tripod, as does the pricey Night Sky MiniScope, £269, from the makers of the Night Sky stargazing app.
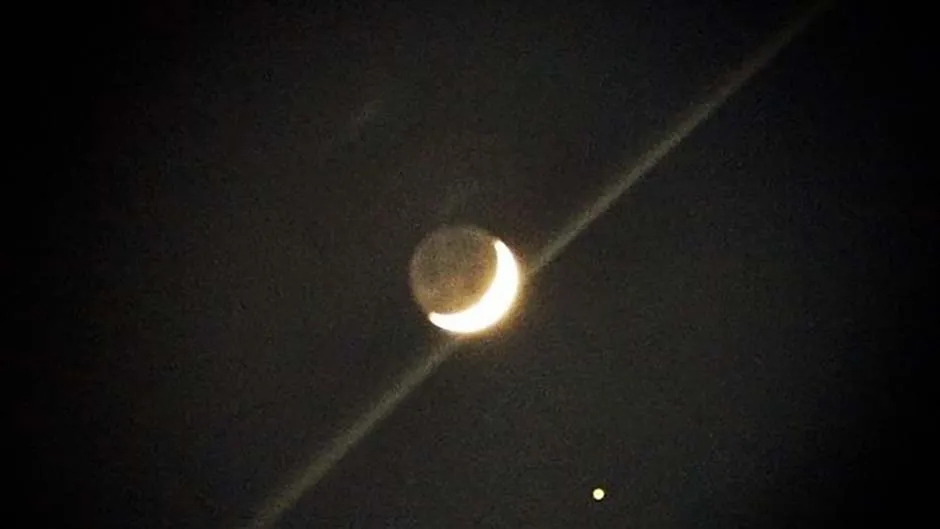
The app now includes some novel – though rather fiddly – photography options within the app, including both a (very basic) star-trails and a planet mode.
However, it's that massive 50x zoom that's most useful.

How to use a zoom lens
All three of these zoom lens gadgets are manually focussed; get as sharp as focus as you can by turning the lens ring itself, then focus digitally using the screen (on most phones you'll need to touch whatever object you want the camera to focus on, such as the Moon).
It's also worth zooming-in digitally to see how close-up you can get in; if it looks sharp enough on your phone's screen, it will look fine on other most social media apps (though it will probably look soft on a computer screen).

Use a tripod & a selfie stick
Taking any kind of night sky photography with any kind of camera demands being incredibly still, and that also applies to smartphones.
A good option is a flexible and highly portable tripod like the Joby GripTight GorillaPod, £25, a tripod mount such as the XSories Pholder Smartphone Tripod Mount, £8.99, or a selfie stick with a tripod thread in the bottom, such as the Cygnett GoStick Bluetooth selfie stick, £30.
Many selfie sticks also come with a Bluetooth shutter remote – tiny watch battery-powered devices that, once paired with a smartphone, allow you to take a photo without touching the phone.
If you can't find a selfie stick that includes one, try the thumbsUp! Snap Remote, £5.99, or the Muku Shuttr, £24.99, which work with all smartphones.
Or you could just engage the shutter delay feature on your phone's camera (typically 3, 5 or 10 seconds) to lessen the shake – and, hence, blur – when you touch the phone to take a shot.

A great way of creating impactful, though stylised shots is to use Instagram.
After you've re-sized the image to the app's signature square format, it's possible to use creative presets (try X-Pro II and Lo-Fi) that will draw the viewer's eye away from any picture noise, blur or softness, before uploading.
It's perfectly possible to rely on the camera software already on your phone, whatever the model.
However, because zoom lenses tend to sit a few millimetres away from the lens, they usually cause some vignetting – dark curves in the corners of the frame.
To solve this, simply zoom-in slightly using the touchscreen.
It will degrade the quality slightly; so don't bother if you plan to edit the image in Instagram before uploading.

