In this article we'll show you how to do astrophotography with a DSLR, or Digital Single Lens Reflex camera.
If you're a complete beginner, we'll show you how to take and process your very first astrophoto with a DSLR.
After that, you can experiment with settings and composition to make your photos even better.
- Access astrophotography tutorials and other Virtual Events On Demand.
- Discover our pick of the best astrophotography cameras
For more advice on DSLR astrophotography, read our guide on how to use a DSLR camera or how to attach a DSLR camera to a telescope.

Equipment for DSLR astrophotography
What will you need to take your first astrophoto with a DSLR?
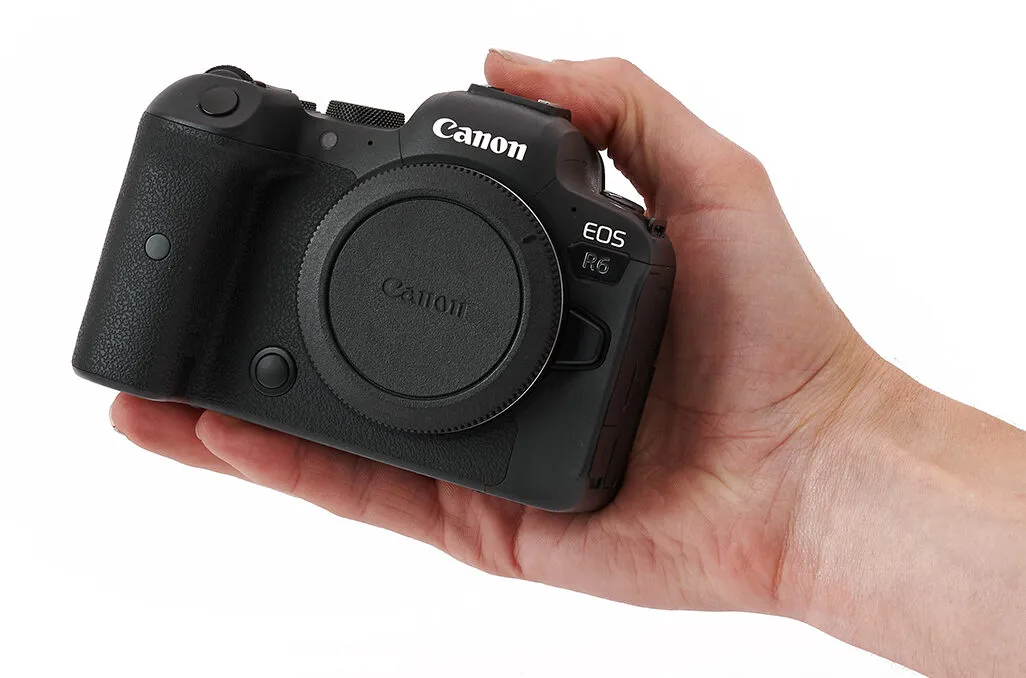
Obviously the most essential thing is a DSLR, and we’re going to assume you already have one of those!
The make of your DSLR is irrelevant. They all do the same job, which is to collect light on a sensor chip that is turned into an image.
You’ll also need a memory card in your camera. You don’t want to be standing in the middle of a field in the dark and see the words ‘No Memory Card In Camera’ appear on your screen because you left it at home – not that I’ve ever done that, of course!
If you use your DSLR for daytime photography you’ve probably got several lenses, but which one should you use for astrophotography?
The 18-55mm ‘kit lens’ or standard 50mm lens that came with your camera will be fine. Don’t use anything ‘bigger’ than 50mm yet.
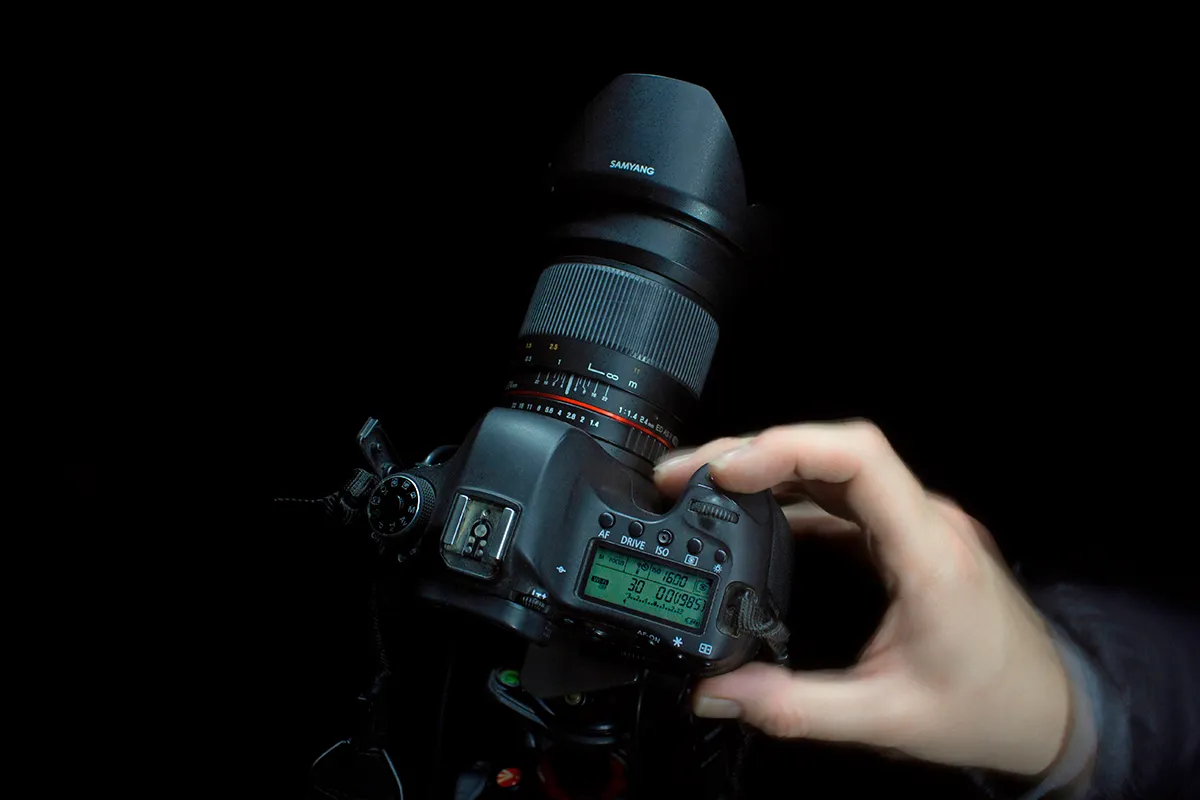
You will need to have a good tripod to mount your camera on, because you just won’t get the same results from pushing your camera down into a bean bag or rolled-up jumper plonked on the top of your car!
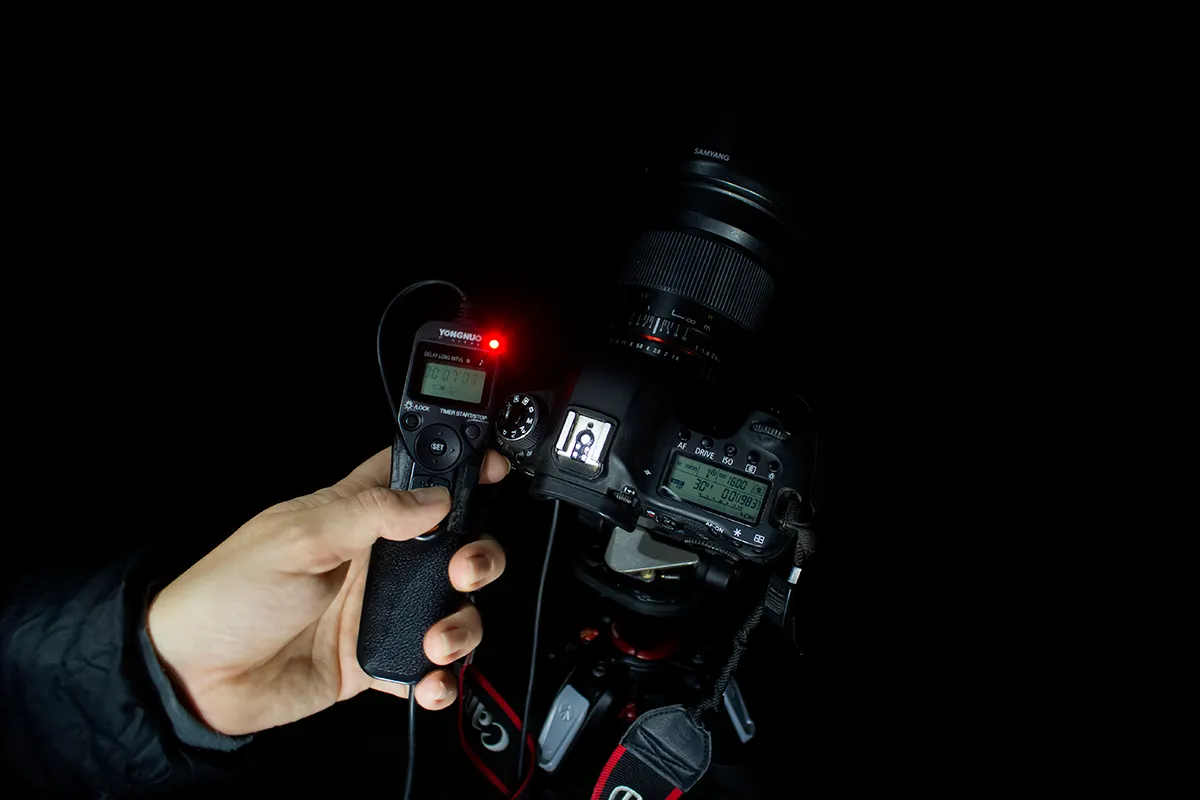
A remote shutter release is highly recommended, but not essential.
Take along the red torch or red head torch you use when you’re out stargazing.
If you don’t have one, install a ‘Red Light’ app onto your phone.
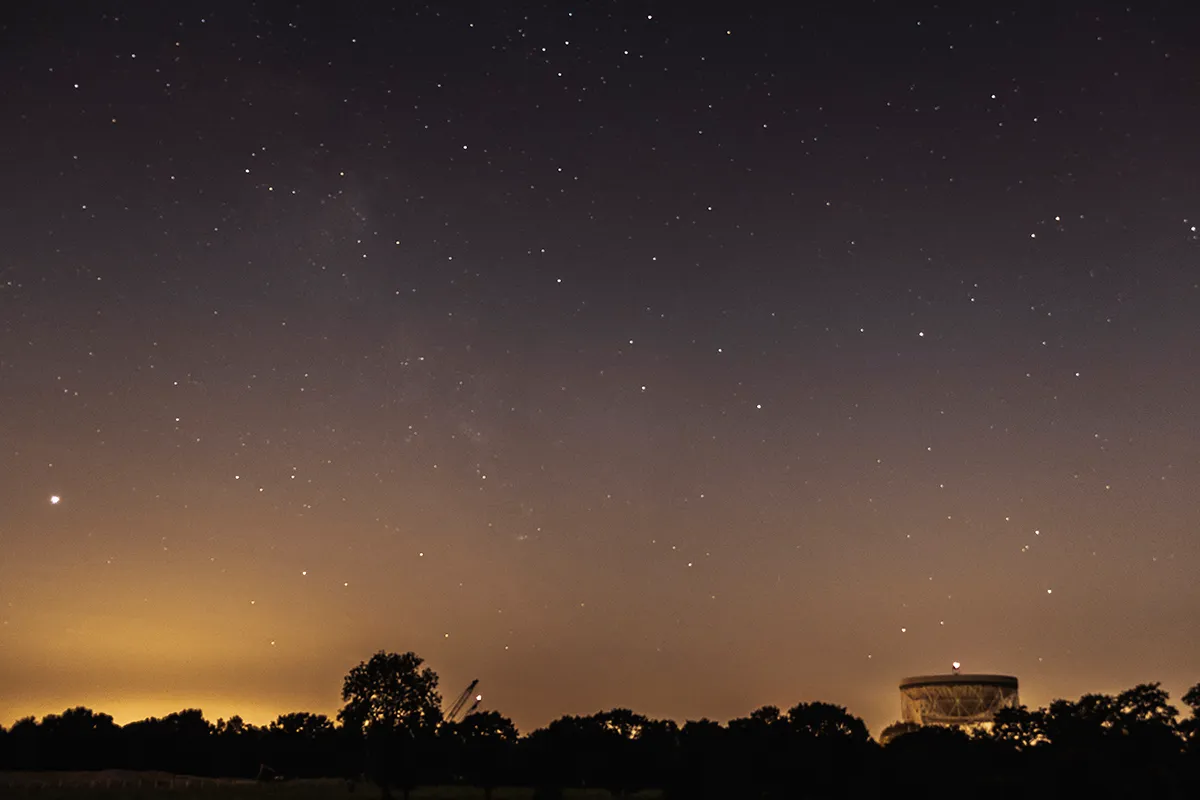
Lastly, but very importantly, you’ll need a good location to take your photos from.
If you’re restricted to your back garden that’s fine, you can still take pictures, but if you can get away from all the streetlights, security lights and illuminated shop signs to a dark-sky site, those pictures will be much better.
Taking your first DSLR astrophoto

One of the aspects of astrophotography that newcomers find most difficult is focusing their camera.
It’s easy photographing a friend’s wedding reception, or your sleepy kitten in the daytime, but the first time you try to focus your camera on the night sky you’ll probably want to throw it into the bushes in frustration.
Finding focus is actually quite easy once you know how.
First, take off the lens cap (personal tip here: get into the habit of always putting lens caps into your left pocket, think ‘Left for Lens’, so you won’t forget where they are).
Next, set your camera focus to ‘Manual’ instead of ‘Auto Focus’ and then point it at a streetlight or a light on the side of a distant building – not a star.
Focus on it roughly using the viewfinder, then use the ‘Live View’ feature on your camera screen to fine tune the focus until it’s sharp.
Now swing your camera towards a bright object in the sky – perhaps the star Sirius, or a bright, prominent planet – and use ‘Live View’ to focus as sharply on it as you can.
After that, leave it alone.
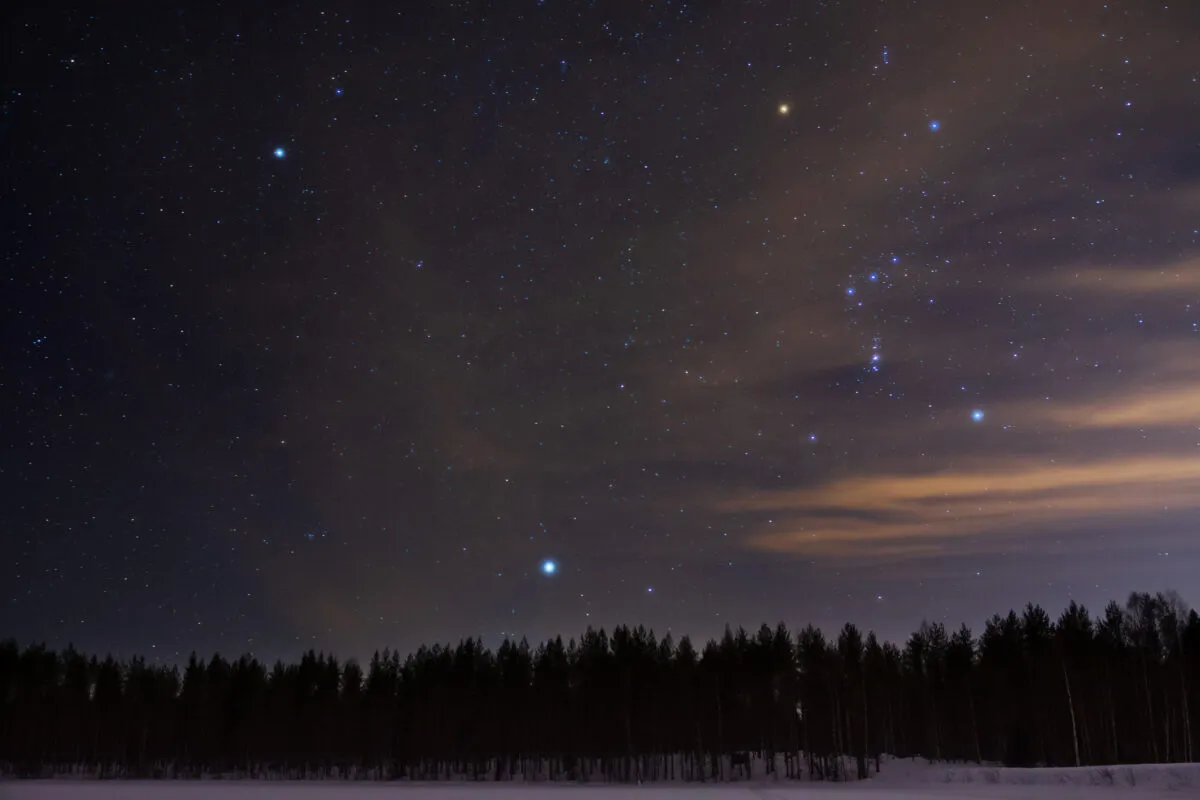
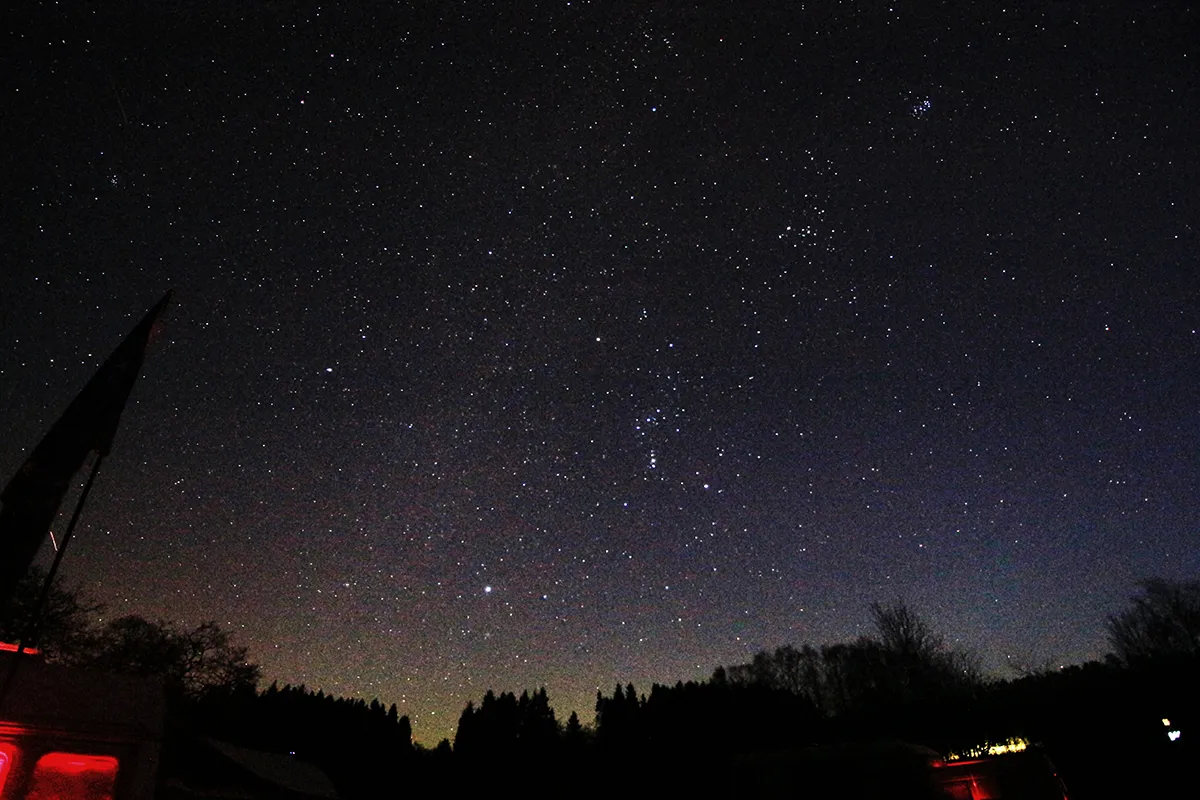
Next, aim your camera towards the constellation of Orion, centred roughly on Orion’s Belt.
Don’t worry about framing, or foregrounds, you’re just trying to photograph some stars this very first time.
When you can see stars clearly on your camera screen, set its ‘Mode’ to ‘Manual’ by turning the appropriate dial, or selecting it from a ‘Settings’ menu.
Next, set your camera’s ISO (which mimics the film speed of film cameras) to 1600.
Then set the ‘Exposure Time’ to 15 seconds if you’re using a wide-angle kit lens, or 4 seconds if using a standard 50mm lens.
There’s just a few more tweaks and you’ll be ready.
Set a ‘Time Delay’ – around 3 seconds or 10 seconds, depending on the make of your camera – as this will give a few seconds to reduce vibrations after clicking the camera’s shutter, keeping your stars as points of light instead of squiggles.
Alternately, if you have one, use a remote shutter release to take the picture without touching the camera.
Finally, set the ‘Image Format’ to ‘RAW’ if you want, but it’s not essential at this early stage, no matter what some people may tell you.
RAW format images record more information, so give better processing results, but it’s perfectly fine to just stick to JPEG format on the first night if you’re more comfortable with that (or you just forget).
Then take a deep breath and push the button to take your first photo.
It will feel like time has stood still as your camera drinks in all the starlight, but eventually you’ll hear a click telling you it’s finished.
If everything worked you’ll have just taken your first astrophoto, so take a look on the preview screen.
A wide-angle lens will have captured all of Orion, while a 50mm lens won’t quite get all of it.
If it’s a little wonky, don’t worry, it doesn’t matter – this is just your first try.
Look how many more stars are on it compared to pictures taken with your phone camera, and how colourful they are. How cool is that? Congratulations!
For more advice, read our guide on how to photograph a constellation.
Improving DSLR astrophotography
There are several common problems that might occur when experimenting with DSLR astrophotography for the first time.
If your image is too dark, increase either the ISO or ‘Exposure Time’.
Too bright? decrease either the ISO or ‘Exposure Time’. If your stars look like squiggles something moved during the exposure, so tighten everything up, especially on your tripod.
Does your image looks orange? Change the ‘White Balance’ from sunlight (a ‘Sun’ symbol) to artificial light (usually a symbol that looks like a ‘Lightbulb’ or a strip light).
That will get rid of the orange cast produced by light pollution.
Now try again – your second photo should be better than your first.
You can find out more about what not to do in our guide to astrophotography mistakes.
Then keep going. Try a variety of different ISOs and exposures, just to see the difference that changing these basic settings makes.
When you have found a selection of settings that collectively give you good images, stick to it.
Leave Orion and try imaging different parts of the sky, maybe Mars, or Sirius, or Cassiopeia – it doesn’t matter which.
You’ve done the hard part, now it’s time to just experiment with DSLR astrophotography and have fun!
DSLR astrophotography processing, step-by-step
Having taken your first images you need to get them off your camera and into a computer if you want to see them, improve them and share them with others.
This is called processing and getting started can be quite daunting, so we’re just going to look at the absolute basics here.
Follow these, and you’re on your way to creating incredible astrophotos. You will need:
- A USB card reader to insert into your computer, or its card-reading slot
- The memory card from your camera
- Image processing software on your laptop
For more advice, read our guide to astrophotography image processing.
Step 1
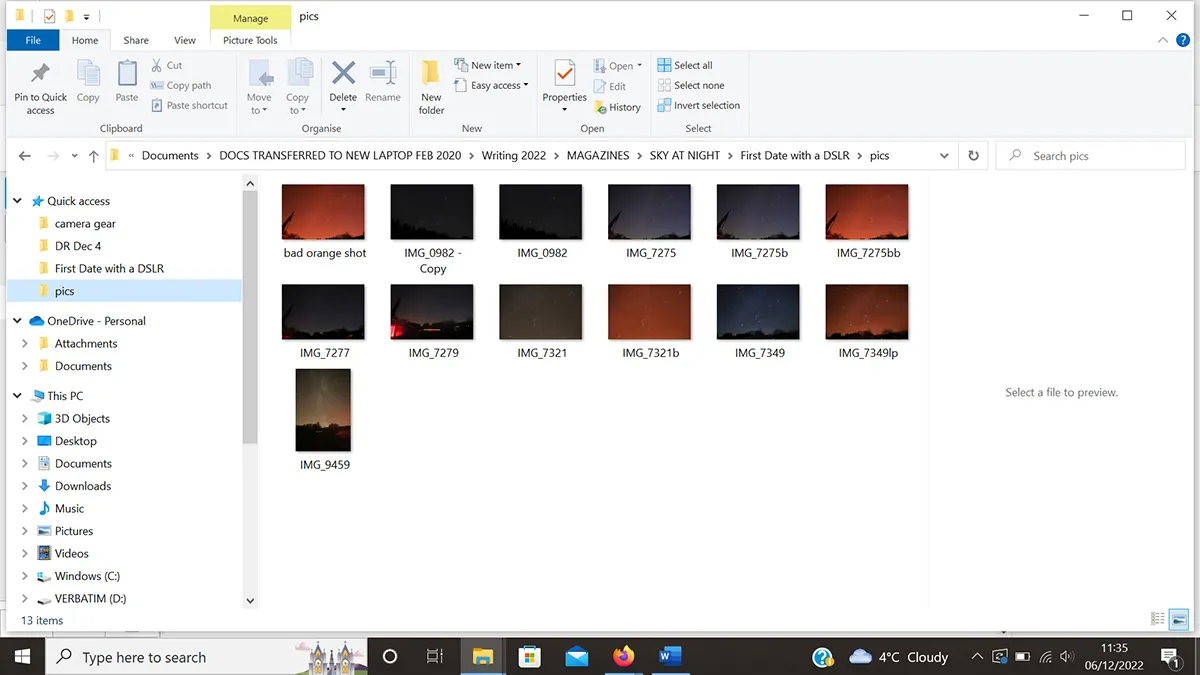
Remove your camera’s memory card and insert it into your computer’s in-built card reader, or an external one. Find the relevant external drive folder and click on it to locate your images. We recommend that you change the settings on your computer so images show as pictures, not just meaningless file names.
Step 2
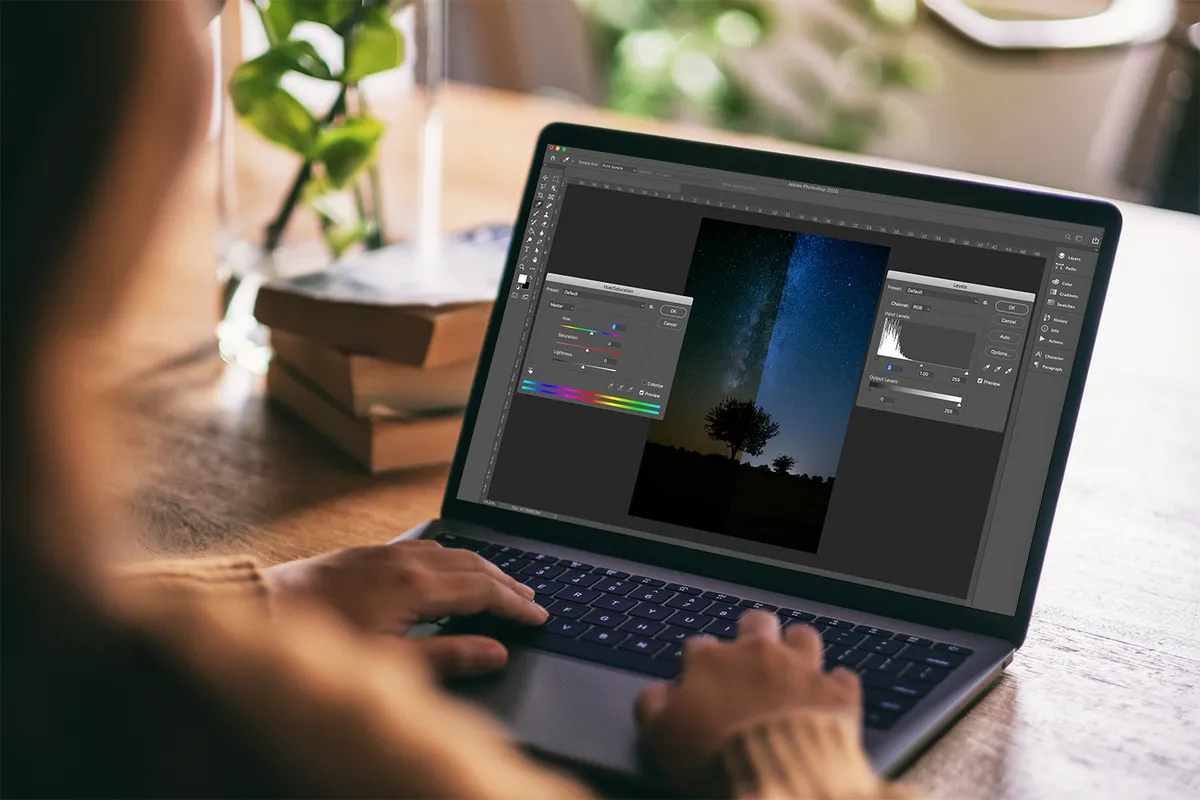
Open your image-processing software and import one of your images. On the screen your image won’t look as bright or as detailed as it did on the back of your camera, but don’t panic! You were looking at a high-contrast version, in the dark, on a bright screen. Once enlarged it will look less punchy, but the processing will change that.
Step 3
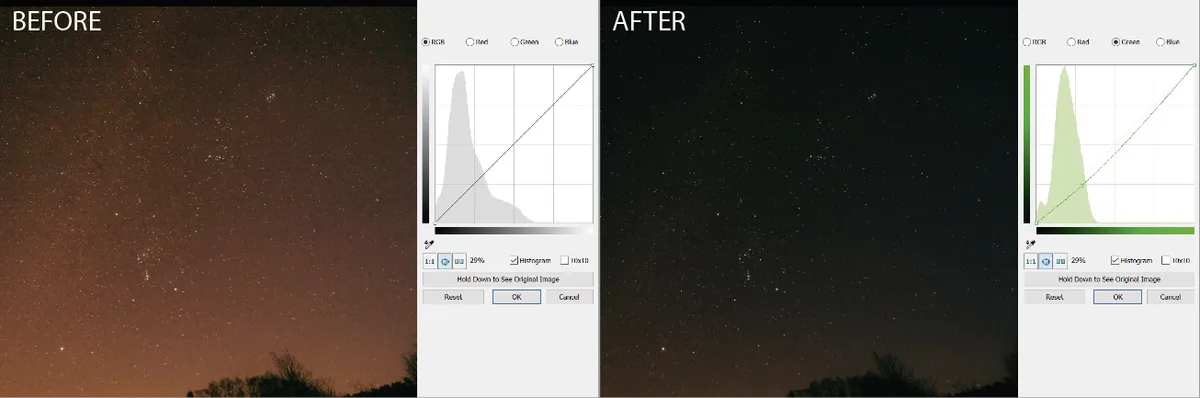
First, use the ‘Curves’ function to change how your image looks. Experiment by moving the curve around to adjust the brightness and contrast until it looks better. Don’t go overboard – remember that less is more when it comes to astro image-processing. You can always undo your work if you go too far.
Step 4
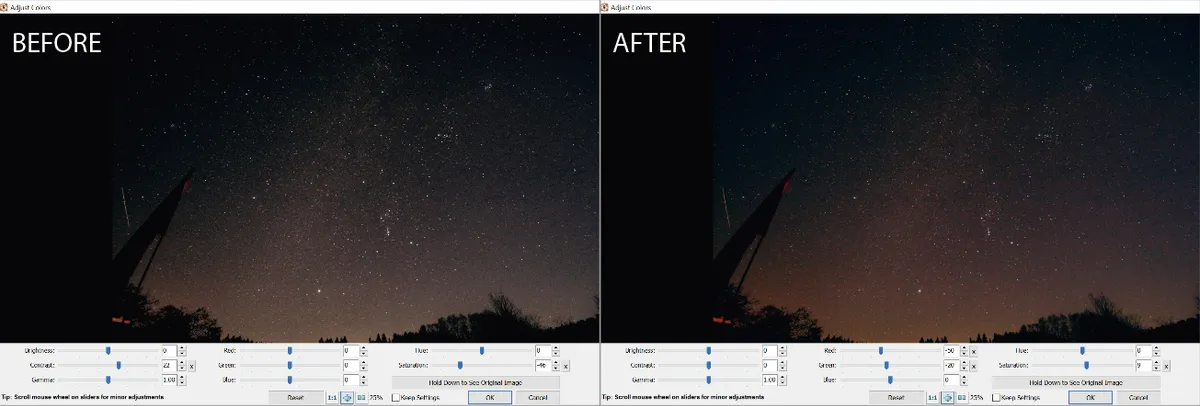
Use the ‘Saturation’ function to change how colourful your image looks. If the colours of the stars are too garish you can reduce that, or if they are too bland you can boost them. But again, don’t go mad or you can end up making the stars too bright and blown out.
Step 5
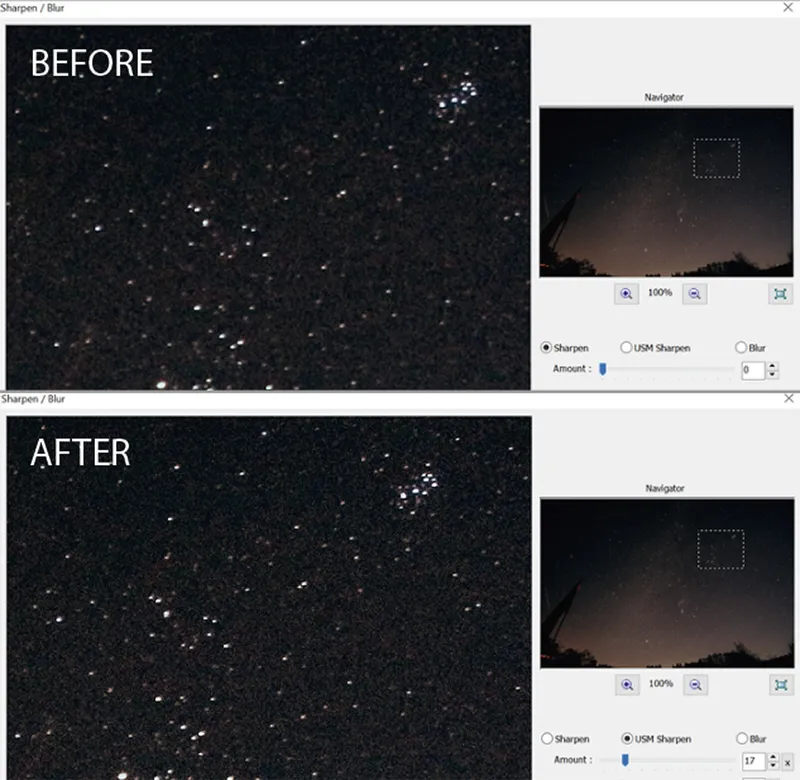
Use the ‘Sharpen’ function to make your image clearer, especially if your focus wasn’t as sharp as you thought it was. If you used RAW format when shooting, your images will look a lot cleaner than JPEGs, but at this stage that’s not too important.
Step 6
When you have a processed image you’re happy with, create a new folder on your computer – put the date you took your images in the title to help you find them again – and export your image into it. Use ‘Save As’ to create a new file with its own name, leaving the original on your memory card for now. You might want to go back to it later.
If you've has success with DSLR astrophotography, don't forget to send us your images and they could appear in a future issue of BBC Sky at Night Magazine
This guide originally appeared in the February 2023 issue of BBC Sky at Night Magazine.