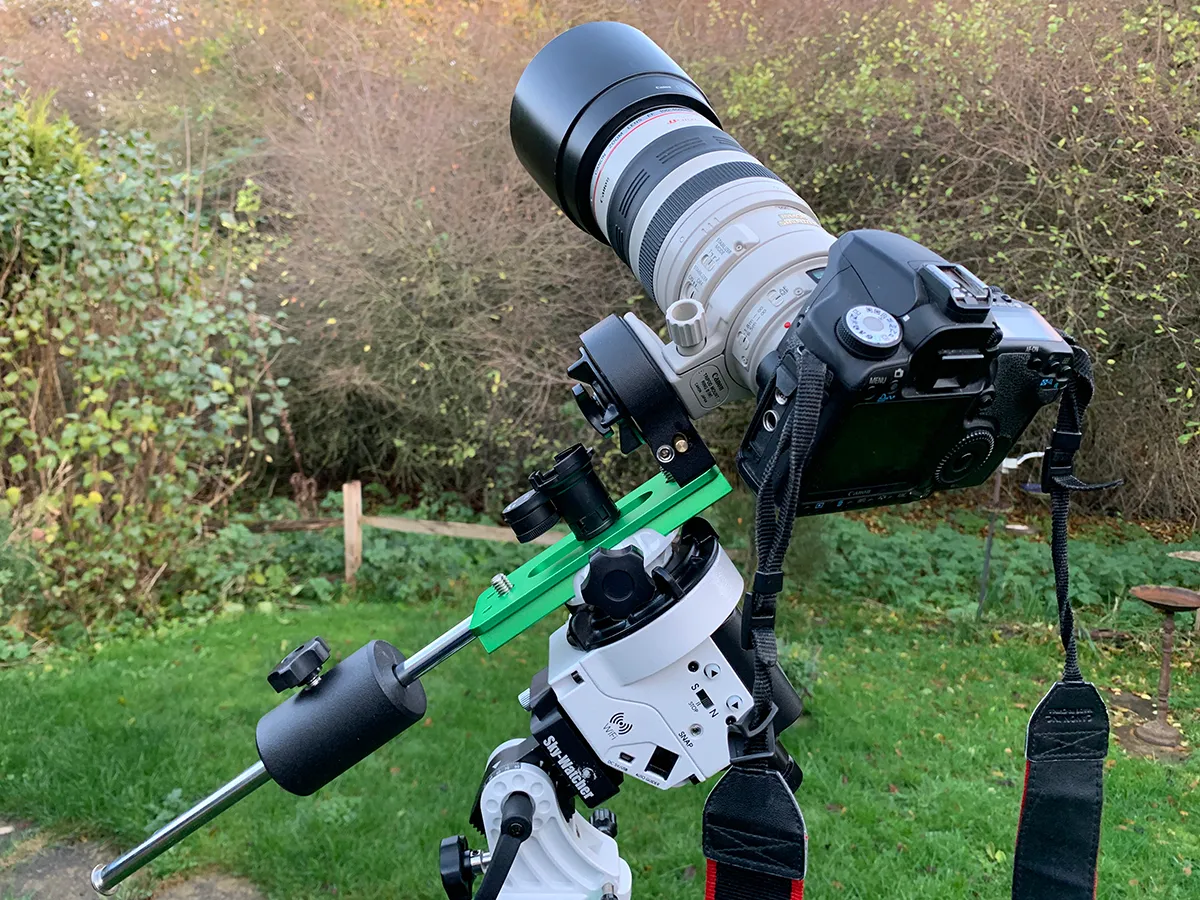
Astrophotographers constantly strive to improve their images by whatever means they can – it’s in their nature to do so!
Improvements in astrophotography normally come about in small steps by using longer exposures, improved focus, more precise tracking, more sensitive cameras, exotic filters and better optics.
More astrophotography

Each small change adds to the whole so better contrast is captured in dim galaxies and nebulae, sharper images with greater colour saturation are produced, star shapes are improved and unseen features are revealed.
So what do you need to do if you really want to take your astrophotography up a notch?
Here we detail some of the equipment and techniques you can use to help take your astro imaging to the next level.
Use an autoguider

One of the most obvious ways to improve your astrophotography and deep-sky images is to take longer exposures to capture more detail.
The trouble is, doing so puts greater demands on your mount, because it has to accurately track your target for longer periods of time.
But with an autoguider you can give your mount a helping hand.

Autoguiding uses a second camera to take a continuous series of short exposures of a ‘guide star’ near to the object being imaged.
The position of the guide star on the camera’s sensor is analysed, and if the star starts to move in any direction the autoguider issues a command to the mount instructing it to follow the star’s movement.
This second camera can either be connected to a second telescope attached to the mount (known as a guidescope), or to the imaging telescope via an off-axis guider.
Off-axis guiders use a prism to pick off a small sample of light from the edge of the light cone that falls on the main imaging camera’s sensor.
This sample is then diverted to the guide camera for analysis.

Whichever type you use, if the corrections from the autoguider mean the guide star is accurately tracked, the imaging camera and telescope will also track your target accurately as they’re attached to the same mount.
Guide cameras, such as the Starlight Xpress Lodestar X2 Autoguider, can be controlled by a laptop and guiding software or operate on their own.
Stand-alone guiders, such as the Sky-Watcher SynGuider, are also available.
Achieve fine focus with a Bahtinov mask

Deep-sky objects are relatively dim and so are very difficult to focus on. But using a simple device called a Bahtinov mask can simplify the task enormously.
To use a Bahtinov mask, simply place it over the front of your imaging telescope and then point the instrument your at a bright star near to the object that you’re intending to image.
The numerous cut-outs in the Bahtinov mask produce a very specific set of diffraction spikes, in the same way that the spider vanes of a Newtonian reflector cause a simple cross to appear on images of bright stars.

But instead of a simple cross, the mask produces an X-shaped cross bisected by a horizontal line.
Adjusting the telescope’s focus while taking a continuous series of short exposures of the bright star causes the cross to move in relation to the horizontal line.
When the line exactly bisects the cross, you have achieved perfect focus. If the star is in focus, any other deep-sky object will be too.
This is a fairly easy way to improve your astrophotography.
Make your own with our guide on how to make a Bahtinov mask.
Max out your telescope's mount

Without doubt, the most important piece of an astro imager’s kit is the telescope mount, and so if you improve your mount set-up, you'll find astrophotography much more rewarding.
The mount supports the weight of the rest of your imaging equipment and moves it with precision so that it tracks the apparent movement of the sky, which is crucial for crisp astro images.
It’s important that the mount’s payload capacity is not exceeded – the best tracking results are achieved with the mount operating at well under its rated capacity.
If you’re close to your mount’s payload capacity, then you probably need to upgrade to a larger mount.
But it’s not all about capacity. An upgraded mount could also introduce some valuable new features, such as periodic error correction (PEC).
PEC is a process in which the movements required to correct a mount’s periodic tracking errors are recorded over a single rotation of the tracking drive’s gears, then played back to automatically correct the errors in subsequent rotations.

By upgrading your mount you could take advantage of new drive technologies, for instance drive belts that eliminate any manufacturing defects in the gear meshing of conventional geared mounts.
You could also consider friction drives, which have no gears or belts but rely on the contact of a driven spindle against a metal disc.
This removes all backlash from the drive (that pause you sometimes get before the mount responds to a control input), ensuring very small periodic errors that are easy to correct with autoguiding.
Easier autoguiding means the mount moves more smoothly.
There are even direct-drive mounts that use neither belt nor friction but are driven directly by an electric motor that forms part of the right ascension axis.

All these upgrades can result in more accurate tracking, so stars in your images become sharper and better formed.
And if the stars are well formed, then the deep-sky objects will also have greater fidelity.
Upgrading could also allow you to dispense with your hand controller and operate the mount entirely from your computer.
Planetarium programs, with their graphical user interfaces, make choosing and acquiring new targets simple.
This type of mount operation is so much more enjoyable than having to plough through the menus on the hand controller to get to the object catalogues or mount functions that you want.
Switch to CCD cameras

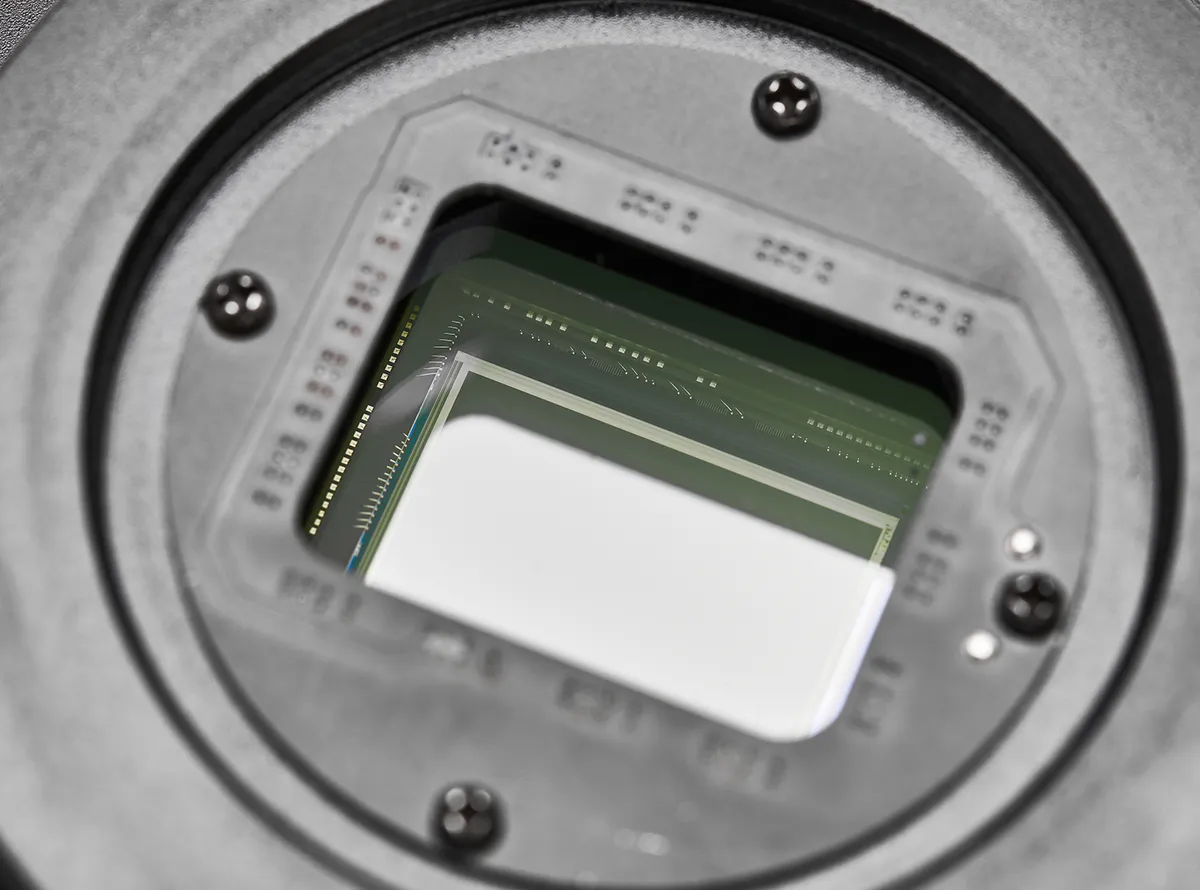
The sensors in CCD cameras have a grid of electronic photoreceptors.
Photons falling on these receptors are converted into electronic charges, which are then read by the camera.
More photons means more charges, meaning greater light levels.
Sensors with more receptors are able to record the varying light levels that fall on them and record these for processing into an image.
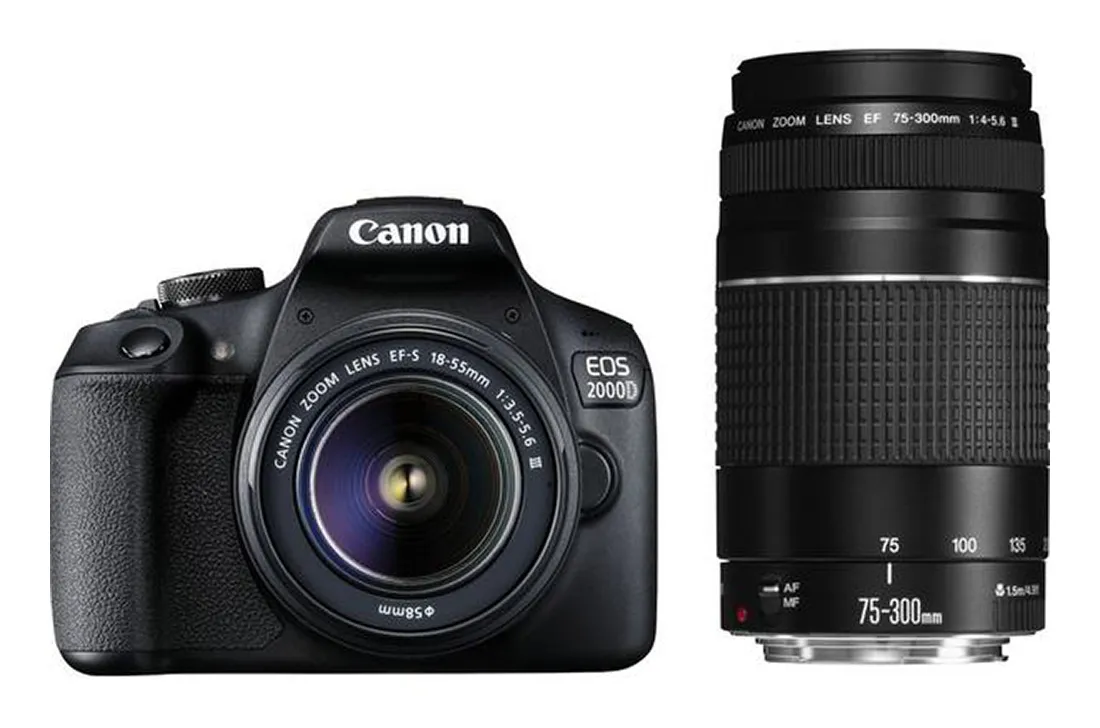
DSLR cameras use large sensors (typically APS-C type, 22.2 x 14.8mm in size) and because of economies of scale in their production, they’re great value for money, hence they’re a popular choice for deep-sky imaging.
But the sensors in DSLR cameras are very sensitive to infrared wavelengths of light, so manufacturers fit an infrared blocking filter to tame this, as it’s rarely wanted by photographers.

Unfortunately, these filters cut out some of the light wavelengths that are of interest to deep-sky imagers.
Another problem with DSLRs is that all sensors generate heat in operation, and this heat produces ‘noise’ in the images.
This noise isn’t really noticeable in the short exposures (typically 1/60th of a second to 1/2,000th of a second) that DSLR cameras are designed for, but it becomes intrusive in the long exposures (five minutes or more) required for deep-sky imaging.
Astronomical CCD cameras address these issues and improve what you can achieve in astrophotography.
They’re supplied without an infrared blocking filter, so they’re capable of recording a much wider range of wavelengths.
Infrared is still unwanted for most deep-sky imaging purposes, however, so an external filter tailored for astronomy is used instead.
Astronomical CCD cameras also have a device called a Peltier cooler installed behind the sensor.
This is a thermoelectric heat exchanger that typically cools the sensor down to 25-30°C below the ambient temperature, reducing sensor noise and making this type of camera ideal for long exposures.
Invest in narrowband filters

There are two ways of capturing colour images with modern cameras.
The first is to use a one-shot-colour CCD or DSLR to capture a full-colour image in a single shot.
The other involves a monochrome CCD camera, but this requires a different approach.
With a monochrome CCD you capture three sets of images through red, green and blue (RGB) coloured filters, then combine them afterwards into an RGB colour image using processing software.
The main advantage of a mono CCD camera is that you can also image through a range of other types of filters to capture all sorts of extra detail.
Standard RGB filters are known as ‘broadband’ filters but there are also various ‘narrowband’ filters available, the most popular being hydrogen-alpha (Ha), oxygen III (OIII) and sulphur II (SII).
These filters let through a narrow band of wavelengths corresponding to the light emitted by objects such as star-forming nebulae and planetary nebulae.
By combining images taken through narrowband filters, you can produce beautiful false-colour images containing exquisite levels of detail.

Another side-effect of narrowband filters is that they filter out wavelengths associated with most artificial lighting, enabling you to capture high-quality, light pollution-free data.
The most common narrowband filter combination involves processing the final image so that the data captured through the SII filter goes into the red channel of an image, Ha to the green and OIII to the blue.
This process of ‘mapping’ the data to the colour channels produces the final full (false) colour image.
Another mapping that works well requires only two sets of narrowband image data: Ha and OIII.
By mapping Ha to the red channel and OIII to both the green and blue channels, very natural-looking colour images can be produced.
Optimise your optics

Good quality optics are needed if you want to avoid chromatic aberration, where coloured fringes appear around bright objects, and this is key if you want to improve what you can achieve in astrophotography.
This is the result of different wavelengths of light being focused at different distances from the objective lens of refractors.
Other issues include field curvature in refractors and coma in reflectors, both of which result in poorly shaped stars towards the edges of the field of view.
Modern ‘ED’ refractors use special low-dispersion glass elements to focus two wavelengths of light to the same point, avoiding chromatic aberration.
But the best results are achieved with a three-element apochromatic (apo) lens, which offers even better correction.

Bill Batchelor, Coquitlam, British Columbia, Canada, October-December 2023
Equipment: ZWO ASI2600MM Pro mono CMOS camera, William Optics FLT 98 triplet apo refractor, Celestron AVX mount (DSO detail); ZWO ASI1600MM Pro mono CMOS camera, Canon EF 200mm USM lens (wider field)
Typical high-quality apo refractors include the Astro-Physics Starfire EDF, William Optics FLT 98, Altair Wave Series 115 F7 ED Triplet and Sky-Watcher Esprit 150ED series.
Field curvature can be fixed with a field flattener, a device that fits between the camera and the telescope, but some refractors using a Petzval lens arrangement, such as the Takahashi FSQ-106ED or the PrimaLuce Lab AIRY APO 65F f/6.5 Apo Quad & Field Flattener, have field flattening built in.
Coma is a natural effect of using a parabolic mirror such as those found in the best reflectors, but it can be easily resolved by using a coma corrector.
Modify your DSLR camera

Although DSLR cameras can capture great deep-sky images, the lack of red sensitivity caused by their infrared filters will eventually become a limiting factor.
Fear not, these cameras can be modified and therefore improved for astrophotography.
Common modifications include removing the infrared filter completely or replacing it with a filter that passes the hydrogen-alpha wavelength but cuts the unwanted infrared wavelengths.
You can make either modification yourself, but there are risks involved as a complete strip-down of the camera is required, invalidating any warranty.
Various online resources explain the process in detail if you enjoy a challenge and accept the potential risks, which include destroying the camera.
Canon and Nikon used to produce suitably modified cameras – the 60Da (APS-C) and D810A (full frame) respectively – but these have been discontinued.
However, several companies will carry out conversion work on other DSLR cameras, including Astronomiser in the UK (who work exclusively with Canon cameras), Baader Planetarium in Germany, Astro Hutech in the US, PrimaLuce Lab in Italy and JTW in the Netherlands, who will also modify Nikon and Sony DSLRs.
What are your tips for anyone wanting to improve their imaging and take their astrophotography up a notch? Let us know by emailing contactus@skyatnightmagazine.com

