Photographing constellations can be frustrating because they don’t always come out as you’d expect.
Short exposures tend to catch just the brightest stars, but these can look very lost – like tiny dots on a black background.
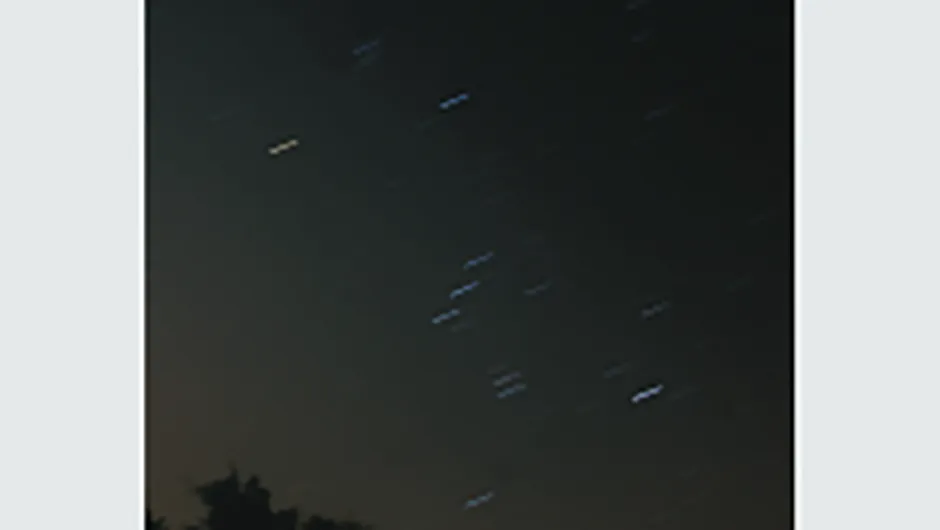
Extend the exposure time and you’ll either get lots of unrecognisable star trails.
Or, if you’re piggybacking your camera on the back of a motor-driven scope to eliminate the star trails, you’ll get a lot more stars than you wanted.
The brighter stars are then lost against a sea of fainter dots.
The mighty constellation of Orion is fairly immune to these problems.
It contains a good number of bright stars in a very distinctive pattern, which helps reinforce its presence on a photograph.
There are many different ways to grab an image of Orion.
The most basic method is to put your camera on a tripod – or wedge it somewhere where it can’t move – and open the shutter.
Digital cameras have different characteristics in terms of how they handle noise, so it’s worth experimenting with the settings.
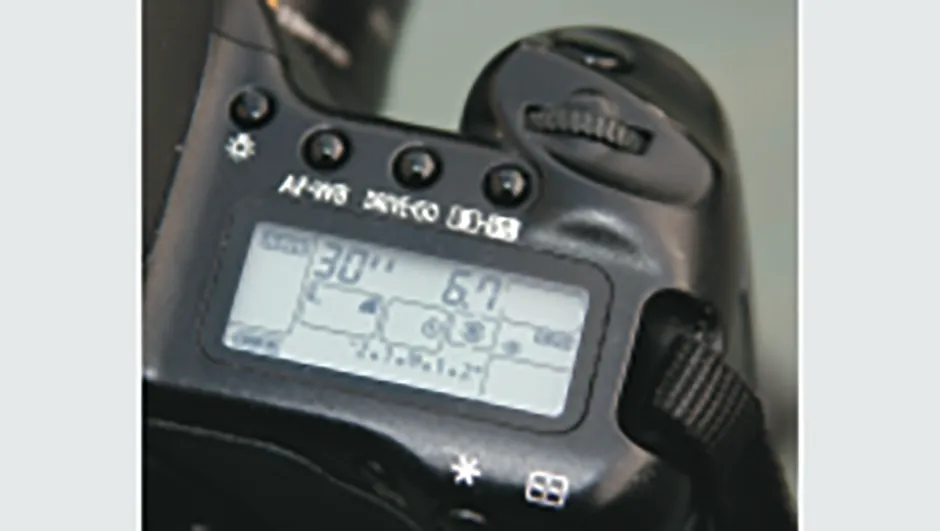
If you can adjust the sensitivity settings, known as ISO, set them high at first and go for an exposure of several seconds.
A few seconds of exposure at ISO400 will record the brightest stars in the constellation.
A good trick here is to emulate a long exposure by stacking together a number of shorter exposures.
Stacking reduces image noise and helps bring out fainter stars.
There are lots of programs that can do this, such as the freeware IRIS.
A camera fitted with a 28-35mm lens and mounted on the back of a motor-driven scope to eliminate star trails, is capable of producing a wonderful rendition of this constellation.
Experiment and take several shots at different settings, then judge which setting looks best on the computer screen.
Capture Orion using a tripod-mounted camera
Catch the mighty Hunter free of star trails and with prominent stars, by following these four steps with a DSLR camera mounted on a photographic mount.
Find focus
Focusing a camera on stars can be hard.
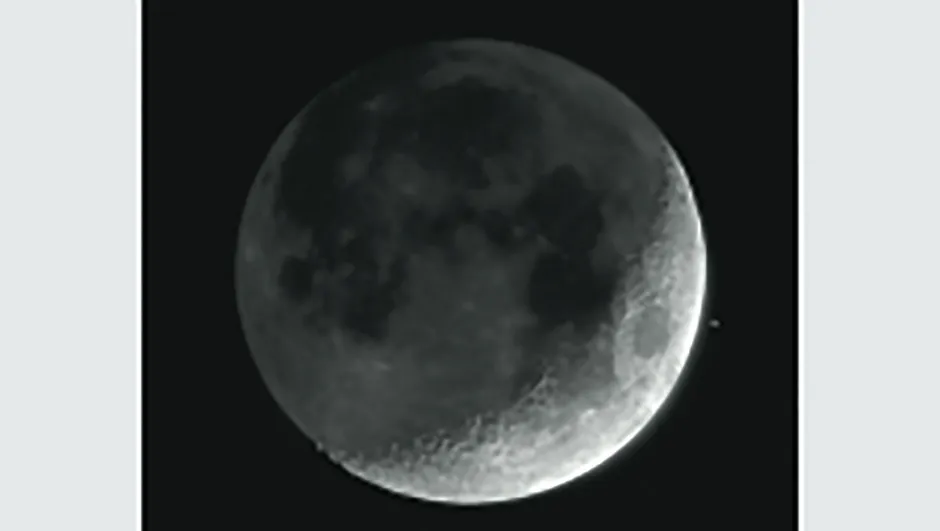
Pre-focus on something bright like the Moon first.

If you plan ahead, it's possible to catch the crescent Moon in the sky.
Use it to get focused, then wait for the Moon to set so the sky is very dark before moving onto Orion, although a thin crescent Moon won't interfere that much anyway.
If you auto-focus on the Moon, remember to turn the auto-focus off when you’re focused.
Take out the star trails

The rotation of the Earth will make Orion appear to move slowly from east to west.
The shorter the focal length of your camera lens, the longer the exposure you can get away with before you start getting star trails in your image.
The formula for working out how long you’ve got is Time (seconds) = 1000 / (fl x cosD) where fl = lens’s focal length (mm) and D = declination (degrees). Assume D is 0° for Orion.
Press the button

Once you've got everything set up and are happy with the picture composition, turn your camera’s shutter delay timer on.
That’s the function that allows you to press the button and run around in front of the camera so you can also be in the photo.
If you press the shutter button without the delay timer active, you’ll cause it to shake and the stars will come out as wiggles on the image.
Press the button and then move away from the camera.
Stacking and adjustments

You can combine lots of short exposures together with a stacking program.
This reduces image noise and improves the visibility of faint stars.
Images of stars from a static tripod need to be aligned and rotated slightly before they’re stacked – a program like IRIS can do this.
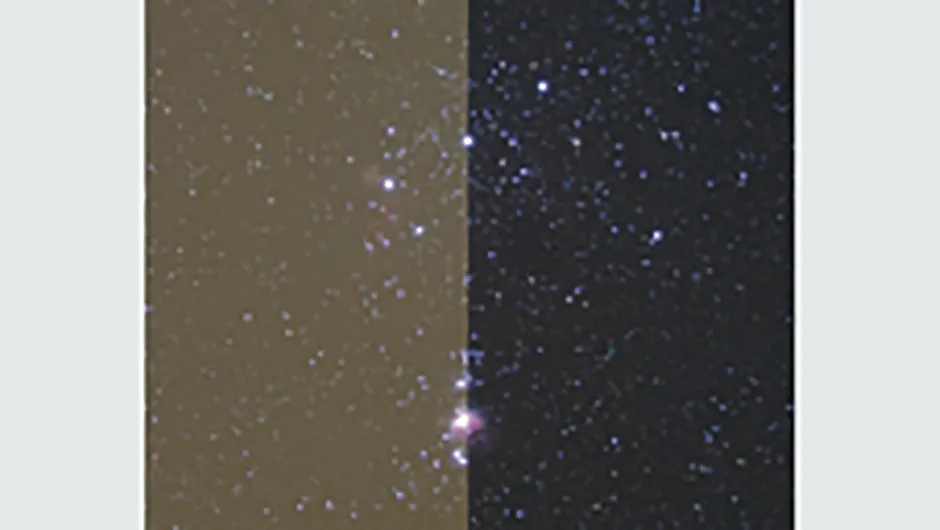
If your skies are badly light polluted, adjust the colour levels in a graphics editing program.
To get rid of that orange glow, slowly reduce the red channel and then the green, with a smaller tweak on the blue.
