Price: £249.00
Weight: 58g with 1.25-inch adaptor attached
Supplier: David Hinds
Telephone: 01525 852696
Website: www.celestron.uk.com
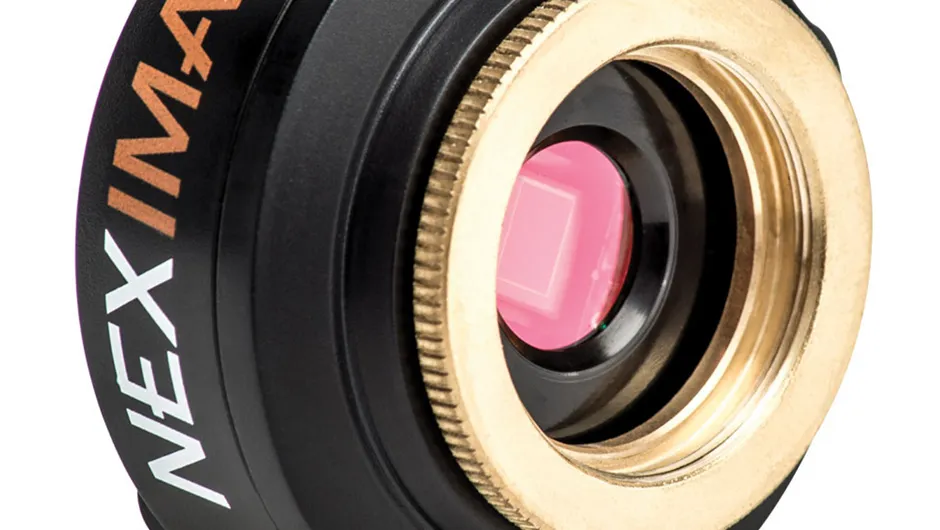
The Celestron NexImage 5 is a versatile entry-level planetary camera, capable of taking high-resolution colour video of the Moon and planets.
This video is then split into separate frames and the sharpest are stacked together for the final image.
Apart from a computer and a driven telescope, the camera has everything you need to image the Solar System for the first time.
With the supplied iCap2.2 camera control software installed on our computer and the camera connected via the USB cable, we were ready to get started.
Opening iCap for the first time presented a faint image on the preview screen.
We couldn’t access the exposure controls or see the recording toolbar that were shown in the manual until we turned on these controls via the menu.
With the image brightened and using the full chip area of 2,592x1,944, the camera gave nice smooth video images and when operating in full-colour mode it gave well rendered colours, especially with the ‘Enhance colours’ option ticked.
iCap is not the most elegant camera control program we’ve used.
The way you set the video output format is rather confusing and is not discussed in the manual.
We found the best video quality was given by recording in an uncompressed format, by first setting the codec value in the recording toolbar to ‘Unspecified’ and then setting the correct value in the device toolbar.
You can record in colour or monochrome by specifying ‘RGB32’ or ‘Y800’ here; it is also here that you can specify the chip area you want to use.
Note that Y800 mono video files are four times smaller than RGB32 colour ones, allowing faster frame rates, and that you can recreate the colour later using RegiStax.
Size matters
For planetary imaging it is best to use the smallest chip area that completely covers the planet: this reduces the video file size and potentially allowsthe fastest data transfer rates.
Using our short focal ratio 8.75-inch Newtonian reflector with a 2x Barlow lens, we successfully recorded a video of Saturn at a resolution of 640x480.
However, the frame rate was only 10 frames per second (fps) due to the long exposure times needed.
We then tried to record both Saturn and its largest moon Titan in the same frame, by using the full chip area and removing the Barlow.
To record Titan, however, we’d have needed exposure times longer than 0.25 seconds, even with the gain close to maximum, and at these longer exposures the background pixels start to pick up unwanted noise.
Our own Moon, being a much brighter target, allowed us to drop both the exposure time and the gain right down, so we were able to record a 640x480 video at the highest frame rate of 52fps.
When we selected the whole chip area we were able to record an area of the Moon 16 times larger than before with the same resolution.
However, the increased data load dropped the frame rate of the capture down to 6 fps, and we ended up with a 1,000-frame Y800 file that was nearly 5GB in size, while the corresponding RGB32 colour file was a whopping 20GB.

End results
We processed the videos in RegiStax 6 and were able to produce some nicely detailed final images, especially considering the low altitude of both Saturn and the gibbous Moon.
Our shots of Saturn showed the Cassini Division and several belts on its disc, while those of the Moon showed a wealth of craters and other details.
The images nicely illustrate the versatility of this new camera.
It enables you to pick your imaging area to match your intended target, and get high resolution over areas large and small.
