Finding the Sun during the day might not sound like the most demanding task, but precise telescope alignment can prove surprisingly tricky and it’s essential to use a method that doesn’t mean you have to look at the Sun with unprotected eyes.
The SolarQuest mount performs the task automatically.
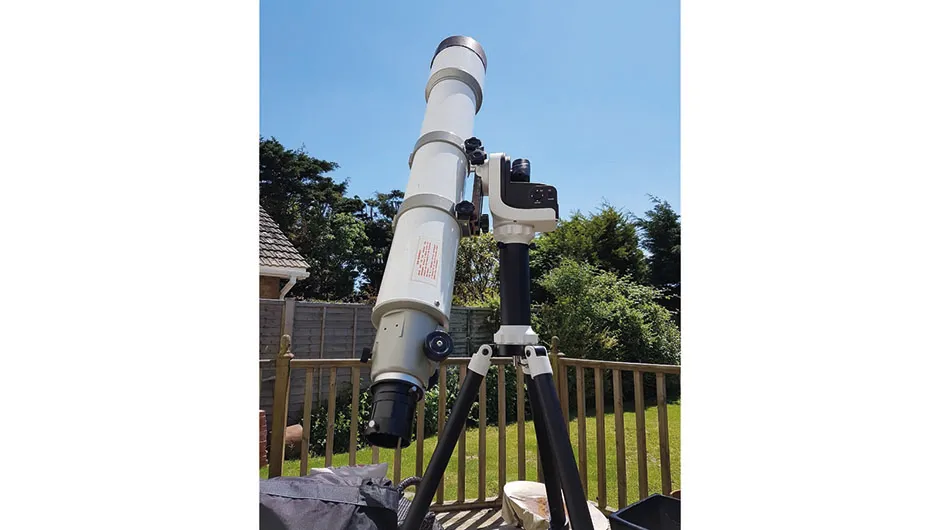
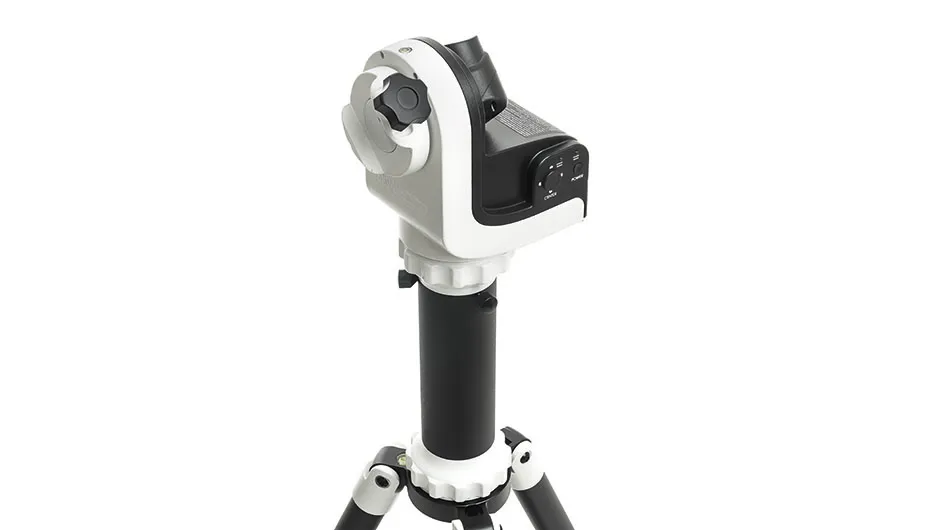
The mount includes a stable, lightweight tripod and an L-shaped solar tracking mount head.
It’s powered by eight AA batteries but these can be swapped for an external power supply adaptor if required (although we were unable to test this out as the adaptor was not available at the time of review).
A power button and an eight-way slider switch provide the remaining controls.
Want to observe a solar eclipse? Find out when the next eclipse is taking place.

Sun seeker
The supplied tripod has a 220mm extension pier that allows long instruments to swing round without hitting the tripod legs.The tripod and mount head also have built-in spirit levels for levelling.
Once you’ve attached your solar telescope, all that remains to be done is to turn the mount on.After a short delay, the mount acquires a GPS positional fix, the date, the time and the position of the Sun.
The mount then moves the scope so that it points directly at the Sun.A solar sensor helps refine and maintain position.

From pressing the power button to getting the Sun in view takes around 60 to 90 seconds on a clear day.The first time you use your own telescope, a one-time calibration is required.
This requires you to power off, press the eight-position switch to the upper-left position, power on and finally power off again.The initial pointing accuracy may be off slightly but is easily corrected using the eight-way slider.
Once done, the correction can be stored by simply double-pressing the power button.This technique can also be used to move between areas of interest on the Sun’s disc.
It’s worth noting that a mount purchased with a Sky-Watcher solar telescope is normally pre-calibrated at the factory.The SolarQuest is elegant in its simplicity and works like a dream.
For one of our review tests we fitted a small, white light-filtered telescope onto the mount head, powered the SolarQuest mount and waited for it to point at the Sun.

Accuracy issue for large scopes
When using larger and heavier scopes with naturally longer focal lengths, we found that long tracking periods could introduce a small drift in position.
This may be down to incorrect altitude scope balance but as the altitude axis is not free running on this mount, it’s difficult to get this totally accurate.
For a typical solar observing session, it wouldn’t be too much of an issue.
The SolarQuest is an altaz mount and doesn’t naturally mirror the true equatorial motion of objects as they appear to move across the sky.
The on-board computer emulates equatorial motion extremely well but can’t overcome the issue of field rotation.
This effect will cause the Sun’s disc to rotate with respect to the eyepiece or camera frame over time and will make orientating your view of the Sun that little bit trickier.

Outstanding feature: Convenience and accuracy
We were very impressed with the SolarQuest mount.It’s so simple to use and performed very accurately in our trials.
It alleviates the need to polar align during the day, something which can’t be done with precision unless you have a permanent set-up.
In this respect it suits casual solar observing well but really excels for things like public events where there are typically a lot of eager viewers wanting to take a peek at the Sun.
Eliminating the need for constant repositioning, the SolarQuest makes setting up for such events a breeze.
Most personal solar observing sessions last less than an hour and we found that the unit would hold a very accurate position for far longer than this.
Exceptions may occur if, for example, you were using an H-alpha telescope and monitoring for flare activity.
This would normally be done by setting up the telescope and watching for increases in X-ray output from sources such as the GOES X-ray satellite.
Here, the ability to have a quick and simple mount tracking accurately for extended periods would be incredibly useful.
Mount coupling
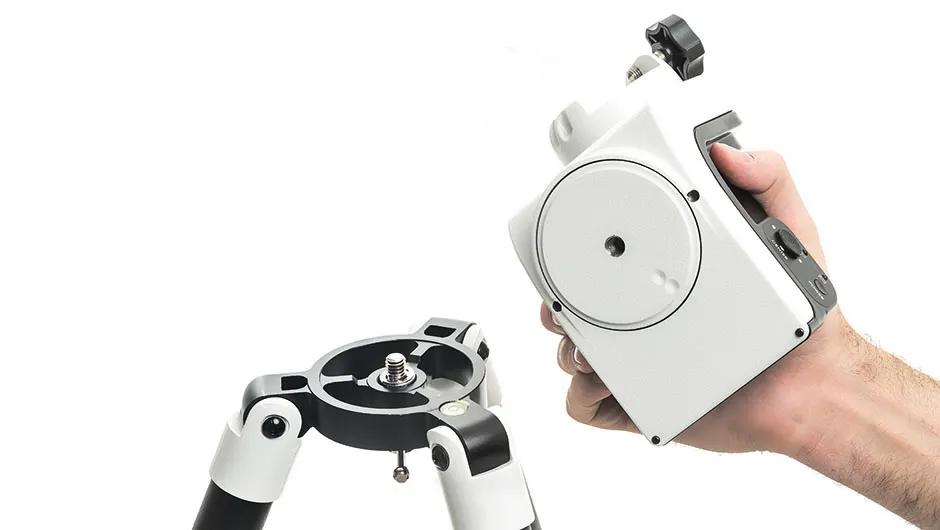
The top of the SolarQuest’s tripod has a standard male 3/8-inch tripod screw, which is designed to couple with a female thread on the base of the SolarQuest mount.
Of course, this also means that you’re free to attach the SolarQuest to your own tripod should you want to.
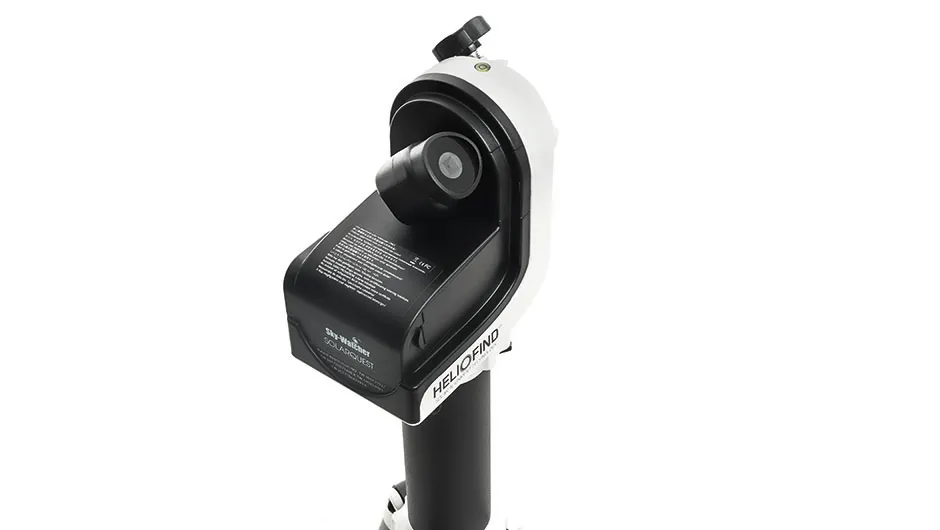
Sun sensor
The mount head relies on a GPS signal to obtain its position and time fix.
Once this has been done the internal computer can work out where to point the head to get the Sun in view.
A solar sensor is used to confirm and maintain an accurate position.
Clouds inevitably reduce the mount’s pointing accuracy.
Tripod
The SolarQuest mount ships with a sturdy and lightweight tripod.
Fully extended it is 1.1m in height, but this can be further extended by a 220mm extension pier.
An accessory tray clips into position, which also provides additional stability to the tripod.
The legs extend via rotating collar locks allowing the tripod to be deployed quite rapidly.
Dovetail
The solar telescope is attached to the side of the mount via a Synta/Vixen-style dovetail clamp.
As long as the telescope is kept under the 5kg load capacity of the mount, the clamp’s single locking knob will hold its payload with enough rigidity to avoid any unwanted motion in the telescope’s position.
Control panel
The SolarQuest has two controls; a power button and an eight-position switch.
The switch is used for pointing corrections, calibration and factory reset operations.
Changes to settings can be saved using a double-press of the power button.
Two status lights indicate the power and tracker status of the mount.
This review originally appeared in the August 2018 issue of BBC Sky at Night Magazine
