Whether it’s a noctilucent cloud display, a constellation or an ice halo, being able to estimate how much sky an astronomical object covers and its apparent distance from, for example, the Sun or Moon is an essential skill.
Beginners can find this challenging, and the difficulty is compounded by the fact that when objects are close to the horizon our brain perceives them as looking larger than when they are higher in the sky.
If you have ever watched a full Moon rising or setting, you will be familiar with this phenomenon.
A well-known technique for measuring the sky involves stretching your arm out fully and using your hand in different positions.
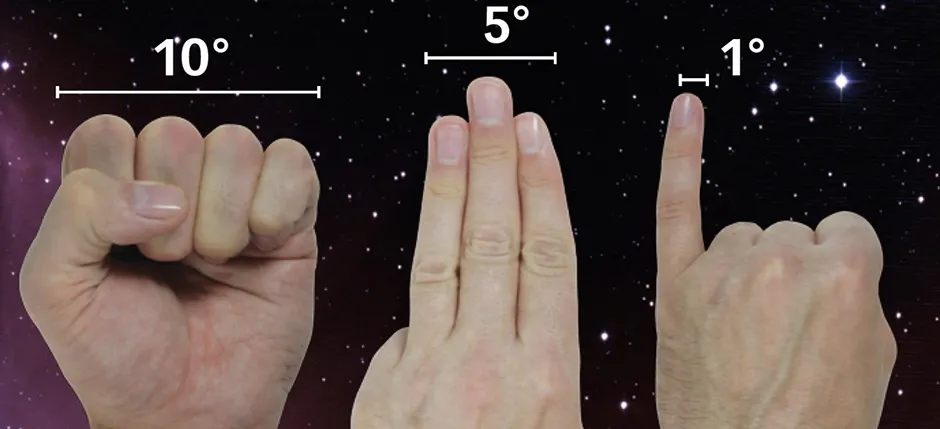
This works because the length of your arm is in proportion with the size of your hand. However, there are problems with this method.
It isn’t clear just how much you’re supposed to stretch your hand, and some people have more flexible joints or proportionally larger hands than others.
This can translate to a significant difference in measurement.
It also relies on remembering how many degrees of sky each hand position represents.
In this project, we show you how to make a device from simple household items to measure the sky more consistently than with the hand method.
These items are a fixed size and the device is held at a fixed distance from the eye, so it can easily be used by people of all ages and heights.
While it’s not going to give you arcminute accuracy, it will give consistent results if used correctly.
And because each stick is labelled, there is no need to memorise anything.
Creating your units of measurement
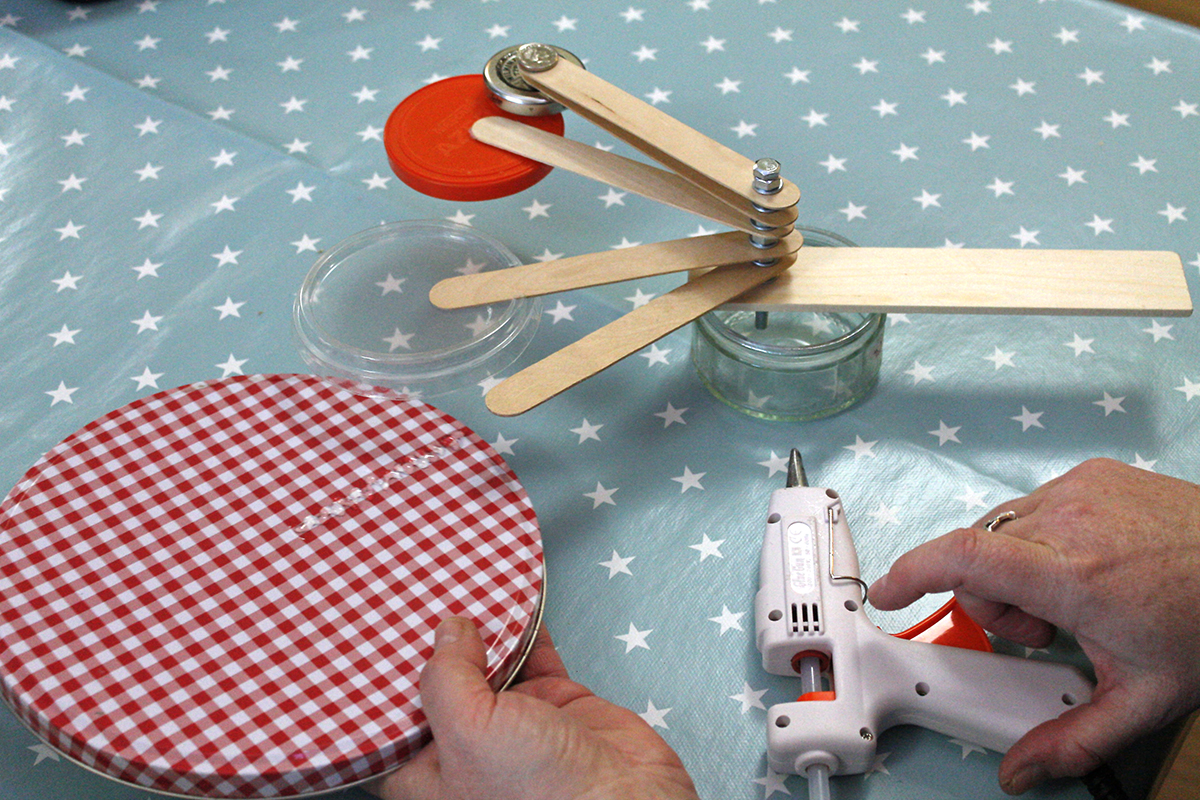
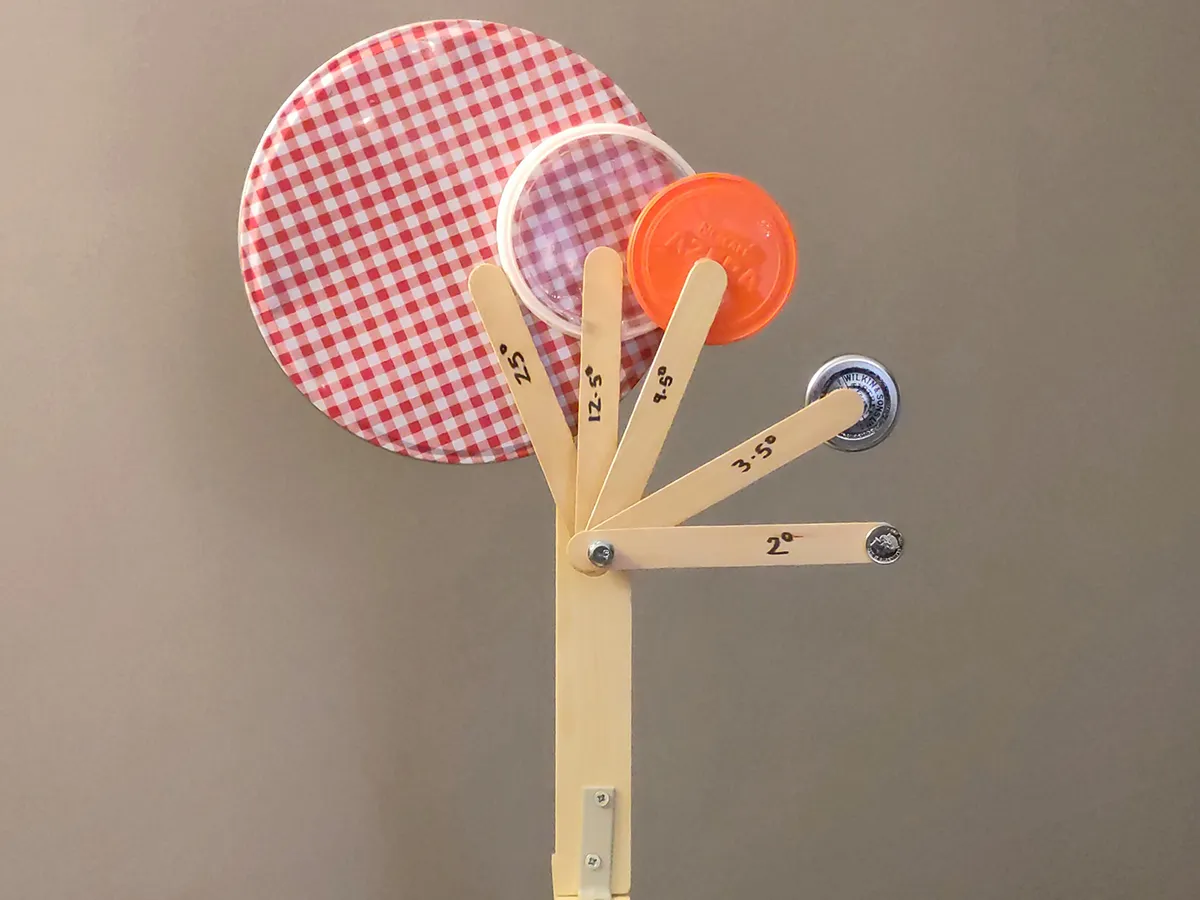
We have used a coin and a selection of lids from commonly used containers around the house.
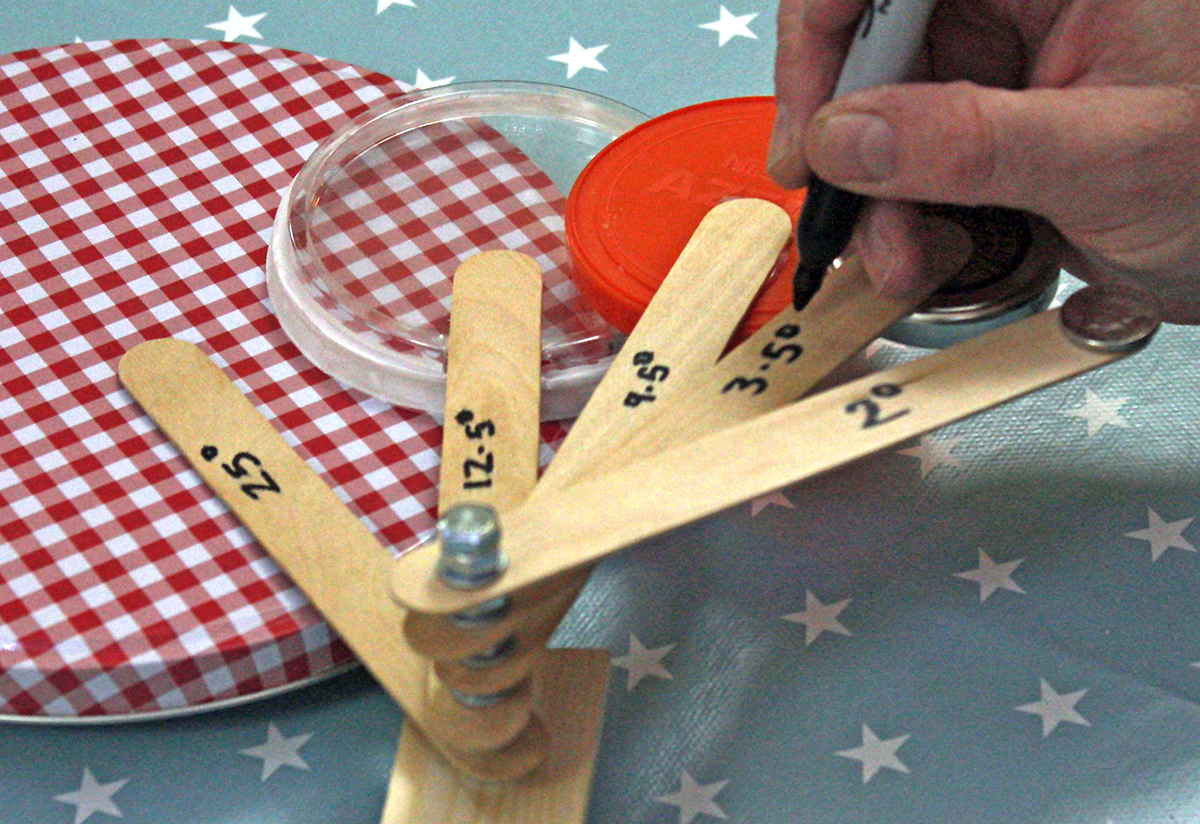
With the scale we used, 0.8cm equates to 1° of sky, so the 5p coin covers 2°, the 4.5cm lid covers 3.5°, the 7.5cm coffee lid 9.5°, 10cm yoghurt lid 12.5° and the 20cm biscuit tin lid 25°.
You can use any objects that you have around, but make sure that they fit in the spaces between the craft sticks.
How to use your sky-measuring device
To calculate how many degrees of sky your own objects cover, measure (in centimetres) the diameter, or the width if it’s square, then divide it by 0.8.
When using the device, stand or sit upright and try to keep your shoulders straight.
Place the handle against the front of one shoulder and support the weight with your hand (see the inset picture, top left).
Closing one eye, line the other eye up with the selected disc and the target to be measured – the Hyades, for example, measures 4º from Aldebaran on one side to Gamma Tauri on the other.
Note the discs we used are circular, so make sure you are measuring the width across the widest part of the disc.
Tools and materials
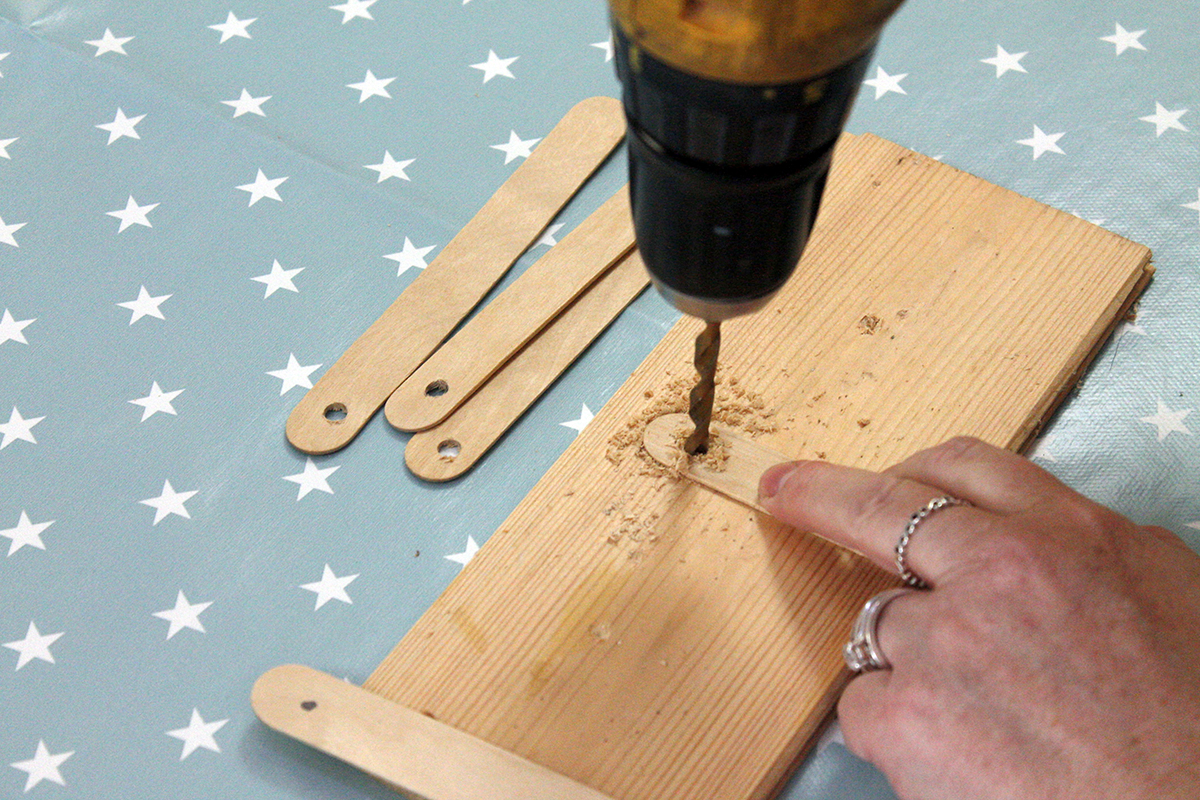
- Five wooden craft sticks. Ours measured 2cm x 15cm x 0.2cm
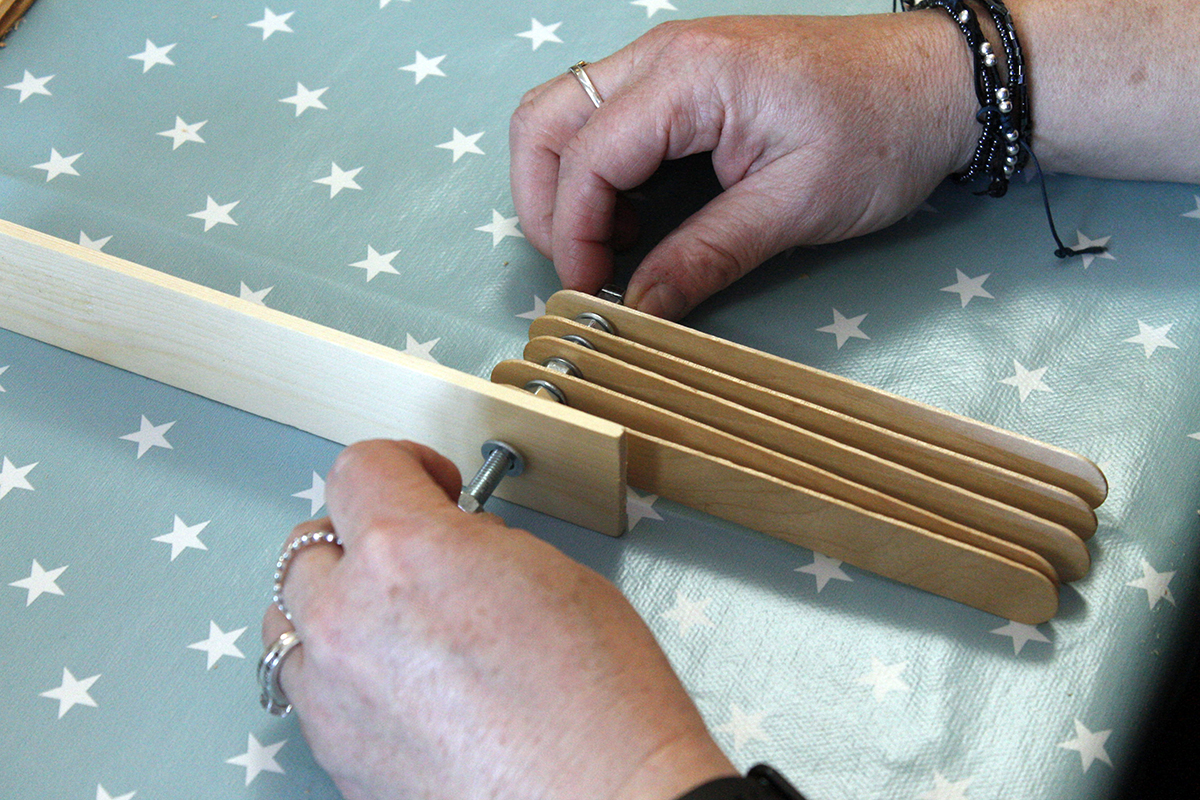
- A strip of wood 80cm x 3.5cm x 0.5cm, cut into two lengths: one 60cm long and the other 20cm long
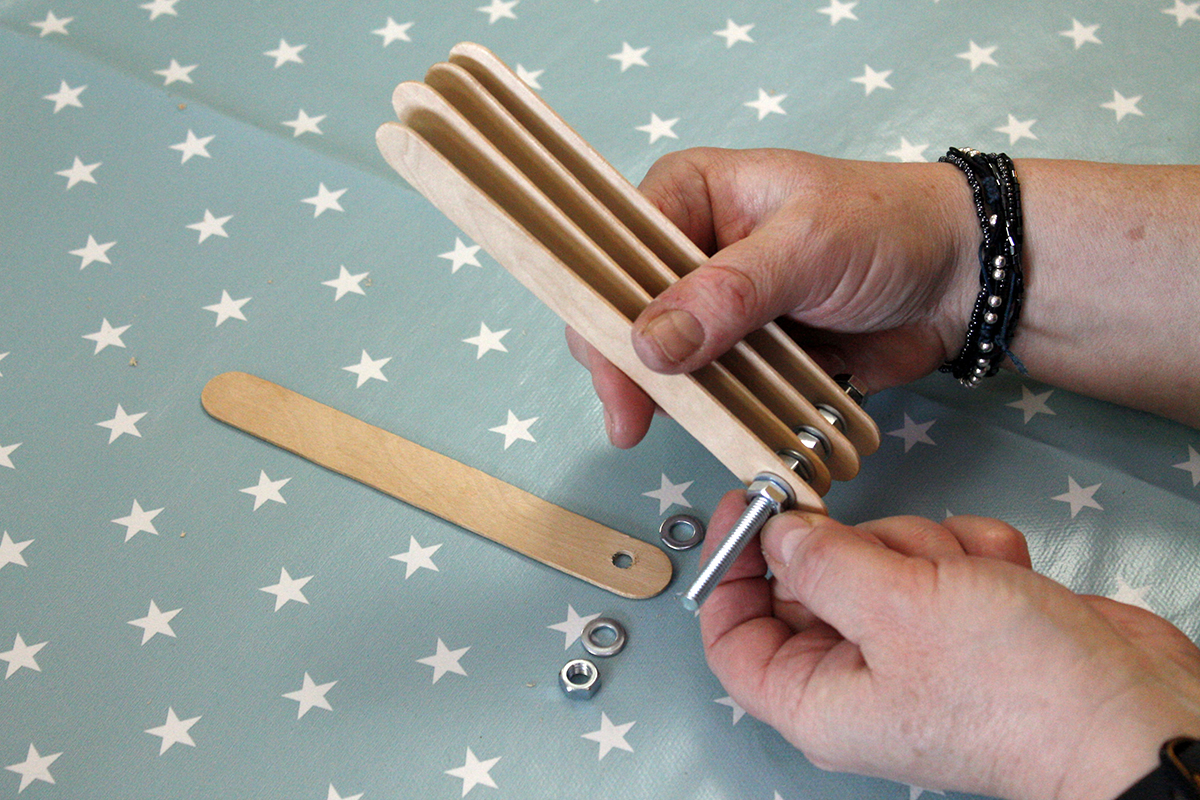
- A bolt 8cm long x 8mm diameter, with eight corresponding nuts and 12 washers
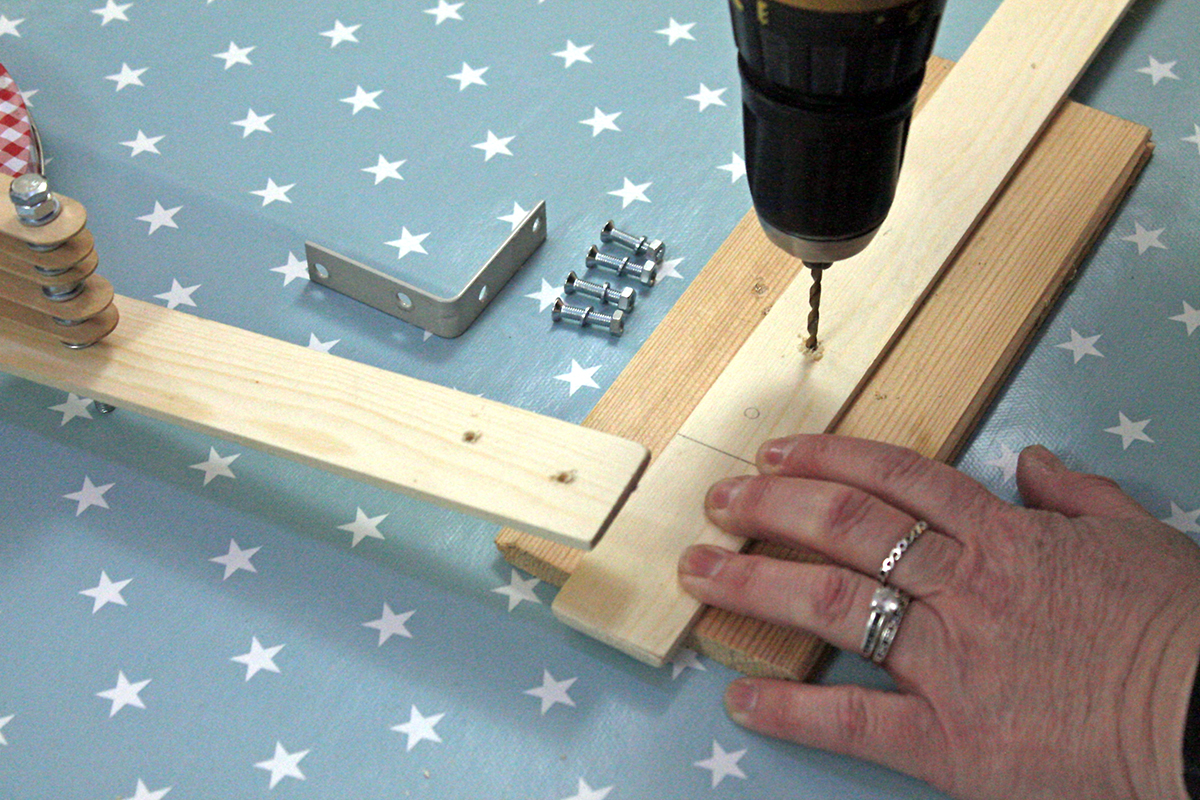
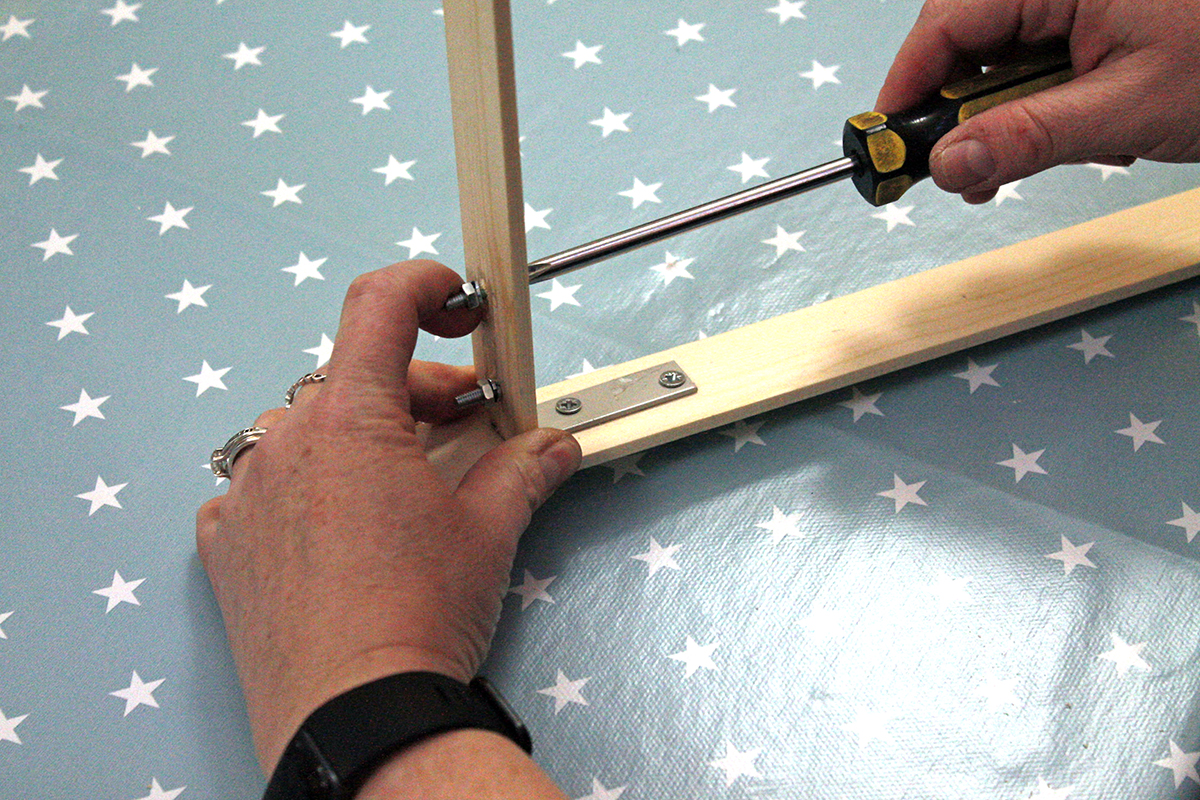
- Four bolts 2cm long x 6mm diameter, with four corresponding nuts and washers
- An L-shaped bracket. Ours measured 5cm x 5cm and had pre-drilled 8mm diameter holes
- A selection of different-sized round or square flat objects. We used a 5p coin and lids from a 4.5cm jam jar, 7.5cm coffee tin, 10cm yogurt pot and a 20cm biscuit tin
