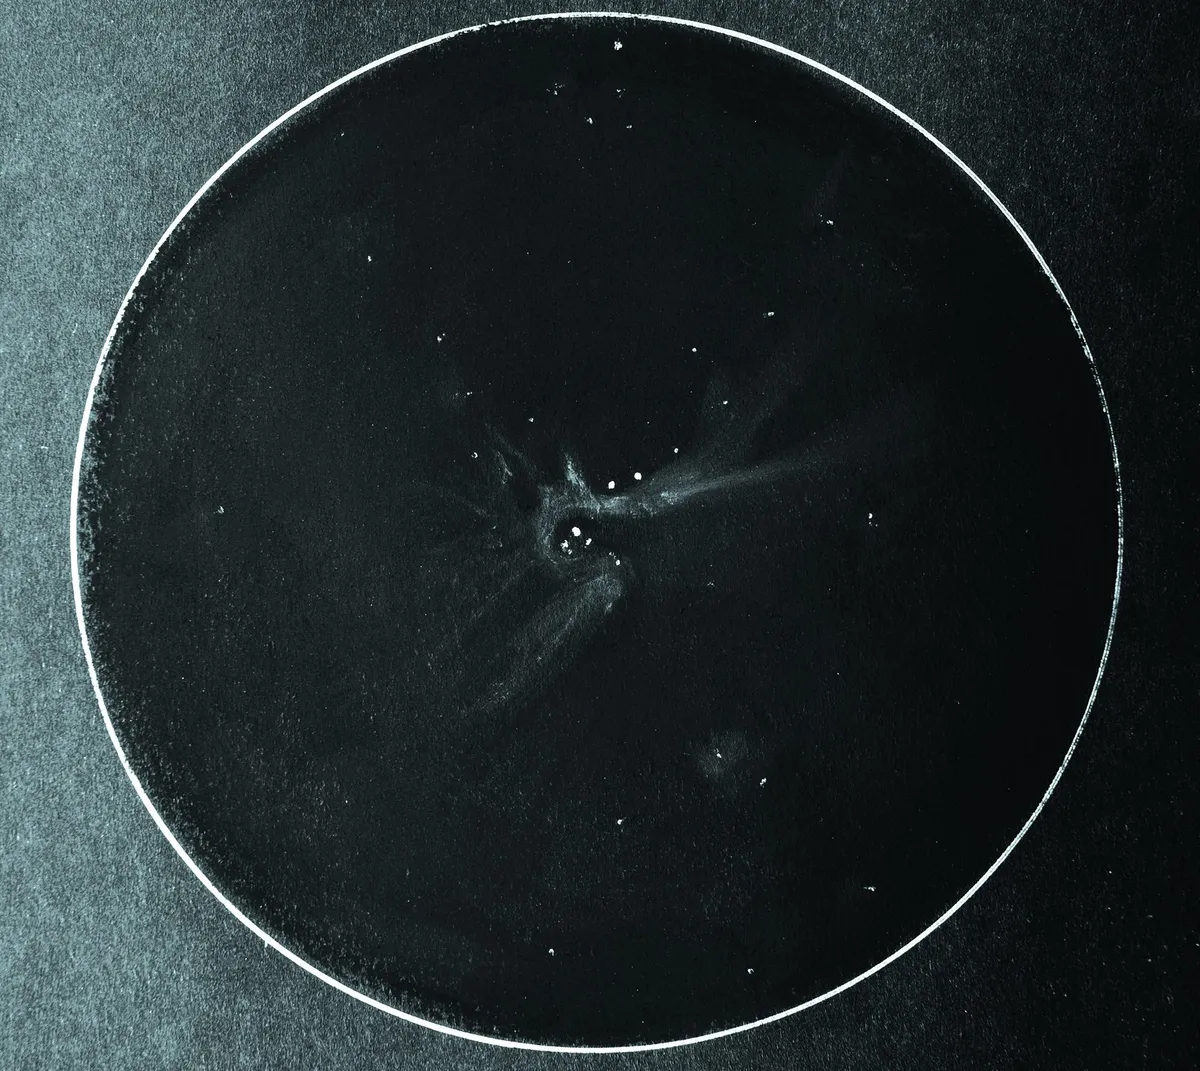
Nebulae are fantastic objects to sketch, and not just for the enjoyment of the finished article. One of the exciting things about sketching M42, the Orion Nebula, in particular is that you’re observing a nursery for unborn stars and planets.
Start by observing the positions of the stars in the field of view, using the triangles their locations form as a reference.
I used a white gel pen to place a bright star just inside the top of my sketching circle, then added the dim stars near the bottom.
The longer you hold the gel pen against the card the brighter the stars you’ll make.
If your telescope doesn’t have a drive then you’ll have to continuously realign your field of view, and starting your sketch this way helps you find your way back to the star field to continue drawing.
When most of the stars are placed, turn to the nebula. Adding the stars is all about accurate placement; the nebula, on the other hand, is about structure and tone.
Start by rubbing some grey, white and black pastel onto the edge of the page, as this will enable you to pick up pastel on a cotton bud and adjust the tone as needed.
Observe the shape of the nebula, paying particular attention to differences in its structure and the areas of brightness as it wraps around the Trapezium Cluster.
Add a little white pastel over the grey and blend them together to show this light. Note the sweeping arcs of gas and dust and any darker areas.
Use a cotton bud to spread the shape of the nebula around the Trapezium Cluster. Any errors can be adjusted with a cotton bud.Edges can be sharpened using a small tortillion or, if you don’t have one, a toothpick or cocktail stick.
Don’t overdo either the nebula’s angular structure or its sweeping curves; only draw what you see.
Some stars are visible within the nebula and these can be added after you have finished sketching it.
In daylight you can tidy up any stars by hand or with Photoshop to complete the drawing.
Include the date, time in UT, instrument, eyepiece, magnification and sky conditions on your page.
Sketching a nebula: step-by-step
- NameM42; The Orion Nebula
- Type of objectDiffuse nebula
- RA05h 36m
- Dec.−05° 26′ 26.1”
- Mag.+4.0
Observing equipment: Binoculars on a tripod or a telescope of any size. I used an 8-inch Dobsonian with a Meade Plössl 20mm eyepiece, giving a magnification of 60x.
Sketching equipment: Clipboard; black A4 160 gsm card; soft pastels; white gel pen; cotton bud; small paper tortillion; red headlight for dark adaption.
1
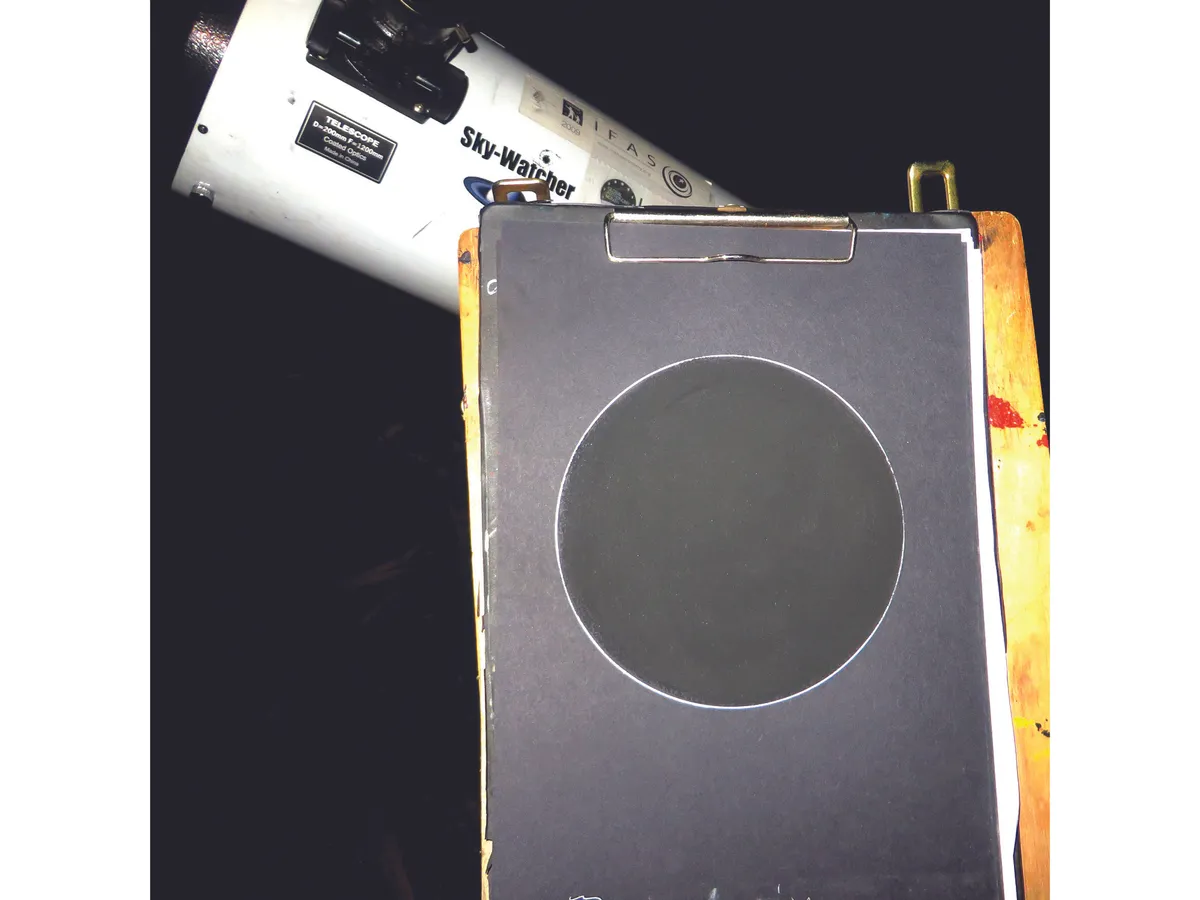
Create a sketching circle to match your field of view by drawing a white circle on black card using a CD and a white gel pen. Rub black pastel into the circle with your finger to make it perfectly dark.
2
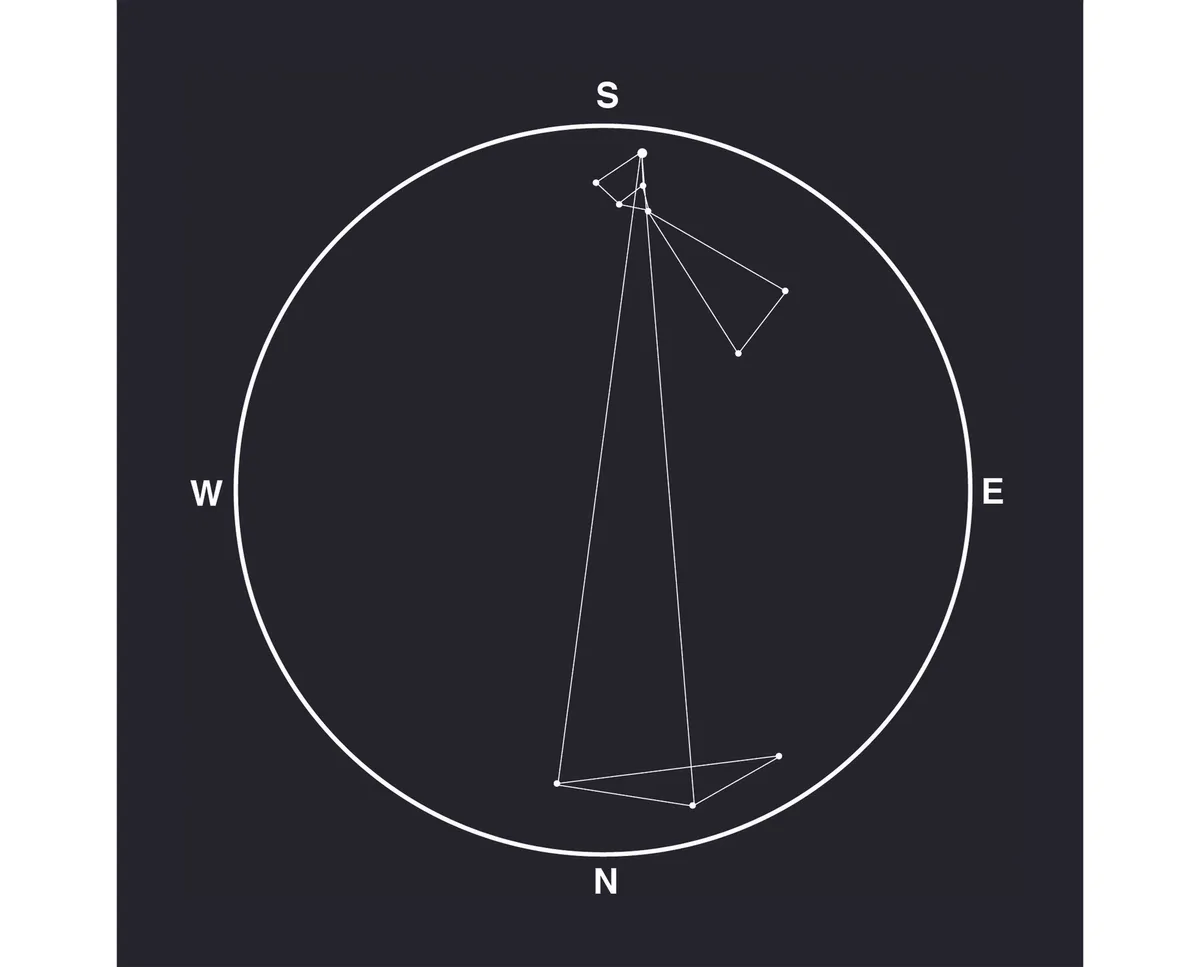
Observe the triangles formed by the positions of stars. Place a significant star at the top of the field of view and some near the bottom. Your anchor stars may be different to these depending on the power of your eyepiece.
3
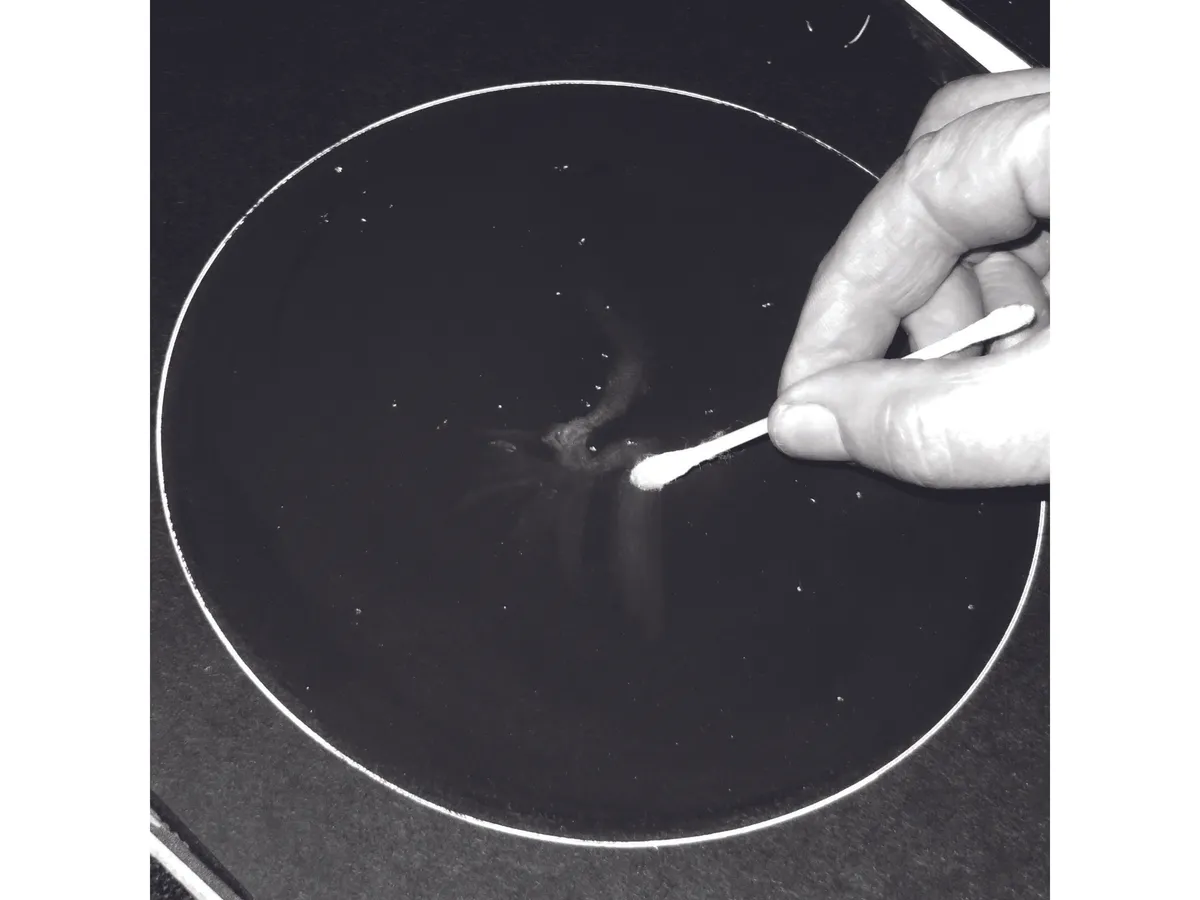
Use a cotton bud loaded with a little grey pastel to spread the nebula around the Trapezium Cluster and create the magnificent shape of the molecular cloud. Add darker or lighter pastel over this if necessary using new cotton buds.
Deirdre Kelleghan is an artist, astronomer and co-author of Sketching the Moon: An Astronomical Artist’s Guide. This article originally appeared in the April 2016 issue of BBC Sky at Night Magazine.
