Have you ever been observing the night sky through your telescope and wondered whether you could photograph what you see with your smartphone camera?
In this guide we'll look at smartphone telescope astrophotography and reveal some of the best ways to achieve this, plus the best targets to aim for.
First, let's look at the logistics of using a smartphone-telescope combo to photograph the night sky.
Find out more in our guide to smartphone astrophotography
Pointing your smartphone through your telescope eyepiece
Afocal imaging

One of the simplest ways to do smartphone astrophotography through a telescope is to use the afocal technique, where a picture is taken while the camera is held up to the eyepiece.
Improvements in mobile phone camera technology and apps that allow manual camera settings mean that it’s now possible for phones to capture really good astro photos at the eyepiece.
The advantage of the afocal technique is that it can be done with any telescope used for visual observing.

You don’t need to remove the eyepiece to take a photo, so it’s very easy to switch between visual observing and imaging.
The camera’s zoom function also allows you to digitally increase the magnification through the same eyepiece.
Although you can manually hold the phone up to the eyepiece, trying to keep the camera lens perfectly lined up with the light cone of the eyepiece while also adjusting the telescope/focuser and navigating the camera settings is much more difficult than it sounds!
Smartphone adaptor
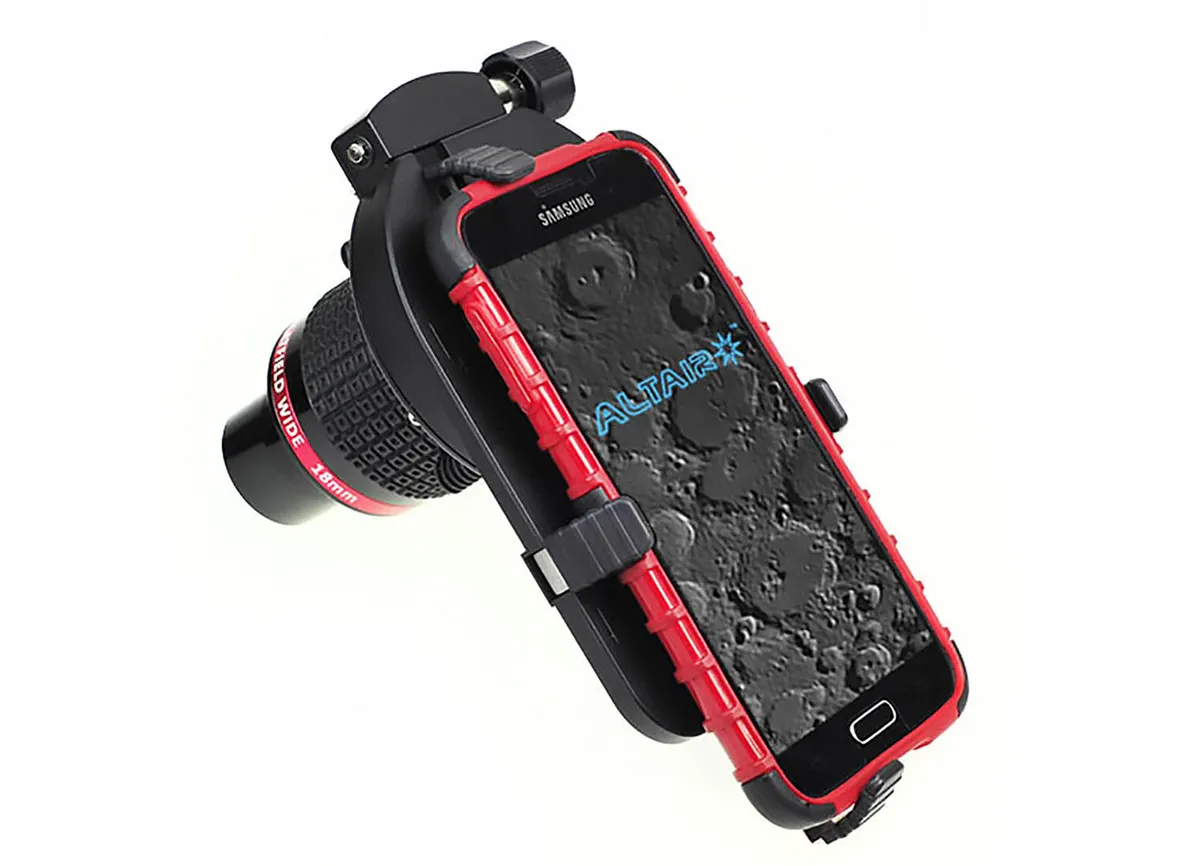
The easiest solution to lining up your smartphone's camera with your telecope eyepiece is to buy a smartphone telescope adaptor.
This clips on around the telescope eyepiece and holds the phone firmly in the correct position, leaving your hands free to concentrate on adjusting the focus and camera settings.
There are many smartphone telescope adaptors available that will keep the camera lens perfectly lined up with the eyepiece.
When choosing one, check that it will fit the eyepiece you’re using, as not all adaptors expand far enough to fit around eyepieces larger than 1.25 inches in diameter.
When you first set up the adaptor for your phone, make sure you’re lined up with the correct lens, because most modern phones have multiple camera lenses and may suddenly switch between them as you zoom in and out.
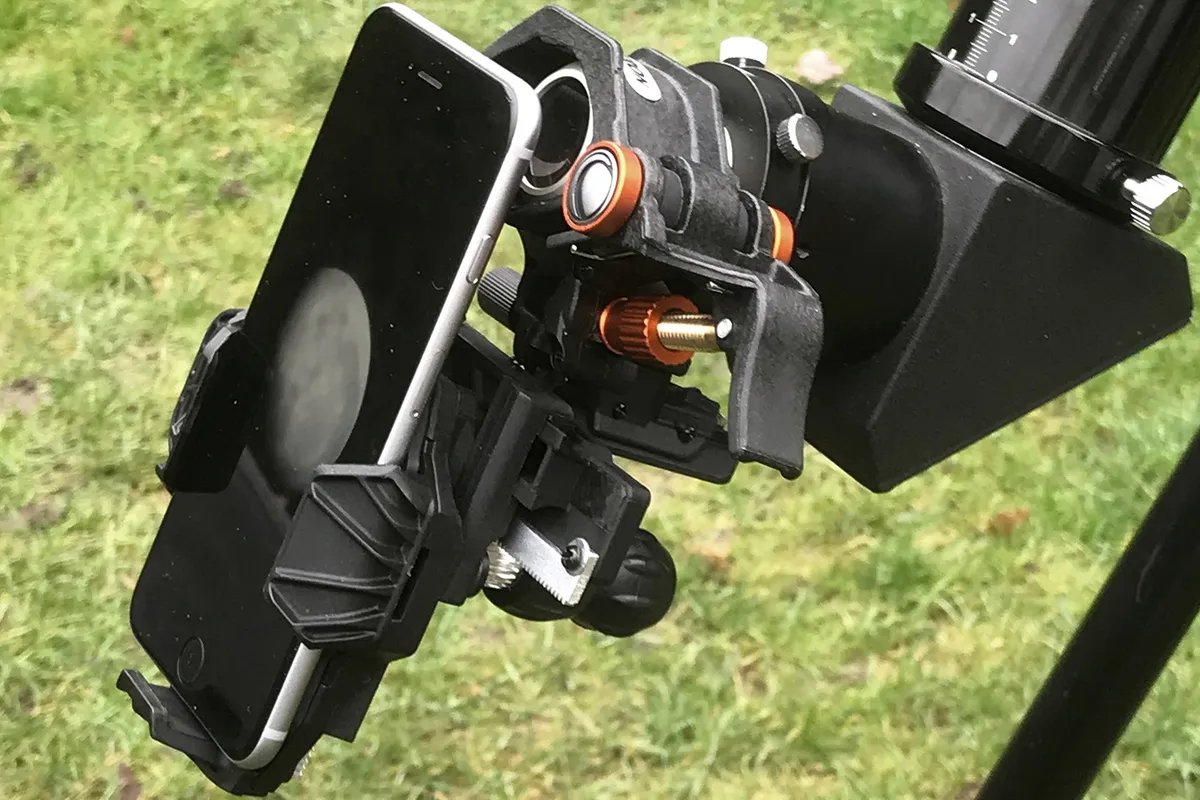
Photographing with your smartphone-telescope combo
Once your smartphone is attached to your telescope eyepiece, the most important step is gaining manual control of the camera so you can do real astrophotography
You need to be able to focus the telescope and not have the phone constantly auto-adjusting focus, exposure and ISO.
In low light, the camera will probably get the focus wrong and either over- or underexpose images to cope with the dynamic range.
Fortunately, native camera apps often have additional controls hidden in the ‘Pro’ menus that allow you to manually adjust focus, exposure and ISO settings.
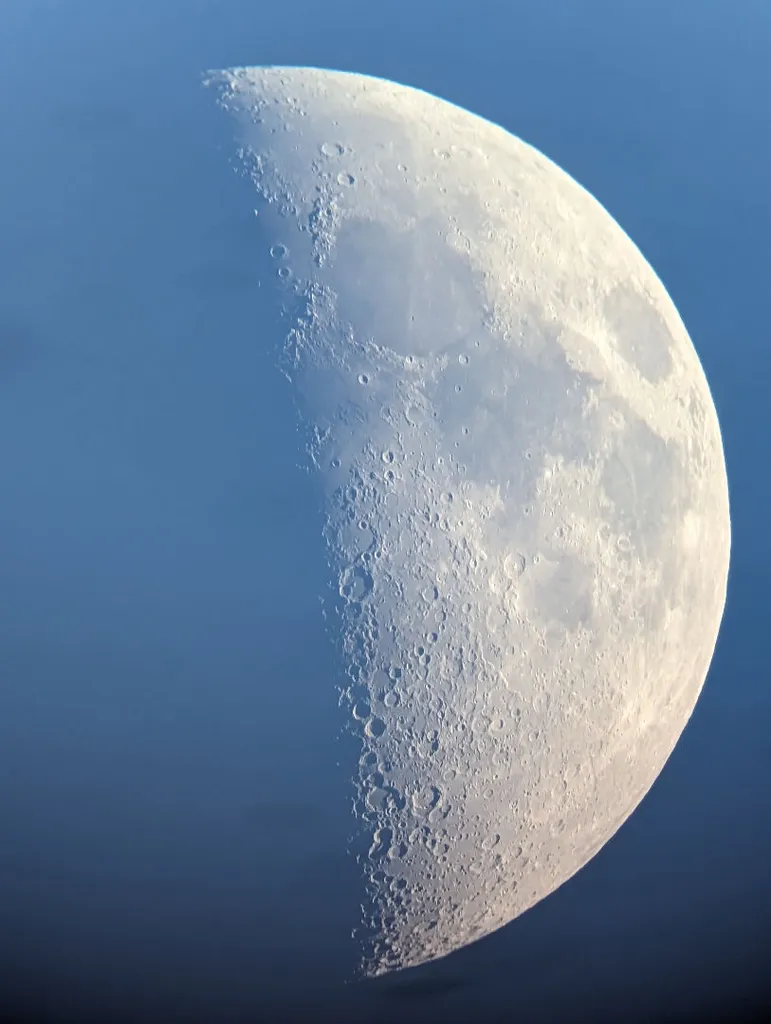
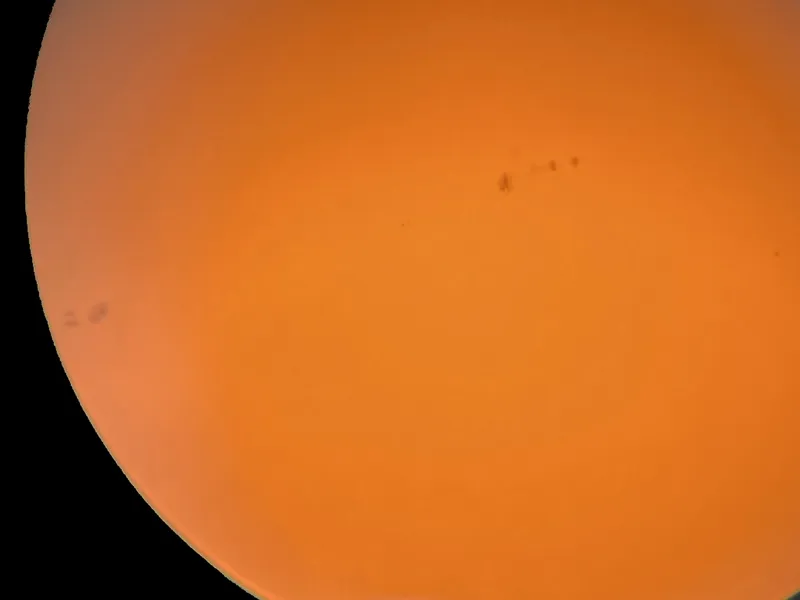
Shorter exposures work well on bright objects like the brighter planets, the Moon and the Sun (with the addition of a solar filter or Herschel solar wedge) and so these targets are a good place to start when finding your way around the camera settings.
You can then try more challenging, fainter deep-sky objects which may require longer exposures than the native camera app can provide.

There's an app for that
If the camera is compatible, apps like NightCap or AstroShader (iPhone) and Open Camera or DeepSkyCamera Beta (Android) will allow longer exposures and better settings control, and they can capture at the highest resolution.
Some apps provide live stacking, others can capture a sequence of images, darks and flats which you can manually stack to improve results for fainter objects.
Remember that your maximum exposure time is governed by whether or not your telescope mount is static or tracking.
Deep-sky objects often don’t show up so well on screen, so like all astrophotography it takes practice to really perfect the technique for these challenging objects.
You can improve your images with some basic image processing too.
Best targets for your smartphone-telescope combo
There are a dazzling number of night-sky objects that make great targets for smartphone astrophotography, but you’ll get the best results if you choose ones that suit the type and aperture of your telescope.
Different objects need different ISO and exposure times, so keep checking your live view to refine your settings.
Stacking multiple images will reveal more faint details.
Small telescopes

Large, bright objects are better suited to smaller-aperture telescopes.
The Moon and Sun (with a certified solar filter/Herschel solar wedge) are a great place to start, because they’re easy to see on the screen.

You can use your digital zoom to magnify further, but be aware that some images get very grainy at full zoom.
Big open clusters, such as the Double Cluster, the Beehive Cluster, M44, and the Pleiades, M45, are good choices, as are brighter nebulae such as the Orion Nebula, M42, or brighter galaxies such as the Andromeda Galaxy, M31.

You can also photograph Jupiter and its Galilean moons, although you probably won’t see surface detail on Jupiter.
Medium and large telescopes

Larger-aperture telescopes allow closer photographs of lunar craters, lunar mountains and sunspots, and more detail on the larger planets Jupiter, Saturn and Mars
Smaller and fainter open clusters, globular clusters, galaxies and comets can be captured.

Experiment with eyepiece filters that enhance objects with low surface brightness.
The additional resolving power of larger apertures will also allow photos of double stars.

We regularly showcase readers' images in the magazine and online. Whether you're a beginner or experienced astro-imager, send us your images - we'd love to see them.
