Follow our recipe to make your own cake replicating the features on the surface of the Moon.
We so often take the moon for granted.There it is in the night sky, waxing and waning, month by month.Until it suddenly surprises us, looming enormous on the horizon on an early morning drive and you can see its seas and craters magnified for you by the earth’s atmosphere.
Or shining brightly in a clear blue sky.
Of course it is the easiest object to get in the viewfinder for the novice astronomer, even if it is rather dazzling.
We invested in a Moon filter very soon after buying our telescope.
A few years ago The Sky at Night’s Moore Moon Marathon inspired us to get closer, to pick out and identify the seas, craters and mountain ranges, to see the only places humanity has set foot beyond our planet.
One night we were surprised to see the Montes Jura hanging off the edge, catching the sunlight while the surrounding seas were in shadow.
Astro Girl many spent nights one winter with her tablet balanced on the telescope eyepiece, capturing The Sea of Tranquillity, the Montes Jura and the Tycho Crater at different lunar phases for her astronomy coursework.
It was fascinating to see how the changing phases changed the look of these features.
Now Astro Girl has left home to go to Astro University at the other end of the country.
It’s strange having her so far away.
But the Moon shines as brightly there as here.
So this month's recipe is a Moon cake!
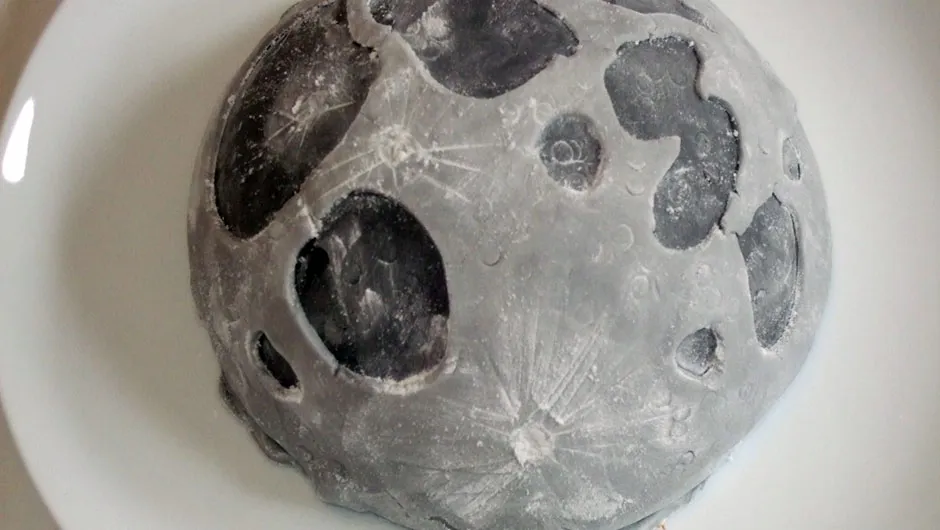
Now just to work out where I can fit a slice or two in the post box.
Ingredients
175g soft margarine
175g caster sugar
225g self-raising flour
3 eggs
1 teaspoon vanilla essence
500g ready to roll icing
Cornflour
1 tablespoon seedless jam
Method
1
Step 1
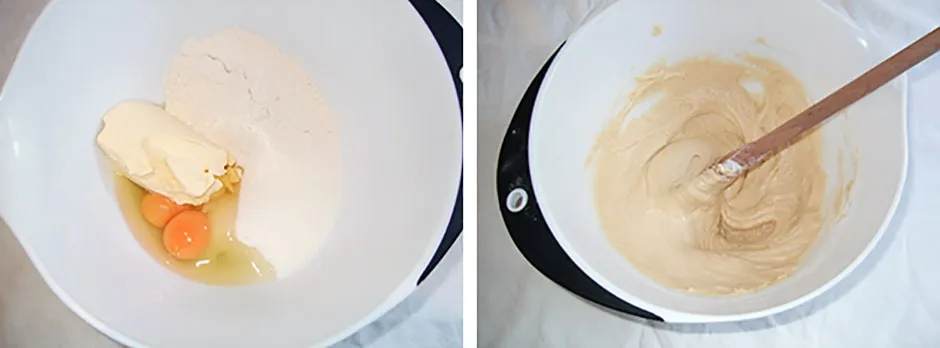
Measure the margarine, sugar, eggs, vanilla and self-raising flour into a large bowl and beat together with a wooden spoon or hand held whisk.
2
Step 2
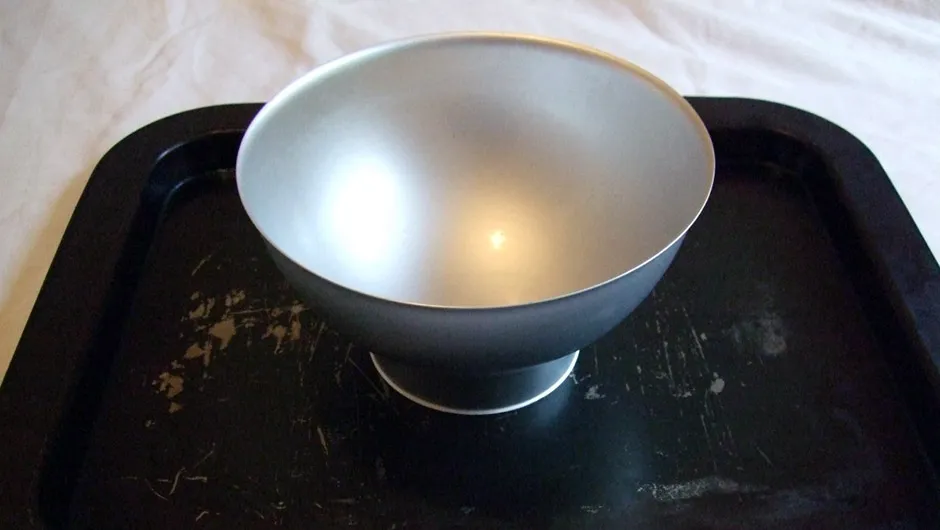
Stand your hemisphere cake pan on its ring on a baking tray and spray with easy release cake spray.
My hemisphere has a 15cm diameter.
If you don’t have hemisphere cake pans then make a round sponge cake and lay your icing flat on the top later.
3
Step 3
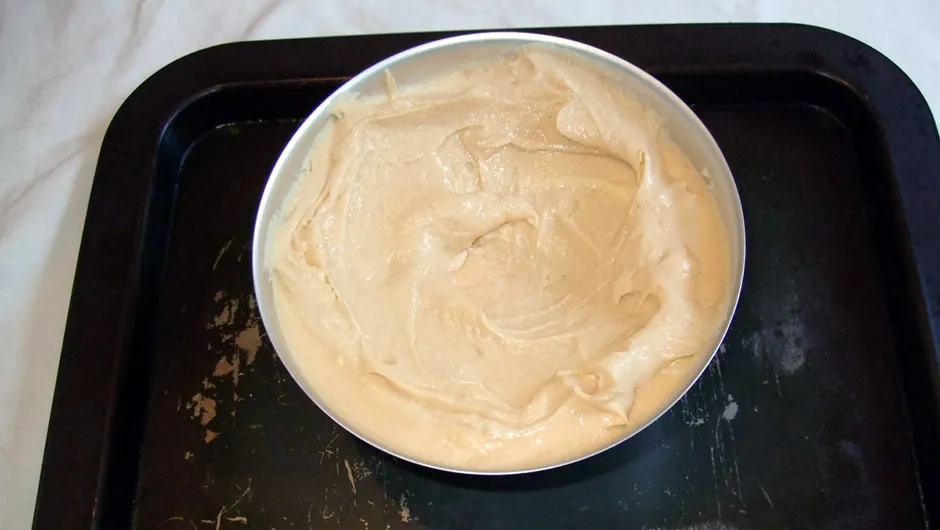
Pour the cake mixture into the tin and spread it up the sides, leaving a dent in the centre to encourage it to rise evenly.
Bake at 200°C for approximately 30 minutes until a skewer inserted in the centre comes out clean.
4
Step 4
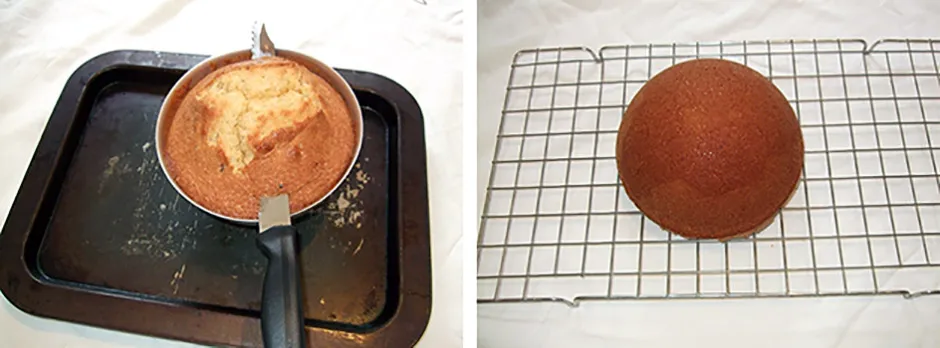
Once cooked, slice off the excess risen cake and turn onto a wire rack to cool completely.
Step 5
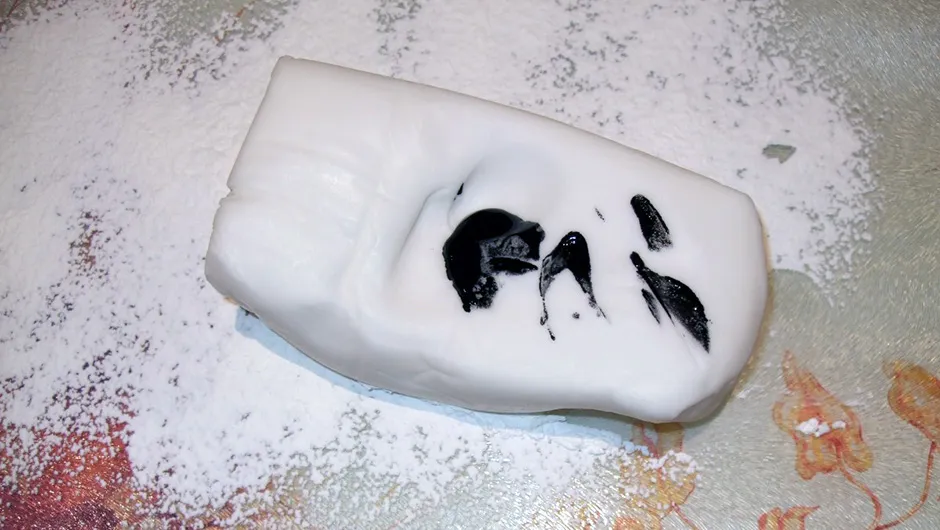
Mix black food colouring into the ready to roll icing to make a pale grey hue.
Don’t worry if it is streaky; the Moon is not a uniform colour!
Hint:when working with ready to roll icing it is tempting to use icing sugar to prevent it sticking, however, this will make a sticky mess so use cornflour for working with it and for rolling it out.
5
Step 6
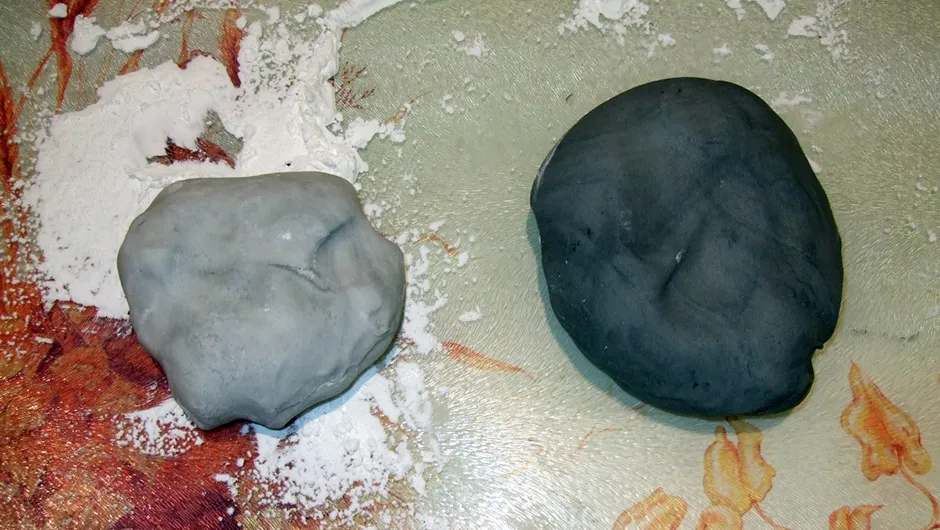
Set aside just under half of the icing and mix more black colour into the remainder to make a dark grey.
6
Step 7
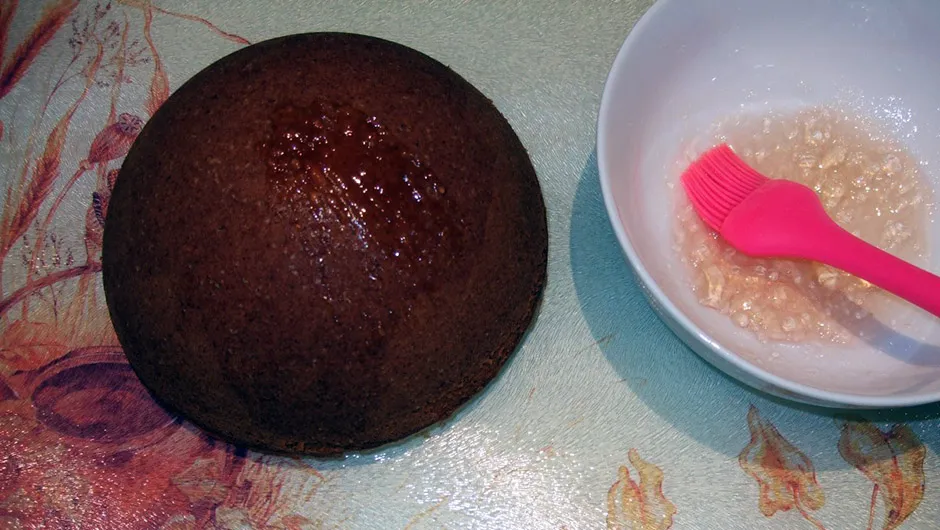
Mix a table spoon of boiling water with your seedless jam and brush it over the cake.
7
Step 8

Roll out the Dark grey icing and cover the cake, trimming and tucking it in at the bottom.
8
Step 9
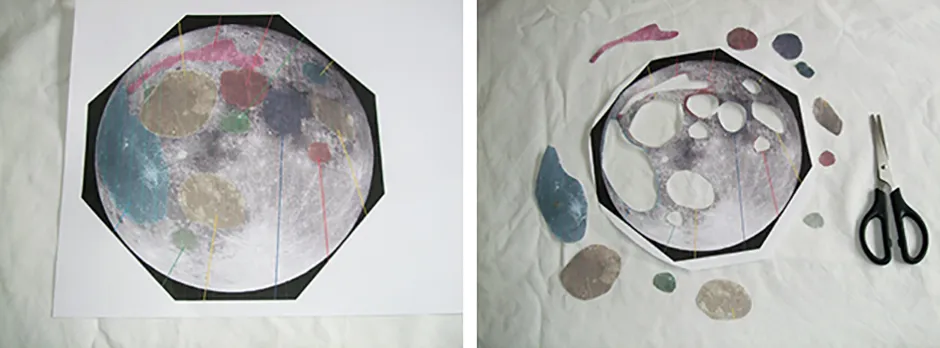
Make a template for the lunar seas.
Conveniently Pete Lawrence has some lovely Moon maps available to help with this.
Just print it to the diameter of your cake and cut out the seas.
9
Step 10
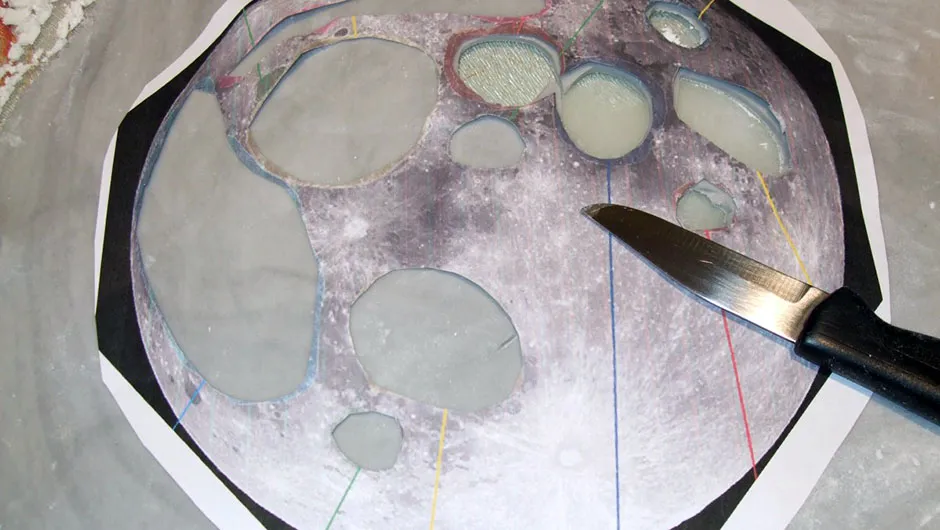
Roll out the light grey icing and place your template on it, cutting out the seas in the icing with a sharp knife.
10
Step 11
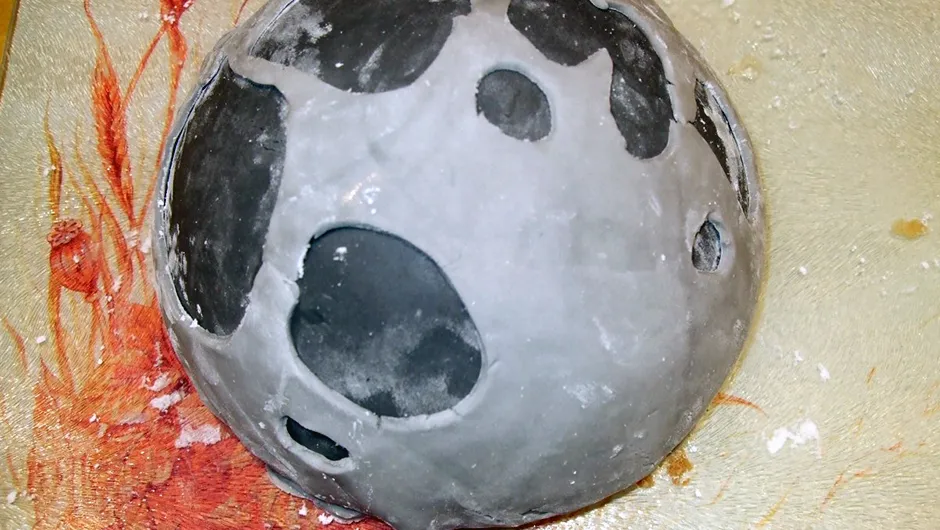
Carefully lift your lunar surface icing onto the cake, again trimming and tucking in the base.
11
Step 12
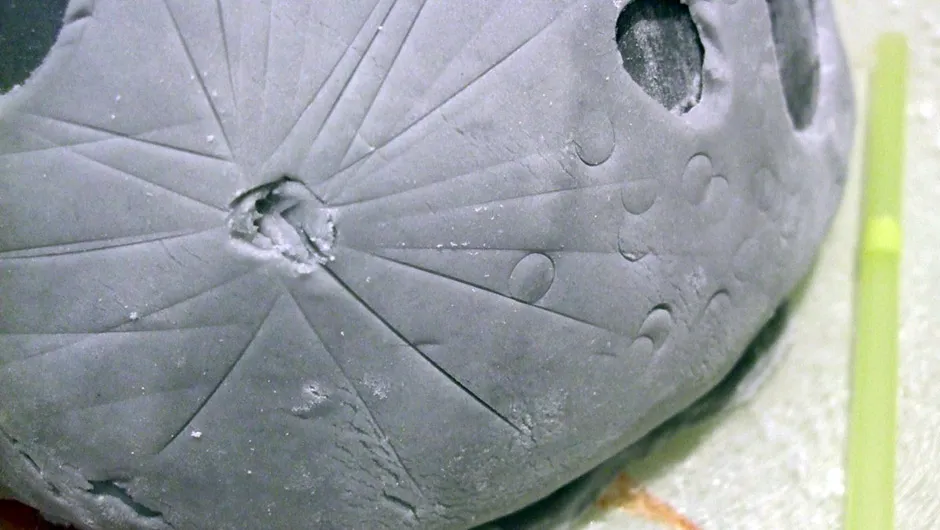
Use a knife to score craters and the rays spreading from them into the correct locations.
Use a straw to make lots of little impact craters all over your lunar surface.
12
Step 13
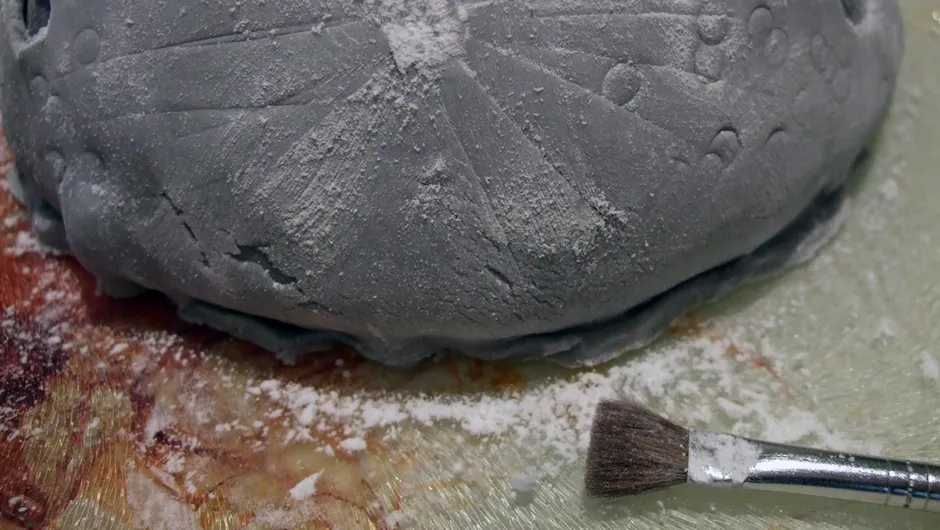
Brush cornflour into the craters, rays and over the debris field.
Again it’s tempting to think icing sugar would be better but it will go sticky and be absorbed by the icing.
13
Step 14
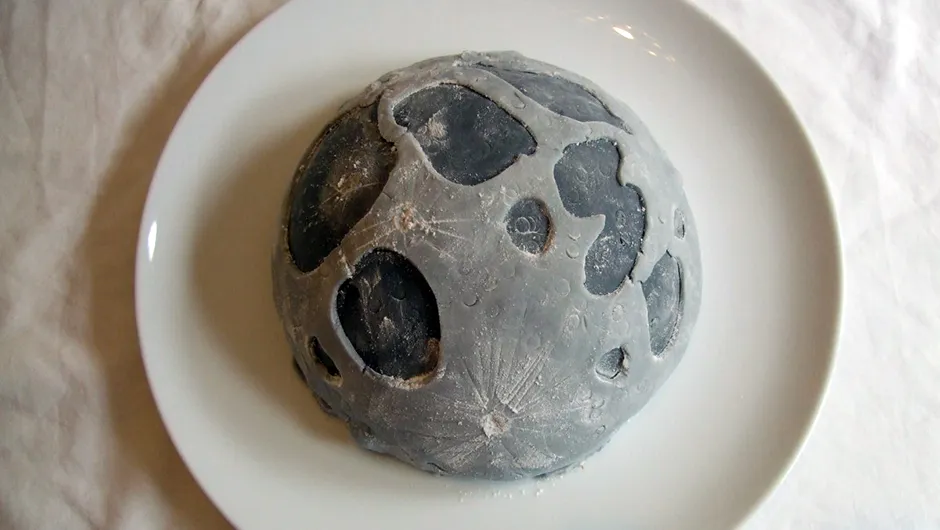
Transfer to a plate to serve.
14
Step 15
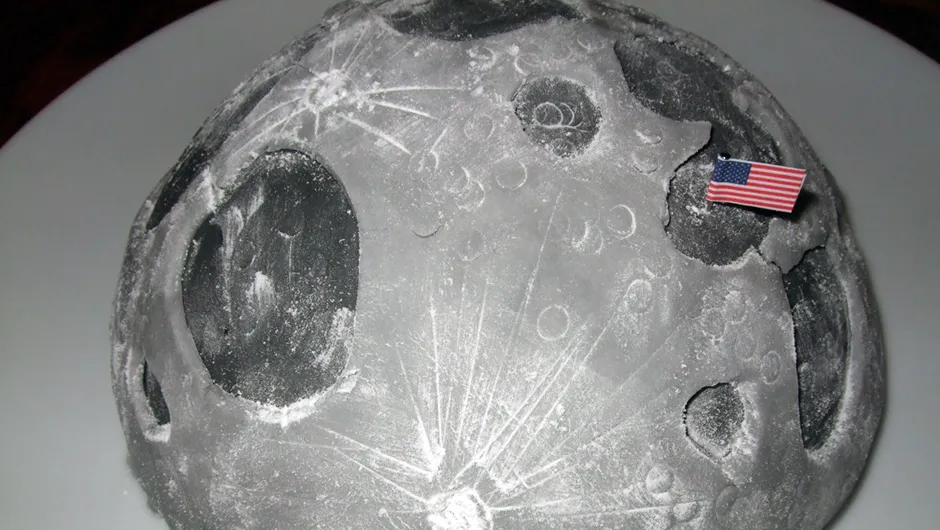
If you like, add a US flag in the sea of tranquillity, site of the first lunar landing.
Katharine Kilgour likes to combine her love of astronomy with her love of cooking, making tasty treats to feed herself, her friends and her family Astro Boy, Astro Girl and Astro Dad.


